Ultimate Guide: How To Board a Loft
This post contains affiliate links, for more info look at the disclosure page
If you’re only a basic DIYer and not sure whether you could board a loft on your own then don’t worry as so were we when decided to board our loft! You could easily make big savings in installation and feel very proud of a good job done at the same time.
This is not a quick job, but it’s an easy job. The only thing to be aware of is that it’s a slightly itchy, dusty job due to the insulation. You will be hanging out in your loft for a weekend like a cross between the loft nutter from Shallow Grave and Walter White.

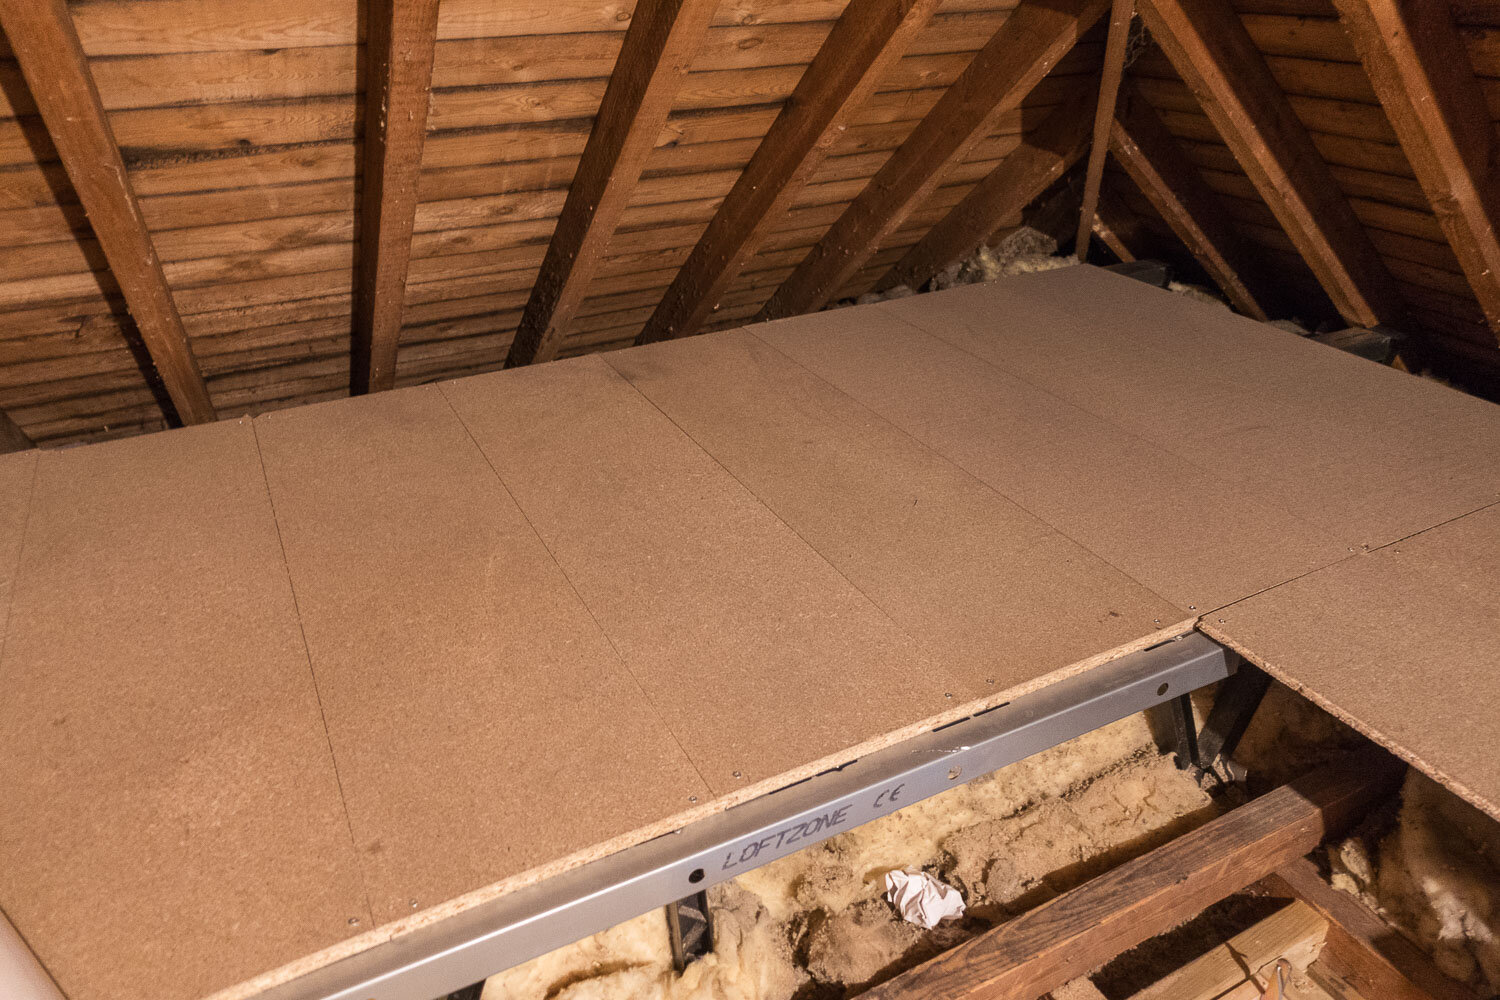
We’re going to walk you through how we boarded our loft extremely easily using the Loftzone system. Ever since we did our loft with this stuff we’ve been recommending it to our friends and family.
The main reason why this stuff is so good is that it is slightly raised above your insulation allows airflow between the floor and the insulation to prevent moisture build up.

Our Loft Before installation

How to board your loft
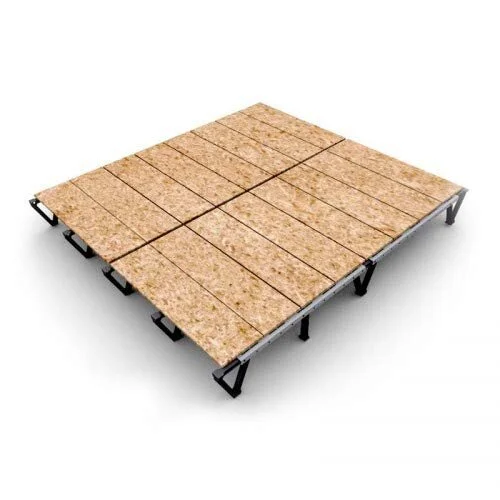
Step 1 - Get yourself some Loftzone
You can buy Loftzone kits on Amazon but they also sell all of the individual parts, just be aware of the delivery charge though, as it could soon mount up with repeat orders if you run out by mistake!
Step 2 - Make sure your insulation is good
When we moved in, we were fortunate in that our insulation was still in good condition. So it’s worth checking that a) you do have insulation and b) that it’s in good condition and between 250mm and 750mm thick.
If you don’t have loft insulation, it’s worth getting yourself some Knauff insulation. We’ve been hearing good reviews about this stuff. It is usually laid in two layers, with the first layer between the joists and the second layer over, and at right angles to the joists. If the insulation is a bit patchy, you can use Knauff Earthwool as a top-up.
Step 3 - Make sure your loft is Loftzone compatible
Only install this product in a well-ventilated loft that is free from condensation
Step 4 - Measure up
In order to ensure that you order enough flooring, you’ll need to measure up. Remember you don’t have to board the entire loft at one time if you don’t want to, you could work in sections or just do a sub-section.
Boarding a loft is not cheap so make sure that you really need to do the entire space. It might be that you can get away with a smaller area and just get some really good storage to make best use of the height of your loft.
Step 5 - Place an order for Loftzone
It makes sense to order your Loftzone from Amazon. The delivery charge is currently £12 though so it makes sense to order it all in one go rather than keep coming back (although I must admit I’ve placed about 3 orders now). For ease, Loftzone have created a few starter packs which include all of the bits and bobs you need to get stuck in.
Step 6 - Make sure you’ve got the right kit

PARTS
You’ll need wood screws like this and lots of them (Pozi are best).
We also bought loads of screwdriver bits (make sure to get Pozi bits if you have Pozi screws).
TOOLS
Recommended
Disposable overalls (it’s going to get itchy)
Mask
Eye Protection
Spare battery for electric cordless drill
Essential
Gloves
Appropriate Footwear
Tape Measure
Electric drill with screwdriver attachment
Step 7 - Prepare the space

Don’t want to make the carpet police unhappy
Place some dust sheets around the bottom of your loft ladder.
Only install this product in a well-ventilated loft that is free from condensation.
Clear the area where StoreFloor will be located and load materials into the loft, making sure they cannot slide back as you lift them up.
Temporarily roll back any insulation above the joists; this will be replaced once StoreFloor is fitted.
Step 8 - Screw in the Tri-Supports


• Screw in the first of the plastic Tri-Supports to the joist
• If using a 1220mm standard loft board, ensure the supports are exactly 610mm apart, as measured centre-to-centre
• Each Tri-Support should be fixed with two screws into the joist it sits on
• If your joists are 600mm apart, then you will span over one joist between each row of Tri-Supports, as shown in the diagram.
If your joists are 400mm apart, then you will span over two joists.


Step 9 - Slide on the cross beams

Slide the Cross-Beams (B) on to the Tri-Supports (A). It is not necessary for the Cross-Beams to slide right up to the middle of the Tri-Support.
Once (A) & (B) are in position, screw down firmly anywhere through the slit on the Cross-Beam into the pre-drilled hole in the top of the Tri-Support.
Step 10 - Installing the Uni-Supports

Initially we kind of didn’t know what these bits were for, but it transpired that they are for stabilising the whole thing - they really work too. You only need to put one screw into each Uni-Support.
Install a Uni-Support (C) by placing it into the Cross-Beam and then rotating it into the locked position onto the joist.
Screw down firmly through the slit on the Cross-Beam (B) into the pre-drilled hole in the top of the Uni-Support.
Screw one screw securely to both the joist and the Cross-Beam. The screw can be inserted verti cally or at an angle.
Distribute the Uni-Supports evenly under the StoreFloor. One Uni-Support for every second Cross-Beam is recommended.
Step 11 - Screwing in the boards


Roll the full depth of insulation into position between the rows of Cross-Beams, making sure you don’t leave gaps around the supports.
Screw the loft board flooring directly into the metal Cross-Beams, allowing for the tongue and-groove fitting method of most loft boards. Do not try to fix the screws into the slits in the top of the Cross-Beams, but self-tap them into the metal directly. Use the hammer setting on your drill for this. (Pro-Tip - a word of warning on this - make sure you install the first board straight, if you start it off wonky, the rest of it will be wonky)
The boards should reach half-way across the 80mm width of the Cross-Beam; this is to allow a second board to butt up against it and for both boards to be supported by the same Cross-Beam. At the ends of your deck, if you wish, you may prefer to let the board sit acrossthe full width of the CrossBeam. There is no need to stagger boards; the deck is strong enough without doing this.


And there we have it, a loft completely boarded, giving us loads more space for all of our junk!
Now you’ll want to take off all of your itchy clothes, take them outside and burn them like this:
