Student story: Jen & Stu’s entire house renovation – wow!
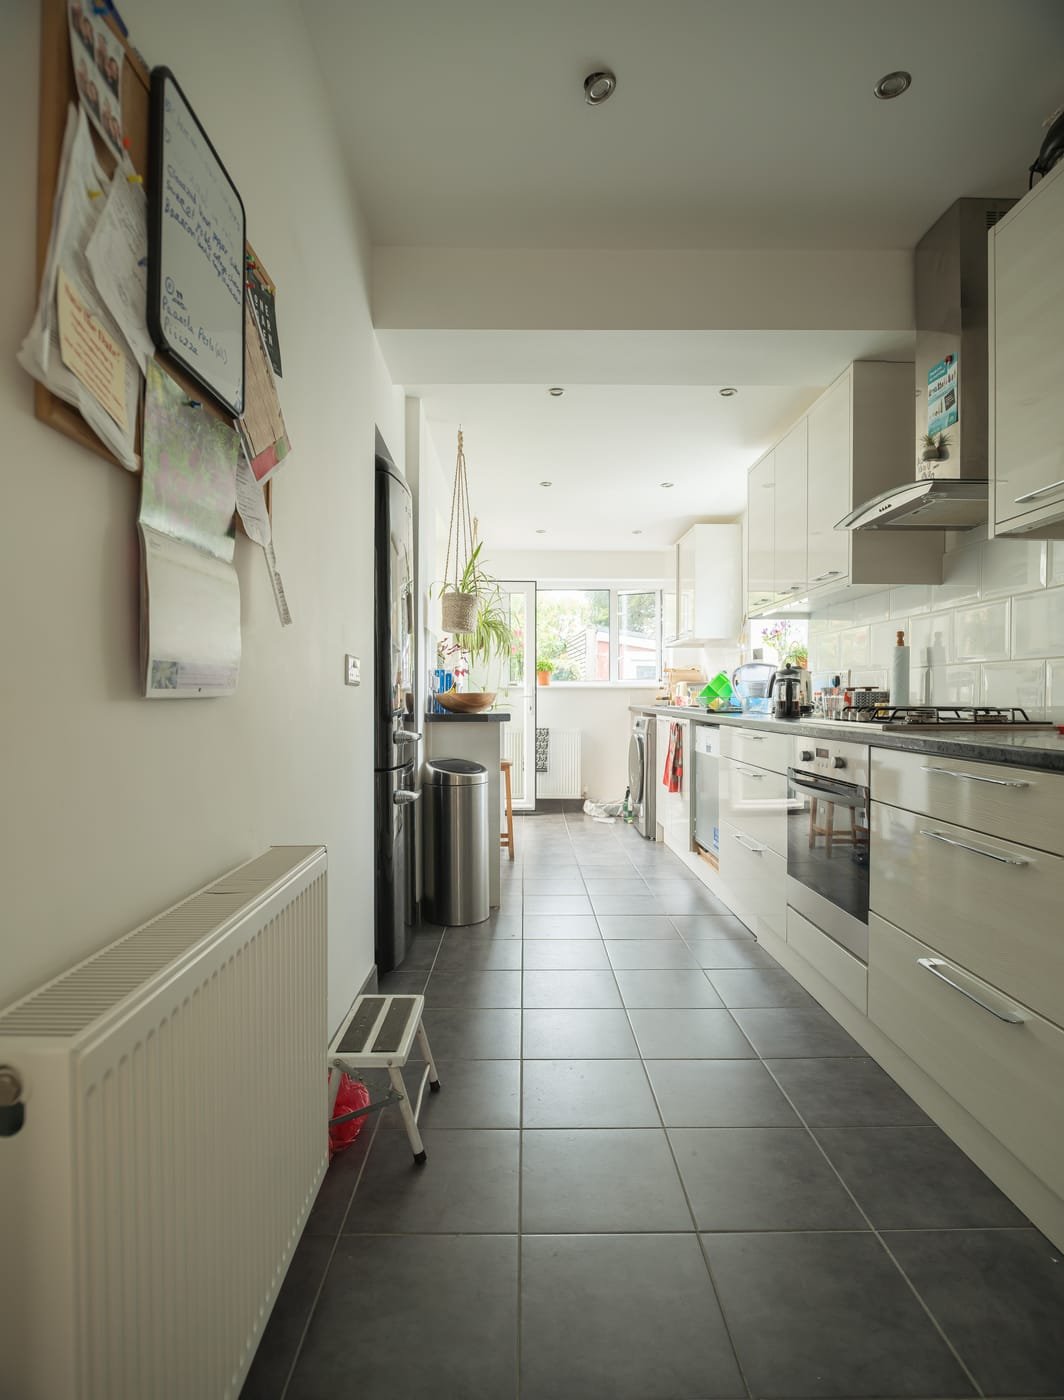
Before
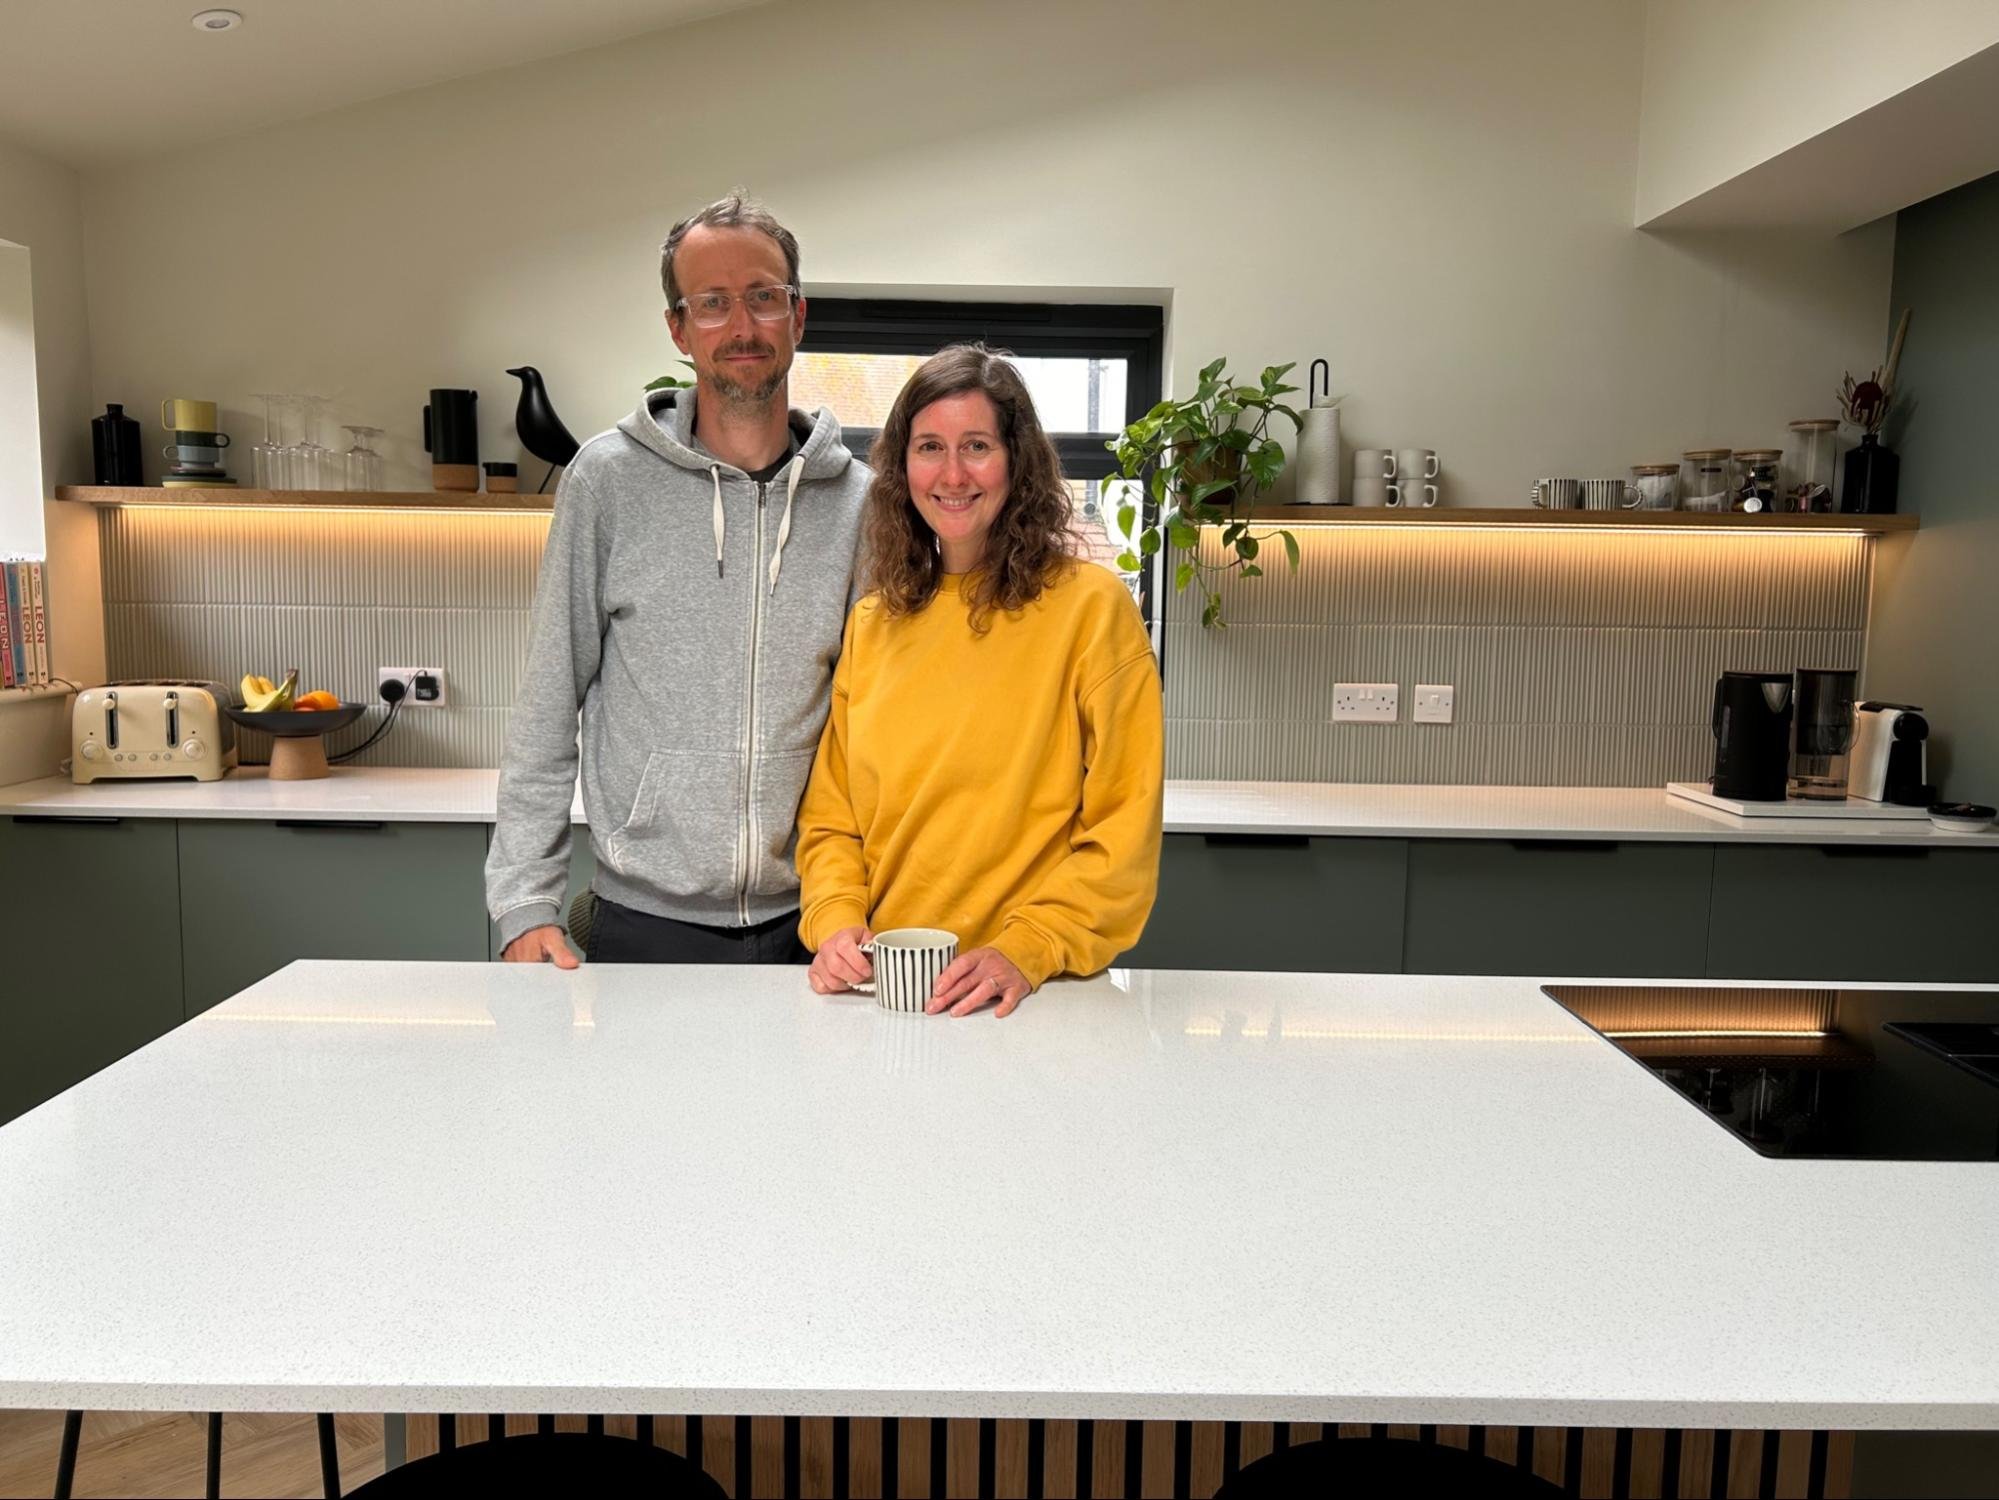
After
Is this even the same house?! 😁
Jen & Stu joined our renovation online course and interior design online course to help them navigate their single storey rear extension and loft conversion. Despite skyrocketing prices in today’s climate, and a very tight budget to complete the work, they’ve created their dream home, guided by the insights and support from our program.
In this interview we discuss:
How they overcame budget constraints and achieved a high-end look without overspending
How phasing their project was key to their success
The design choices, budgeting tips, and planning tools that helped them avoid common renovation regrets
Why the online courses were pivotal in their journey
Meet Jen & Stu 😍
Hi! We’re long-term partners Jen & Stu, and we live with our daughter and cat. Stu works for a sustainable transport charity and I work in the museum sector as a Commercial Manager.
Why did you join our online courses?
We joined the renovation course before we got the keys, as we were overwhelmed and didn’t know where to begin.
We got huge value from it! We went through it stage by stage and it made us have conversations in advance of the building work and nail down what we wanted and also what we didn’t want. It also helped us make practical decisions about space and made us look a the project as a whole.
Why did you choose this house to renovate?
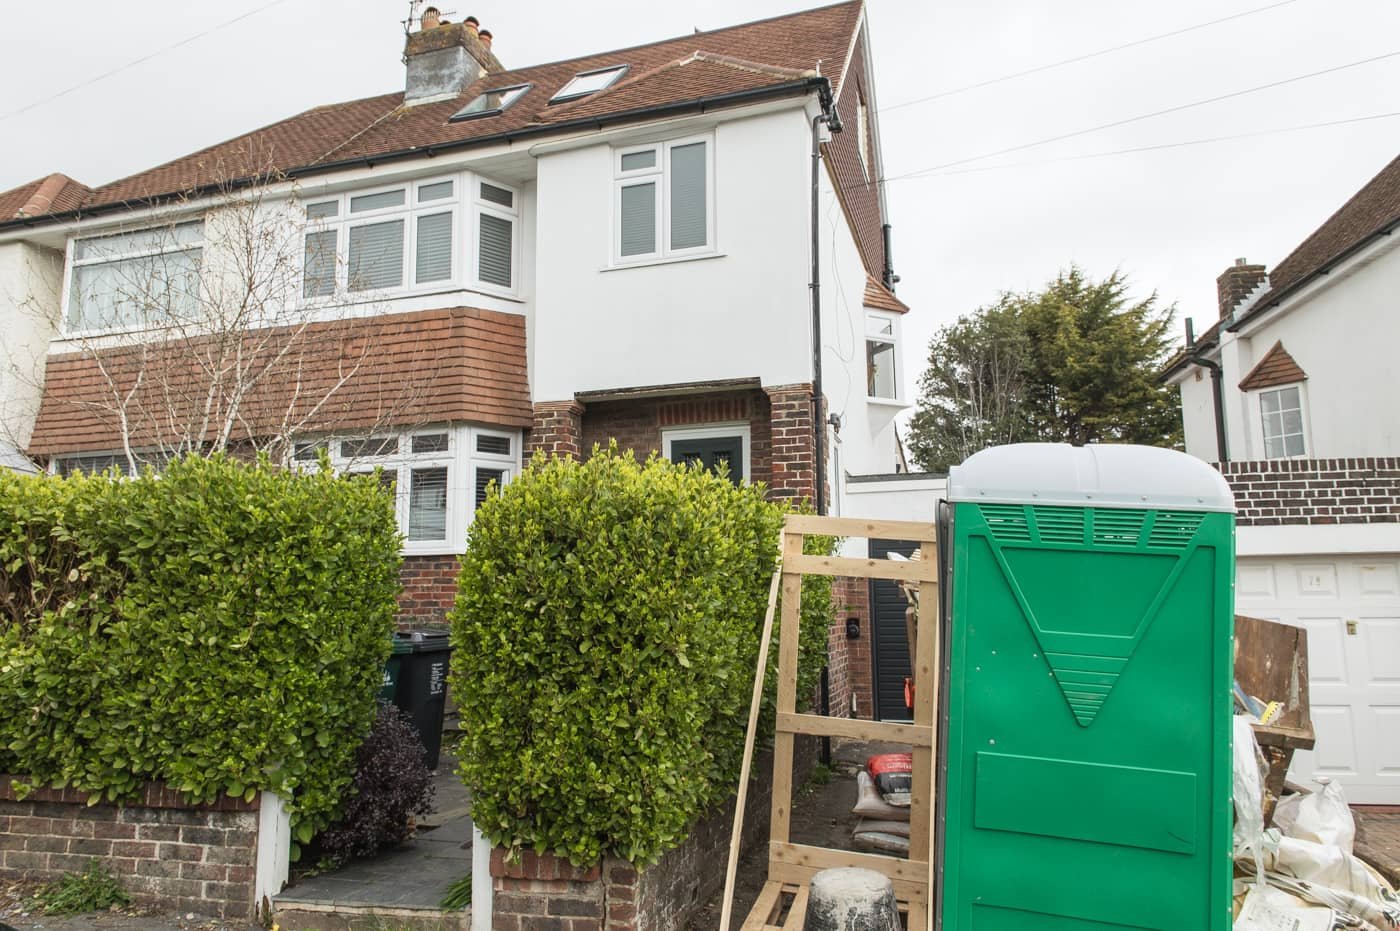
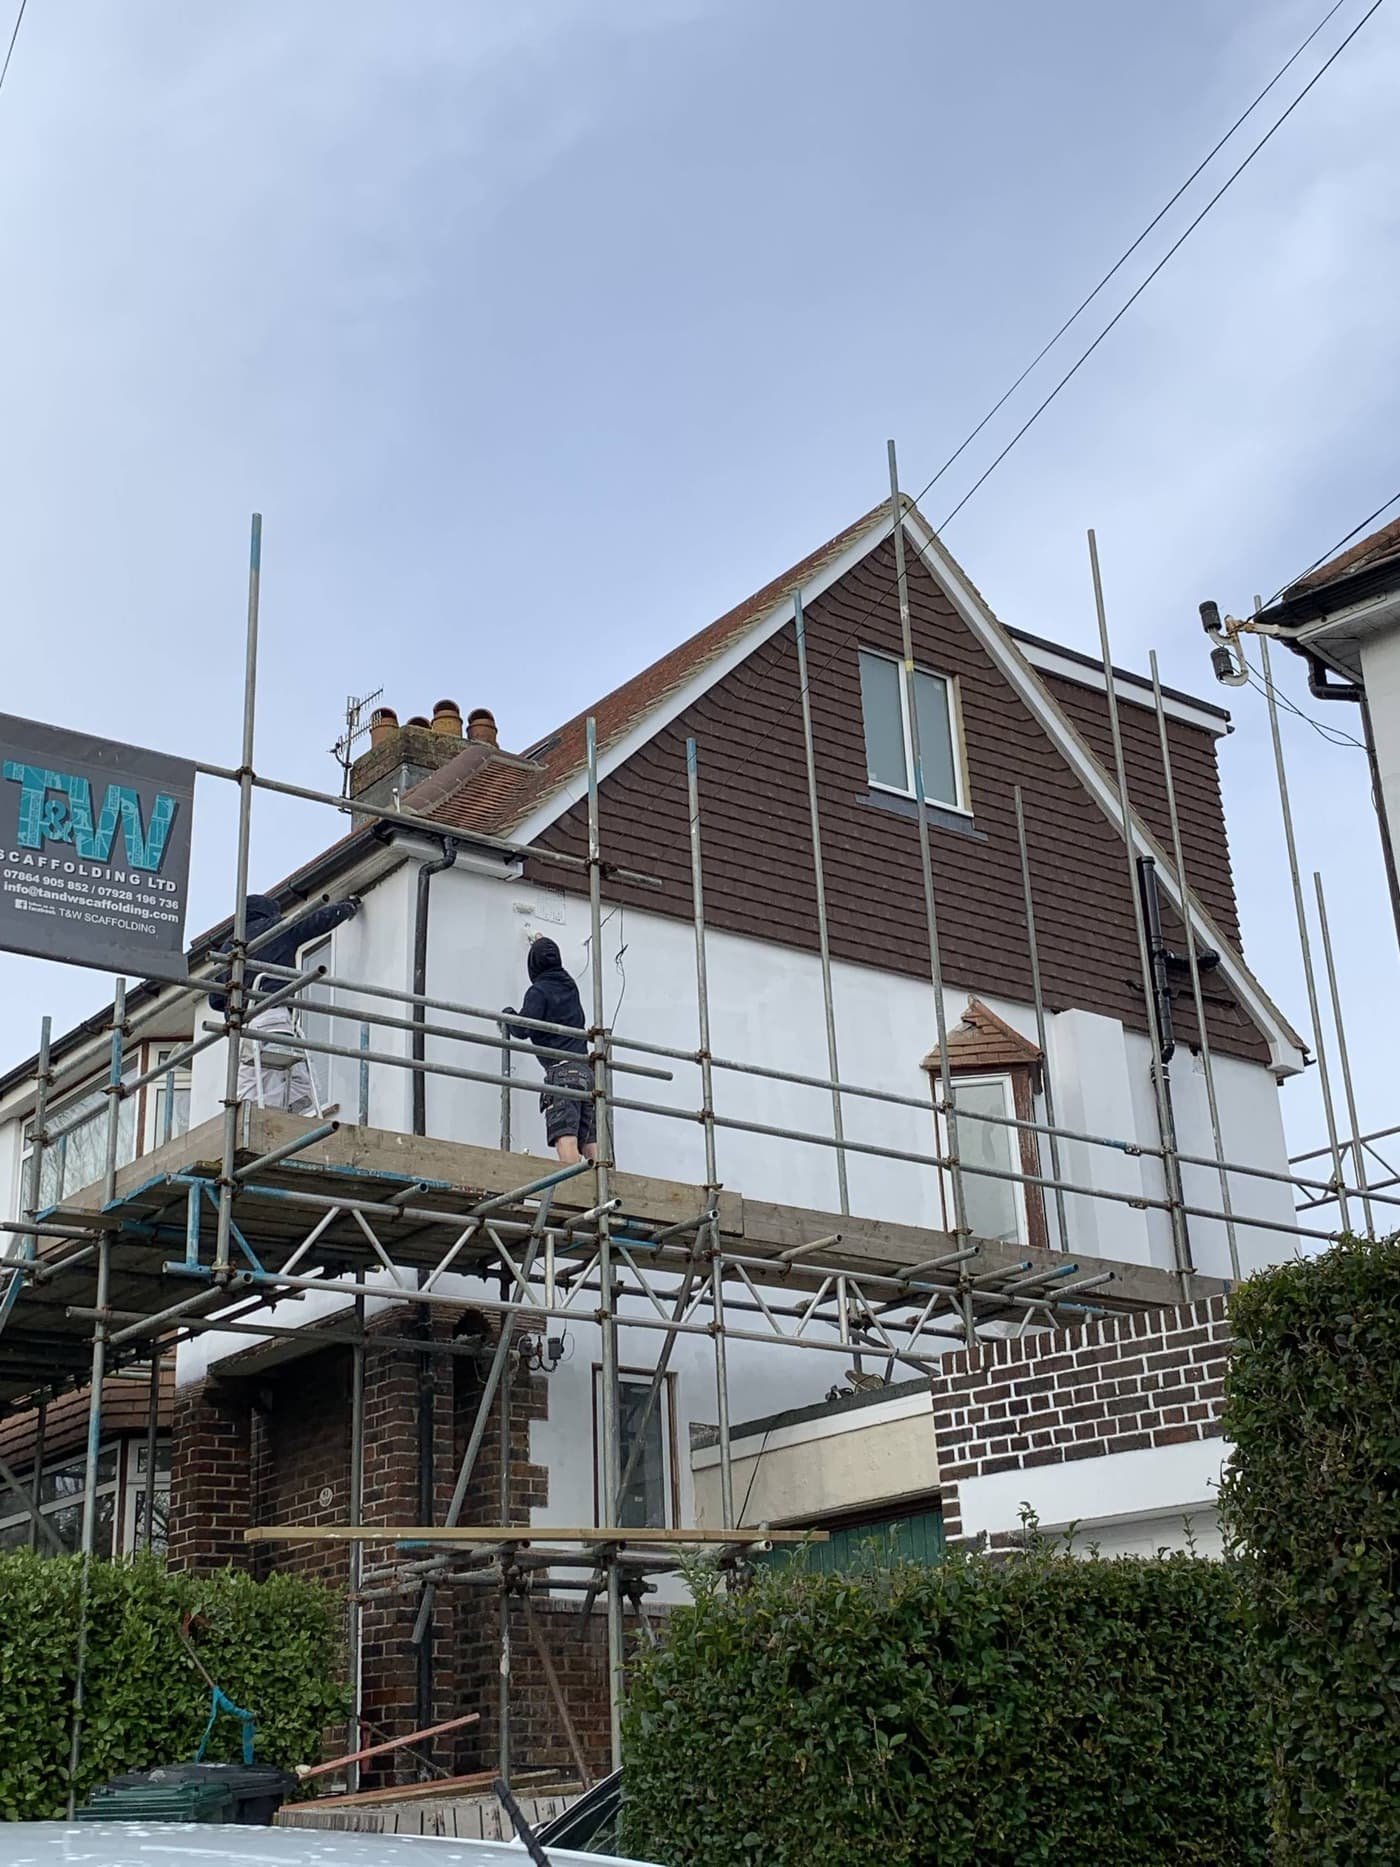
Jen & Stu’s property mid-renovation
Our house is a 1930s semi detached in Hove. We bought it in 2021 amid the pandemic. Lockdown made us long for a bigger garden and more space. We had been in our old house for 10 years and had good friends and our daughter’s school nearby, so we didn’t want to move too far away. We were extremely lucky to have made enough money on the house that we didn’t have to look too far.
Initial Renovation Budget:
£100k, with a £15k contingency
It had good bones and a lovely mature garden but needed a huge update. It was a standard two-and-a-half bed, one bathroom, a large living area and a small galley kitchen with an old conservatory bolted on the back. It also had a garage and driveway, which felt terribly grown-up! We could see the potential immediately and knew we could make it what we wanted.
Tell us about your loft conversion first, how did the project go & how much did it cost?
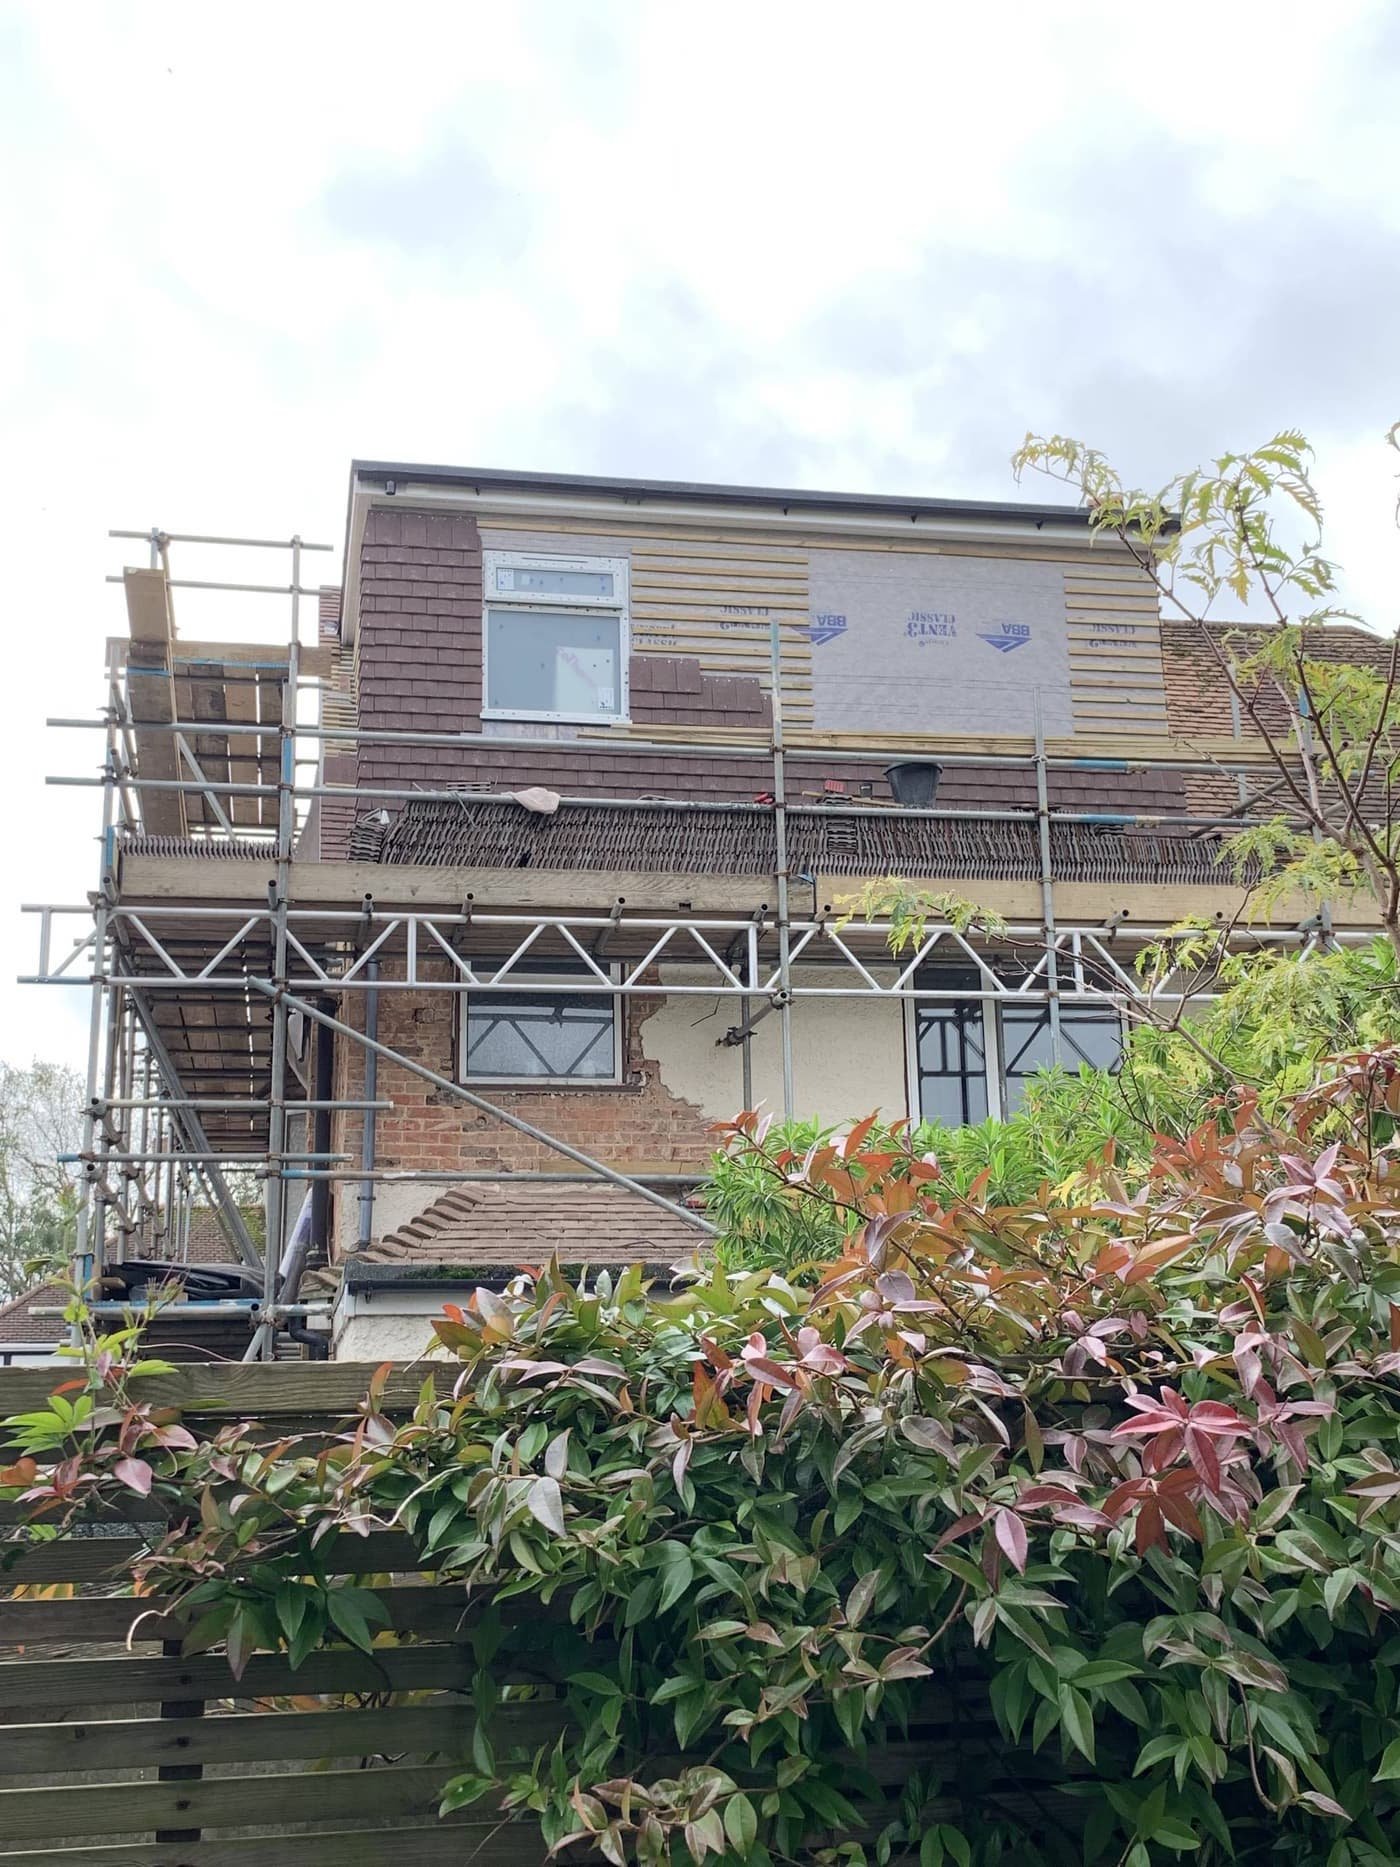
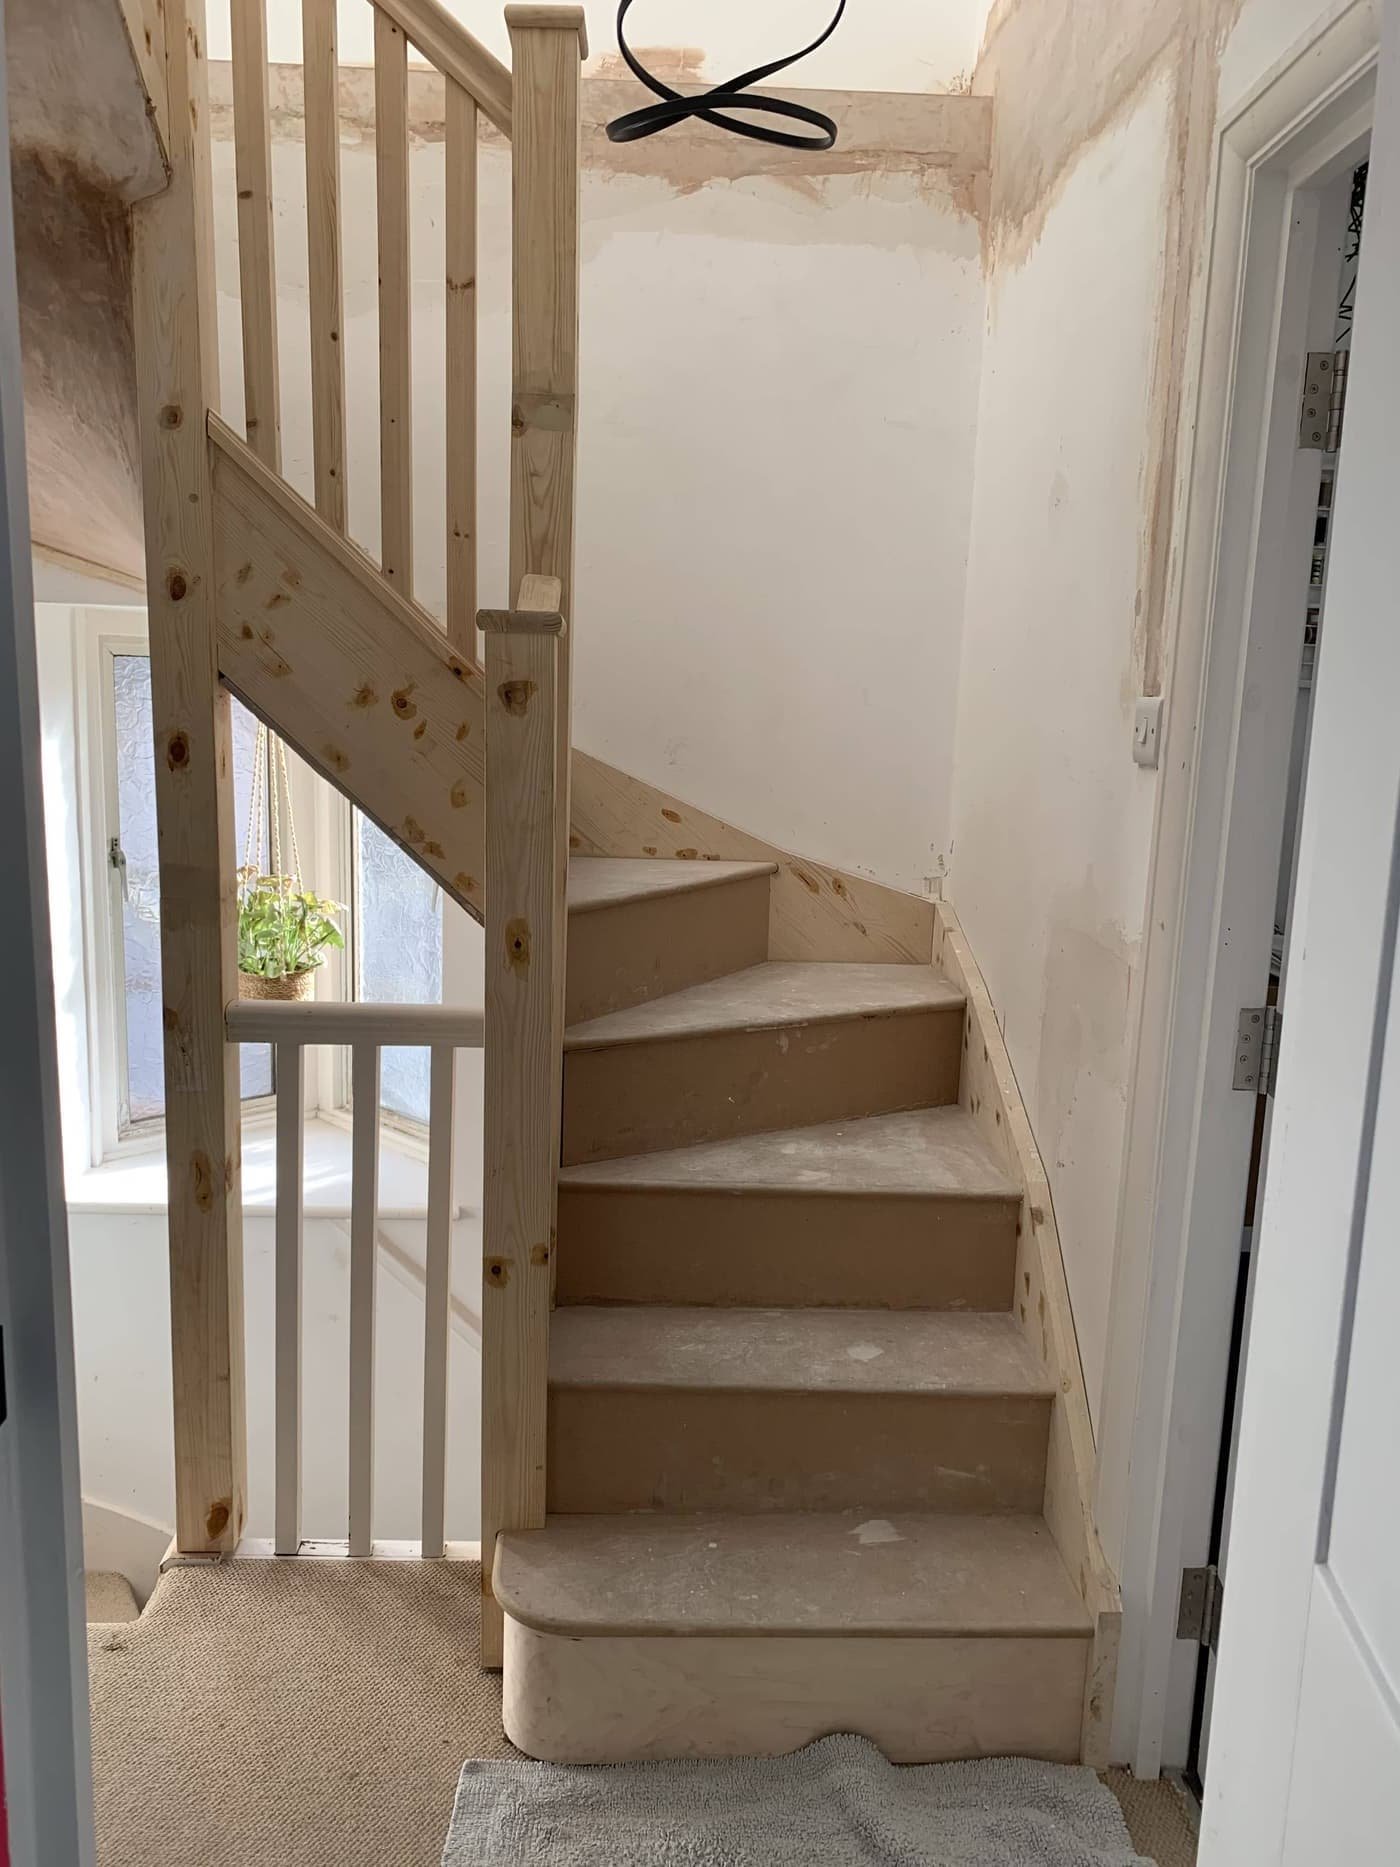
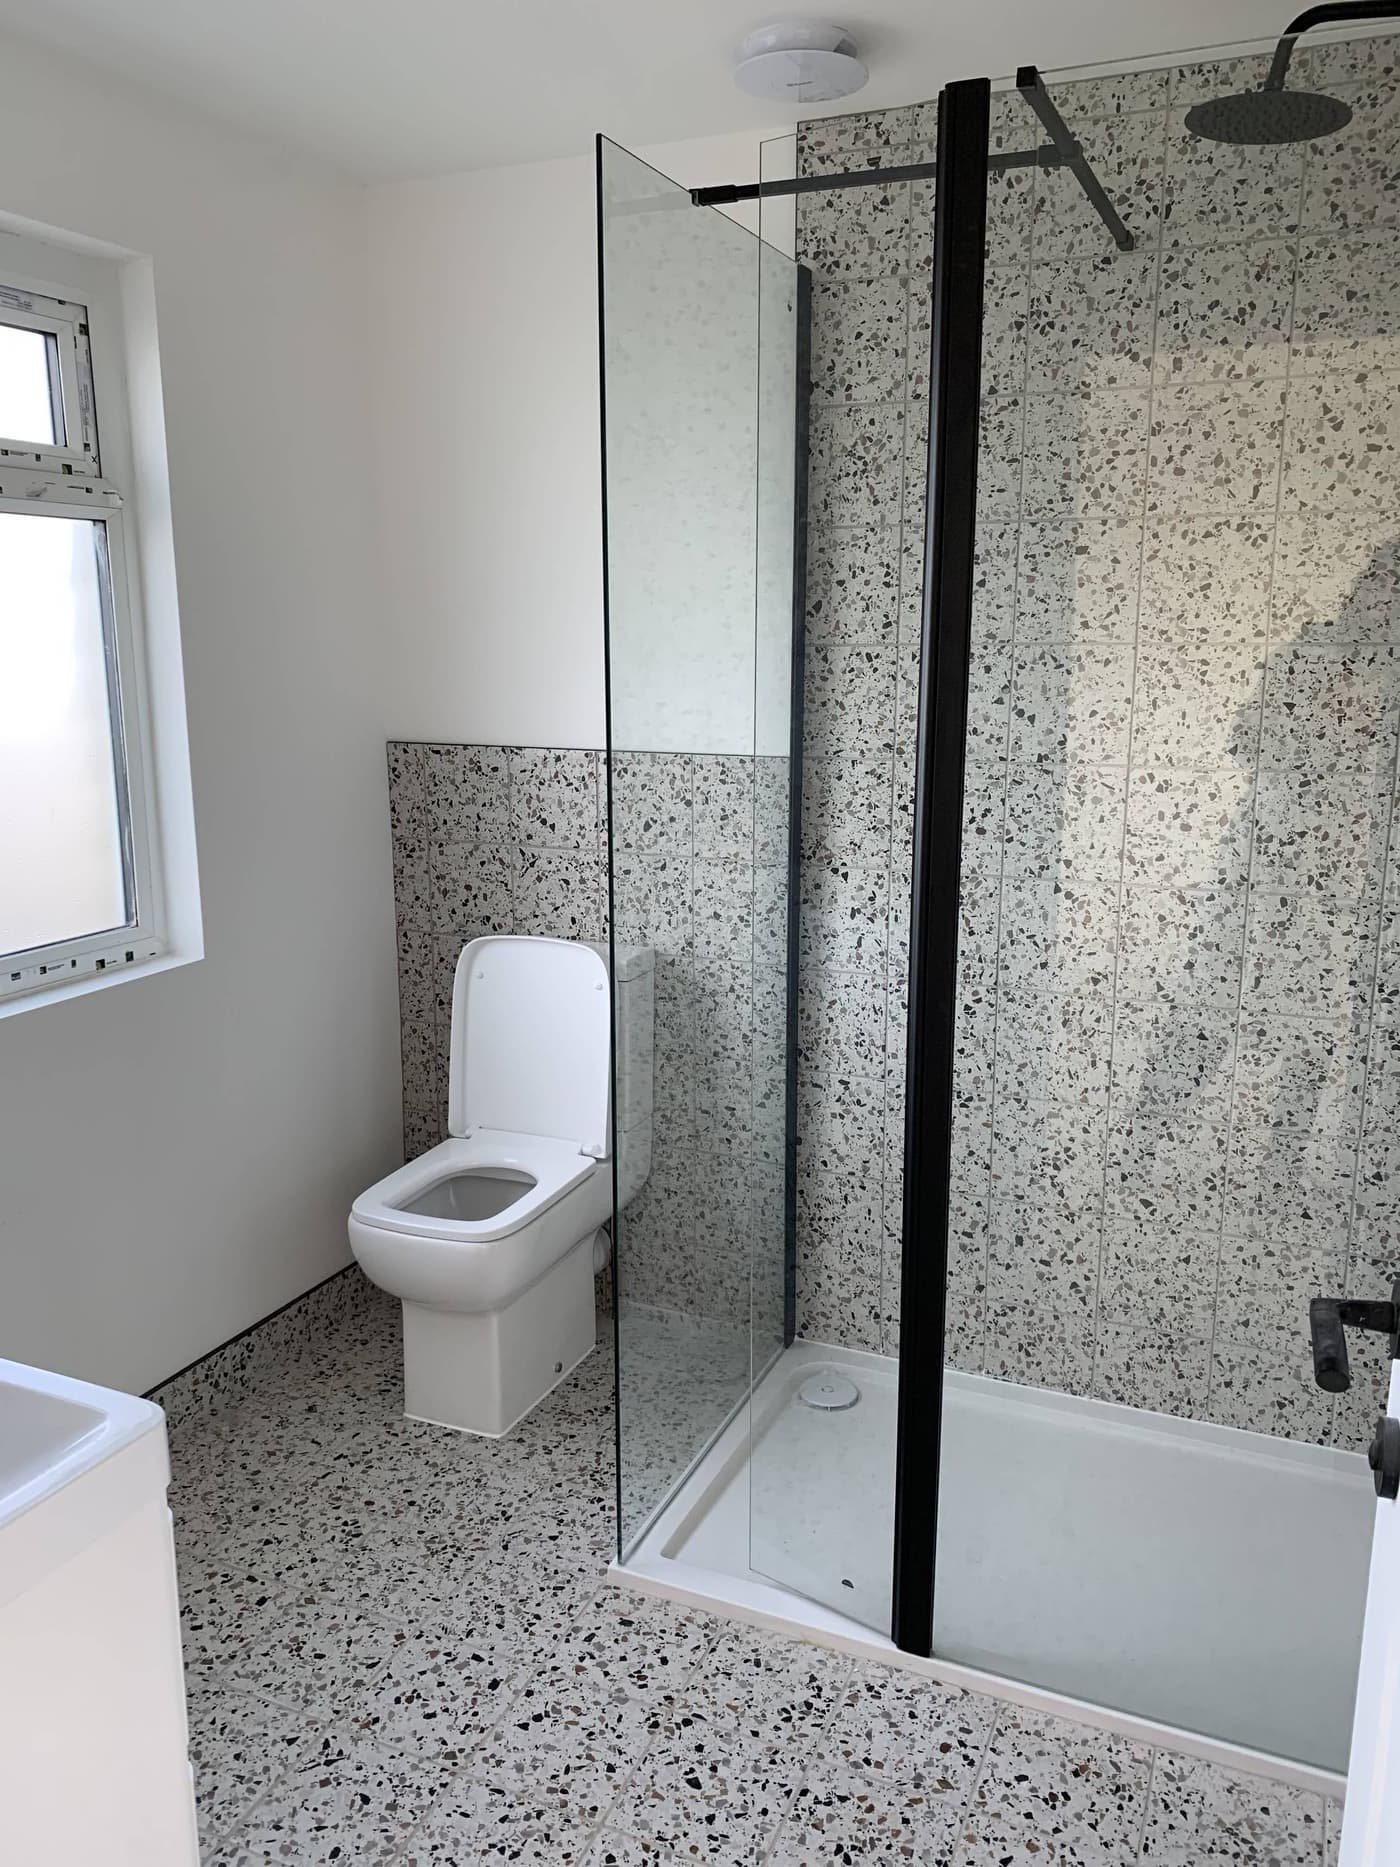
We knew we would be living in the property while we did the renovations, so we decided to do the loft first. The extra bedroom and ensuite gave us much-needed space and a calm retreat when the kitchen extension got underway. The loft also provided a spare bedroom which was invaluable as storage space for everything from the kitchen.
Cost of the Loft Conversion:
£55k (£49k on the loft and £6k on the ensuite)
Using the budgeting spreadsheet in the online course was a game-changer in ensuring we didn’t miss any key expenses and stayed within our budget.
We took a very traditional route, hiring a general contractor. We got three quotes and went for the middle one. The builder’s architect handled the planning and structural calculations, keeping everything straightforward. We started in October and finished shortly before Christmas.
Jen & stu’s loft conversion
What was your biggest challenge that other renovators need to be prepared for?
I think our biggest challenge was the realisation that we couldn't afford everything we wanted and had to compromise quite a bit. The online course exercises and tools helped us re-evaluate and come to terms with financial restrictions early on, which gave us an enhanced design in the long run.
How did your budget hold up with your single storey rear extension?
When we moved in, the house had a galley kitchen which was just about big enough but was cut off from the dining room – typical in 1930s homes. It wasn’t a social space, and we had always wanted a kitchen that was. The previous owner added a conservatory to the side of the kitchen, but it was unheated and only usable for 5-6 months a year.
We knew we wanted a single-storey, open-plan kitchen-diner extension. We started on 15th Feb 2023 and finished at the end of June, so about 4 and a half months. The building work took 2 months, with the rest being the kitchen and flooring installation and decorating.
Total Extension Cost: £69,675
Breakdown of Costs:
Structural: £46,800
Sliding Doors: £2,000
Flooring and installation: £3,500
Kitchen supply and installation: £15,000
How did you create high-quality designs without overspending?
Reading advice in the online community helped us make some crucial decisions, while Fi’s design guidance helped shape our single storey extension layout and feel.
We thought long and hard about the kitchen design. Our priorities were an open-plan layout with sociable cooking and optimised views of the garden. Sliding doors were chosen over bi-folds as they kept the view of the garden uninterrupted and didn’t intrude on the patio. We kept things light and airy with open shelving and a green kitchen inspired by the garden.
Having a tight budget meant we had to shop around. We chose a small local company called Kitchens of Sussex, even though we had initially put a deposit down with Wren. Kitchens of Sussex worked well with our builder, providing a personalised service, which was a huge bonus.
Before
After
For the extension’s exterior, we chose to continue the render from the house side, making it feel like a unified part of the whole job.
What advice would you give to new renovators doing a single storey rear extension or loft conversion?
1. Forecast your costs early
Get a really good idea of how far your budget can actually go. The How to Renovate a House Online Course will help you with this – plus how to make savings during your projects. The builders' costs are not the whole costs. Paint, tiles, en-suites and furnishings all add up, especially if you want it to look really special.
2. Phase your project
Doing the loft first gave us essential storage and a sanctuary during the kitchen extension. Phasing also helped manage dust and allowed our cat to have a safe space in the loft.
3. Hire the right contractors
We recommend getting at least three quotes and choosing a contractor you get on with well – it can make or break the project experience.
4. Plan ahead to minimise disruption
Think carefully about where the builders will be working and accessing the house daily. It’s essential to phase the renovation in a way that minimises disruptions.
How did you use the online courses day to day?
We used the budgeting spreadsheet to make sure we didn't miss anything and that we had our main costs covered. We read a lot of advice that was discussed in the online community which enabled us to make some key decisions. Fi’s design guidance within the course, and then working with her 1-on-1 to put together initial designs for our kitchen extension really helped us get a feel for what we could achieve and were a solid base to get excited about and creative with.
What surprised you the most about renovating?
The speed in which the build phase went up and how the finishing touches took just as long. The course helped us have our plans in place well in advance.
But also the difference it made to the rest of the house. The house felt bigger even though it wasn't a visual space on the same floor. The sense of another floor above our heads gave the feeling of the house being a bit more grown-up or complete.
Did you do any work yourselves?
We did the painting. It saved us a couple of grand and although there were points where we just wanted it done so we could live in it, we were glad to have saved the money looking back now. The colours you choose and the application is the cherry on the cake and finishes the whole space beautifully.
Your next steps
We’re so proud of our student’s renovations. The quality and design they’re achieving is next level – and it’s largely down to the correct preparation they’ve put in place before their construction begins.
If you’re taking on a renovation, feeling overwhelmed with no idea where to start, worried about your affordability, then we can help. Join our online courses and like Jen & Stu, we’ll show you how to make savings on your project, design your home like a pro, and get a quality finish – without your costs spiralling.
Thank you so much for reading this, and we hope to meet you and hear about your project in our community.
Fi & Neil

