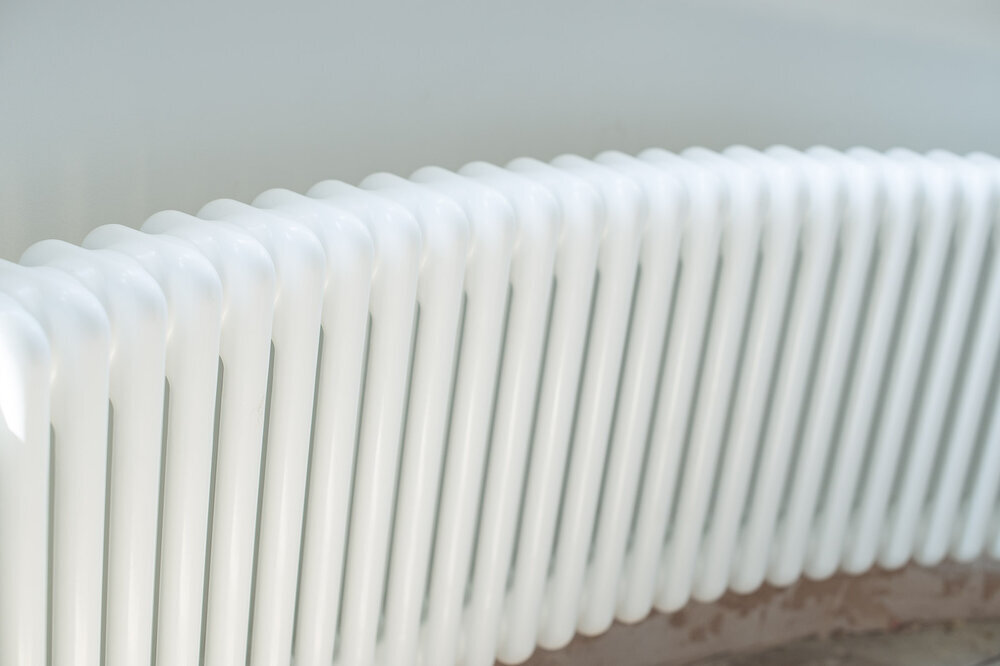
A curved radiator for a bay window

Before deciding to obtain a curved radiator for under our bay window, we went through an ‘extended decision making process’(!) about heating options for our bedroom.
If you’re interested (we completely understand it if you are not) you can read all about that in our heating options for a master bedroom post. Long story short, we chose to go with a curved bay radiator.
Curved bays are a blessing and a curse, they are so beautiful and let loads of light in, but of course when it comes to using that wall for a radiator that curve means that you need something customised, which means that it’s a little more expensive.
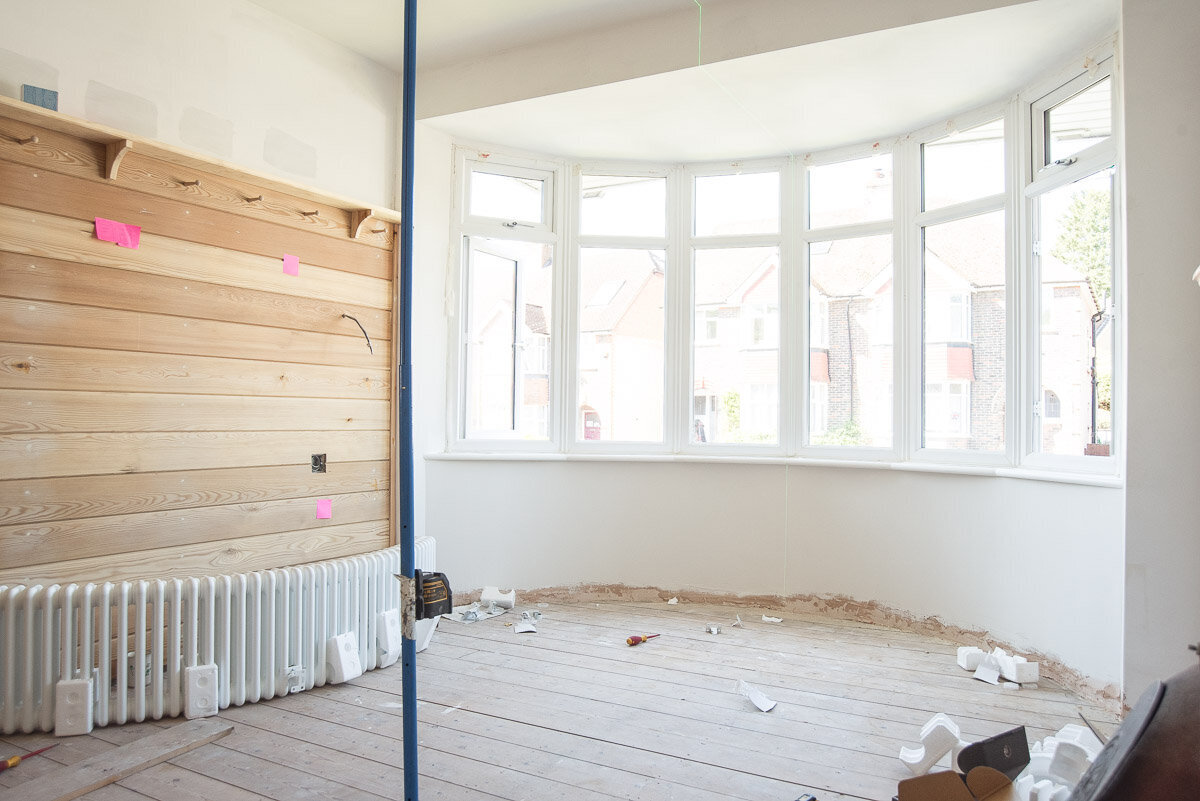
What the curved bay looked like before
When we moved in, we had to install central heating throughout our house and so this room had no plumbing for a radiator, just a big, disgusting monolith of a storage heater sitting in the corner - bleurgghhh!
We installed heating into all of the other rooms years ago but since we weren’t going to be using the master bedroom initially, we wanted to take our time about what we wanted to install.
As you can see, the previous owners had extraordinary taste, at the forefront of fashion….5 decades ago.

Choosing a supplier
There aren’t an awful lot of suppliers offering curved radiators, which might be because it’s quite a specialist item - they are built specifically to your curved bay measurements. We found Stylish Radiators after a bit of googling and were glad we did, they were super helpful, professional and speedy to respond. They had the exact curved radiator that we had our eye on - a white column radiator (an Ancona).
The measuring process for a curved bay radiator
The measurements we needed to obtain for our curved bay were
a) the segment depth i.e. the depth or ‘radius’, if you will, of the semi-circle in the curved bay and
b) the chord length i.e. the width or ‘diameter’ of the curved bay.
You take account of the skirting board / the finished wall. It was just a case of getting down on the floor with the measuring tape and measuring twice (as you always should!).
The specifications of our curved bay radiator
Like any custom built product, it allowed ultimate customisation to our tastes including;
Colour: we chose the ‘Traffic White’ which is like Brilliant White
Height: we decided to go for 400mm but other heights were available
Length: we went for 1824mm - inner dimension
The maximum length for curving is 40 sections (1824mm). A 3 column, H400 x 40 Sections would produce BTU’s of 5720 – approx. That would be 1500 BTU’s over the maximum requirement. This would lead to the room getting to temperature a little quicker than necessary but by using a TRV (Thermostatic valve set) we would be able to control the radiator based on the rooms ambient temperature.
Receiving our technical drawing
We were pleased that this was a stage in the design process as it gave us a chance to double-check everything and give the green light. This is our curved bay radiator technical drawing:

The radiator at 40 sections is the largest that can be curved, this at 1699mm (Inner dimension) will leave a distance of wall either side of the radiator.
When we re-measured we had a wobble and were unsure about whether it would fit. Thankfully we discovered from our supplier that for us, one of the most important dimensions is the curvature of 1497mm. If we stood central in the bay and placed a tape measure on the floor, extended it to 1497mm and rotated the end of the tape measure around the contour of the bay wall/skirting, if this ran consistently (+/- 5mm) with the skirting then the radiator curve would be correct.
We did this and it ran consistently within 5mm - boom!
NOTE: Not all curved bays are equal so our measurements above may not apply to yours
Getting the curved radiator installed
Before the actual install we painted where the radiator was going to be installed (otherwise it is nigh-impossible to paint the wall with it on).
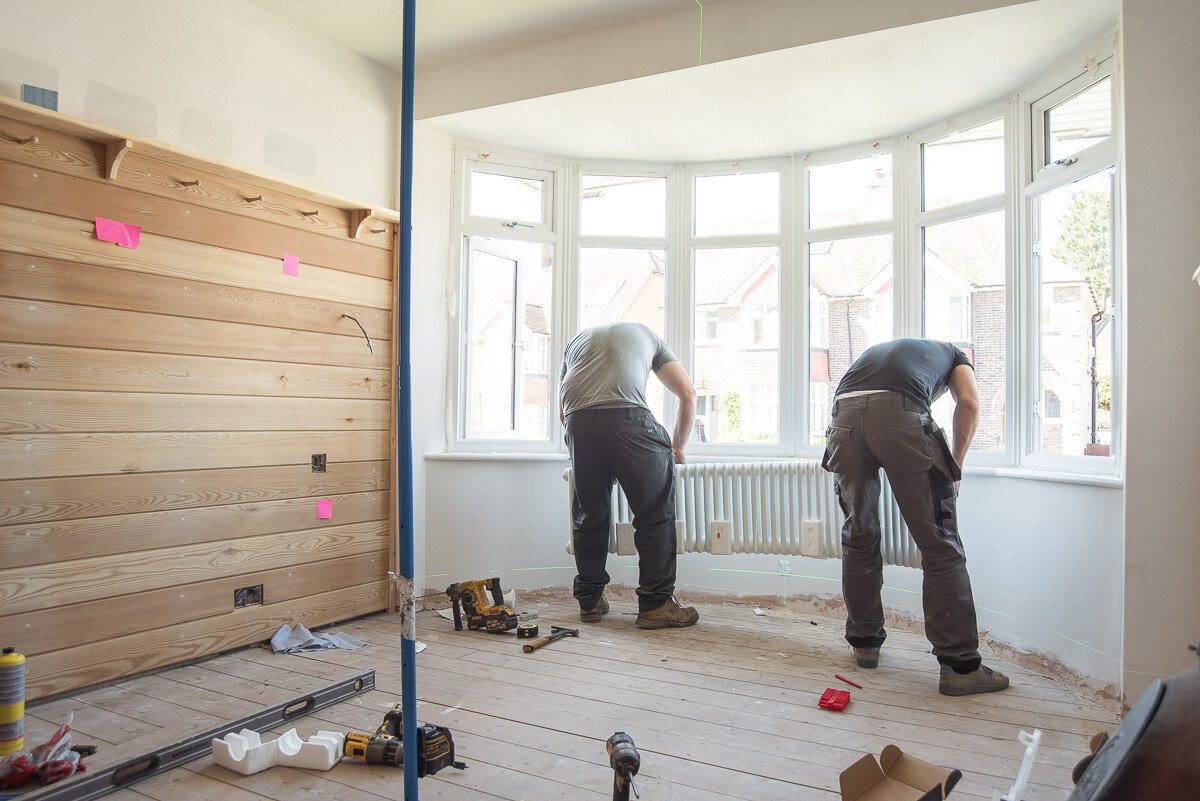
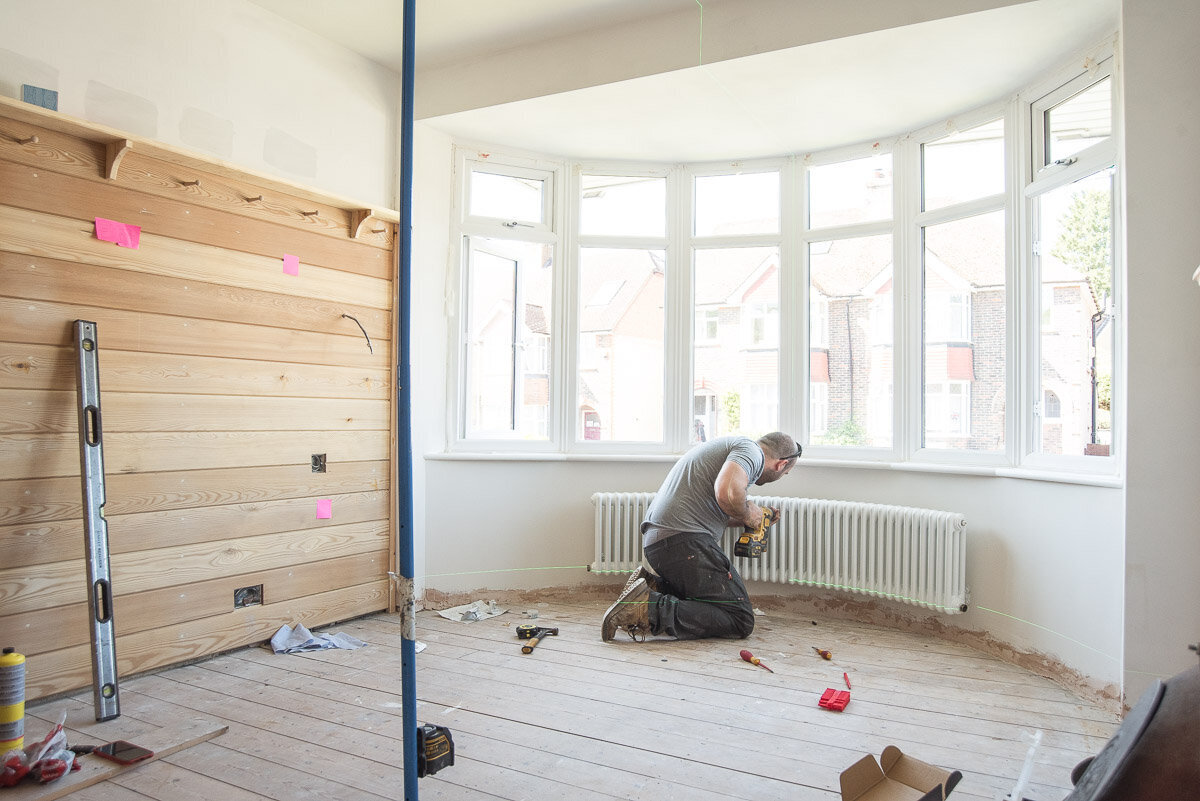
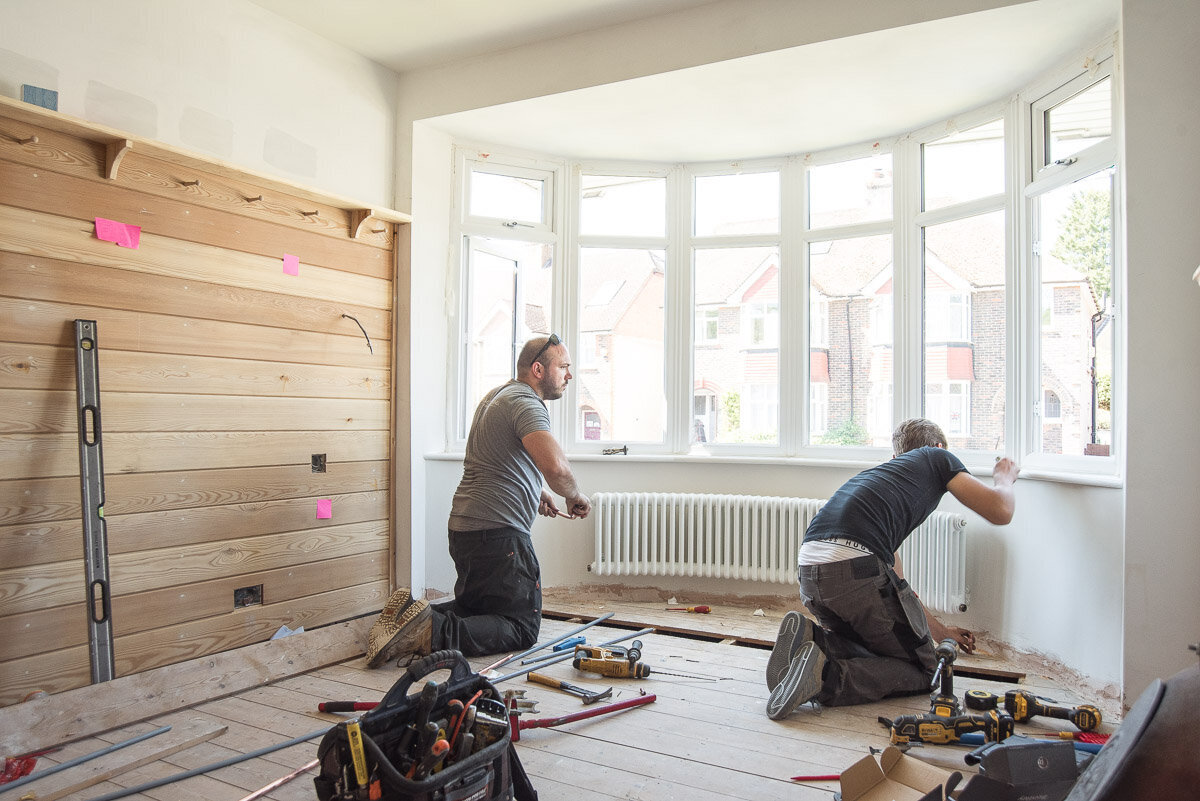
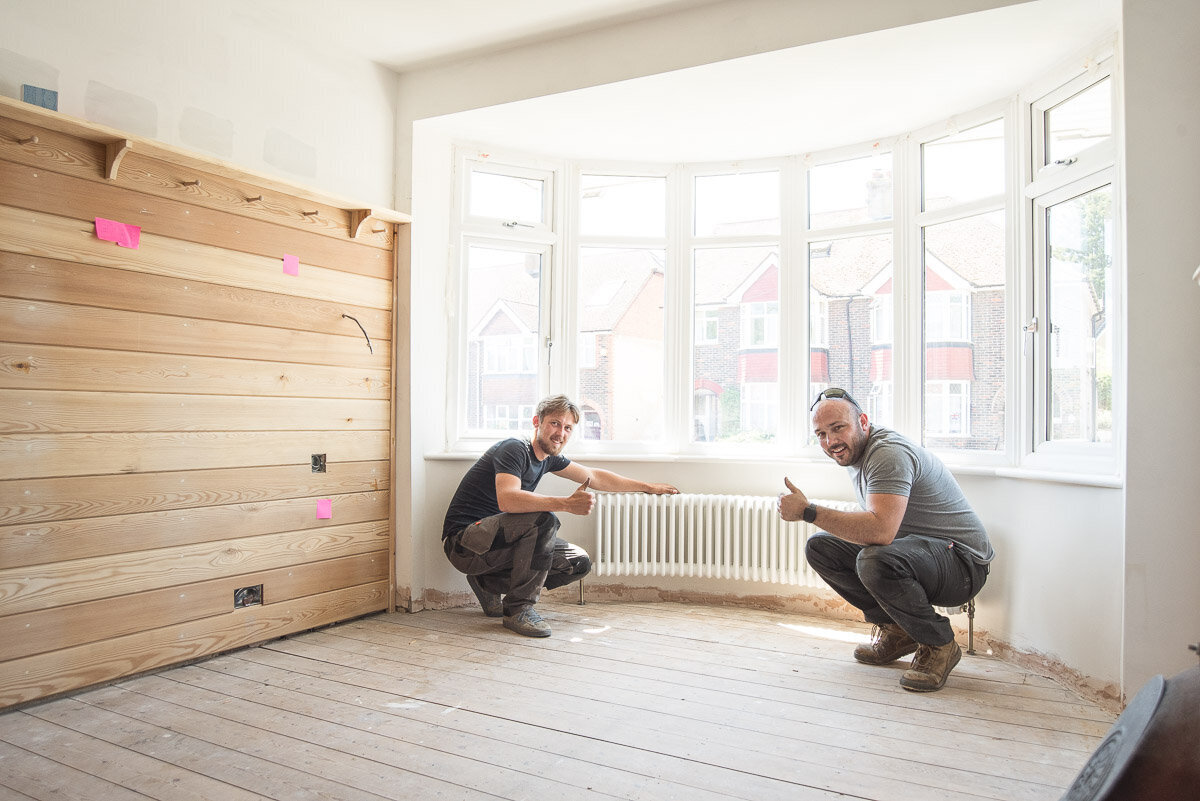
On the big day it took two men just over and hour to install it, we went out for the morning and left them to it (knowing full well how messy installing central heating is) whilst we snapped them on automatic! Look at these cheeky monkeys showing off in front of our camera!
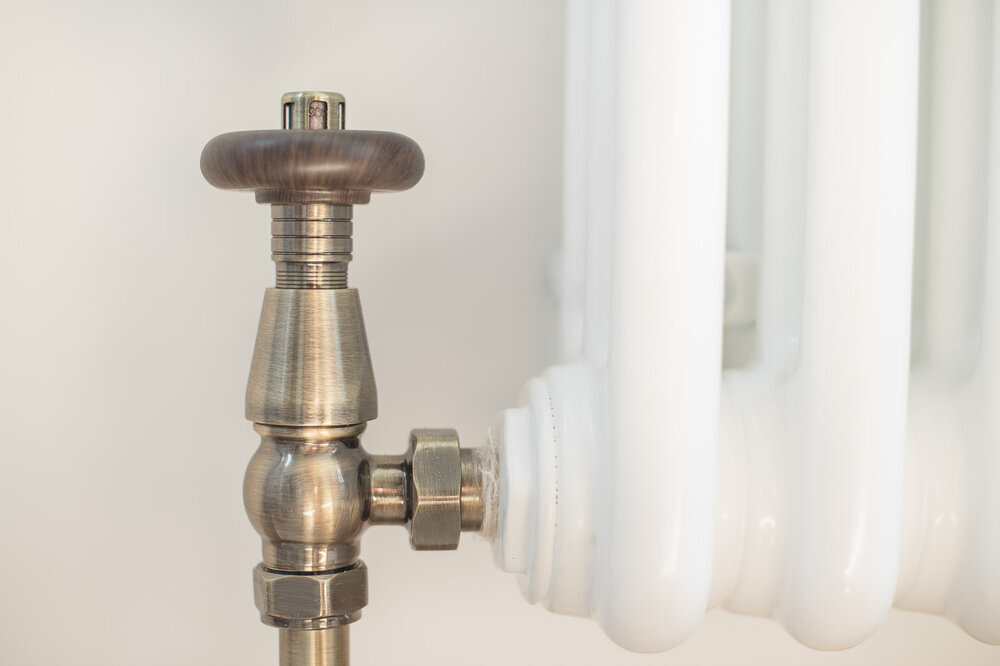
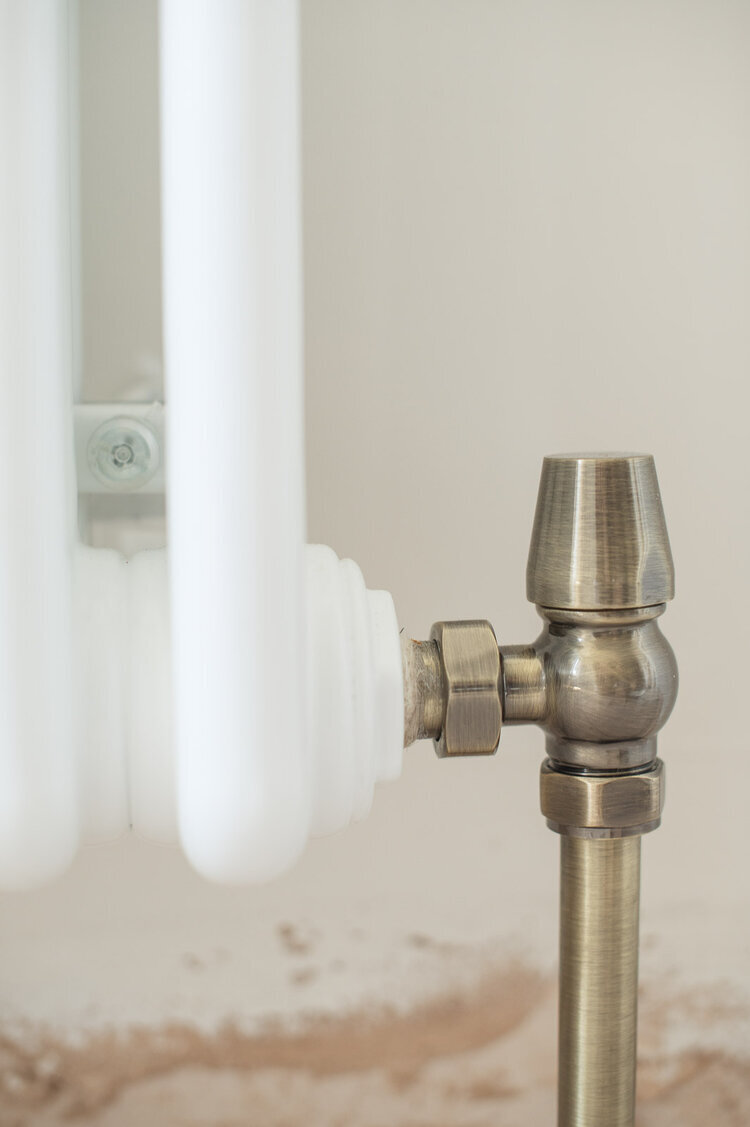
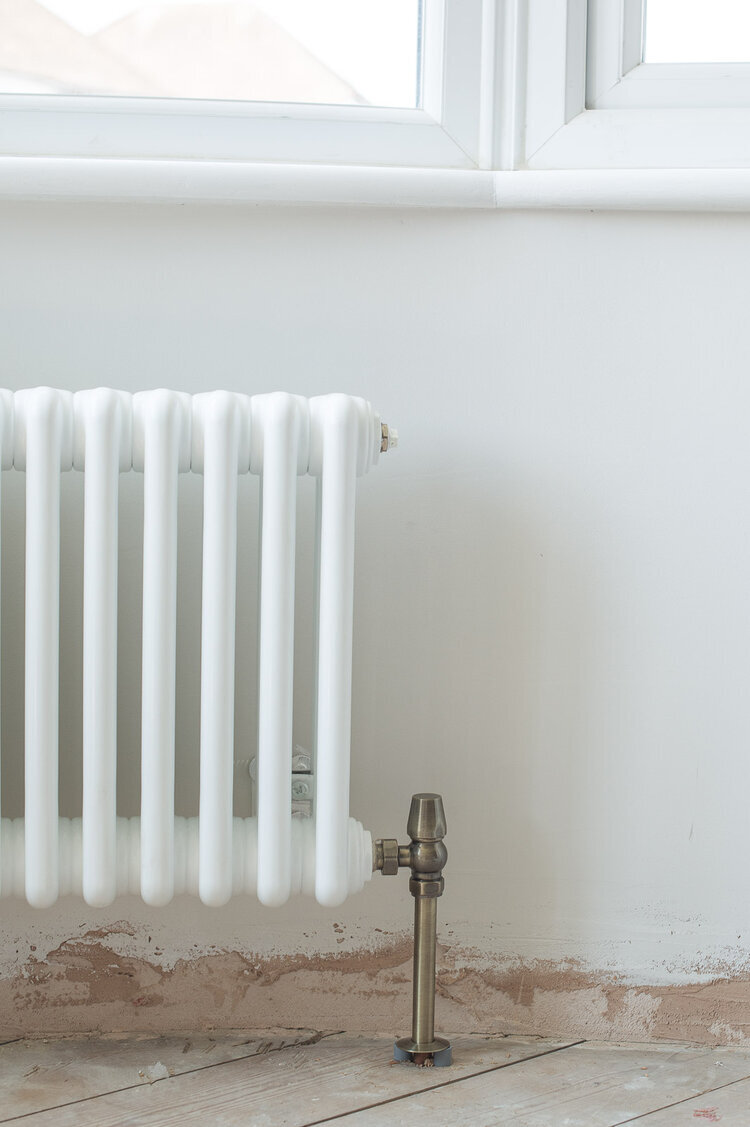
The metalwork/TRVs for the curved radiator
There are so many different options for thermostatic radiator valves and since the theme for the room is antique/brushed brass we were pleased to see that this was an option for us here. We wanted something a bit different in this room having previously had quite a lot of chrome in the house and inclusion of brass into our room design is giving us a different, warmer feel which is of course desirable for a bedroom.
When we started renovating decent thermostatic valves were like hens teeth, the ones available were always sort of plasticky-looking and emblazoned with red and white garish numbers. Thankfully times have moved on, and with these beautiful valves, each notch on the central column inconspicuously communicates the temperature control.
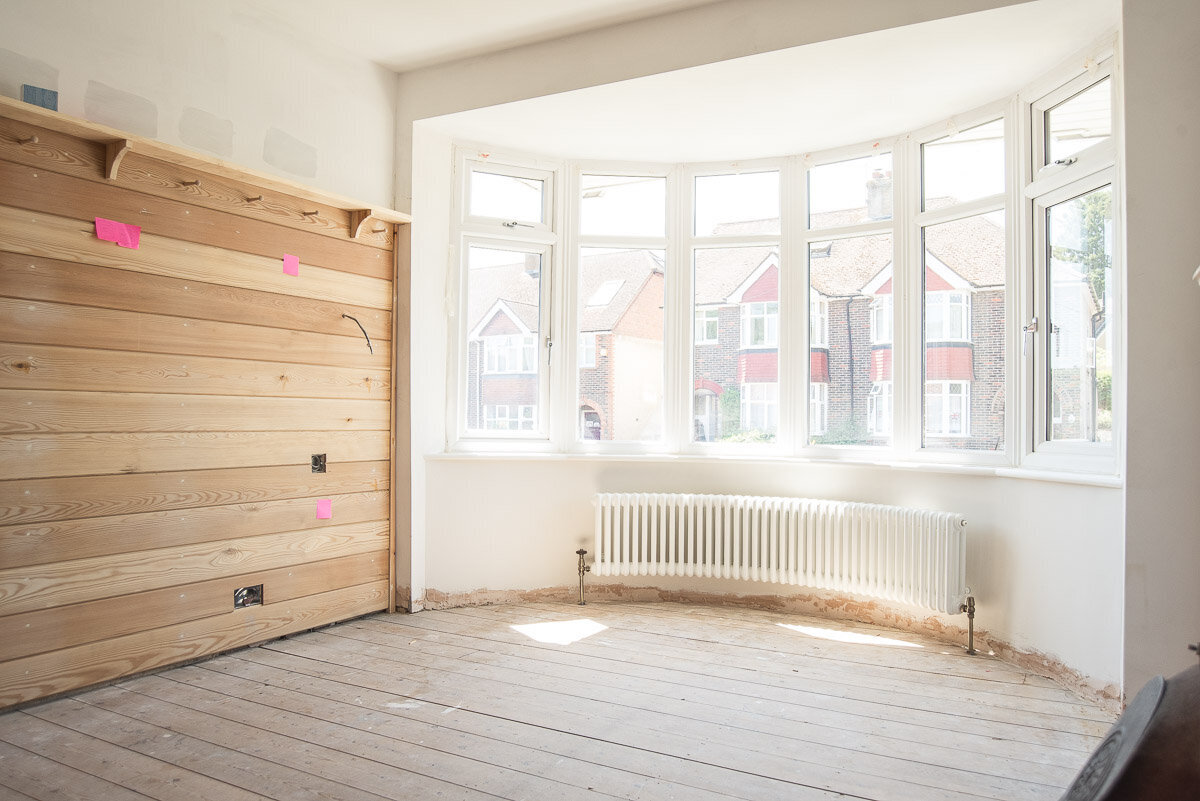
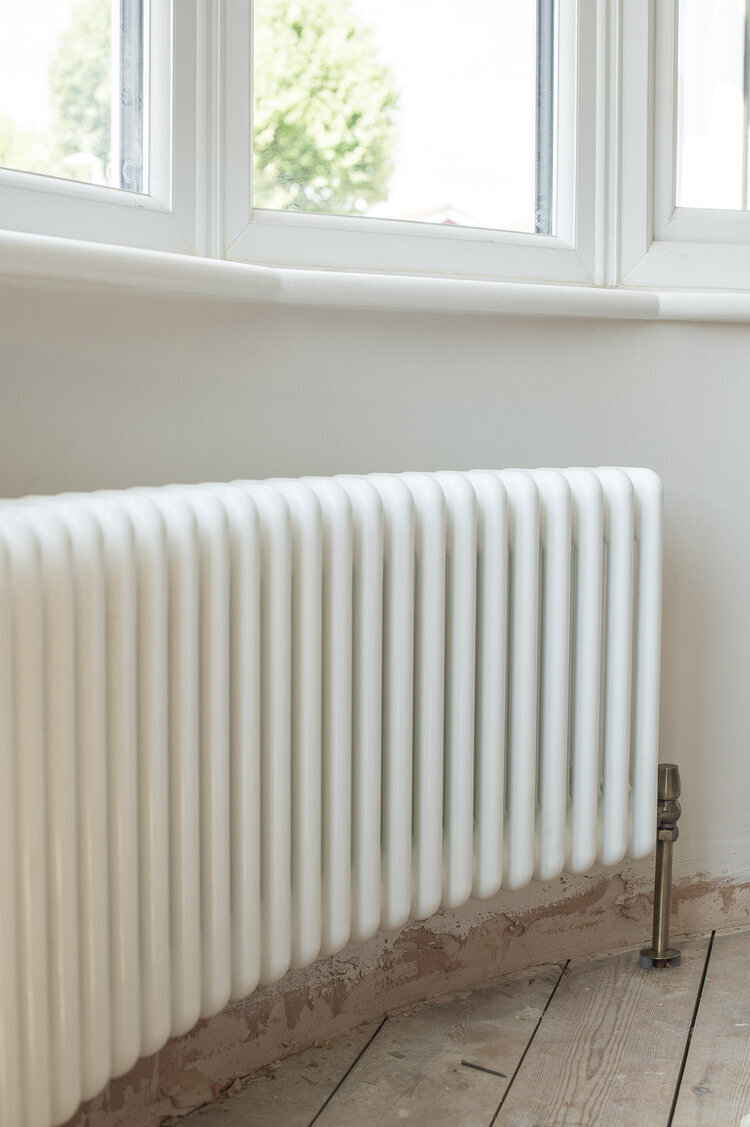
How the curved bay radiator looks
We are so happy with this curved bay radiator and the thermostatic valves, making the room come together - we cannot wait to see how it looks when the room is finished.
Curved bays are a bit of an oddity in terms of domestic architecture and can confirm we are now full converts to curved radiators which exploit that curve, enabling best use of the space.
Column radiators really are quite beautiful anyway and with that curve, well it just gives it that extra sprinkling of luxury….

We hope you found this post useful, if you did you then you can get FREE access to our Happy Home Club, sending you a fortnightly content to make your home life lovely.
Post Disclosure
We received a discount from Stylish Radiators to link to their website in this post. All opinions are 100% honest and our own.