How to visualise your layout ideas before you renovate

One of the hardest parts of renovating has got to be visualising your layout ideas to ensure that the decisions you do make are the right ones for your property value, your lifestyle and your budget.
As soon as you get an offer accepted on your renovation project, your conversation jumps to “we’ll knock a wall down here, extend out to here.”
The ideas keep coming. Trouble is, it’s tough to know how much each of your ideas will cost to create and it’s tough to visualise.

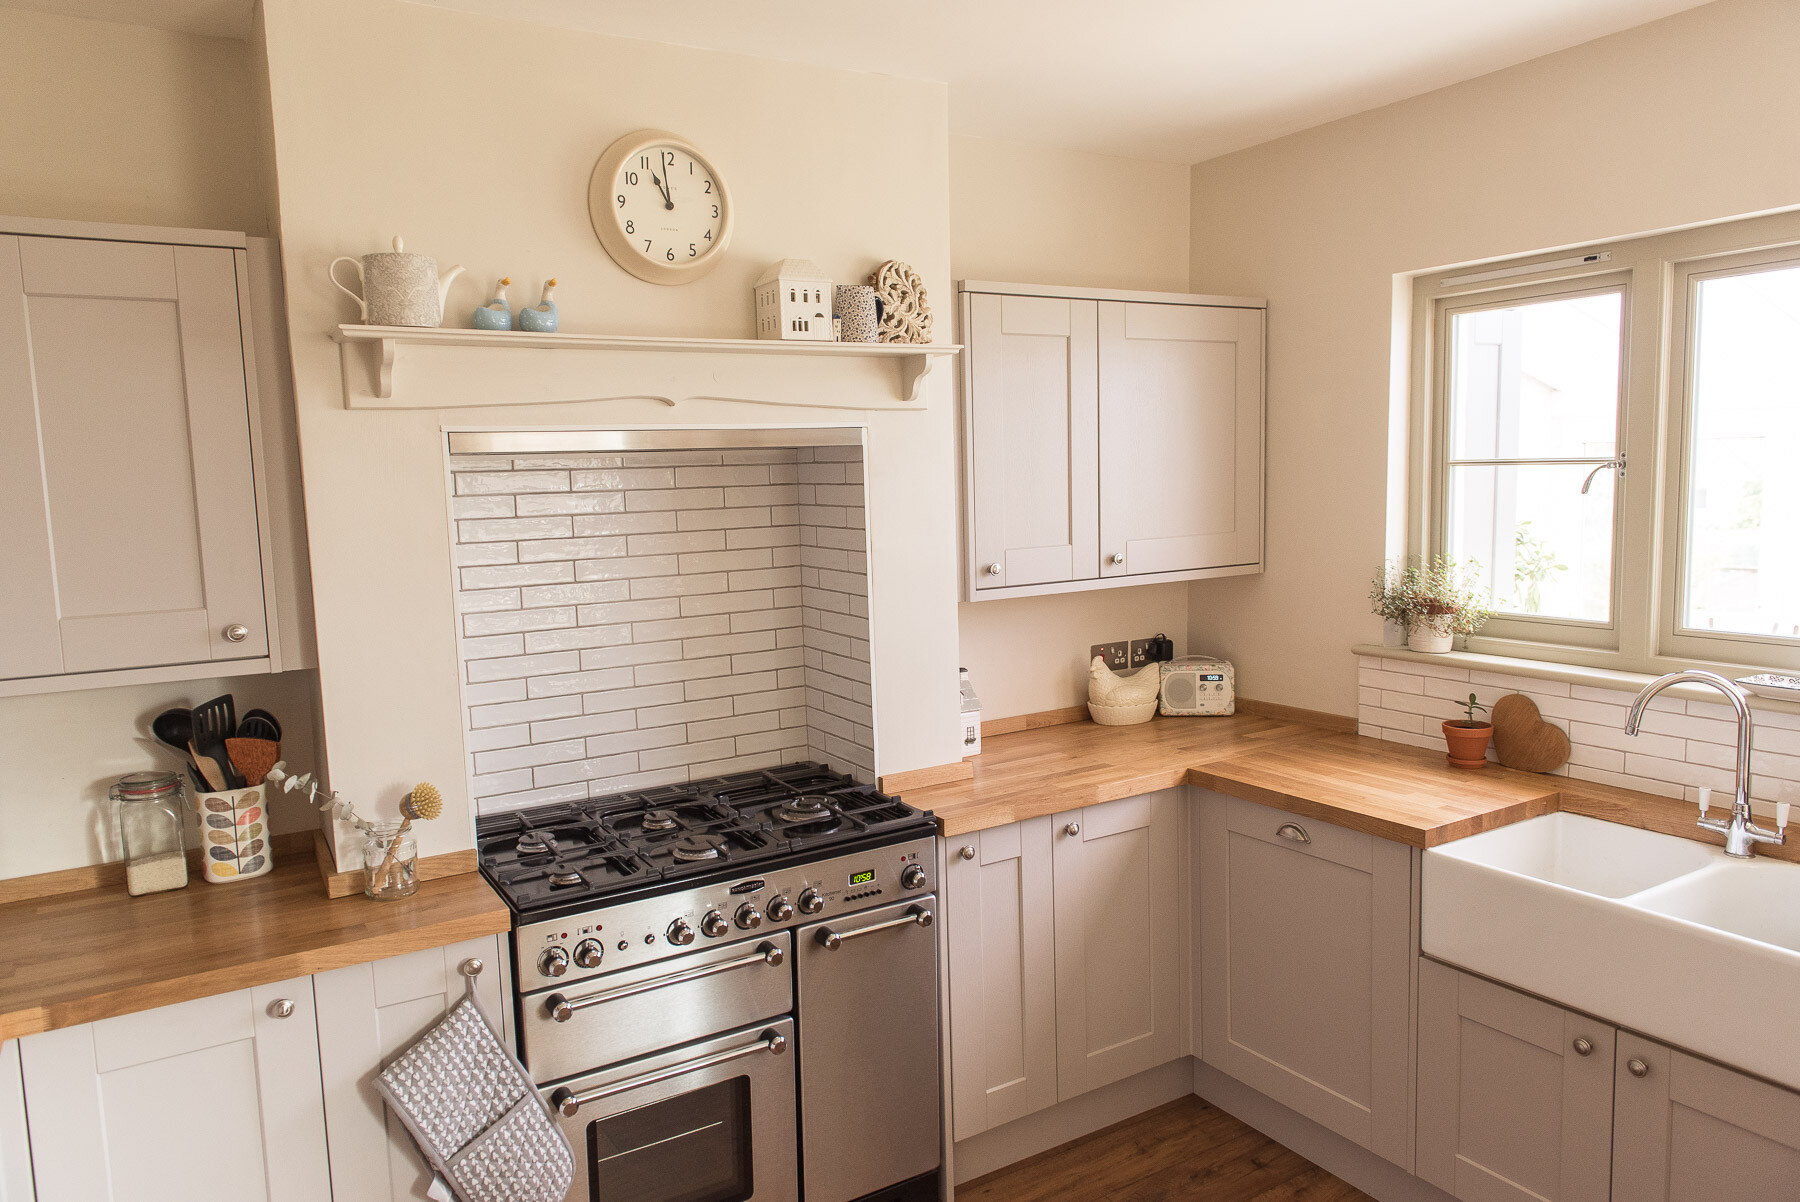
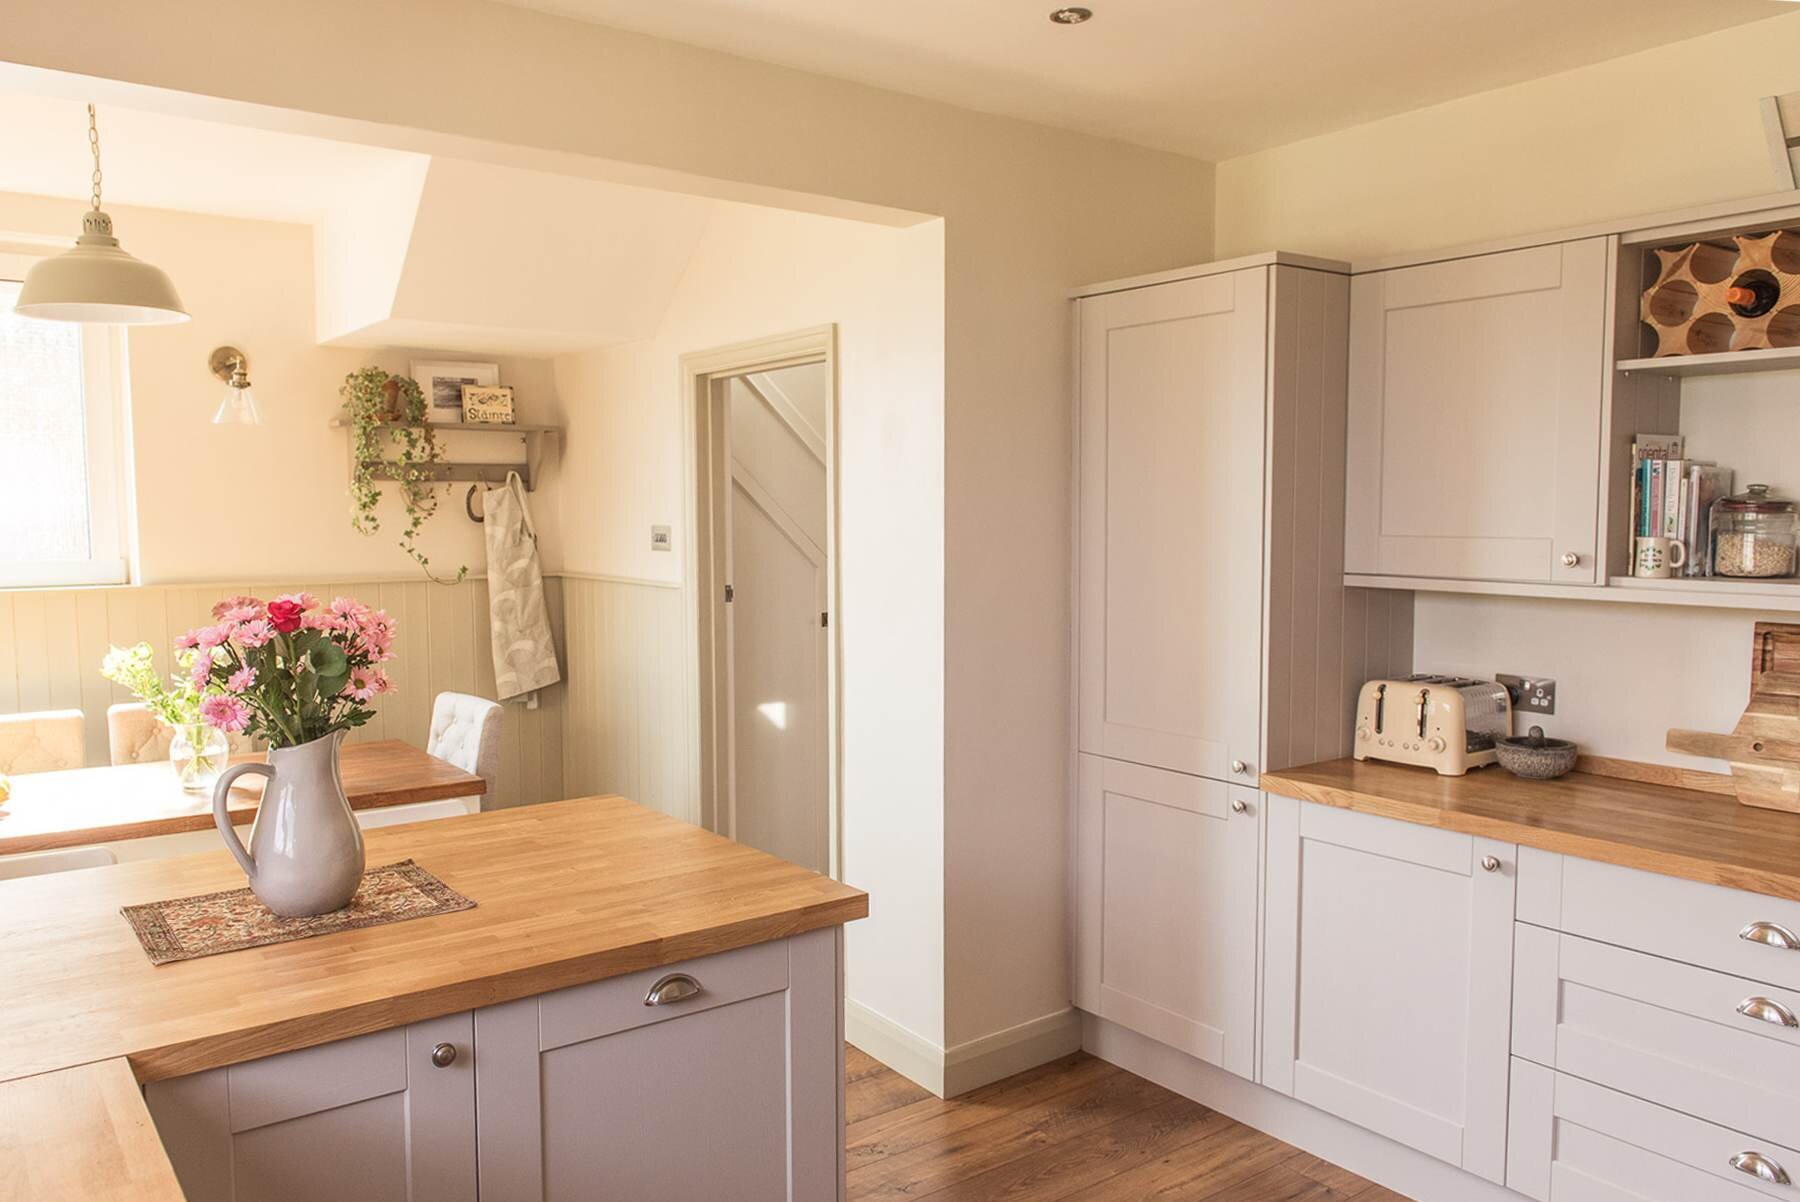
WE BENEFITED FROM 2D & 3D VISUALISATION OF OUR MASTER BEDROOM LAYOUT
“Should we knock that wall down and spend £XX amount?" or should we extend and spend £XX amount?”
“Will it be bright enough?” “Will there be enough ‘walkway’ space?” “Will there be enough storage?”
And the truth is, it takes years of developing properties to be able to walk into a building and make a fast decision on what will optimise its overall layout and what that cost would look like. It’s a skill you pay good money for in hiring architects and experienced designers.
But there are techniques you can adopt to visualise your layout ideas so that you can come to an informed decision independently.
How to visualise layouts
Over the years, since renovating our 1930s semi detached, working with over 500 students to renovate their houses across the UK through our online course and digital tools, and through my interior design studies I’ve learned practices that can help people to visualise ideas before they commit.
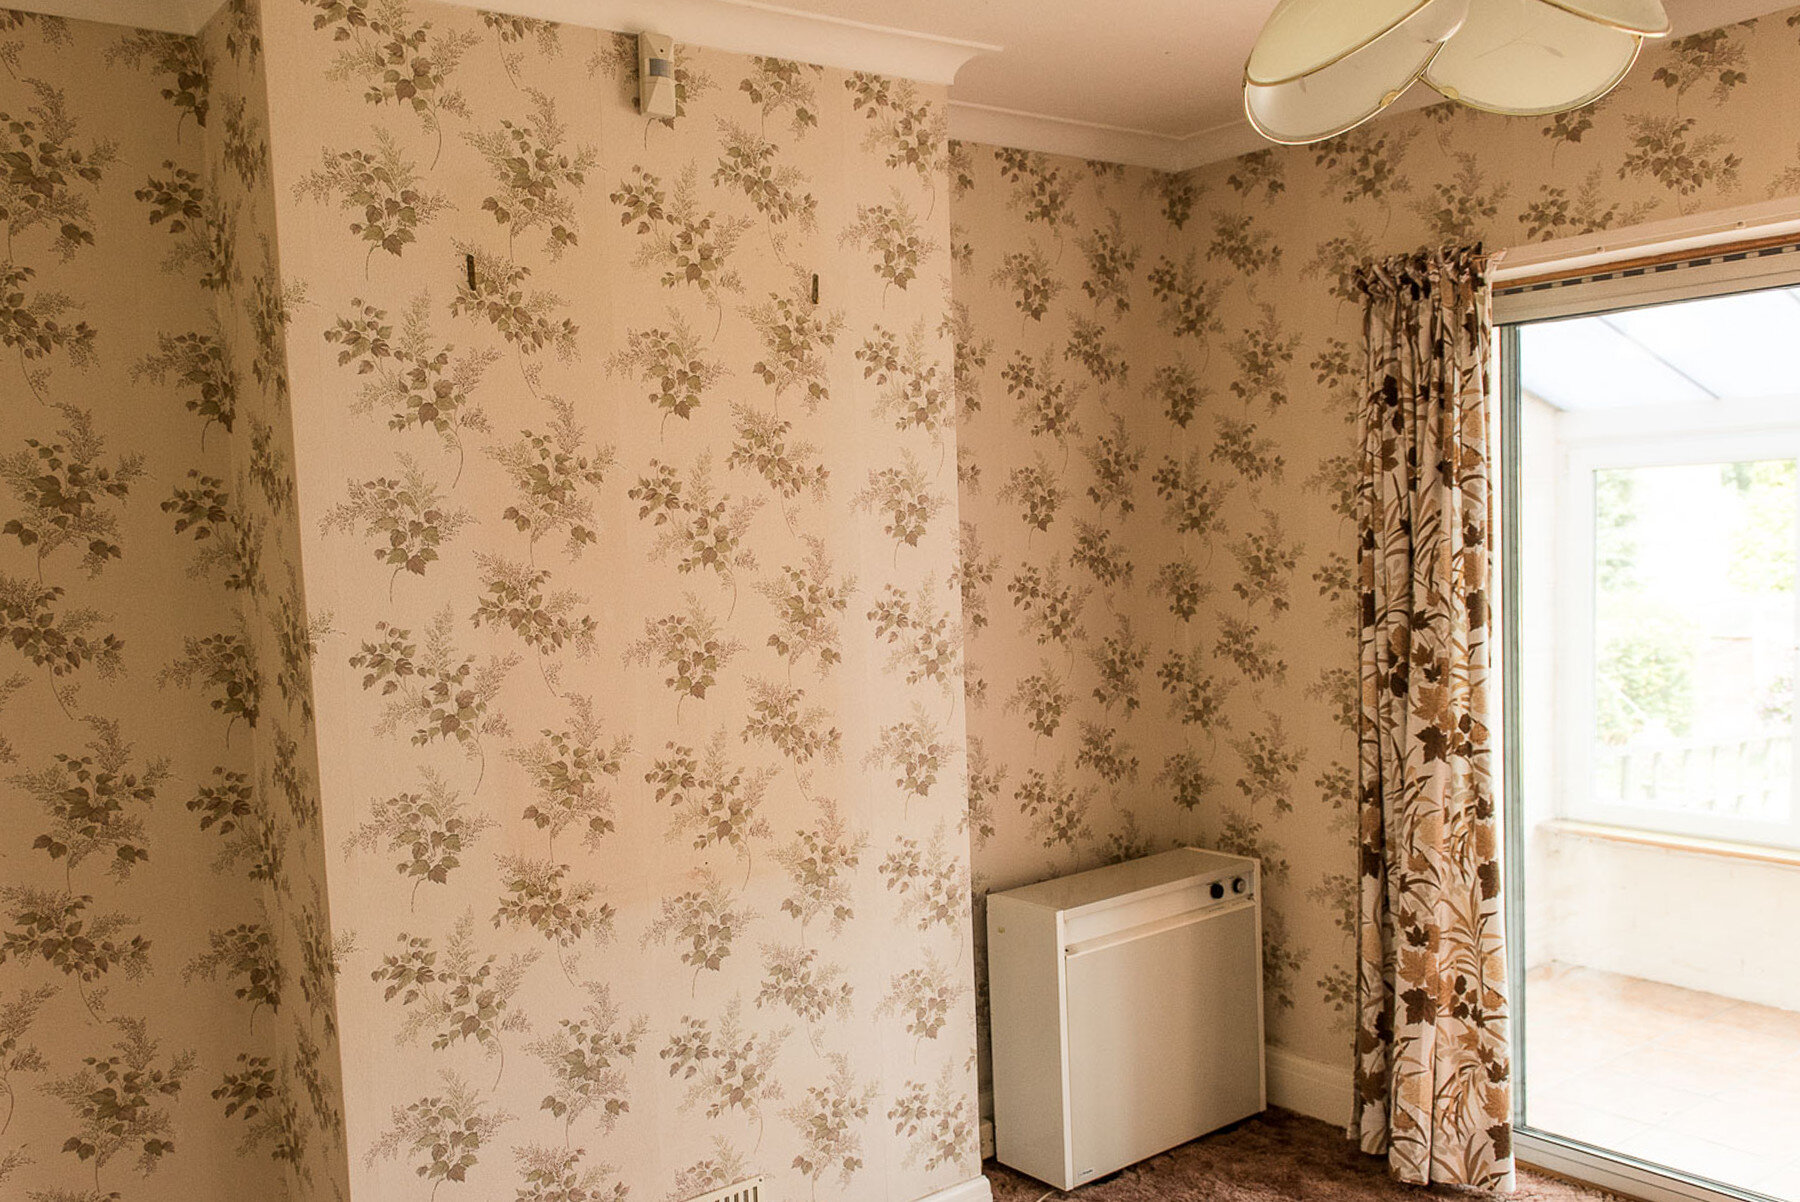
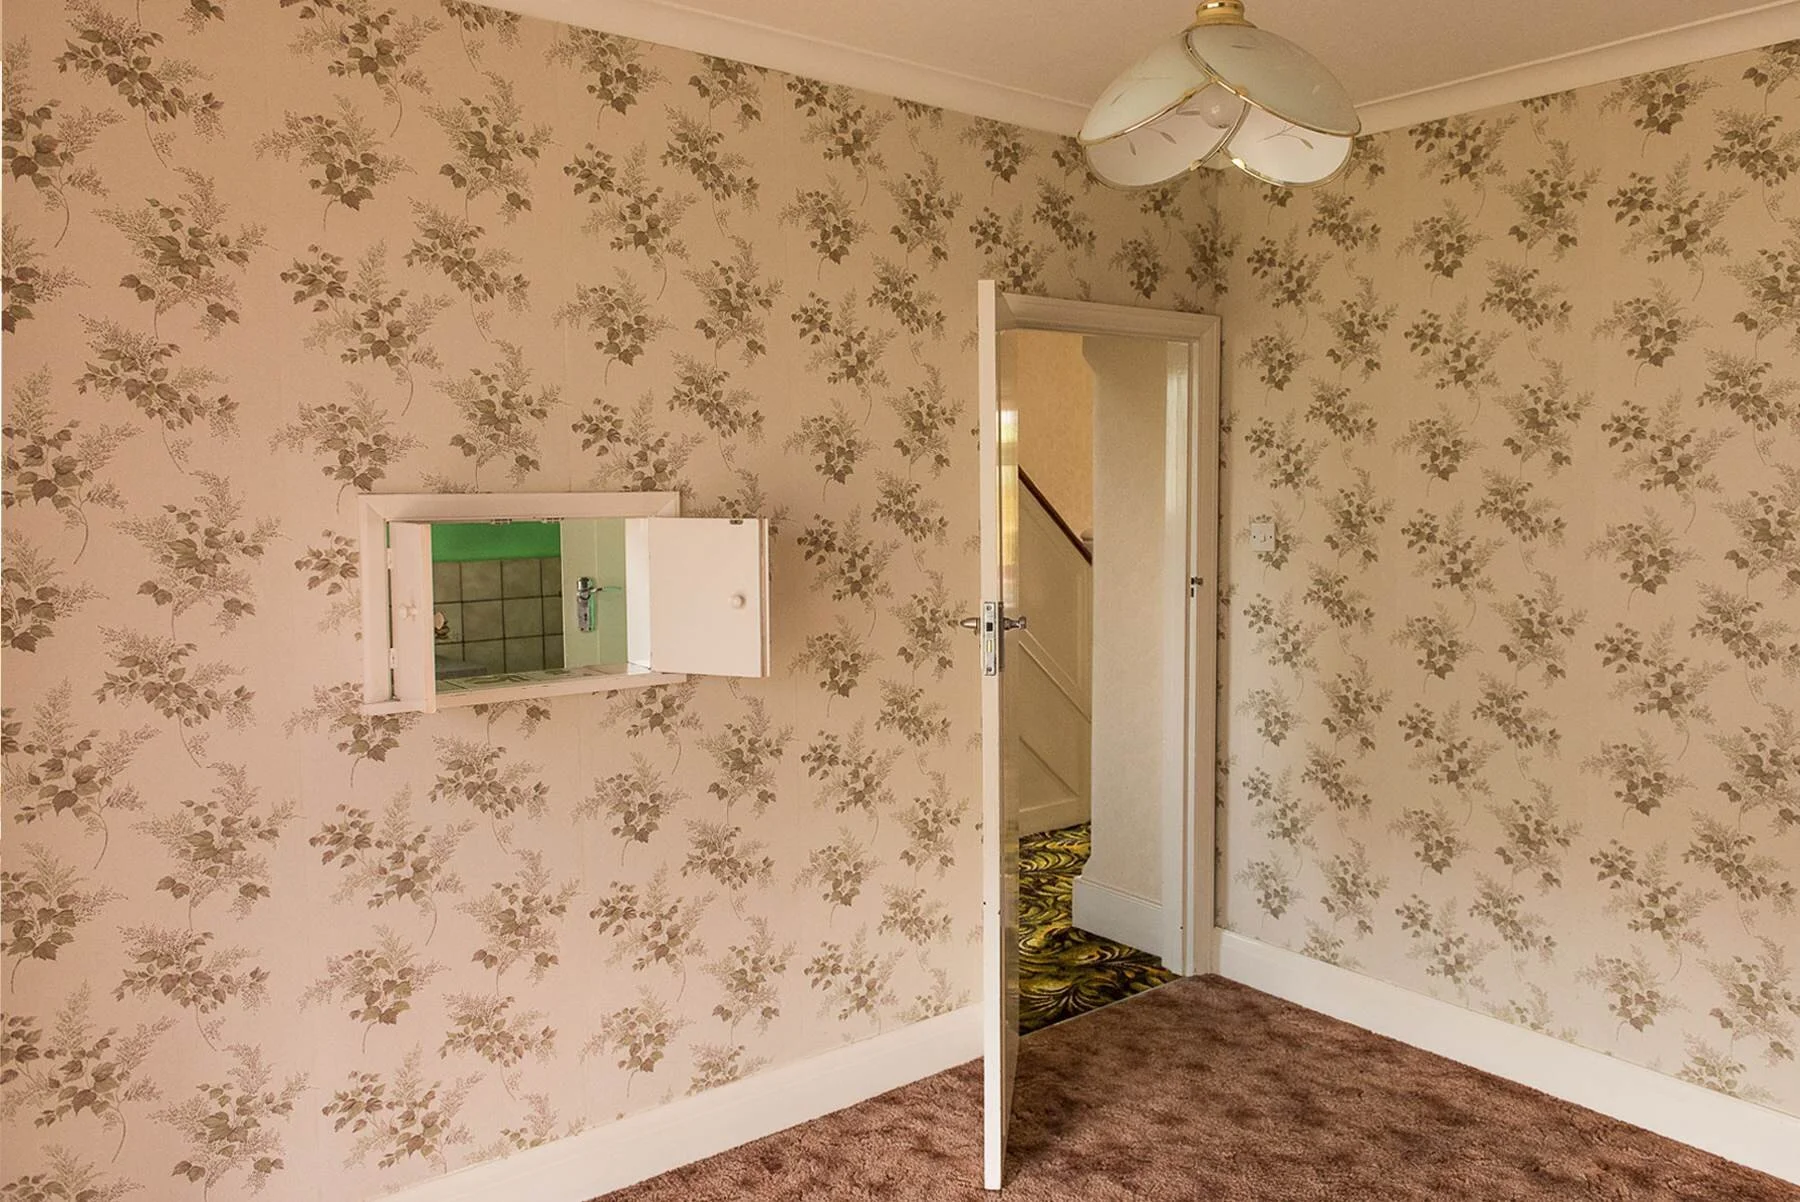
Yes, move aside crazy patterned wallpaper, shag pile carpet and huge storage heaters, there are ways you can visualise with a little bit of effort…
Some of these techniques are a little old school, others are life long skills that if you teach yourself, you’ll use again and again.
So let’s get into it…

1. Use masking tape to draw out your layouts on the floor and/or outside your property
This is an old trick that Neil and I used when we were trying to agree on our kitchen layout for this house. The room was empty which made it easier, but there was a giant wall in the way that was about to be knocked down. At the time it felt hard to visualise the space we were playing with. In fact, I seem to remember we didn’t have any masking tape in the house at the time so we used a ball of string!
This exercise helped us and it is simple. Use masking tape (or string!) to mark out on the floor, patio, or side/rear of the house, how you want the layout to look. Mark where the walls will be (if applicable), where the units could sit, where the furniture, island, breakfast bar, or even the loo! will be.
For an extension, measure up and do this outside. Just don’t let the neighbours see you pretending to be on a toilet 😂
For indoor layouts, do it for every room in the house.
You’ll quickly find where your “pinch points” are in terms of room to walk around, leg space and you’ll have some fantastic conversations about the things you may not have thought of, such as drainage, where the sink could be placed, how much leg room there is under the breakfast bar, or whether you have enough room for a 4 seater or 6 seater table.
2. Learn how to draw to scale, it will increase your confidence with decision making

It’s only in recent months I’ve learned how to use a scale ruler to be able to draw dead accurate layouts for homes, and honestly, I wish I learned this skill sooner. It’s through my Interior Design training I’ve been able to learn this. The confidence it has brought me when it comes to understanding possible layouts for clients, with the correct dimensions in mind is endless. I am able to quickly hand draw a room to scale, and furnish it all to scale in under 15 mins per room. During which I get to understand more about the room, about how things will fit, and I can quickly assess whether there’s enough space to place furniture or units, then use this to visualise the layout in real life.
Not only is this a skill that you will take with you through life if you learn it, but it could also help you work on your renovation more efficiently... which could potentially save you time, and money.
For example, if you’re appointing an architect or a designer, you could save them a lot of time in revisions by being able to quickly draw ideas yourself and present to them to clearly communicate what you want. Sketching is faster than CAD software and if you’re paying for revisions by the hour, it will save you money.
Same goes for if you’ve just had a kitchen or bathroom design back from a potential supplier. Sometimes things just don’t “sit right”. Being able to draw to scale will allow you to quickly test alternative solutions rather than depend on back and forth with the supplier.
I now teach students this skill in our Home Design Lab course as it’s been so valuable to me. I also share Common UK household measurements guides for them to follow with average unit sizes, rules of thumb for designing and more.

3. Use websites like Floorplanner and RoomStyler to build your ideas on screen
I currently use Sketchup to digitally draw 2D floor layouts and 3D rooms to scale, which is a very robust and intelligent piece of software. You can do anything on it. But I wouldn’t advise using this if you’re just starting out doing a renovation as there are far faster tools that are free to use which will be easier to learn to use and give you the results you need.
Floorplanner is a current favourite. You punch in your measurements of the room, draw the walls, windows and door, select a floor and away you go. The interface is simple to use and it’s easy to drag and drop items into the 2D and 3D view to help you visualise the layout. Play around on it, give it a go!
4. My final tip is to tune in!
Getting all hippy on you now, but this is a big part of the creative process when you’re trying to design a home and something every interior designer or architect will be doing when they come to visit your property.
Every single building is unique, with different quirks and challenges they present. Every single person living in that home is unique, with different wants and needs for the rooms. Sometimes one of the best things you can do if you’re planning a kitchen or bathroom layout, or if you’re knocking down walls and rebuilding, is to sit in the room (with a cuppa in hand!) and just tune in to the house and your lifestyle, and imagine how it could be.
Literally imagine things as detailed as you can. Visualise things like, where you’ll be washing up and what will be in your eye line when you look up to grab the washing up liquid, or what the layout will do for you when guests visit, or when your kids get older and need space to do their homework. Tuning in is such a great exercise to do daily as you renovate a place. Really try to picture every task you do in your ‘new world’ and try to note what works and doesn’t work.
In conclusion
So as you can tell from the above, there are a few different ways to visualise layout ideas before you firm up decisions. Some you can try out today. But what’s most crucial of all, is giving yourself time to sit on your ideas so that you are at least 95% confident it’s going to be right for you, the people you live with and the property. If you want to get even more help you can join the waitlist for our Home Design Lab course.

Stuck in an interior design conundrum?
We’ve got the expert know-how to make it a DREAM!
How to Design Your Dream Home is our FREE 3 day email series which covers the essentials to help you sail through the highs and lows of your home design journey.
Tell us about your project! Which room(s) are you deciding the layouts for at the moment? Have you tried any of these techniques?
Fi (& Neil!) xoxo
