Lightwave switches: A review of smart electrics for the home
Disclaimer: We accepted products in exchange for coverage, all opinions are 100% honest. This post contains affiliate links which means we may obtain a small commission from any products ordered through the links.
How we used smart electrics for the home to simulate sunrise
More than a decade ago, I woke up on a winter morning, it was probably a Monday. I had a realisation; I was always groggy as hell when I woke up.
Being in my mid-twenties, the three gallons of ale chugged down on an empty stomach after work on the subsequent Friday might have had a small part to play in how I was feeling, but after a bit of research, my overriding conclusion was that it was due to seasonal affective disorder (S.A.D.).
S.A.D. is ‘a thing’ that people know about now but back then it was fairly unheard of. I discovered that this groggy feeling was being caused by waking up when my silly body clock was telling me it was still night time. Nope, just a standard UK winter morning.
I soon uncovered the benefits of the so called “sunrise simulator” alarm clocks which were a pretty new-fangled thing at the time. Based on the fact that humans naturally wake up with the sunrise, I spent the next decade reaping the wakefulness-inducing benefits of these devices.
The main problem with most sunrise clocks is that they look bloody awful (the most plasticky piece of budget tech you could introduce to a space) and have various issues like too-bright tacky displays or an alarm sound like a Nokia 3210 and a fire alarm spawned a devil brat.
The opportunity
When we started our master bedroom renovation I had an opportunity. I wondered if I could build some kind of solution, I went into full on inventor mode, creating a plan in my head to build a dimmer/timer contraption that I could plug some stylish lamps into. I would then sell it on Amazon because it was so intuitive and become a multi-millionaire!
That’s when I discovered that this idea not only already existed but it was way better than my idea.
That idea was Lightwave.
We reached out to Lightwave and asked them if they would like to collaborate on this project, and it turns out they loved our idea, plus my requirements were all possible. And they delivered on much more actually, which we’ll cover later on.

The electrics install
Our bedroom was a blank slate so we could do whatever we wanted with our electrics. If required, we could also install smart Lightwave switches into our other finished rooms too (or even sockets for that matter), it’s a case of a quick job of swapping the switches over.
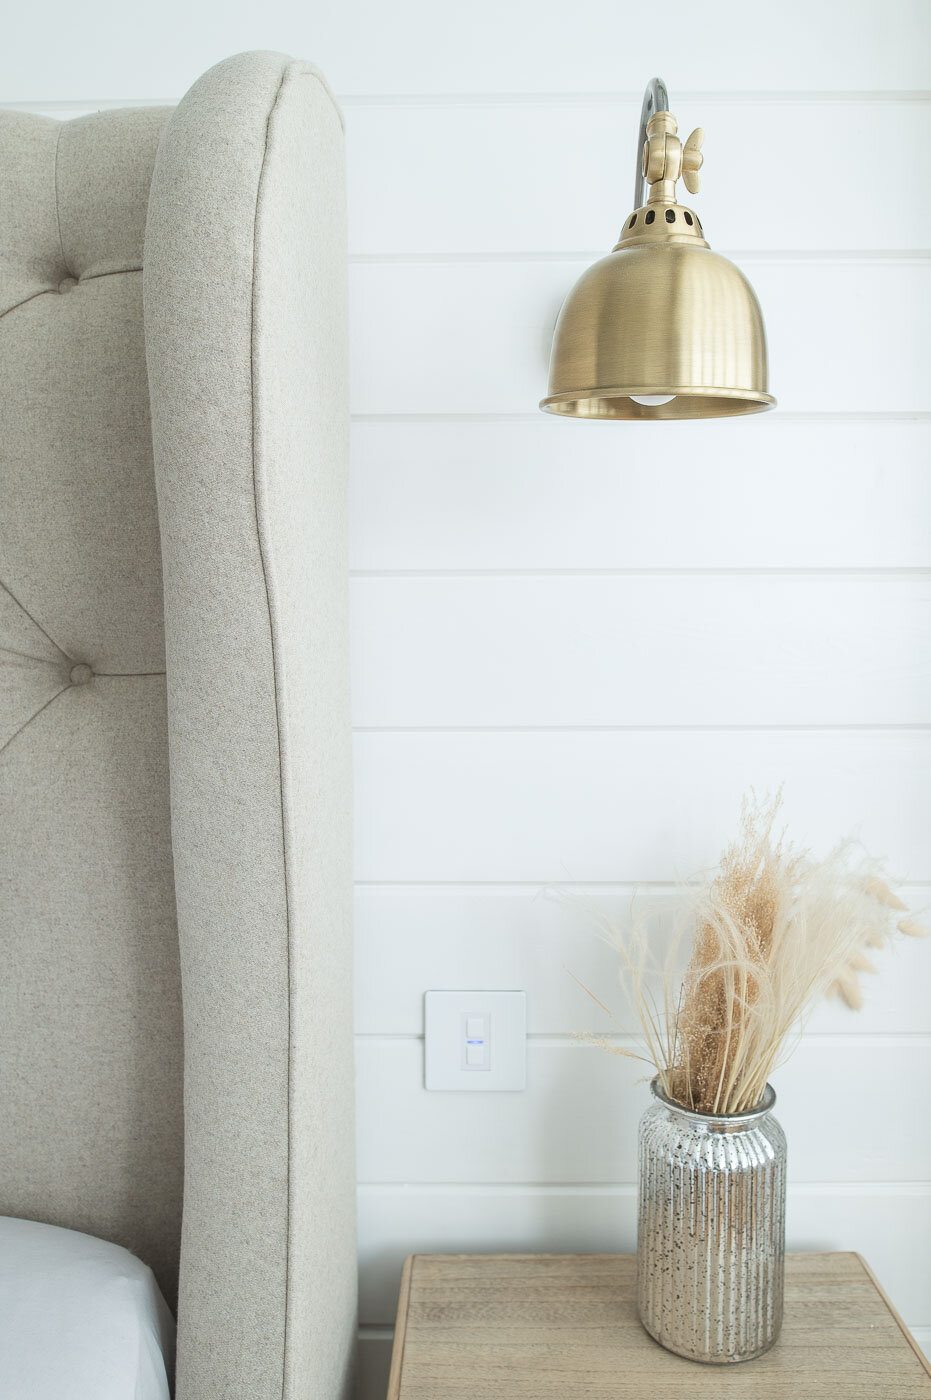
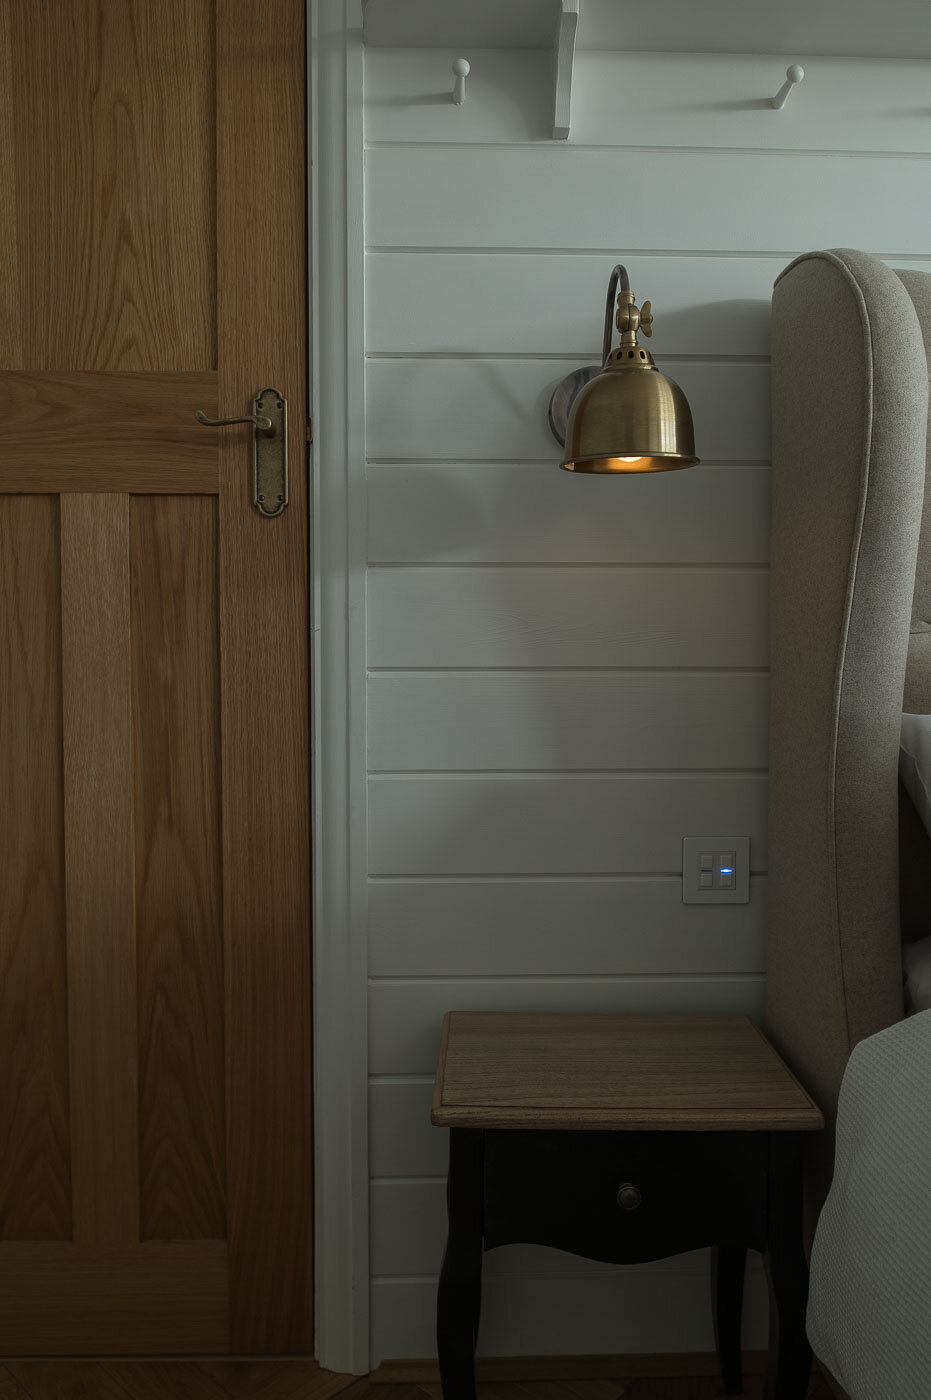
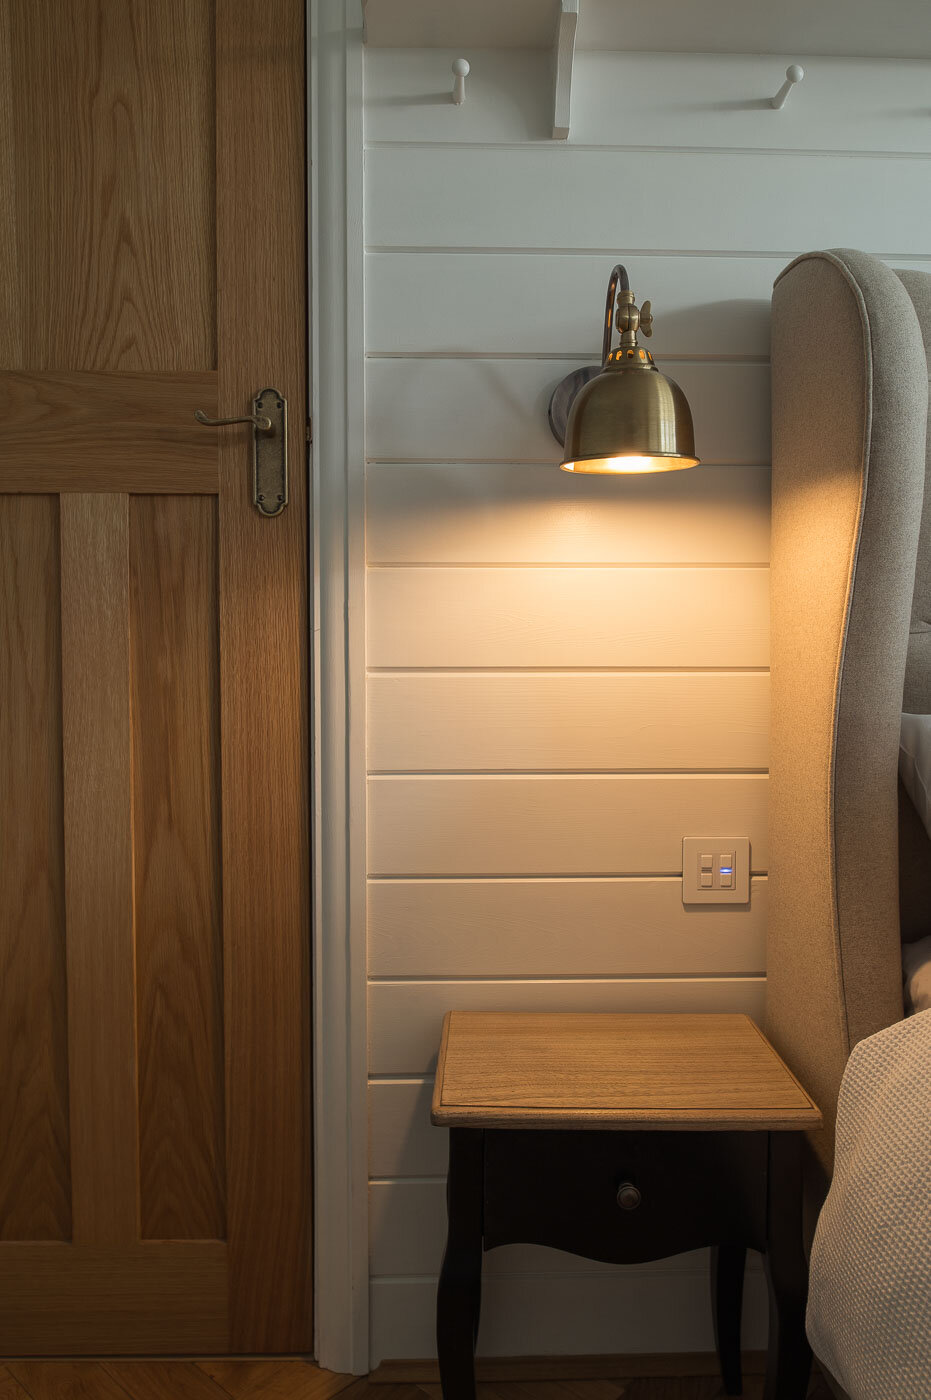
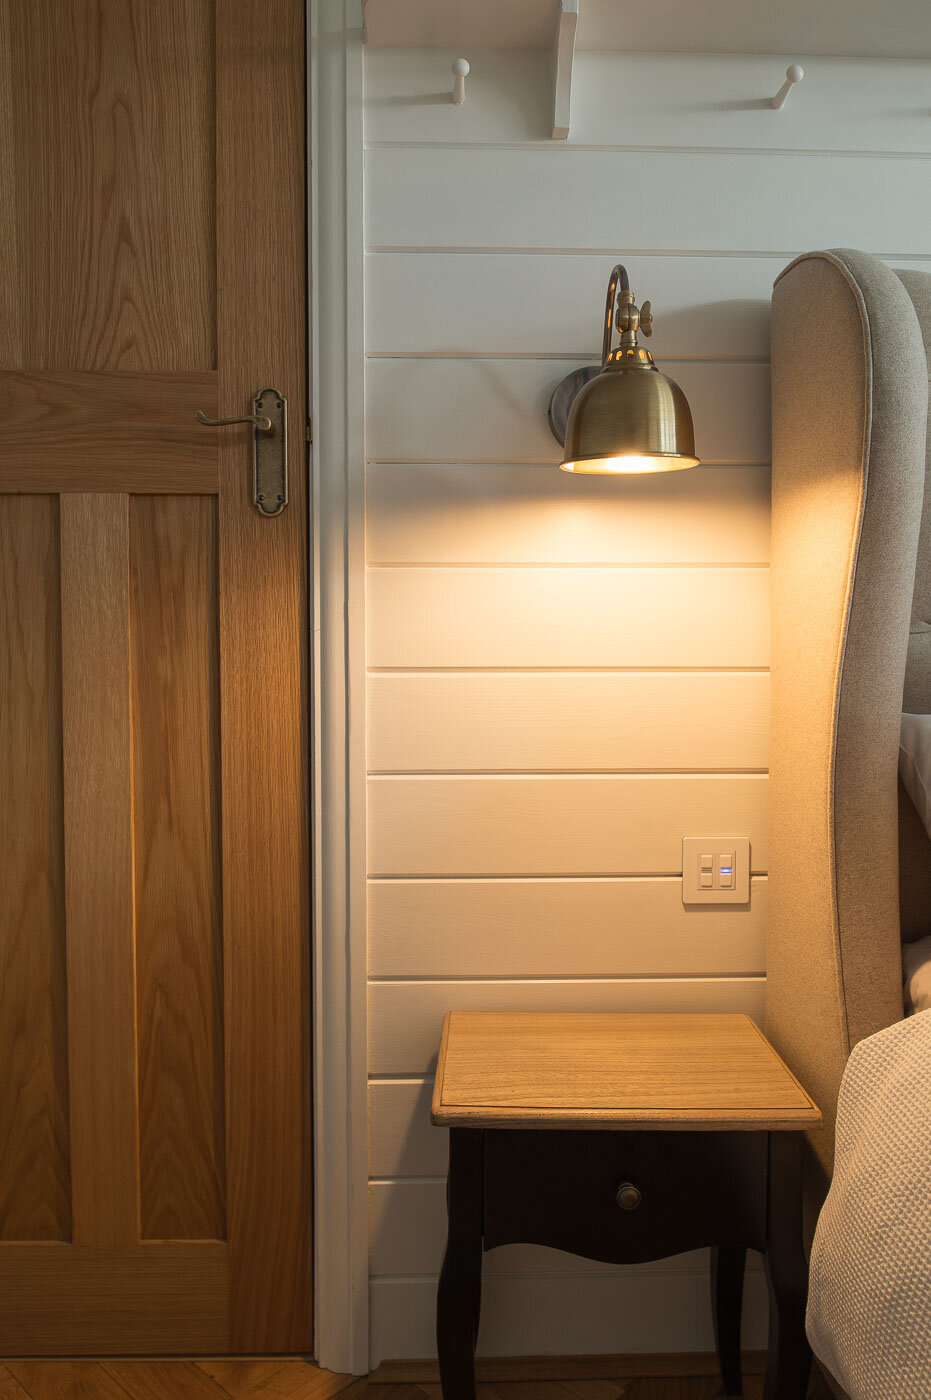
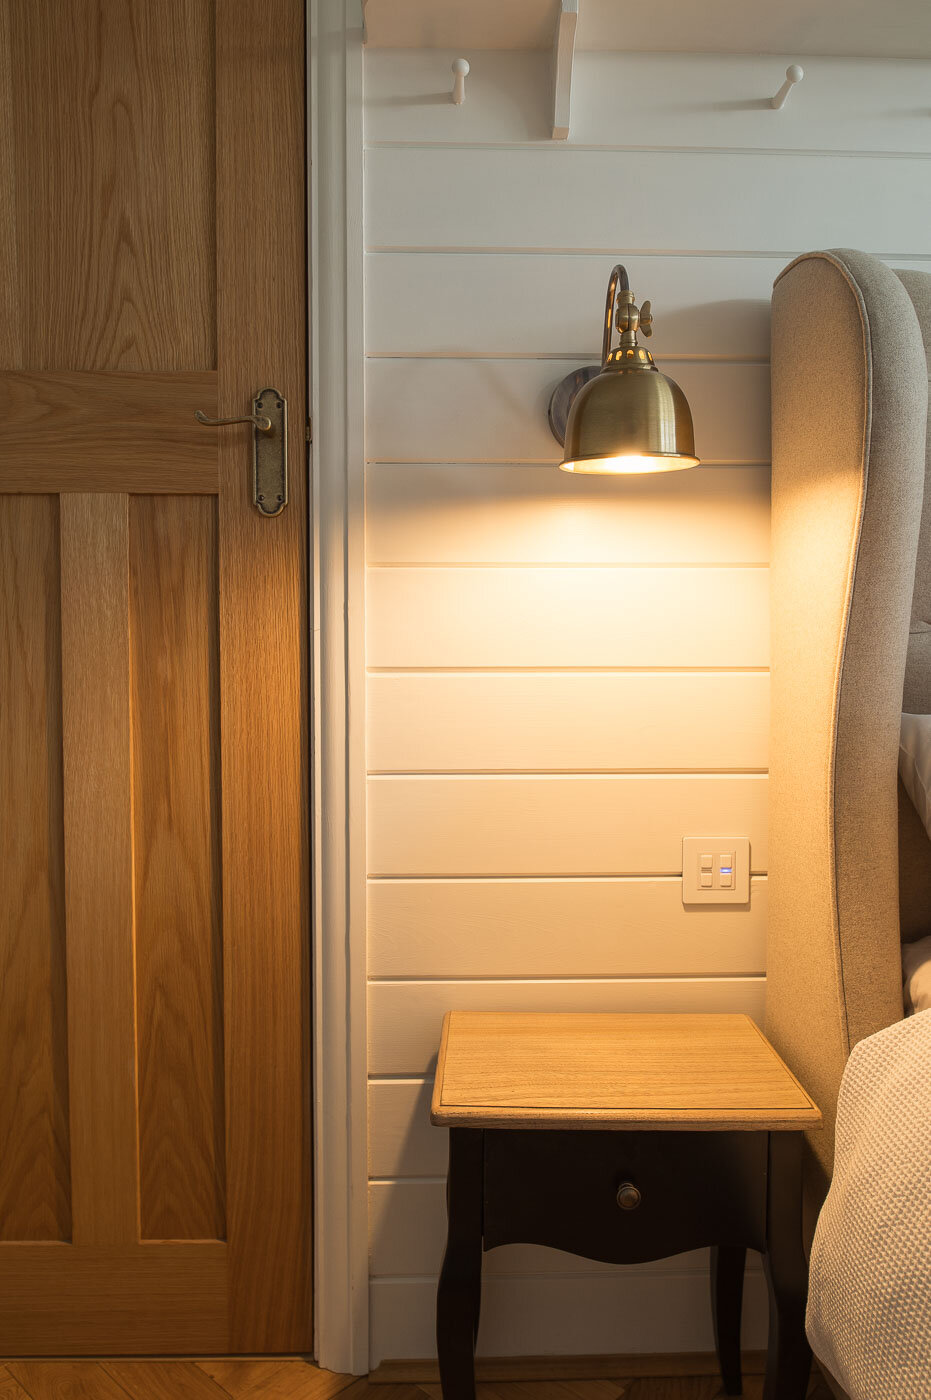
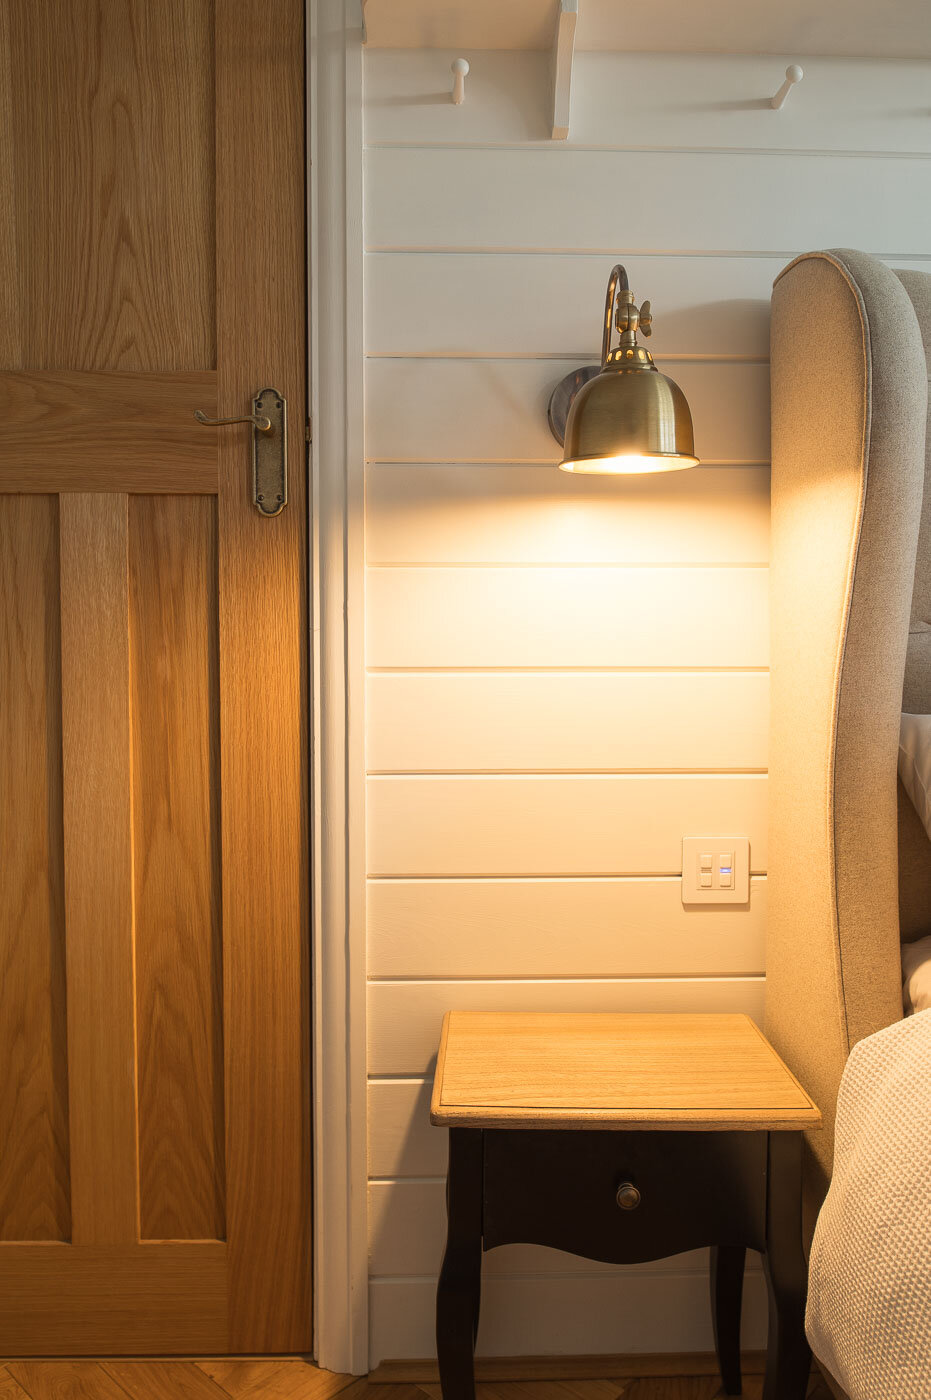
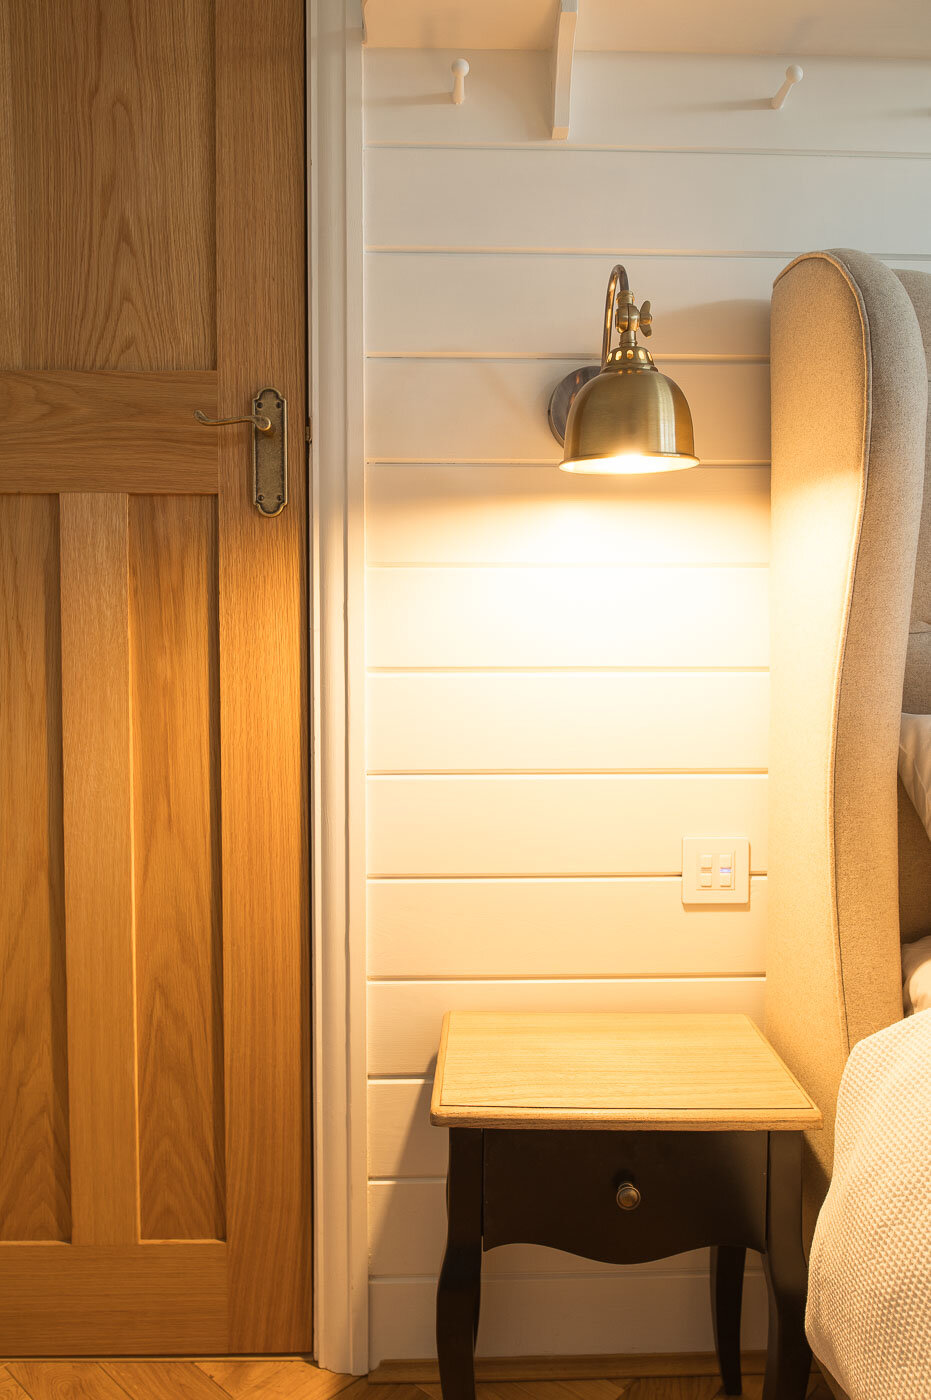
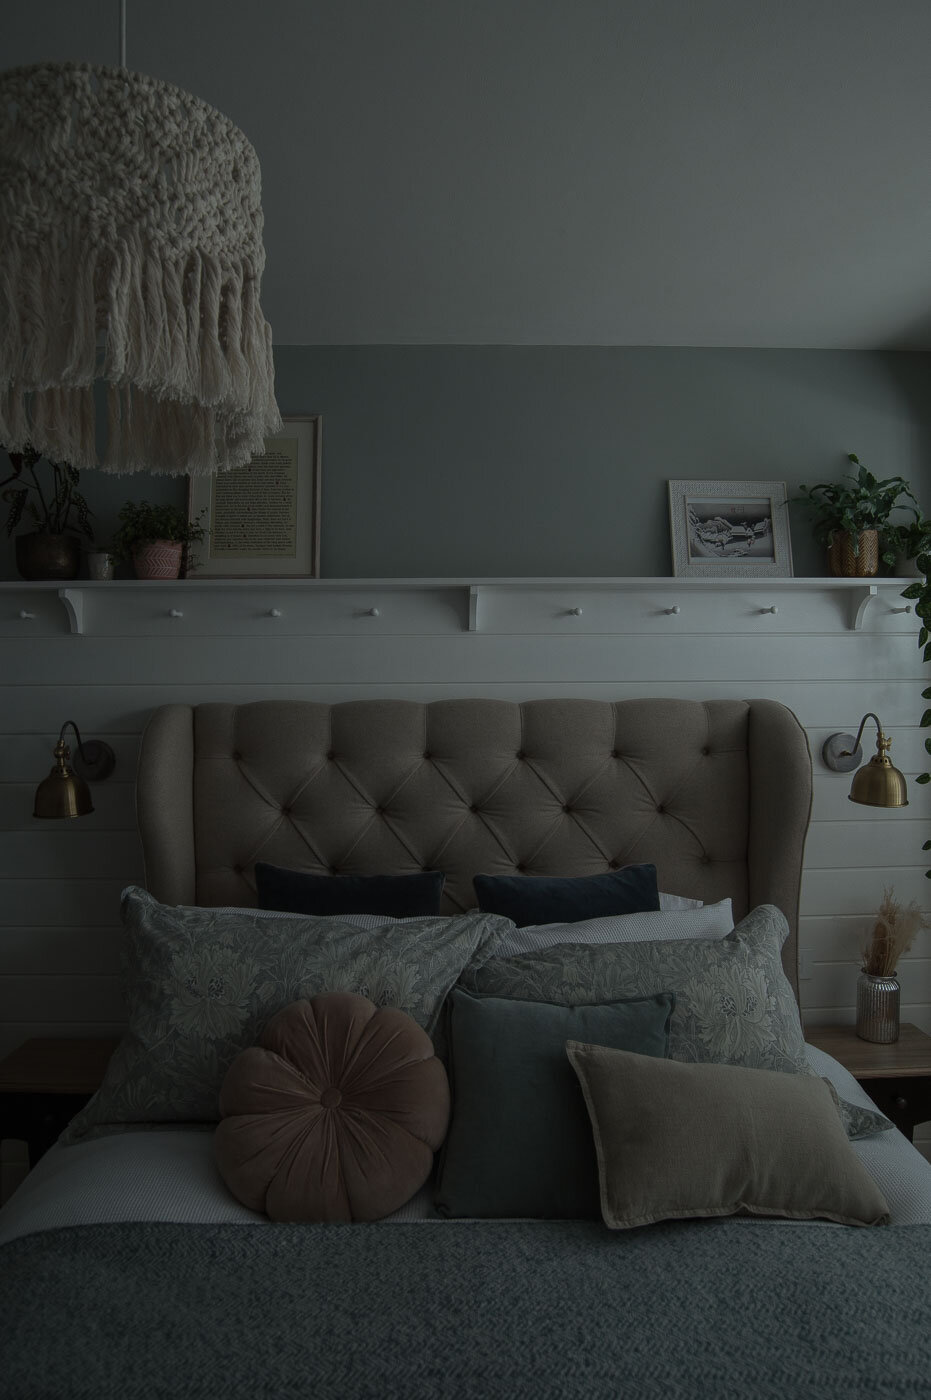
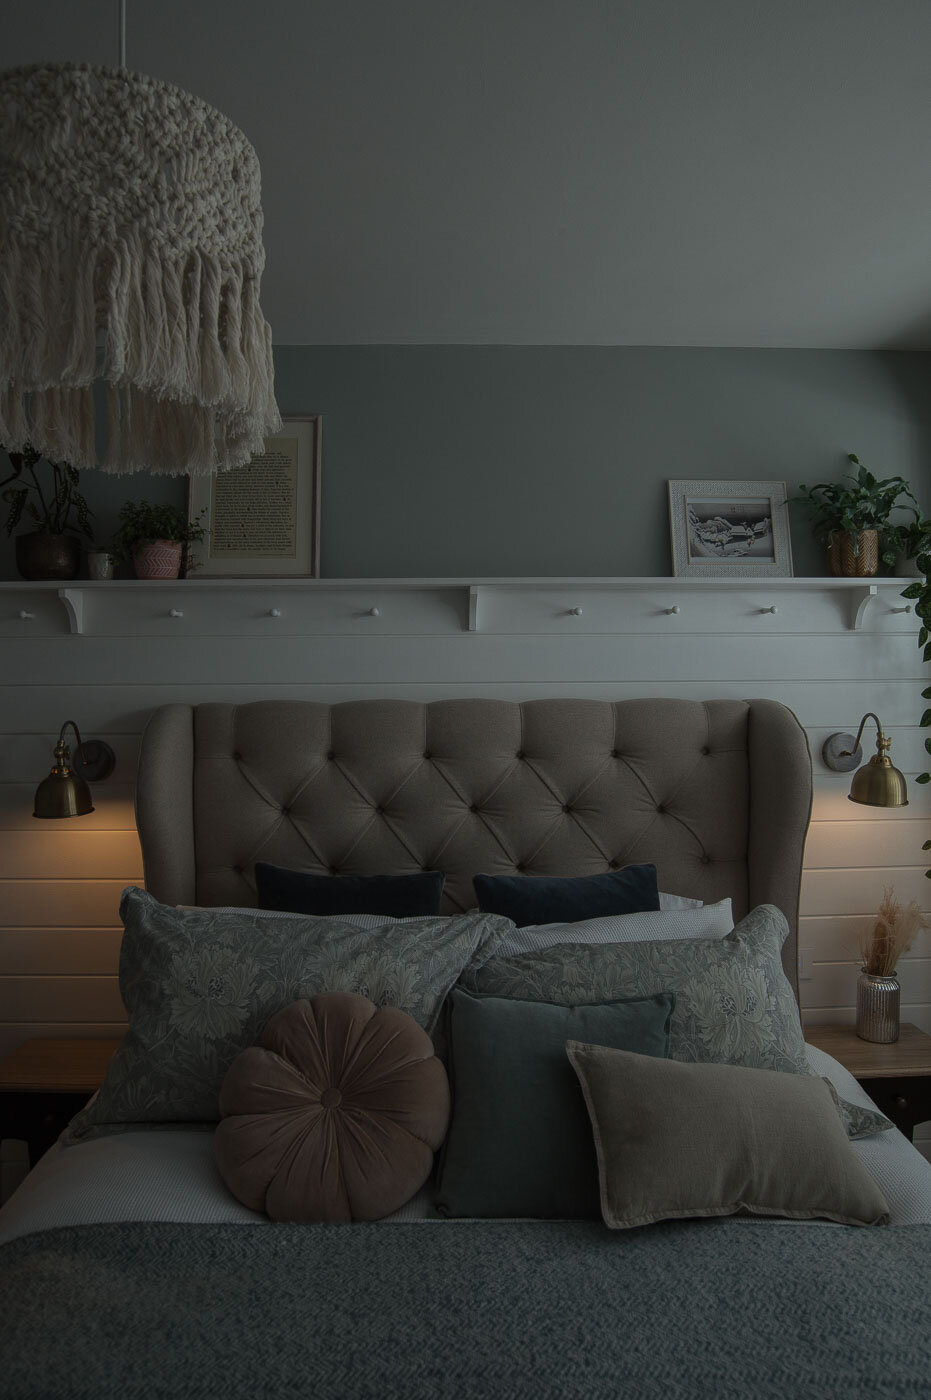
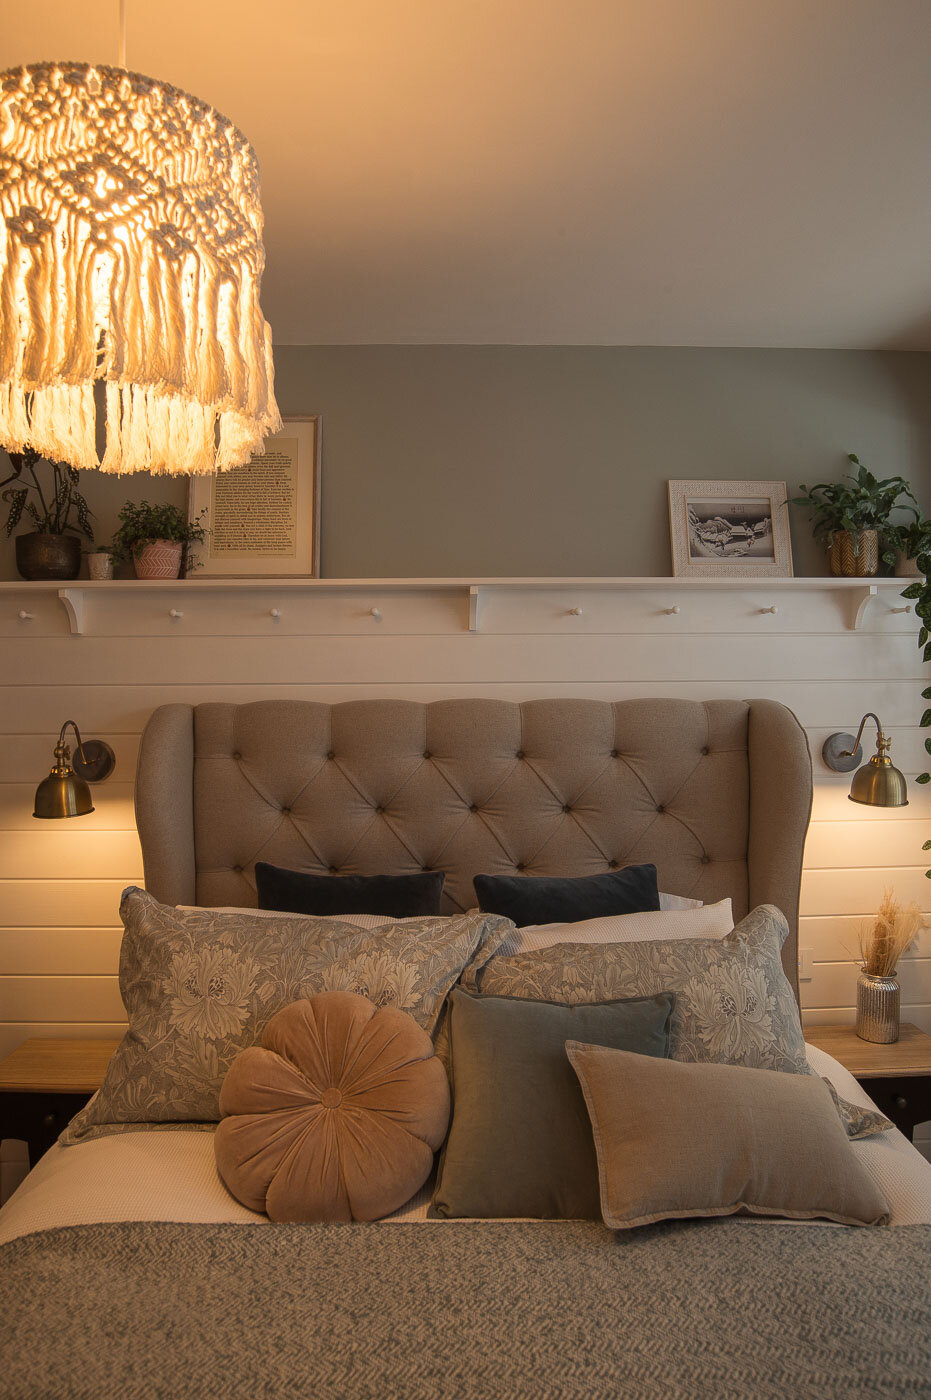
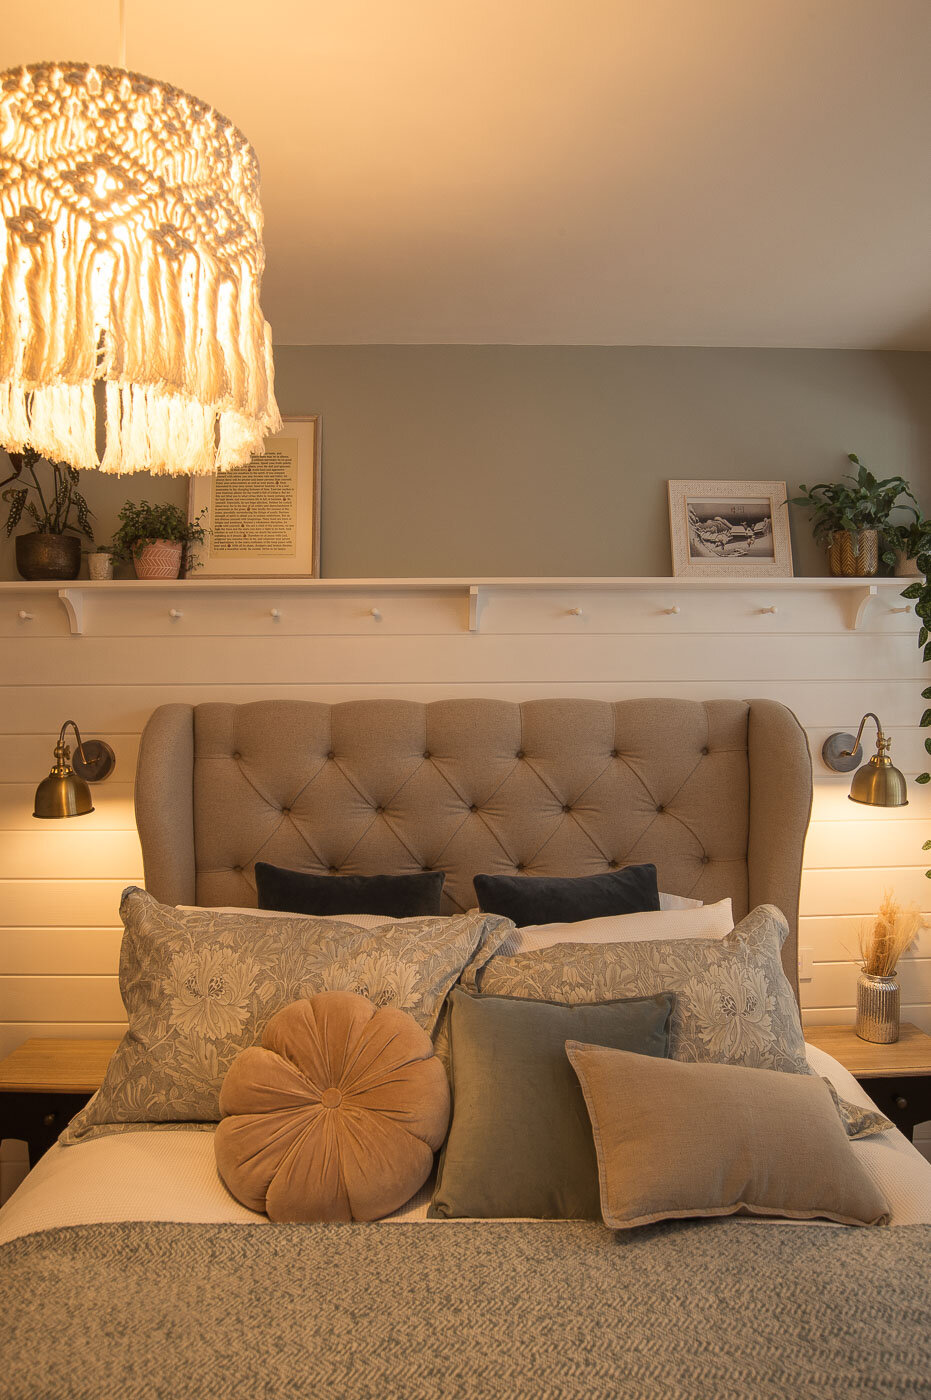
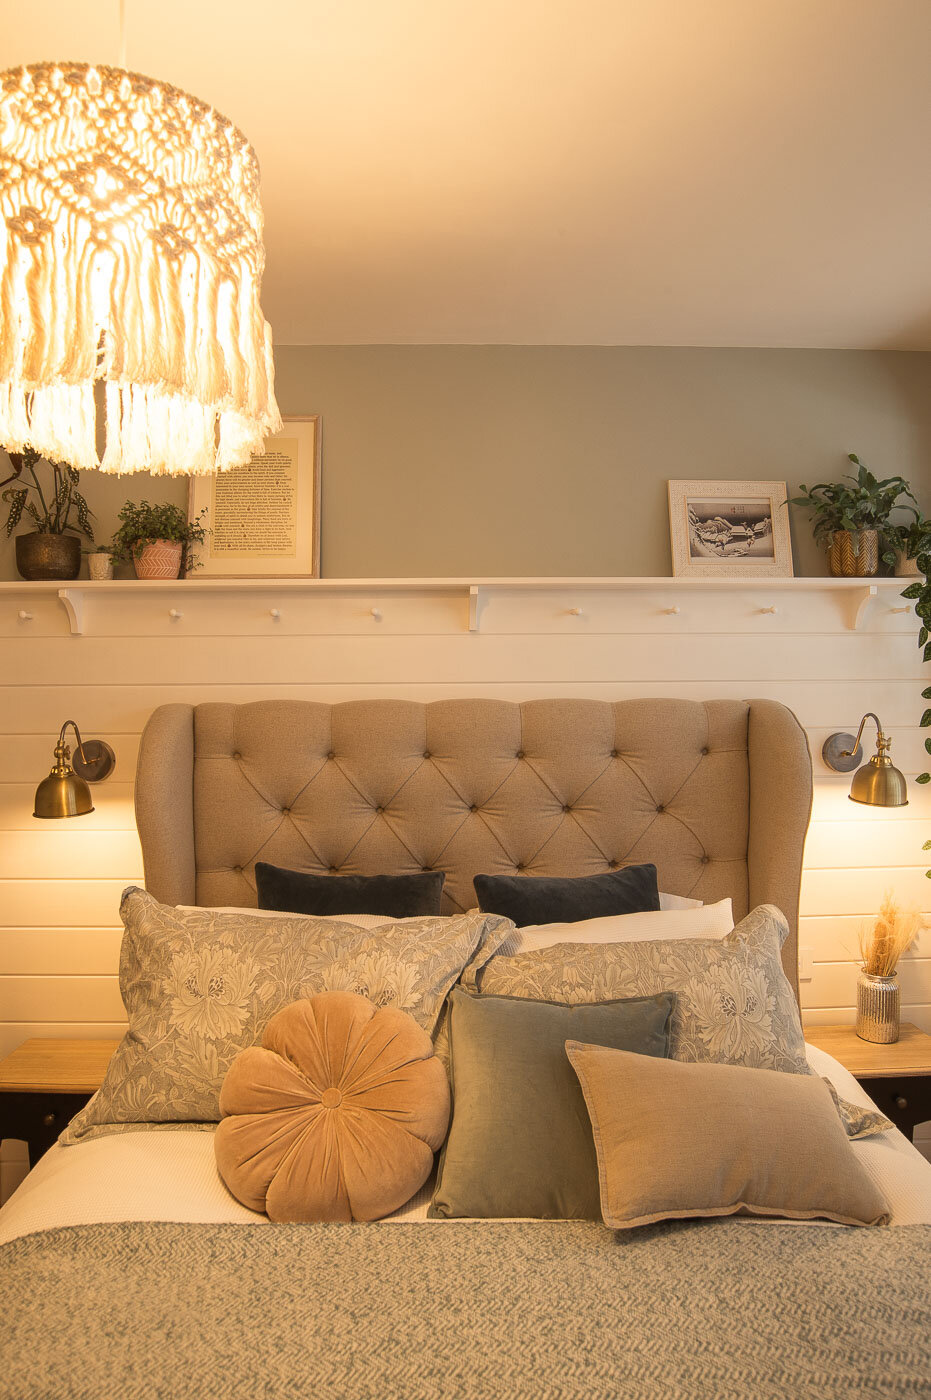
The design we had come up with was a horizontal wooden panel wall behind our bed, flanked by two wall lights. There would be a ceiling light too, linked into the system so there would be three lights in total.
So began the initial phase, getting the first fix electrics in:

OUR ELECTRICIAN INSTALLING THE smart electrics WALL LIGHT WIRING

Next, the walls were skimmed by a plasterer, ready for the panelling to be installed.
The switch on the left would be a double switch, controlling the overhead light (we don’t often use the “big light”) plus the left hand wall light, and the one on the right would control the right hand wall light. Simple enough.

ELECTRICS AND PLASTERING ALL DONE for smart electrics

Next up we asked our joiner to install the panel wall whilst he was replacing our upstairs doors.
The panel wall was the sort of job that a confident DIYer could do but since we’ve got an interior design website I didn’t fancy a bodge job in front of thousands of followers and website visitors! Staying firmly in my lane on this one.
We painted the panel wall a lovely fresh Farrow and Ball white. Next we needed the final fix electrics done.

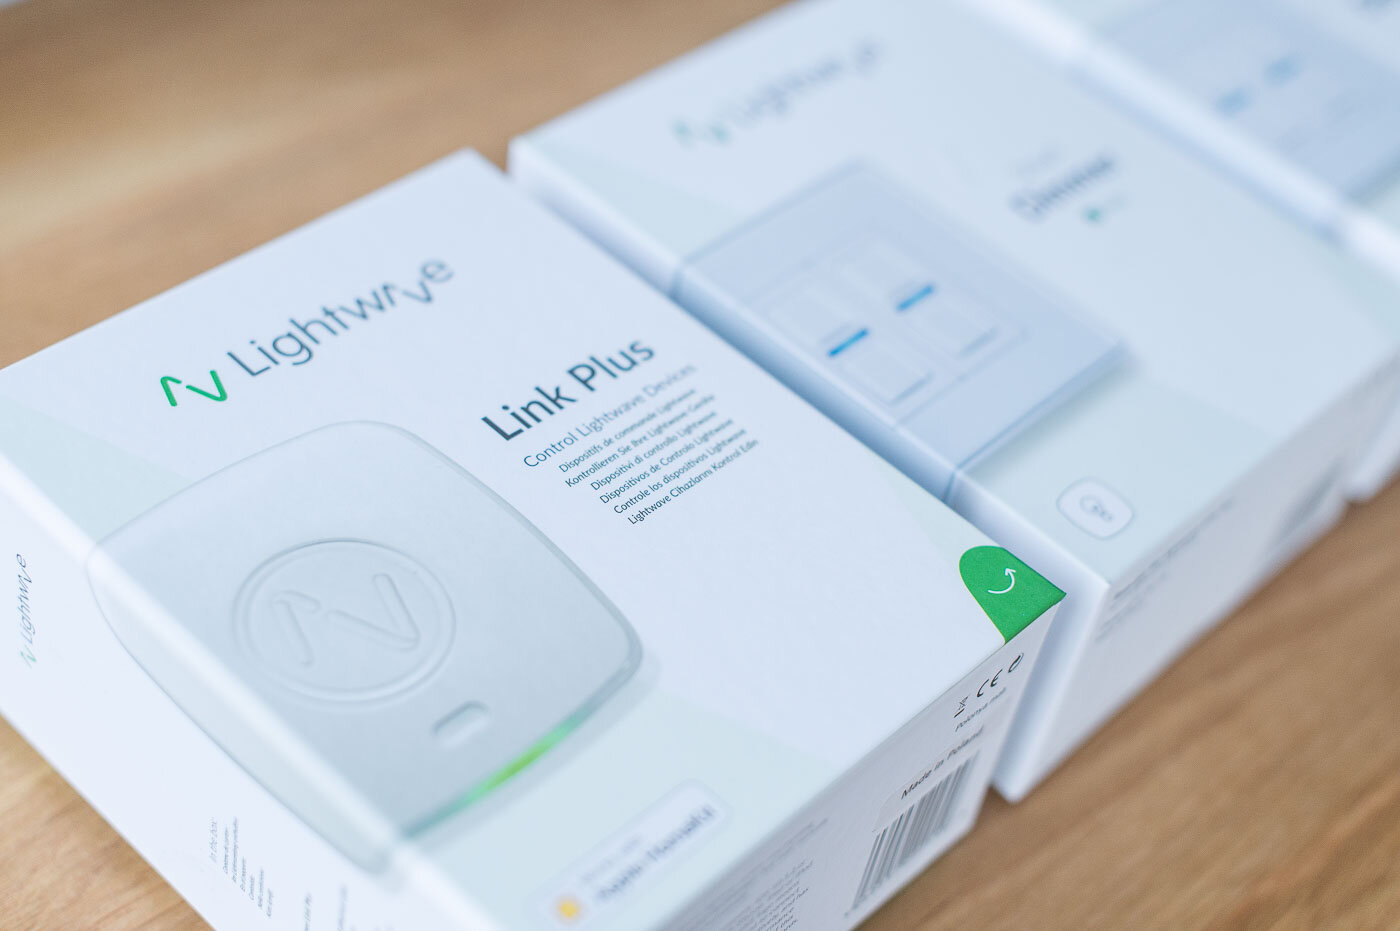
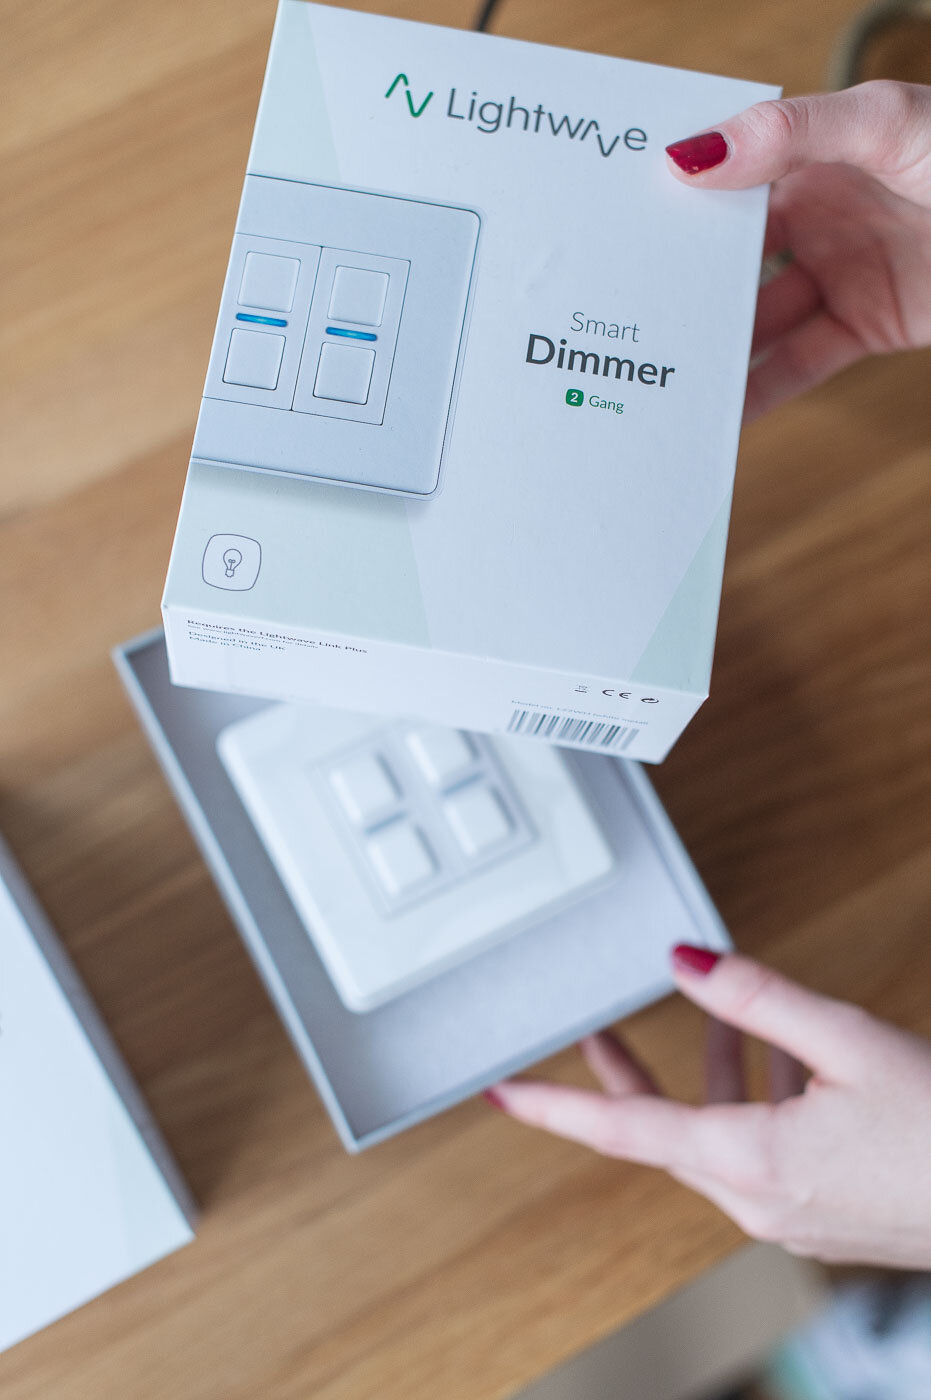
Unboxing the Lightwave switches
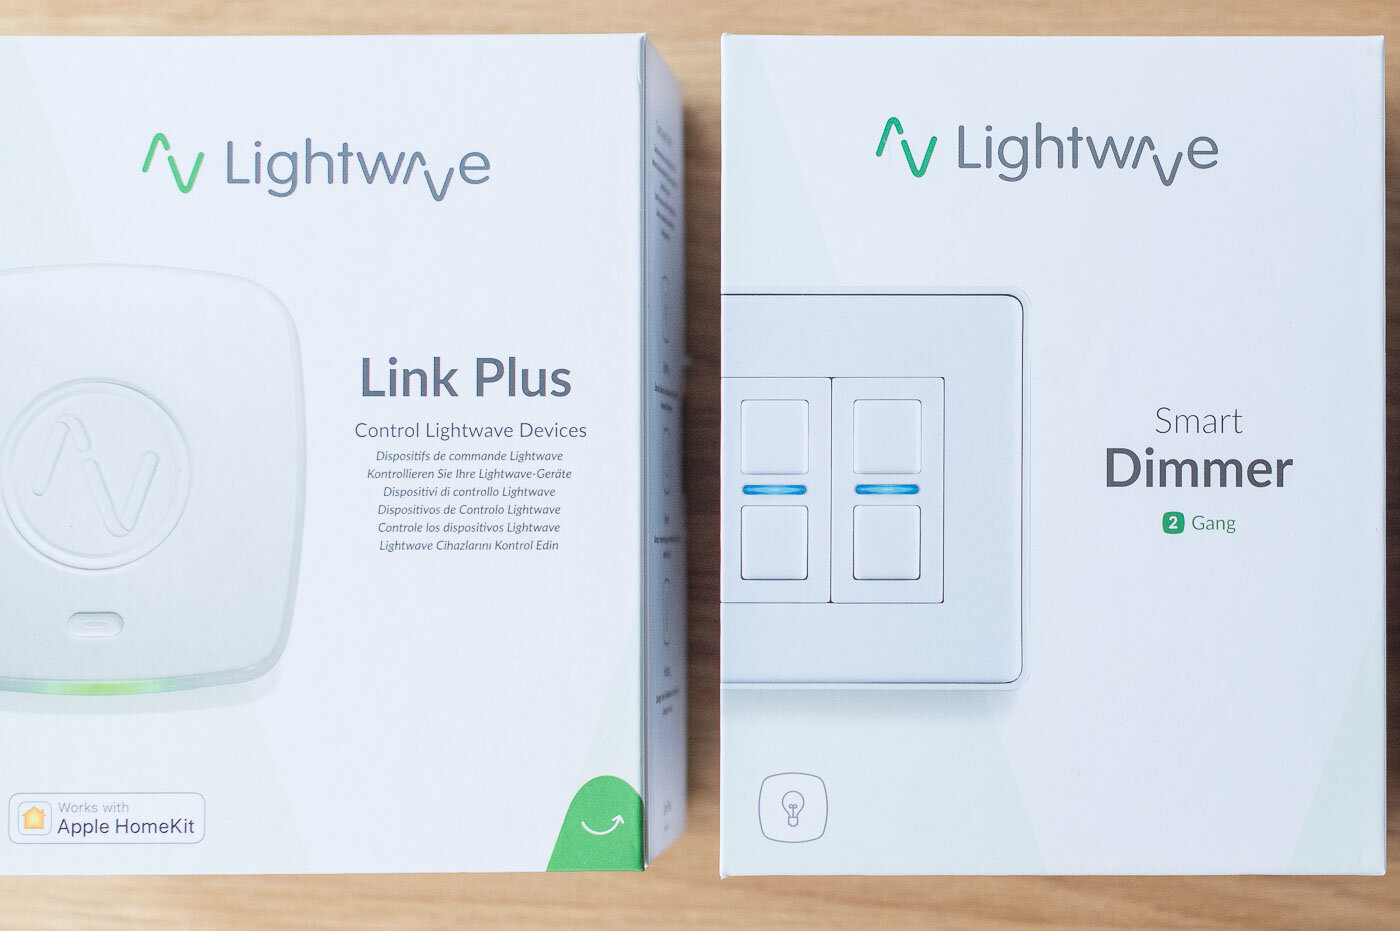
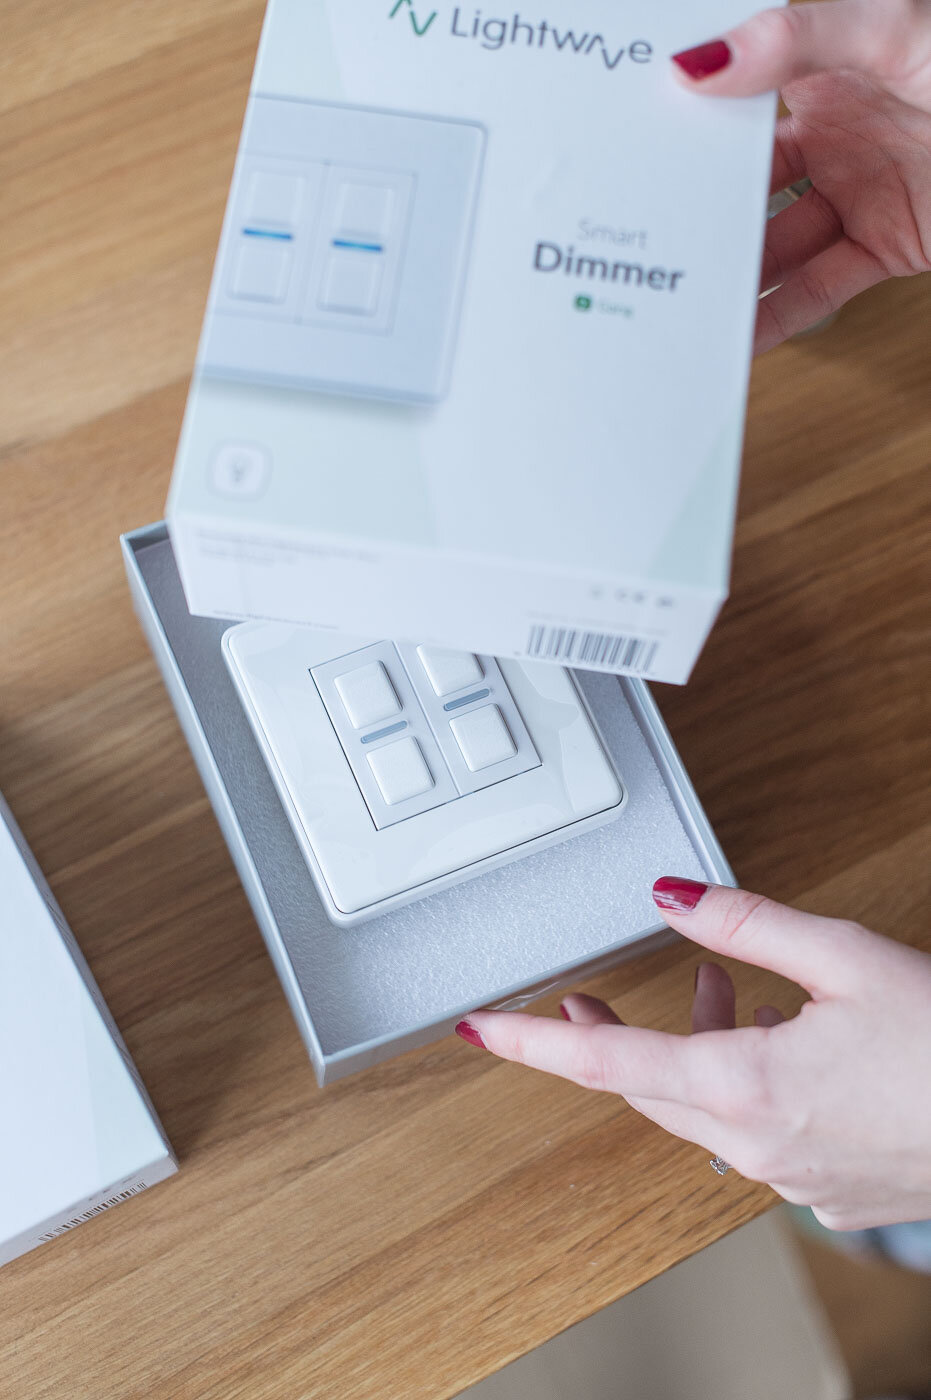
We needed the Lightwave Link Plus and 2 gang dimmer and a separate Lightwave 1 gang dimmer
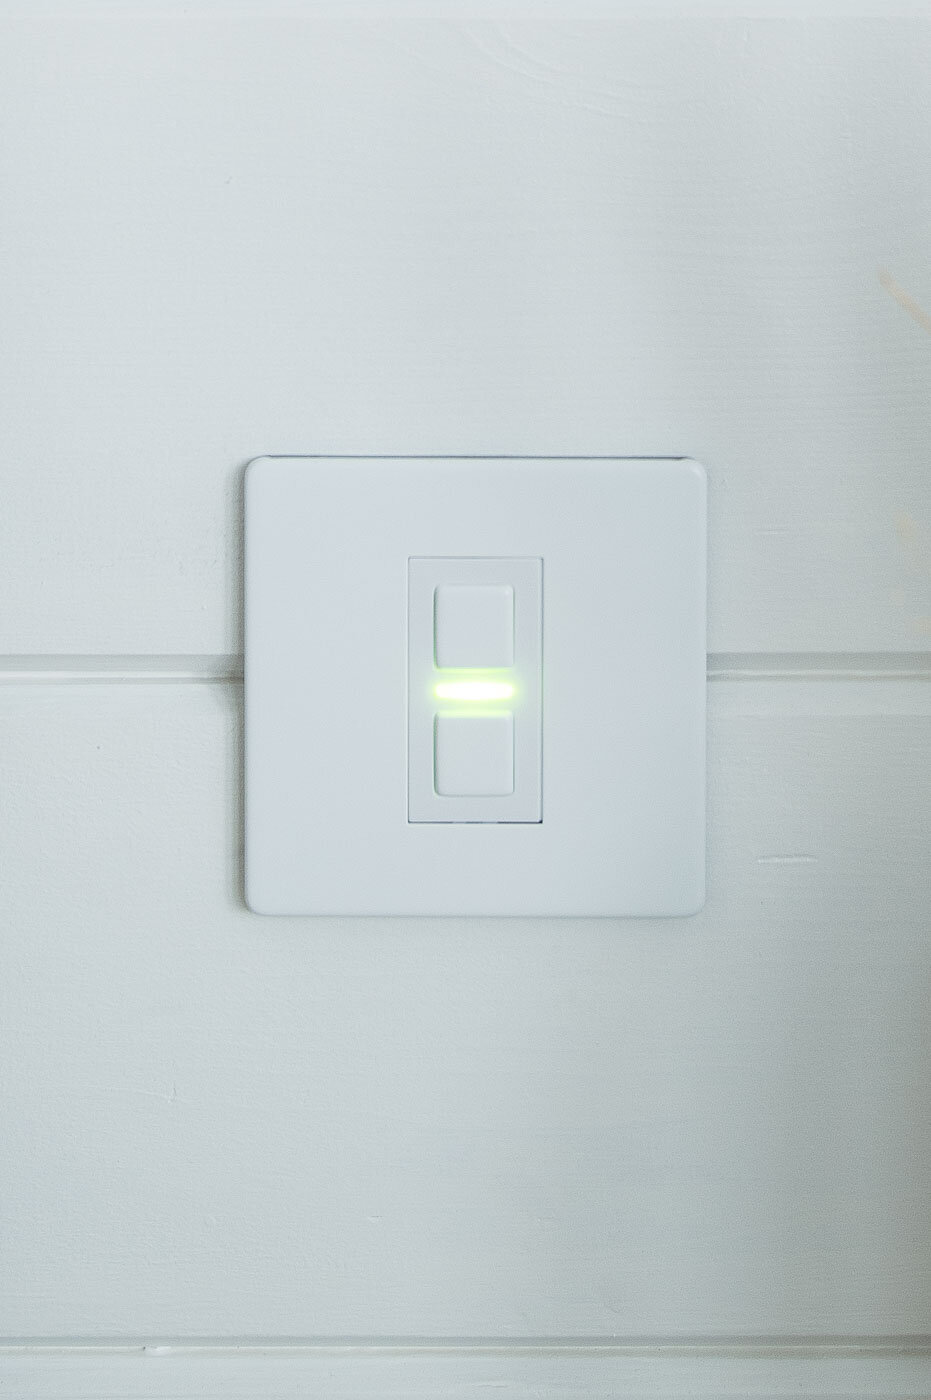
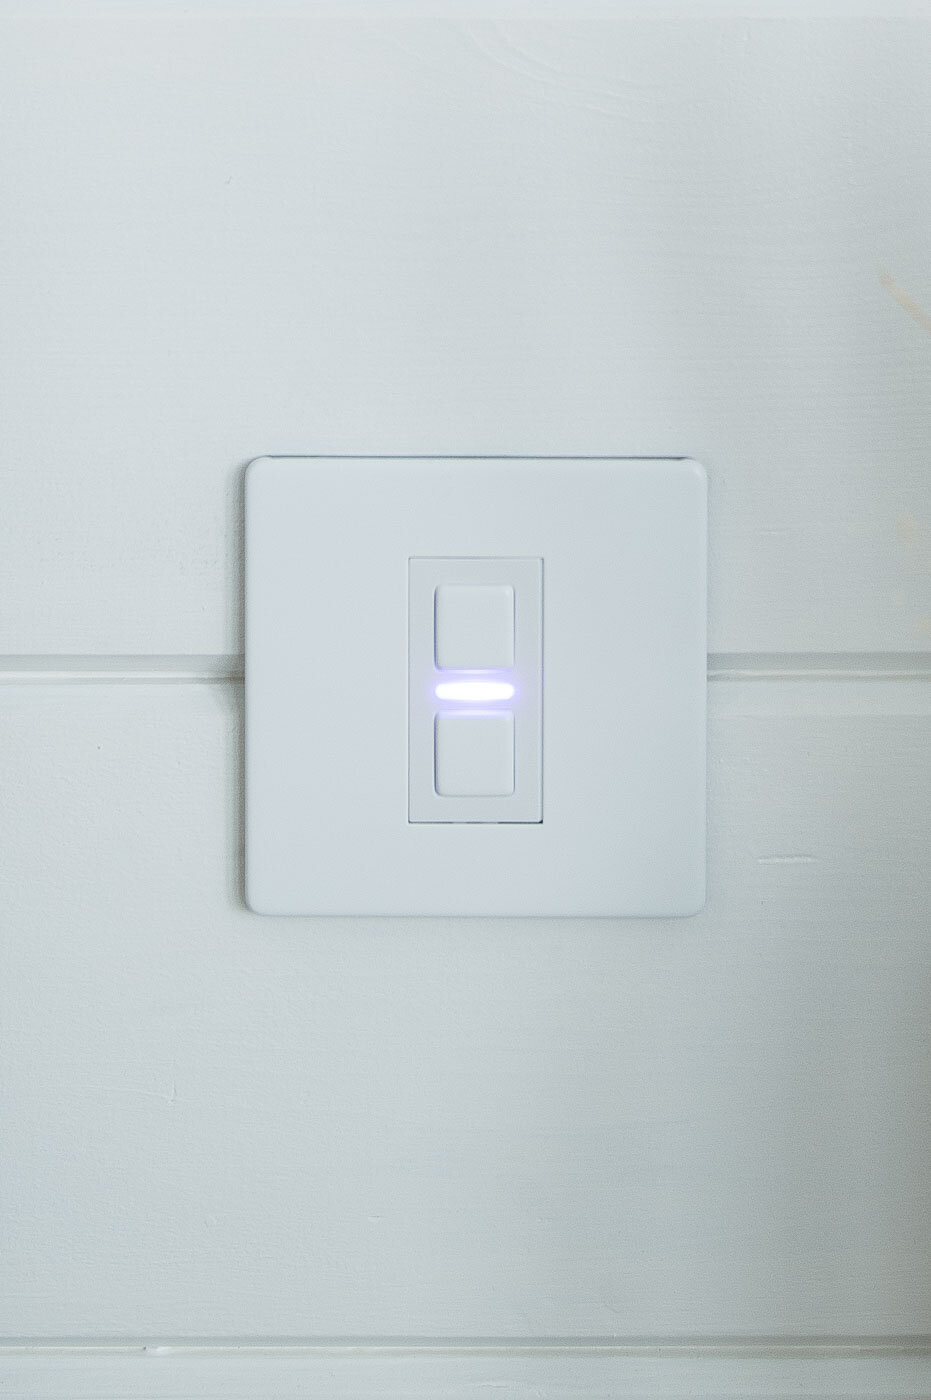
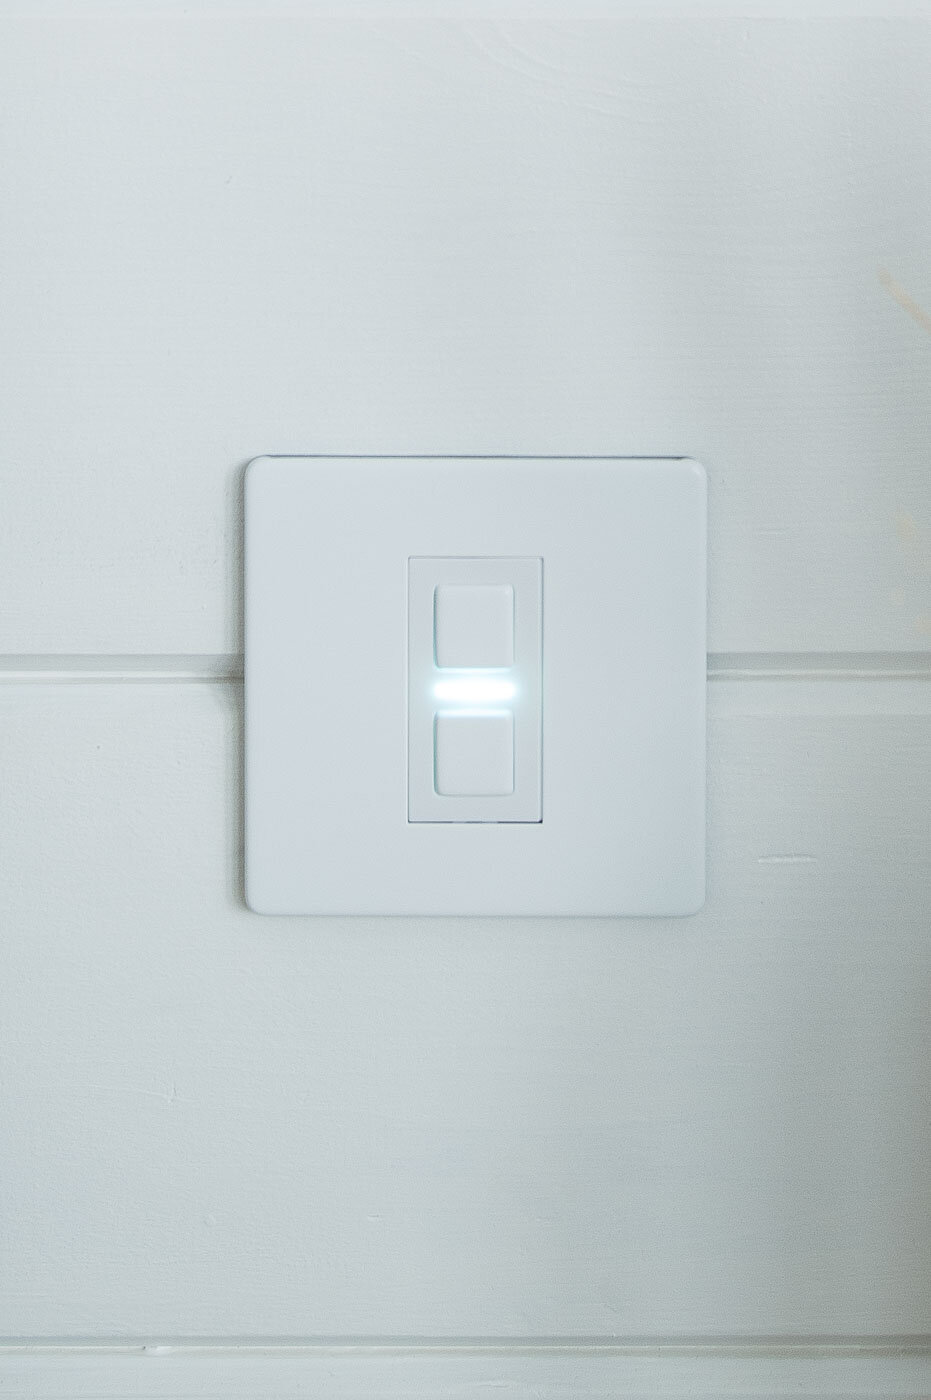
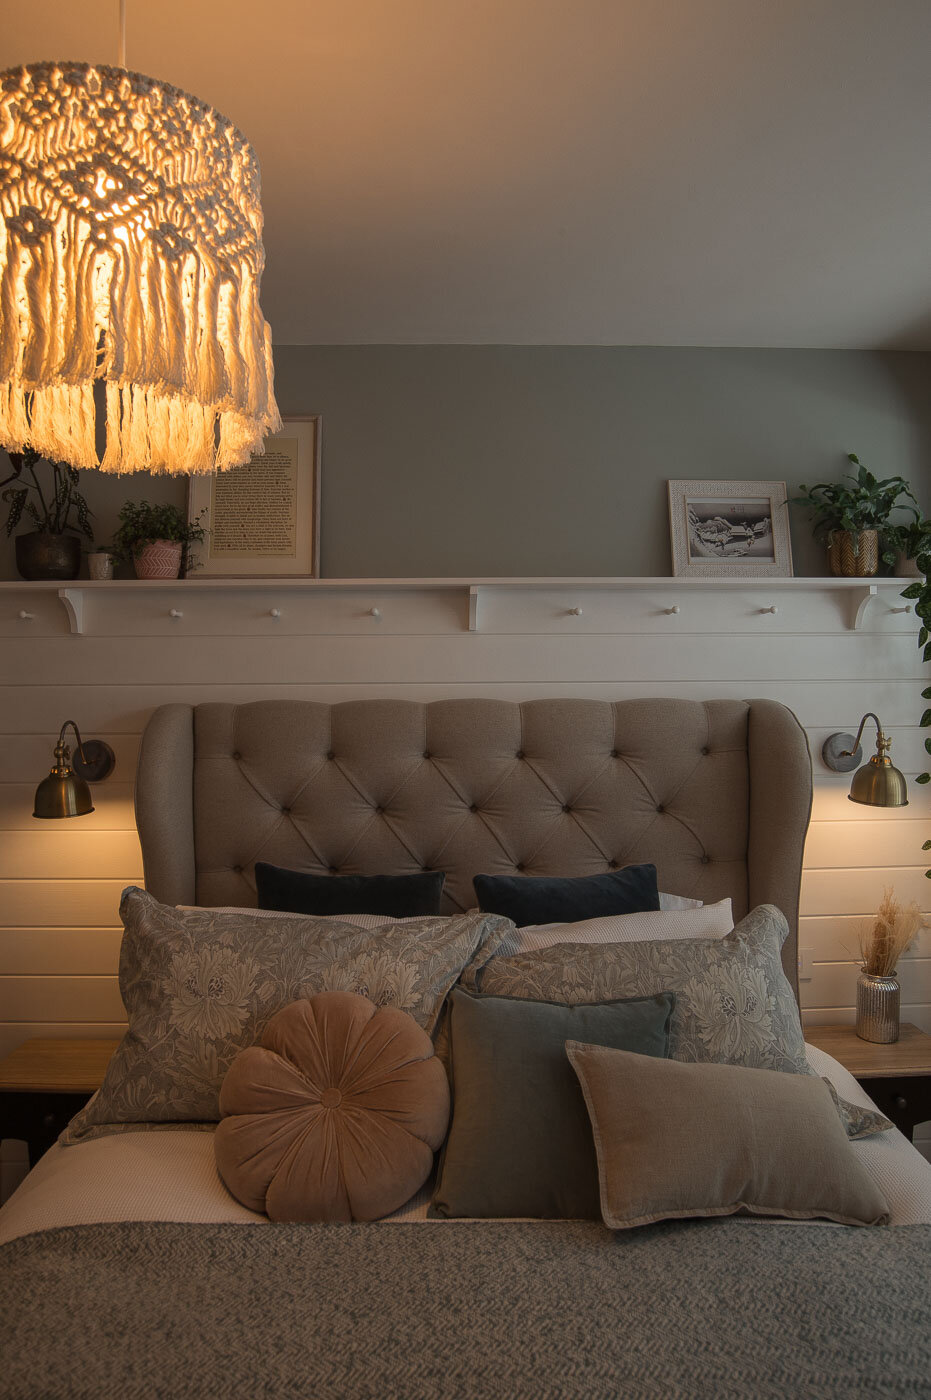
I think it’s fair to say that the Lightwave switches aren’t in any way ugly. They’re quite subtle but do have a fairly modern look to them. As the panel wall was pure white, this actually worked pretty well as they would sort of merge in.
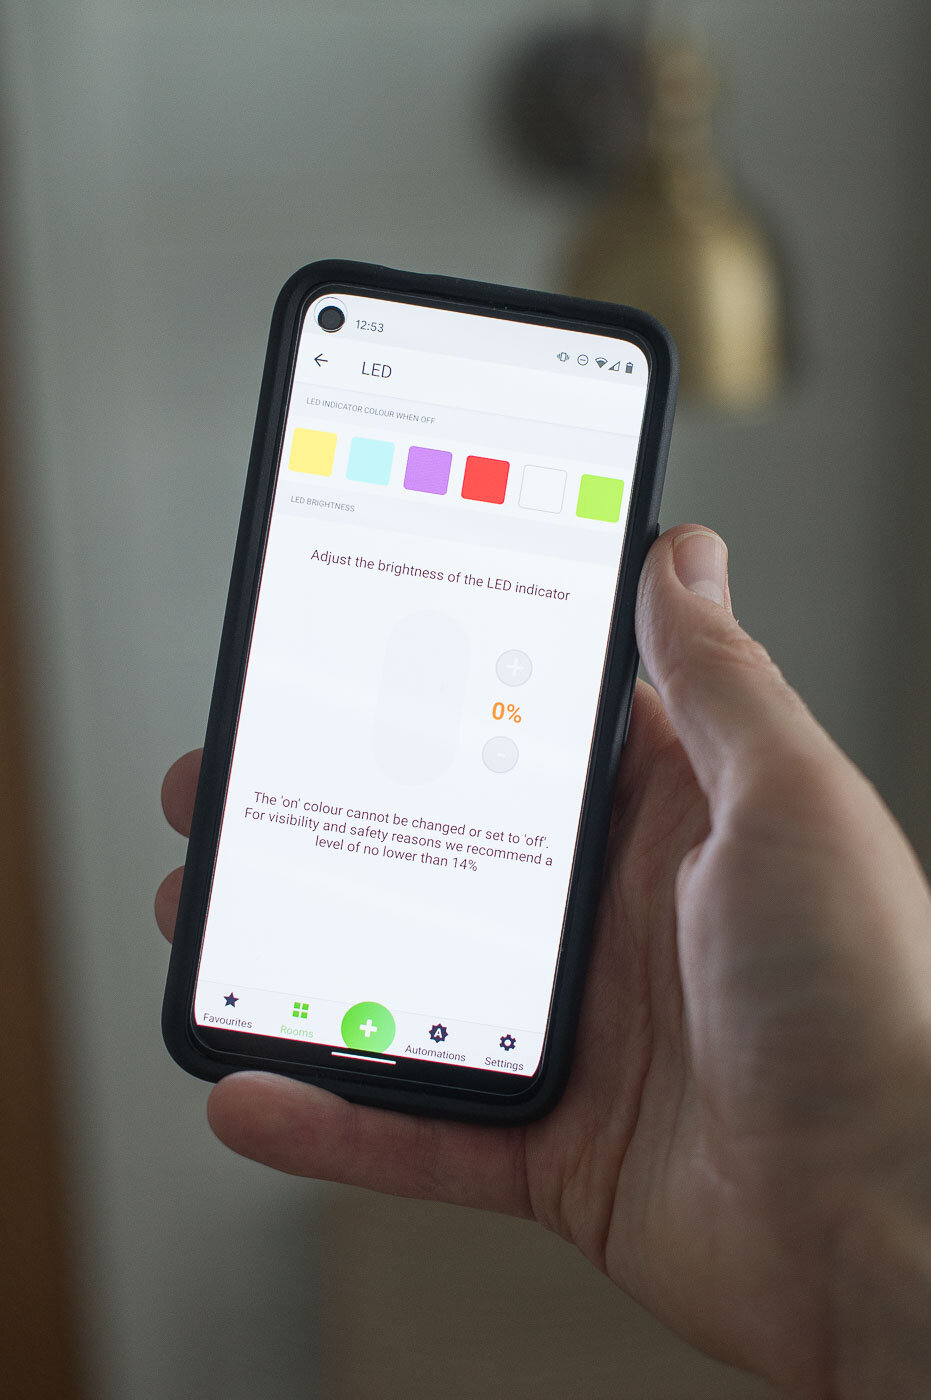
Each of the switches has an LED, I personally didn’t like the look of these as it was a bit of a clash of styles with what we were going for, but as we describe later, you can do something about this.
Lightwave smart switch hardware install
The install of the smart electrics was super quick.
For our configuration we needed the controller box Link Plus box, this gets plugged straight into your router. Then once this is in place and the smart switches are installed the hardware bit is done.
Word of warning - smart lights require very specific lightbulbs. Because I’m the type of person who only reads instructions following a rage fit A.K.A ‘male’, I made three purchases of different lightbulbs (including two journeys to B&Q) before I realised the error of my ways - there’s a list of compatible light bulbs on their website.


Our electrician added our lovely wall lamps at the same time.

Lightwave app software
The Lightwave software was very easy to get set up, no more challenging than getting a Sonos app connected to a speaker for example.
Familiar update and connectivity processes commence, and then you can group and name each of your lights.

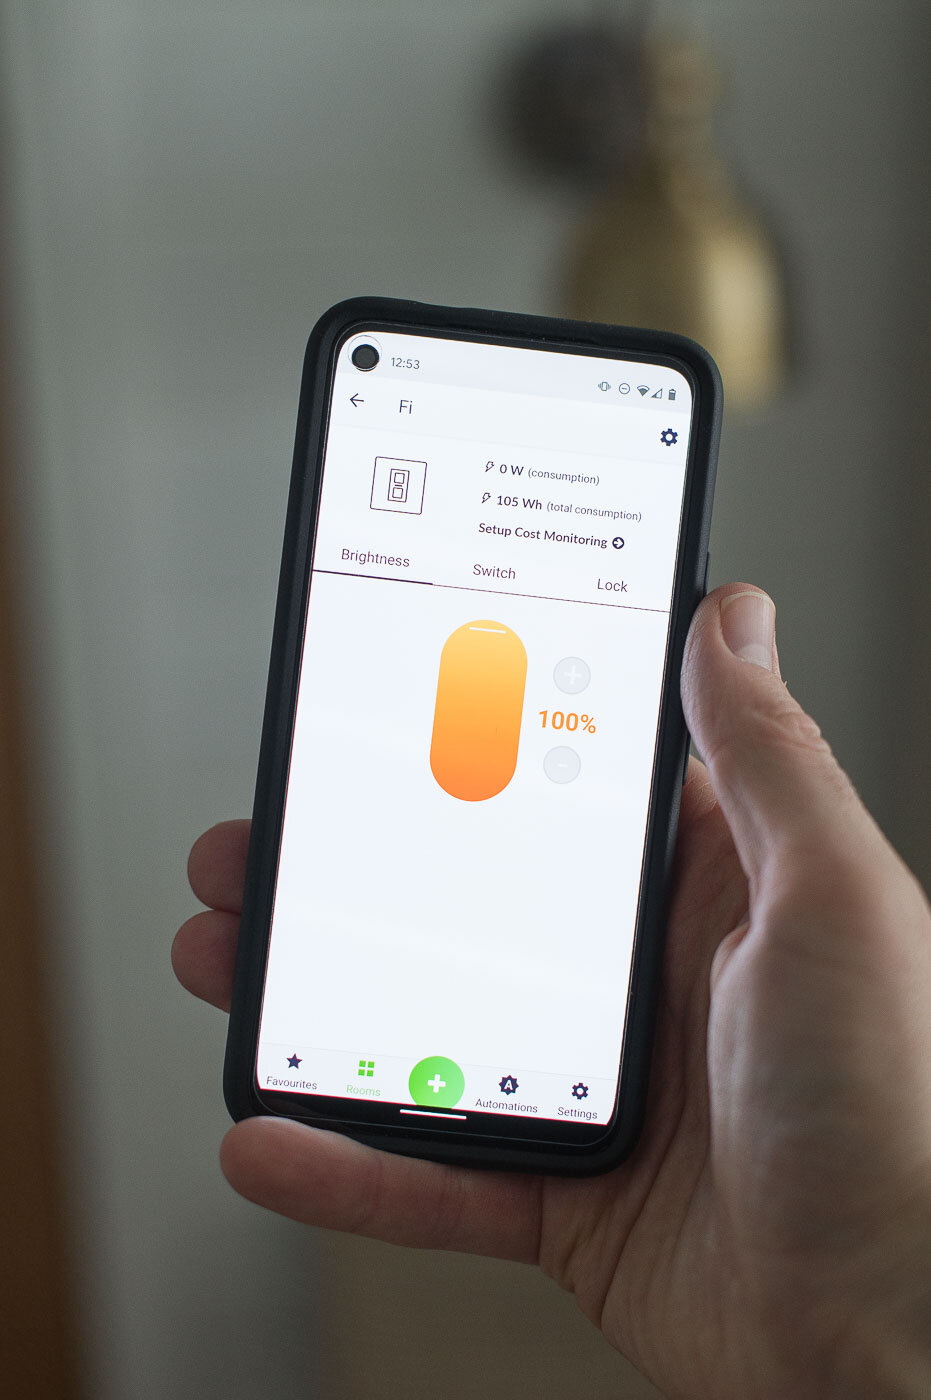
The Lightwave switches can be controlled from inside the Lightwave app, or by using the switch manually of course. There’s a ton of different options inside the app and they even allow access to their API if you fancy getting really geeky with it.
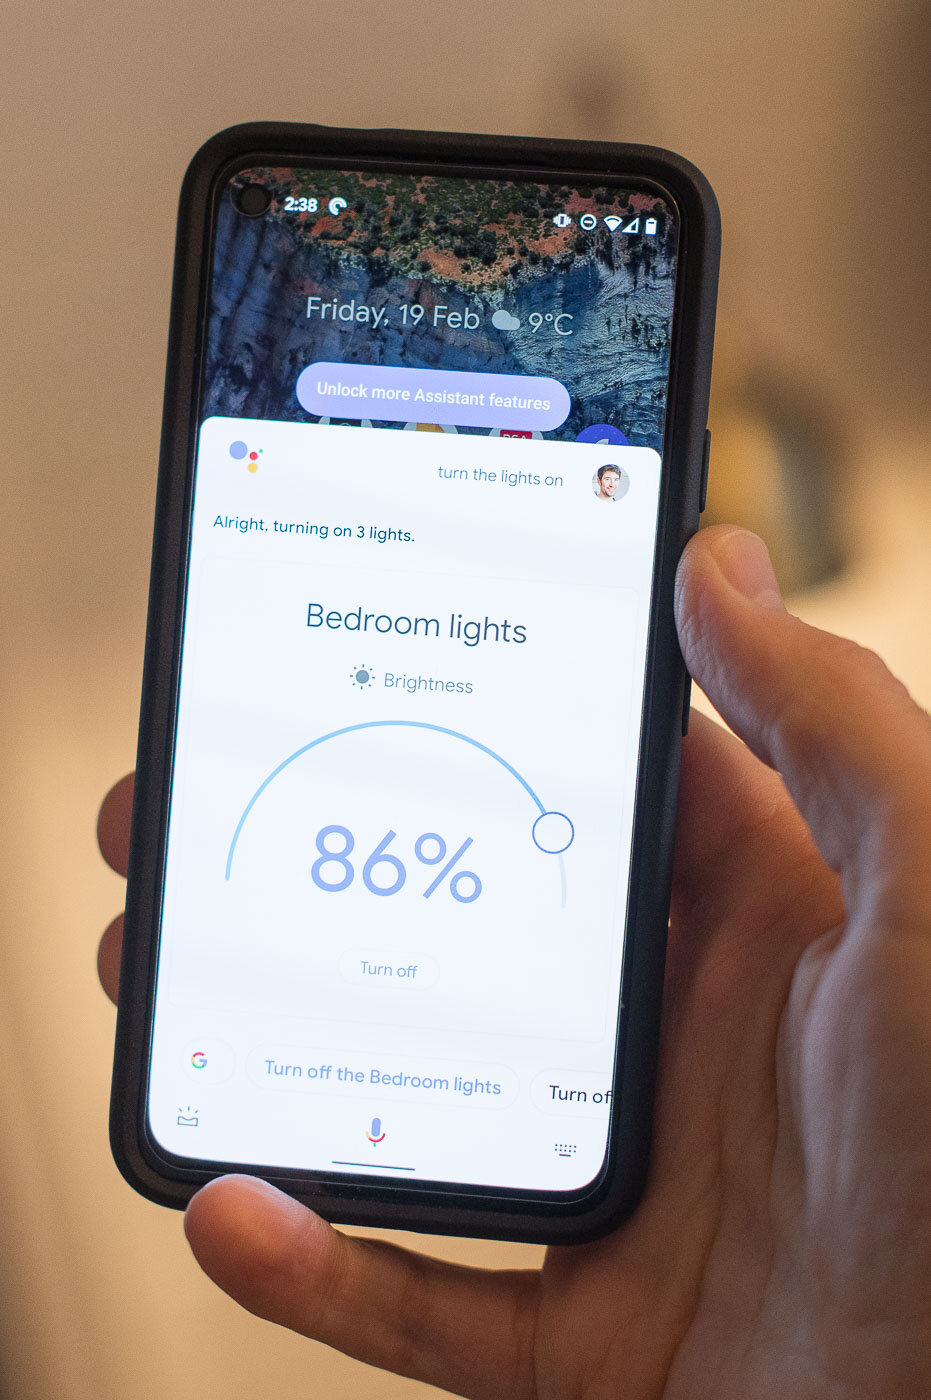
For me, the bonus bit was when I realised Lightwave is compatible with Google Assistant so I can feel like I’m onboard the Starship enterprise by using voice commands to control the lights. I now spend 90% of my time saying things like “Hey Google, turn lights up by 5%”. (which doesn’t get AT ALL annoying).
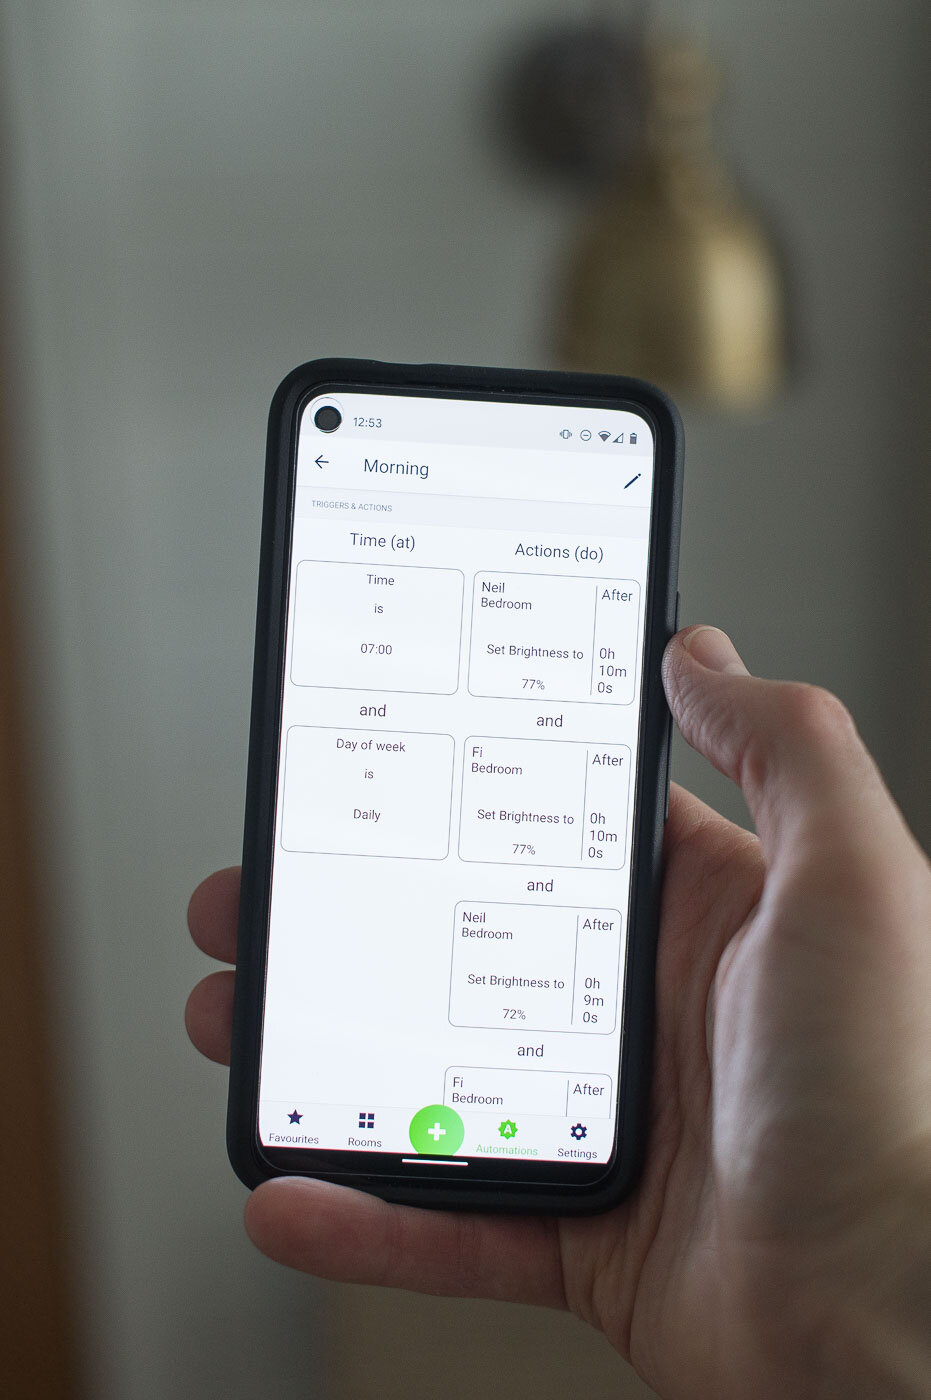
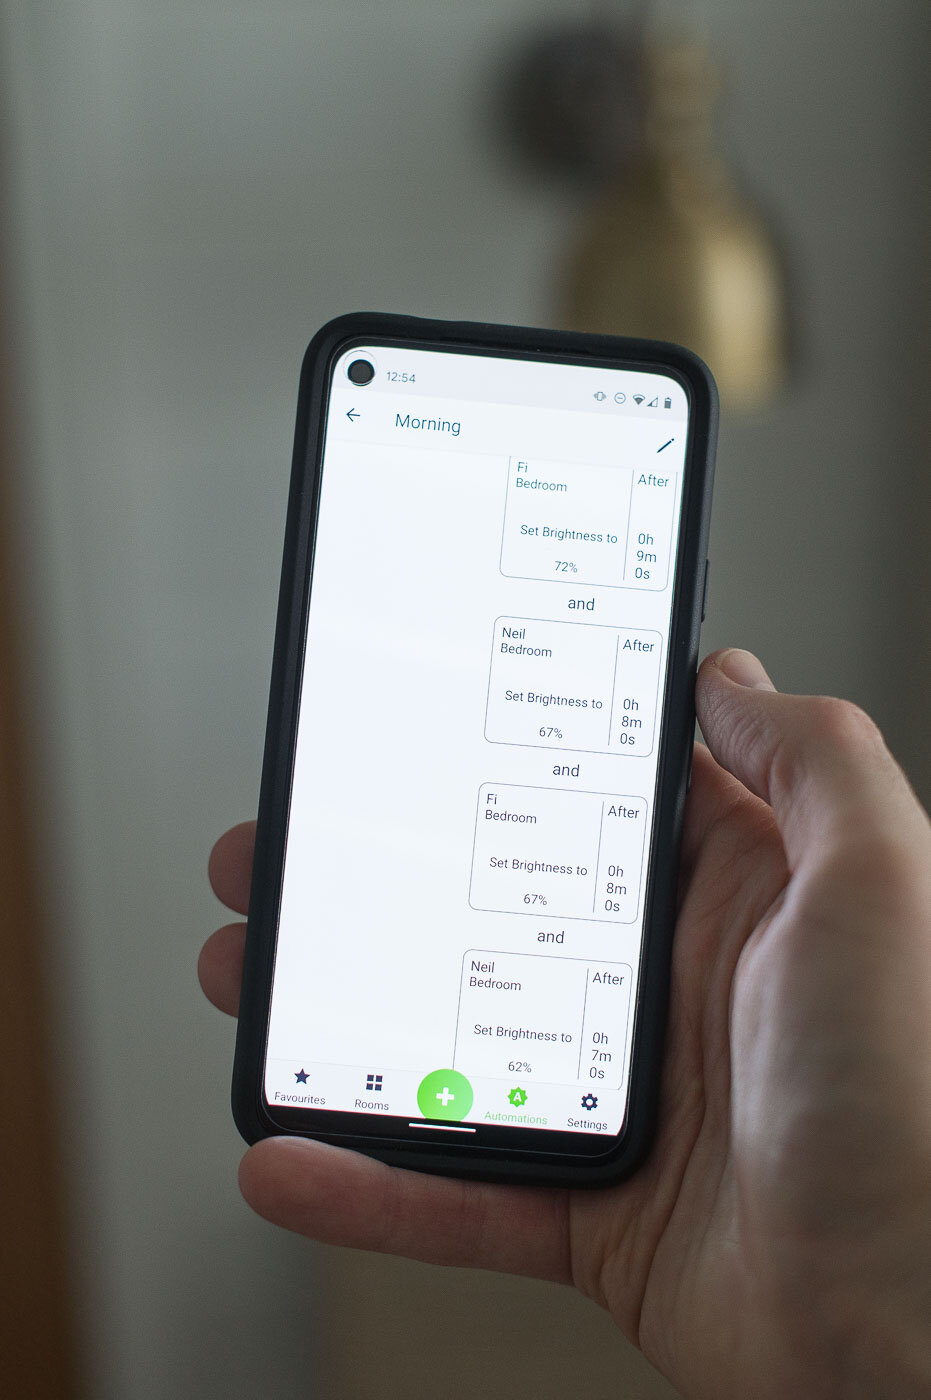
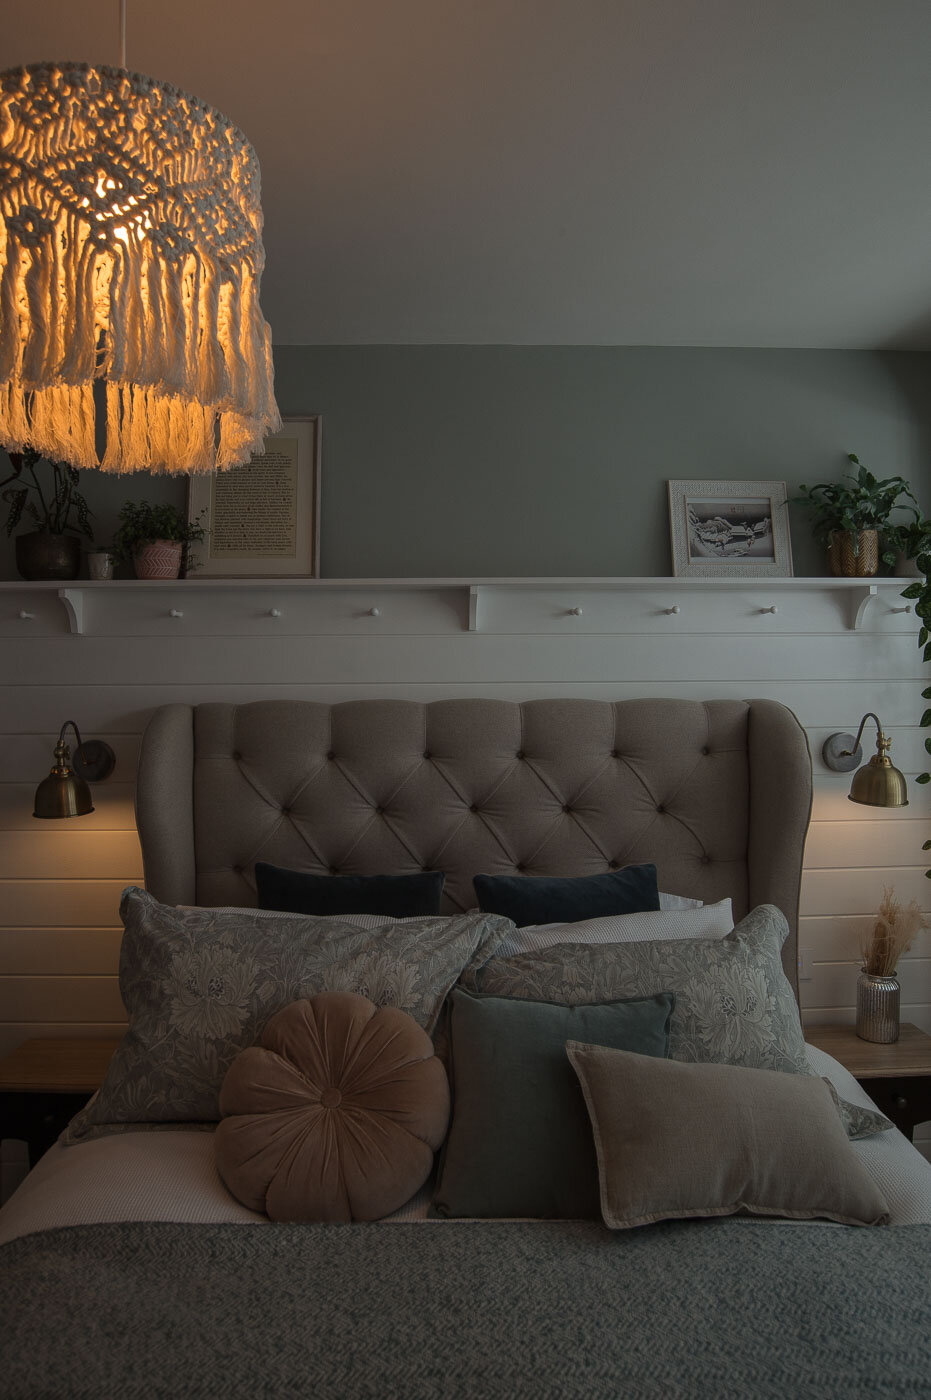
Setting up my automations
As mentioned previously, my main aim was to get a sunrise simulator effect going in the bedroom which can be achieved with Lightwave. Something that I think Lightwave could build upon next is to create a standard automation for this because I think it would be a popular use case, especially as there is a market for these devices. However to set it up currently takes 15-20 minutes (it’s a workaround really).
So how did I achieve it?
Because the dimmer can be set to come on at whichever percentages you need, I set up an automation with a bunch of ‘delays’ inside it, so the three lights increase at incremental percentages over a ten minute period. I might even spend a bit more time making the gradient even more subtle to really get a realistic sunrise effect so my brain is tricked even more.
Other options
As mentioned, we weren’t too keen on the LED that shows in the day time. It’s a bit jarring when juxtaposed against our traditional bedroom stylings. Fortunately, Lightwave thought about that and provided an option to turn it off (although there is no option to turn it off whilst the lights are on).
But if you fancied the LEDs because you’re into that sort of thing you can change colour.
The result
The first morning of the automation we both woke up successfully at 7 am feeling refreshed but I realised that I’d set the top brightness a wee bit too high, I thought I had entered heaven or something. All that was required was a 1 minute adjustment in the automation within the app.

Conclusion
We’re so pleased with this fancy enhancement to our lives. We knew that it would be worth the effort because sleep and how you wake up is so important. We thoroughly believe that investing in your ‘sleep equipment’ is one of the best ways to wake up feeling refreshed and restored.

Lightwave thoroughly delivered on it’s promise, it’s user-friendly and very customisable and we experienced no setup problems. I feel confident that we’ve installed a solution that the company have developed to a certain standard and are continuing to invest in.
In terms of next steps for the Lightwave app, as mentioned previously I’d like to see a standard sunrise simulator automation to make it easier to set this up but it was no big deal setting this up as it’s once and done.
On hardware, it would be great to see Lightwave produce some different styles of switches.
I think there’s a tendency for smart electrics companies to try to prove to the customer through aesthetics that the device is ‘smart’. However, we would have probably have gone for something a little more traditional looking (antique brass) if it was available and we’re certain many customers would benefit from a more traditional look.
Lightwave do all sorts of different smart devices, heating, sockets, sensors so we reckon it’s definitely worth thinking about whether you can use them in your own home.
To copy our setup you can buy the Lightwave Link Plus and 2 gang dimmer and a separate Lightwave 1 gang dimmer.