Creating a DIY Gas Box Cover Planter
When we decided to have our driveway paving done, we knew that we’d have a small problem to solve around our front bay. Fi decided she wanted a planting border but this eyesore gas box was lording it up, having pride of place next to our front door:

When it was originally installed it was covered with a big shrub so it was fine at the time but now it was a proper eyesore.
We landed on three options, firstly, relocating the gas box to the other side of the house, this would mean over £600 including disruption PLUS repair costs (and it would still be somewhat visible). Secondly, getting a some big plants to cover it, we threw this option out as it was just not going to be enough to cover it properly. Thirdly was to create some sort of removable cover for it.
I sometimes wonder if I am alone in the amount of over-analysis I perform about whether I should do a DIY project myself or outsource it? For me it went something like this:
Can I buy something that will do the job? After a lot of googling- nope.
Can I buy something that I can customise. Nope.
Do I have the skills and equipment to pull this off myself? Probably
Is it a worthwhile trade off in terms of business hours (my time) lost? Probably not
Can I be bothered to wait weeks for someone else to become available and then pay them for 2-3 days labour? Definitely not
Can I find a design that is doable and won’t look rubbish? Yes
Can I find stock of the timber? Nope.
Am I massive loser if I give up on this and hire someone to do this? Yes
Can I find another design that is do-able and looks good & where the wood is in stock ? (After hours of googling - Yes!)
Not going to lie, my joinery experience is quite limited, I do little bits with wood infrequently e.g. I created some replacement cupboard doors.
I thought this would be a couple of days, I had no idea it would take me as long as it eventually did.
Planning the design

I start everything with a spreadsheet, I even draw in spreadsheets too, they’re an incredibly flexible tool. As you can see from my incredibly complex schematics😬 I am a natural at this - ha!
The planter box needed two sections; a base/platform that would surround the gas box (but have no back because of the gas box fittings), and a separate planter section that could be plastic lined and would be removable so that we could gain access to the gas box when needed.
I found a planter box online that I liked the look of to replicate, The plan would then be to paint it in the same colour as our 1930s front door, and to be placed on small pieces of slate, so as not to have it just standing on wet soil.
Aside from a whole load of timber and a bit of slate, I would also need a small piece of wood to separate the slate and soil sections. As luck would have it the timber fit exactly into a tiny Peugeot! This lot cost me £75.

Cutting the lengths
The next steps were to cut my lengths and to lightly chamfer the ends so they’d look a little more professional as they’d be on display.


Screwing the gas planter box together
Then to start screwing the pieces together with decking screws, and this is what took the most time, it was like a jigsaw puzzle and my cutting errors were sometimes visible and had to be rectified by sanding down. Some legs were installed to give the planter a bit of height, so the base wasn’t just touching the ground.


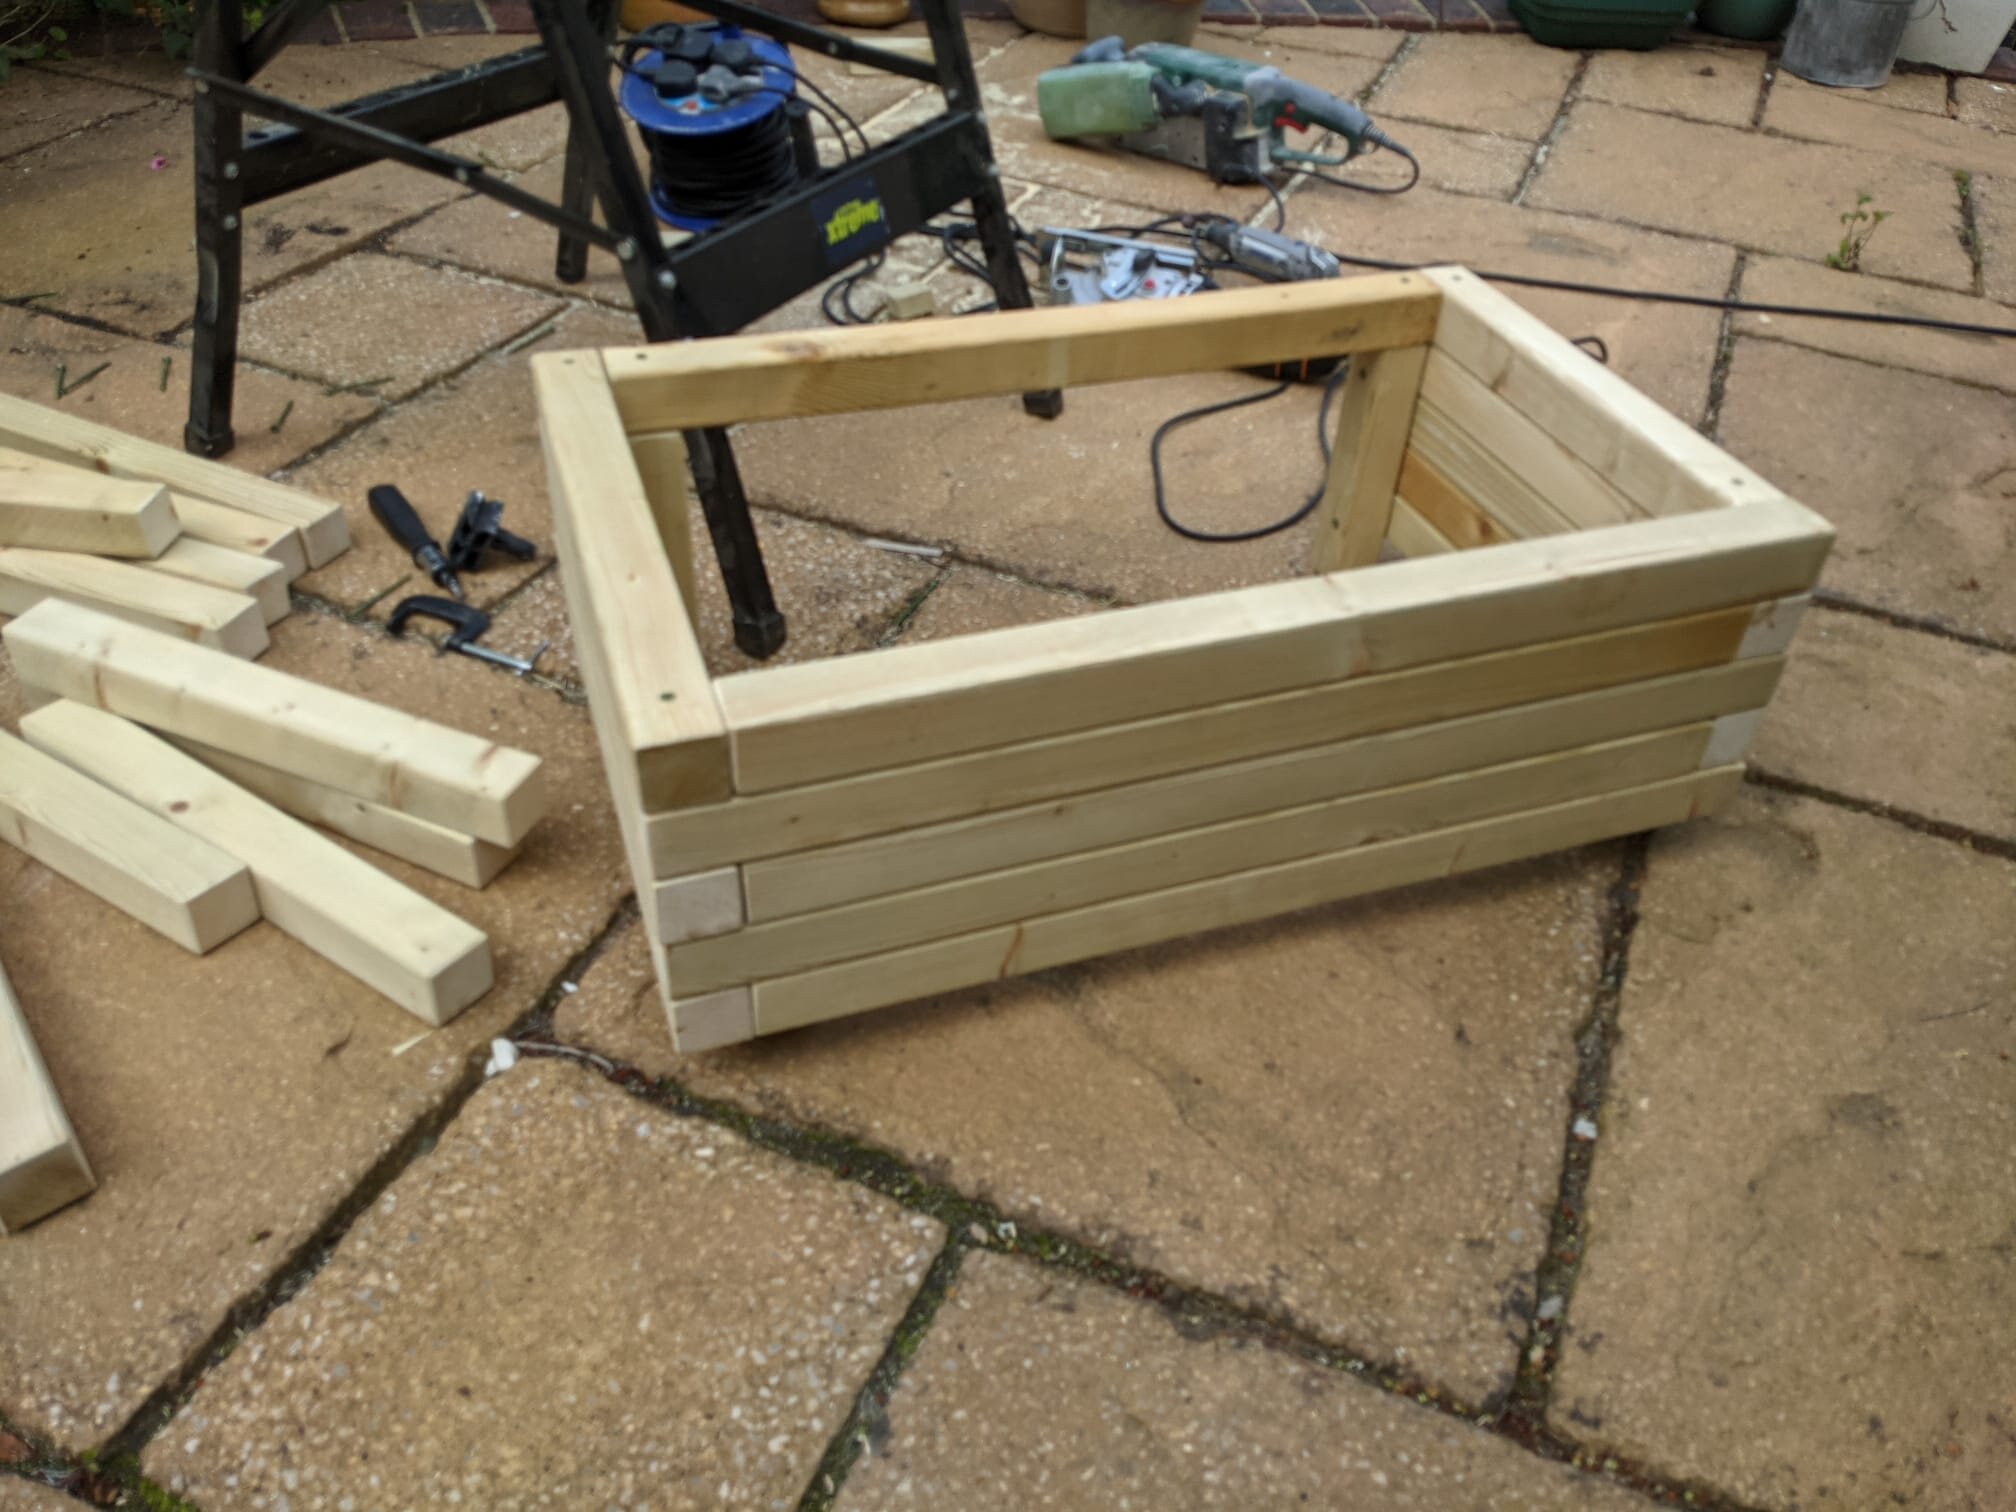

Rinse and repeat until we have two sections all screwed together:


Next to give the planter some slats to support the soil and plants, with gaps as it needed to be drainable.

Caulking, priming and painting the planter gas box cover
Optional step, here but I decided to use exterior decorators caulk to fill all of the gaps, this took ages but I figured it would be better than trying to get paint into every tiny crack and then end up with a compromised finish.


Lining and planting the planter gas box
This black plastic lining material can be obtained for cheap from the local garden centre, which I then stapled it to the sides and created drainage holes at the bottom. As we were planting lavender in our front bed, we bought mainly purple and blue plants to compliment them like Salvia & Campanula plus Lambs Ears for a bit of structure.


Creating a base
As the rest of the bed was going to be soil and the planter was going to be on slate I needed a separator - my original idea was a sleeper but it was difficult to source and would be even harder for me to cut. The guy at the wood yard suggested this piece which he gave me for free and I cut a diagonal in order to fit snug with the cement of the border. I then poured three bags of blue slate into the area.


The Result
So in the end the whole thing; planning, cutting/chamfering, screwing, caulking, priming, lining, painting, sourcing plants/planting, plus creating the base took about 5 whole days - the small widths of the wood definitely increased the build time!
We’re chuffed with the result which has not only hidden the hideous gas box, but also created some interest to our front door area which we can plant bits in.


