Our driveway transformation | Removing garden to lay driveway paving | Driveway Ideas
Since the day we got the keys to our 1930s semi renovation, removing the front garden to lay a brand new driveway has been high on our want list for so many reasons…
To add value to the house, to tidy up the front of the house to no end…and of course top of the list – it would become way less of a headache to park our car. The spaces on our road are snapped up every day – road rage!
It’s been years in the making
As much as we wish (!) the truth is renovation projects like this don’t happen overnight.
Unless you’ve acquired a serious amount of equity or are comfortable borrowing a lot of money to renovate a house in one go, you might (like us) have to prioritise areas and take a phased approach to your renovation. Saving to do this sort of work.
Then when you have the funds ready, there’s the planning and design side, and finding the right contractors – it’s a long process (something our online course supports new renovators with) and we share tips on how to plan for your renovation through our free Survivor’s Guide to Renovating which is the perfect place to start when you’re waiting on cash flow or plans to begin.
This project sat as an idea for years.
“When we eventually do the driveway…”
“It would be cool to have driveway paving like this one day…”
All the while we planned and saved for the day it would actually become a reality.
It feels so surreal now we’ve finished it – pulling up onto the drive after dreaming of how it would look for so long.
First up! Who project managed the driveway transformation??
As a non-driver (many failed attempts, long story 😂) Neil is the only one of us to own and drive a car, and this project has been his baby.
In fact, he’s the one who developed a vision for the full exterior of our house not just the drive.
Exterior design/landscaping vs the interior design work I do are two very different ball games. I learned quickly that I’m not hugely passionate about landscaping and the only thing I supported with was swooping in every now and again to lend my Sketchup / scaled drawing skills, design some of the block colours and to talk about materials.
Neil on the other hand, is a natural with this.
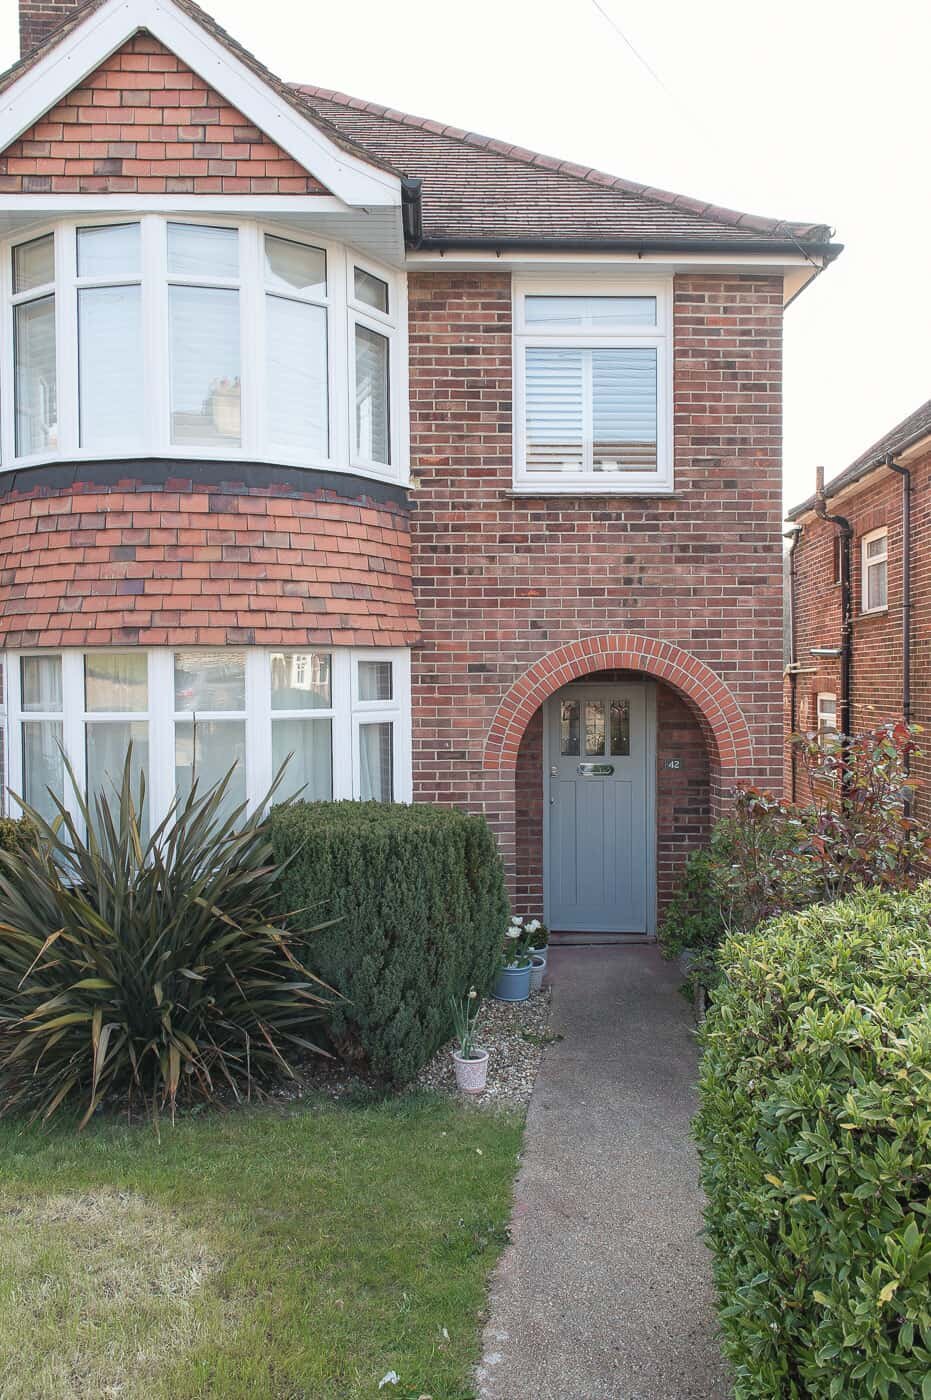
He liaised with our neighbours to agree decisions, project managed everything from our bay window installation, to sourcing and painting our new 1930s front door, and now the restoration of our 1930s boundary wall and installation of the driveway.
We have more in-depth posts to write but for now we just want to show you the results laying our new driveway paving if you’re doing the same soon and looking for driveway ideas.
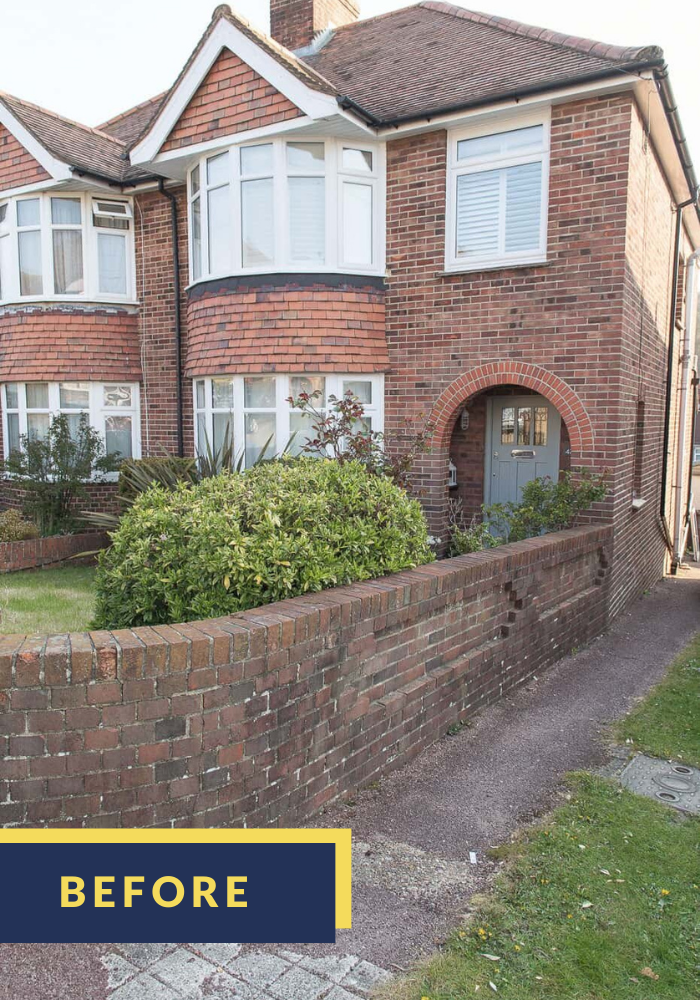
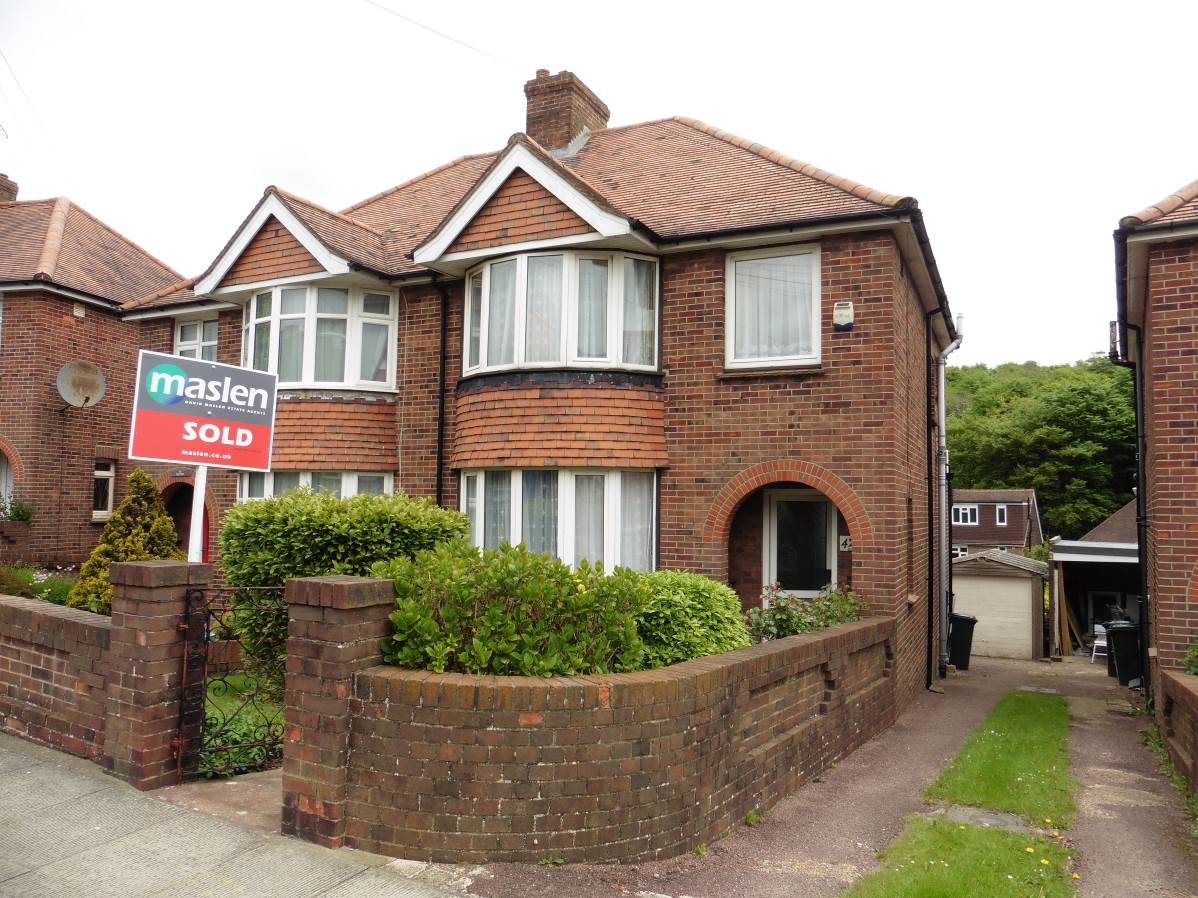
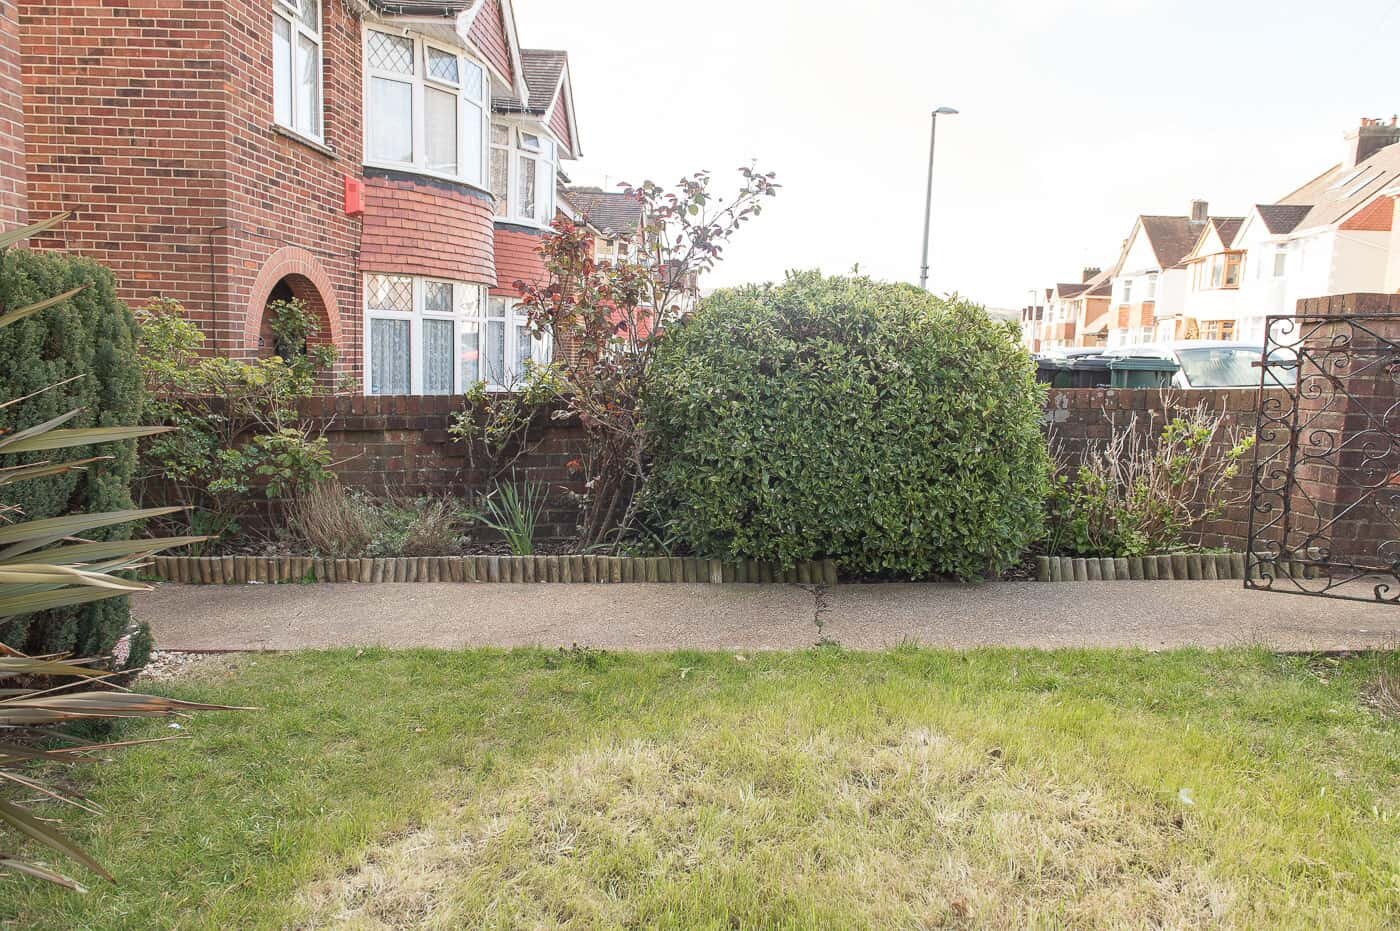
How it looked before we laid a new driveway
When we bought the house it came with a cute, quite old-fashioned front garden. I loved it. It gave us good privacy and had some very established plants. But it wasn’t well cared for, lots of the plants were badly shaped and overgrown, lots of deadwood and some (a giant magnolia we had removed) blocked light into the living room.
Over the years I really held onto the front garden as the reason not to march ahead and do the drive until we really needed to.
I was reluctant to see the plants and the privacy they gave us be removed…
But parking progressively became an issue on our road and even we, with a teeny car, struggled to find a space during evenings.
Thankfully the team we hired – who were amazing (Apan Construction in Sussex, we’ll talk more about them later) worked as eco as they could, ensuring everything from the demo was recycled.
That meant plants became compost, and any bricks from the wall and path removal became hardcore and used for other people’s drives – not just sent to landfill.
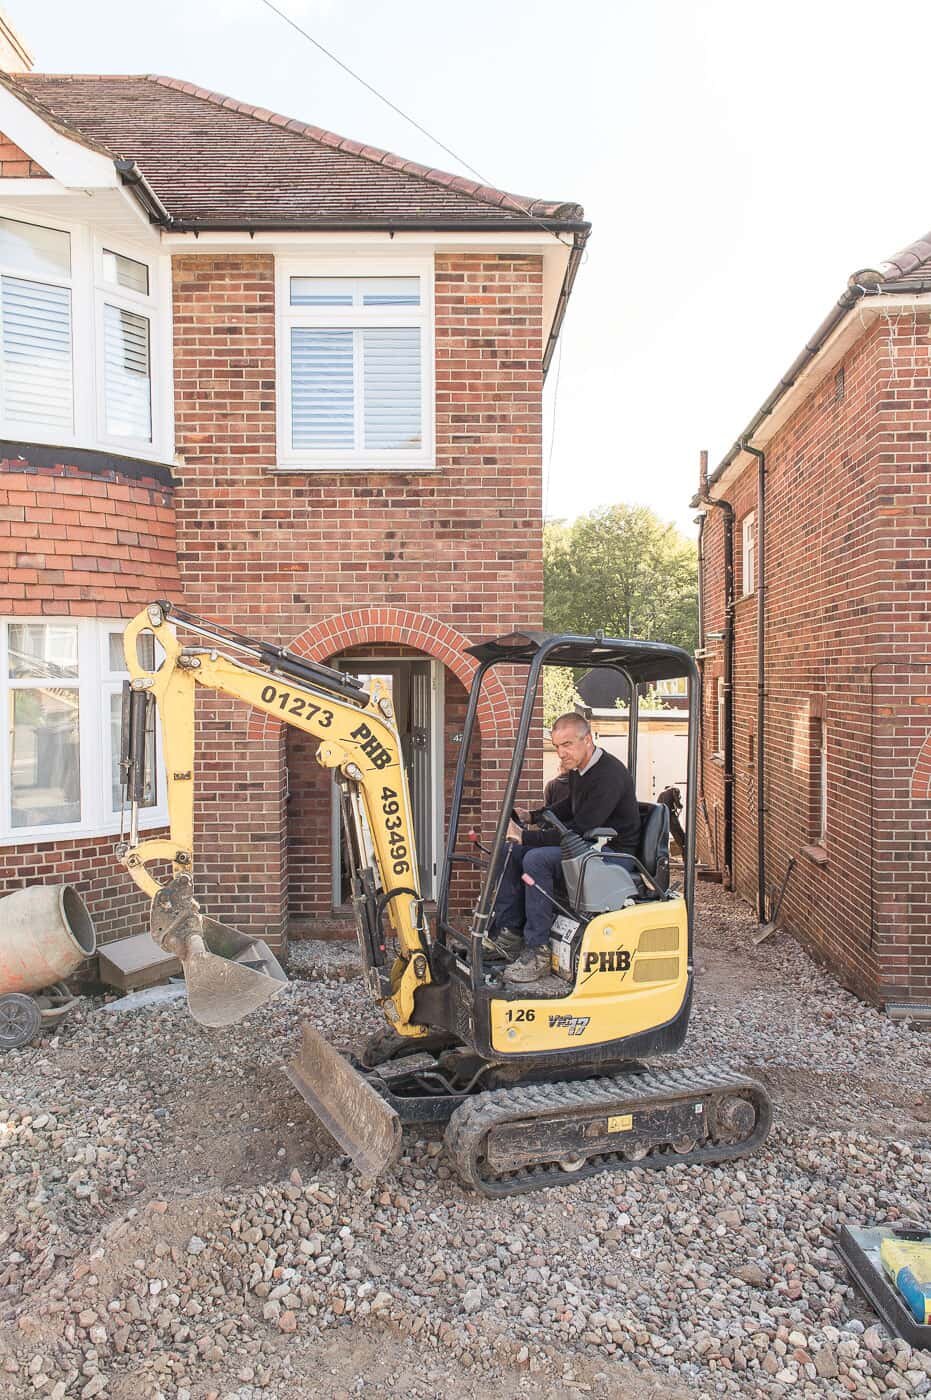
The shared drive was in dire need of work. Tarmac crumbled beneath us every time we walked down the drive, never mind drove! It had to be completely raked out.
It was a huge job that took a team of 6 just over 1 week to complete (our drive, the shared drive and the neighbour’s drive).
Stage 1 – the 1930s wall restoration
During the conveyancing process when we bought the property, one of the many red flags on our building survey was that front wall.
It was a beautiful wall, originally built alongside the house, but it suffered subsidence over the years and was poorly patch repaired down the centre with supposed risk of collapse.
So Neil made it his mission to restore it back to its former glory.
This had to happen first so that when the driveway paving was laid, it would line up perfectly with the new wall.
Neil hired specialist bricklayers who knocked and rebuilt it to replicate the same design and it’s such a novelty to see a brand new version of the original design on our road. The bricks are London Heathers that are the same as the house, but obviously brand new vs 1930s hence the colour difference.
He investigated reclaiming the bricks, but we were quoted nearly double what we paid and it was already an extortionate amount!
To be honest, at the time nothing pained us more than spending ££s on a brick wall that we could have compromised on and left as it was. But now it’s complete, it’s proven to us again how it’s worth waiting and saving that bit longer to get a job done properly. It’s really brightened up the front of the house.
Stage 2 – Designing the driveway
With the wall restoration in full swing we moved onto the driveway design.
We’re so fortunate to have lovely neighbours around us and over the last few years conversations often turned to the shared drive, brainstorming ways we could improve it.
It never became a priority for either household until Neil started chatting next door about us wanting to do our front drive sometime soon. It just so happened, they were keen to do theirs too, so we decided to go all in and design both drives and the shared drive as a whole.
Some slides we put together early on to document requirements
Choosing to do this meant we would be left with an overall better finish, there’d be no new driveway paving butted up against crumbling tarmac!
But also it made the job quite attractive to local companies. Double the drive meant double the work, and we were able to get a great price with an amazing team.
Neil began investigating tarmac prices for the shared drive first, laying driveway paving in front of both houses only.
We discussed as a team (both houses) what look and price was right. We wanted something tumbled and nothing too modern.
The idea was floated to just lay the same paving the whole way across both drives and shared drive to have everything match.
Neil and I weren’t convinced because we didn’t want the drive to feel too much like a car park and wanted to bring in contrast between the shared drive and our boundary lines – for future owners to determine where they can and can’t park.
I also wanted some detail brought into how the driving pavers were laid, for a considered look with borders, edging and a mix of smaller setts pavers and larger blocks.
So we developed a design (i.e I brought our conversations and ideas together and drew it all up in Sketchup) and had a few rainy meetings to agree the overall look.
Part of the design we came up with had to satisfy our need for plants! We wanted to replace as many plants as we could, and have a pot either side of the door.
I wanted to follow the curve of the bay windows as inspiration and originally designed a curved bed around the bay with a squiggle bay (not the legit name!) towards the front of the wall, imagining roses and spring bulbs all growing over the years.
This design was a great starting point for the team but it did evolve as it played out (as a lot of designs do when you hit issues and just realise some things won’t work).
For example, our house sits higher than next door and required steps to be installed.
The curved border I initially drew up would have been too deep and we decided it was neater to have a slimmer border with potential space for a second car for visitors.
The squiggle border just didn’t play out right on site so we changed it to a simple curve.
And when we got prices back to rake out and relay tarmac down the shared drive, it worked out to be pretty much the same price to lay driveway paving down the full shared drive – guaranteed to last longer than tarmac.
The driveway paving we chose
If you’re looking for driveway ideas right now you’ll notice how limited we are in terms of choice but luckily there are more options than there once were.
We chose AG’s Country Cobble in the colourway Cashel for the front drives, and Country Cobble in the colourway Slate for the Setts (the smaller slabs for the borders), shared drive and the edging to provide a contrast. The edging is just an up-ended paver with gaps for drainage.
This paving is commonly used for driveways but looks incredible on patios, garden paths and just about any residential exterior project.
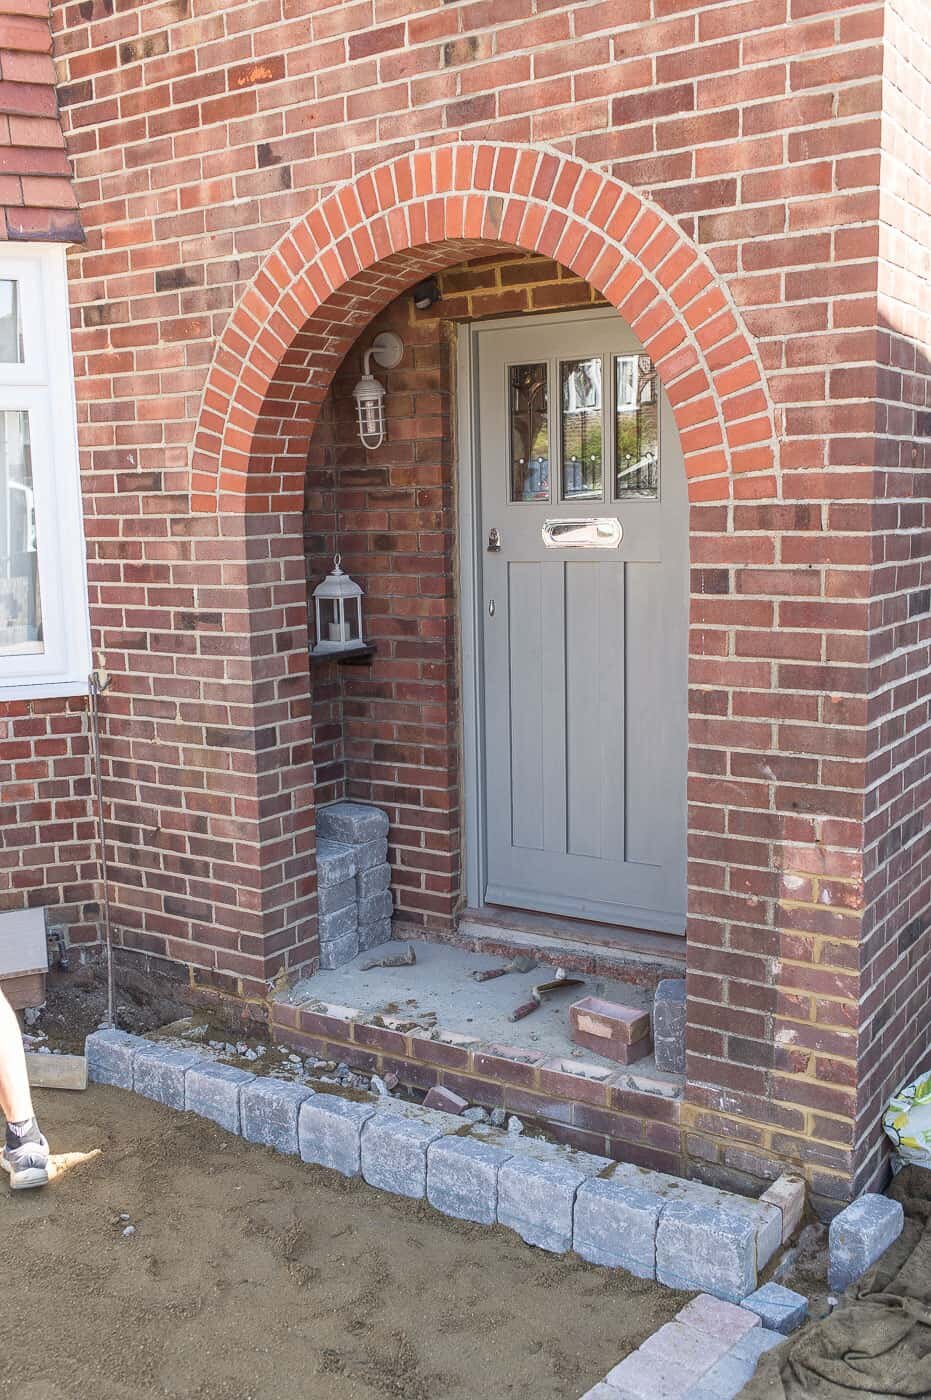
Originally we considered designing a more ‘wow’ door step with terracotta herringbone tiles but I’m so glad we decided to keep it simple now. We matched the step to the rest of the driveway. It was built with AG’s Mile Stone Kerbs in Slate to match the edging, filled with Cashel paving.
Stage 3 – Building the driveway
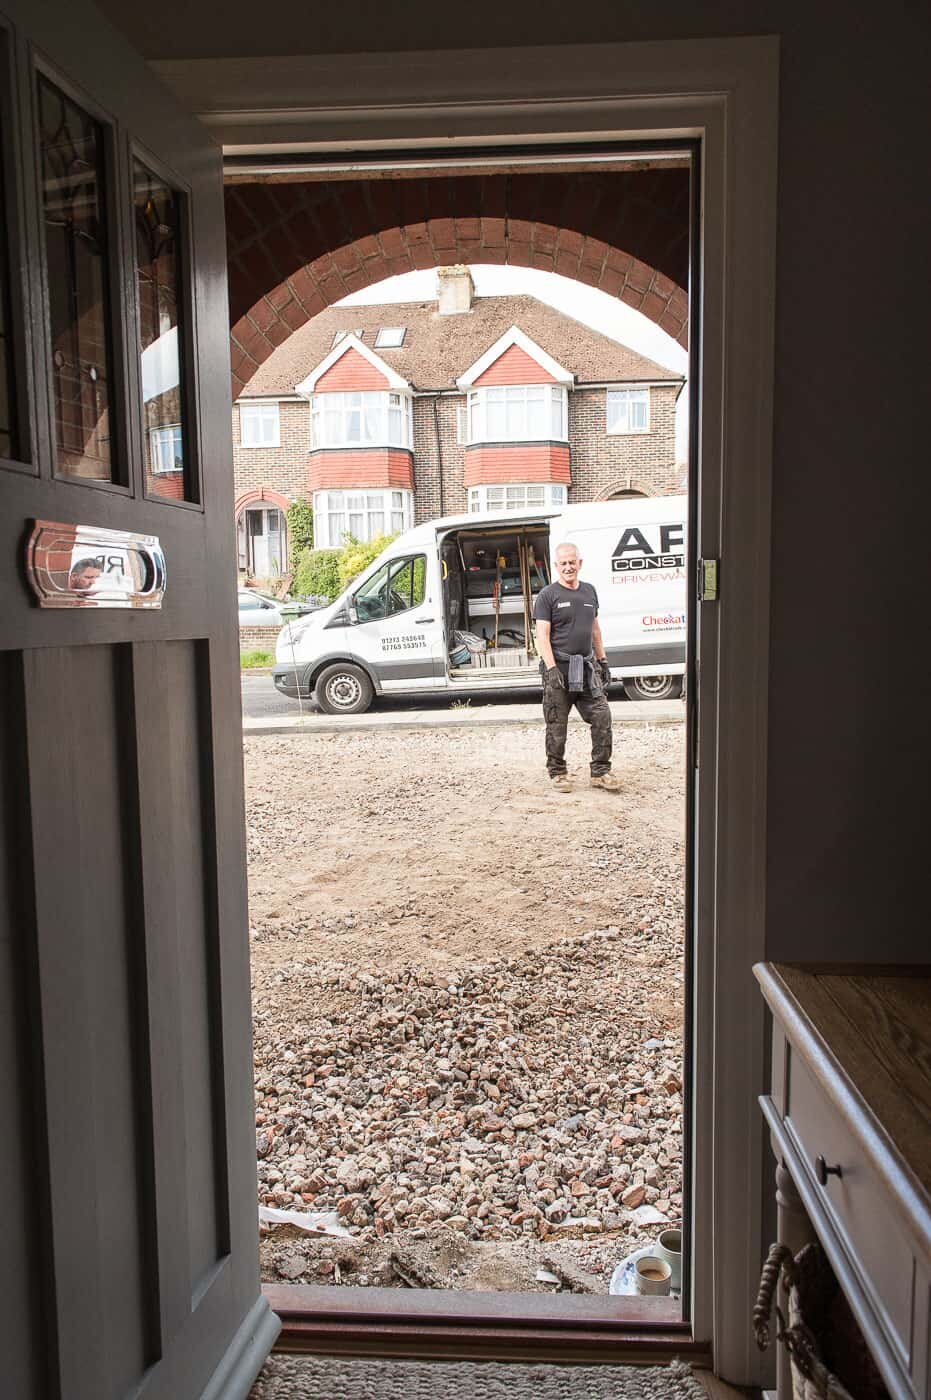
Neil got a couple of different local, reputable driveway companies quoting for the job but our favourite were the team we ended up going with, Apan Construction.
The owner Andy and his team are experts at this – they’ve laid all the drives on our road and in our area so we were able to see their work before instructing them to take on ours. Even as hot as it was, the team worked with a smile and took huge pride in their work.
The owner Andy lives up the road from us with the same driveway paving so we were able to ask him how it weathered, whether weeds were a problem and whether he sealed his drive. He just knew the look we wanted, and beyond that we felt like the job was in such safe hands with all of them.
A driveway for all weathers
The whole time we designed the drive, we imagined possibilities that could go wrong long into the future so the design could manage it.
That’s the thing about exterior work – you’ve got the weather to contend with not just ‘the look’ like interiors.
While the team started laying the driveway blocks on the hottest day of the year, every decision was permanent that had to tick boxes during snow, ice, sun, rain, storms – you name it.
Questions we were asking ourselves + Apan:
“If we get severe rain, where’s the water going?”
“Is all rainwater being directed away from the house?”
“Will flash flood-like weather cause water to stand in any areas?” (the blocks we chose weren’t permeable so this was a concern, Apan put a couple of mm gap between the edging of the borders so rain could soak through to the soil in this event)
“Do we need planning permission if we’re not dropping the kerb?” (at time of writing, no)
“What’s the slip rating on the pavers we’re choosing, what about when there’s ice on the ground?”
“How much weight can the driveway paving take?” (i.e can we back heavy vehicles down the drive in case of back garden developments and ensure no crackage! Maybe a silly question that nobody could for sure answer, but hey, why not ask!)
It was insane to see how fast they worked. They arrived at the crack of dawn every day and didn’t stop! We all know workmen who like to take 15 breaks and clock off at 3pm don’t we? ;) Not these guys!
With the driveway near completion, we got a crate of beers out one sunny Friday and thanked them for all their hard work. We just couldn’t stop staring at it all! In awe!
Stage 4 – Choosing plants for the driveway borders
The final part of the puzzle! We did about 3 trips to garden centres and nurseries all across Sussex to find well-established plants and got a huge top soil delivered and filled the borders ready for planting.
I’ve got to say, we aren’t great with plants. But we seriously try! Our track record out in the back garden is pretty unlucky but we researched well and chose plants that were hardy and would thrive in full sun – as well as look great against the drive and house.
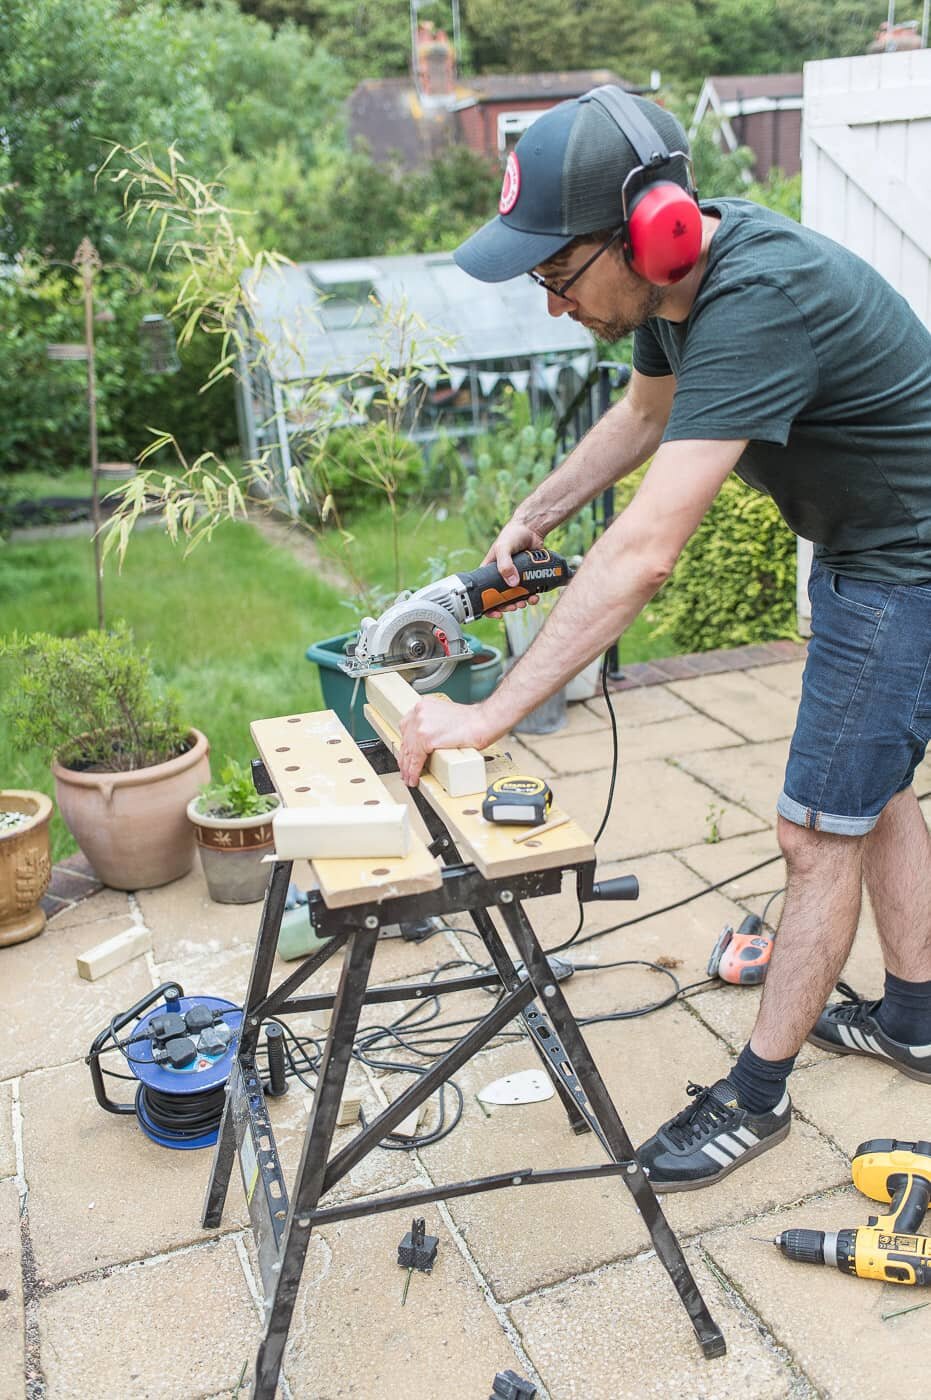
For the curved bay border we had a gas box to contend with which used to sit under a big bush when we first had gas installed. It was a tricky one to figure out how we’d disguise it while still retaining access but Neil built a wooden planter that can be lifted away and painted it in the same colour as the front door. He’s writing all about this in a separate post :)
He filled the planter with plants like Lamb’s ear, Salvia, Campanula, and then for the rest of the border we teamed up and planted lavender (hidcote), Hebe and David Austin roses (Olivia Austin) which will hopefully all be really happy in this sunny spot.
For the corner border we bought an Olive tree from our local nursery which was so exciting (and a day out in itself!) to go and choose.
When you look out of our living room window, there’s a large telegraph pole in view, and we wanted something tall(ish) to stand there and disguise it. We’re really not sure how it’s going to fare in rainy months, as olive trees love drought but have plans to possibly re-pot it so the roots don’t overwater. It’s an experiment! We’re keeping fingers crossed for it, who knows.
Below the olive tree we themed the border with a mediterranean vibe planting oregano, grasses, rosemary and thyme which will fill beautifully over time.
Either side of the door we bought William Morris pots and filled them with a simple Portuguese Laurel. The obvious choice would have been bay trees or olive trees either side, but when we started to imagine it all, it just seemed a bit showy and we wanted something a bit more relaxed. These were much more affordable too.
It was so much work deciding on plants for the driveway. Initially we looked for a garden designer to help us but it was just too small a project for people. We’re so happy with how it’s all turned out though. It was such a nice project to do together and it all happened when we had amazing weather.
Overall, we’re so pleased with how the drive has turned out. It’s completely transformed the front of our house – and our life.
I spend loads more time out the front dead-heading my new roses, and Neil feels relieved every day we leave in the car, knowing there’s always a space to come home to. Carting the food shop in and out is easy peasy now too.
I needn’t have worried about losing the front garden. We’ve created a space full of bee-loving plants, a tree and shrubs, and overall improved the exterior of the house.
That’s one major renovation project ticked off the list! High five, Neil!
Are you renovating too??
Neil and I have supported so many first time renovators all across the UK with our online courses. We’d love to help you tackle your projects with ease! Start with our free Survivor’s Guide to Renovating and read our tips for a less stressful, no-regrets renovation. It’s totally free and will show you where to start.

