How I created 3 inspiring mood boards for my local charity | Martlets Hospice


This past year I’ve been so lucky to work closely with my local charity the Martlets Hospice helping to makeover some of their patients rooms.
Back in April 2019, they launched a hugely successful campaign called the Cuddle Up Appeal, to raise funds for one important mission: To invest in their patient’s rooms so that they feel like home, and can comfortably cuddle up with their families at such precious times in their lives.
It has meant an enormous amount to me to be able to work with the Martlets on this project. I lost a sister and father to terminal illnesses, and I remember during those precious hours we’d be gathering around their bedsides, talking to them about how one day I’d win the lottery and work with the NHS to redecorate their hospitals to be as comfortable and uplifting as they can be.

I felt like it was the law of attraction working for me when the Martlets reached out to ask for my help with the campaign, through helping them style and design some of their rooms.
A few months on, the Cuddle Up campaign is now complete, and we’re ready to start investing in the rooms.
I thought I’d show you 3 mood boards I created for the first space I’m helping them design.
The Orangery

This isn’t the room in question, but very similar
The Martlets have a beautiful room they call The Orangery in their Sussex hospice, similar to the room above. It’s filled with good natural light, and it’s a wonderful sized room for families and patients to gather together for a cup of tea, play games, relax or watch TV together. It’s a really important communal space, and helps to bring together patients and families to support one another.
The Martlets are really keen to update soft furnishings, wall art and home accessories in this room to make it feel like an extension of their patient’s homes.
They tasked me to create 3 mood boards show casing 3 different looks that I think would work in the space so I thought I’d show you what I came up with below, get your thoughts on which you prefer, and give you a quick tutorial for how to create mood boards if you’re planning changes to your home.
The Orangery Look 1 – Cosy Country

Warm colours, cosy textures, plants, wood, and a real 'family' 'homely' vibe.
I think it's the more timeless option of the 3.
A gallery wall with simple square frames could feature black and white photos of Brighton seafront and the beach for a relaxing vibe.
Bringing in tall faux plants will give a natural feel.
The colour palette would remain neutral with cream, dark grey, light grey, browns.
The Orangery Look 2 – Uplifting Modern

A neutral room with colourful accents.
The colours chosen would need to be soft, not bright shades.
Pastel colours will keep the environment feeling uplifting and calm.
A gallery wall with soft abstract art could be brought in to add visual interest.
Again, plants will bring a calming, natural feel. Add seagrass baskets, blankets, cushions, and minimal art.
The Orangery Look 3 – Homely Eclectic

A busier room visually, with more varied patterns and a mix of looks.
Floor cushions and a large Persian rug will instantly give an eclectic feel.
A gallery wall with striking black frames and mix and match artwork.
This is a look that can grow through the years as the Martlets add more furniture and accessories through the donations they receive.
Which do you think would suit the room and its needs best? I’d love to know your thoughts 1, 2 or 3 in the comments below.
How I created these mood boards…
Believe it or not, all 3 mood boards took me about 2-3hours to do. They are so easy… and so essential to do to get a home decoration or renovation project working well. I share an in depth design module in the How to Renovate a House online course that explores colours, layouts, and defining your style in far more detail, but here is a quick tutorial to get you started if you want to create something similar.
Decide which room you need the mood board for
That’s easy! Bathroom? Bedroom? Kitchen?
Decide which style you’d like to develop
Country? Coastal? Minimal? Boho? The options are endless, and you can even make up your own using adjectives you know you want to portray or feel in the room like I have “Uplifting modern”, “Cosy country”. If you’re finding it tricky to nail 1 look, consider taking the How to Renovate a House course. There are through exercises in the design module that gets you understanding what look is right for you and your family for years to come.
Search pinterest and instagram for images that best represent the look you want to achieve in the room
Now, curate images based on the style you’re going for. Make sure you’re selecting images that really speak to you and channel the vision you have, whether it’s layout, colour, or if the image has an overall look you want. Try to curate the following too:
A main image
Choose an image that best reflects the room and interior style you’re working towards. Spend time on this.
A colour palette
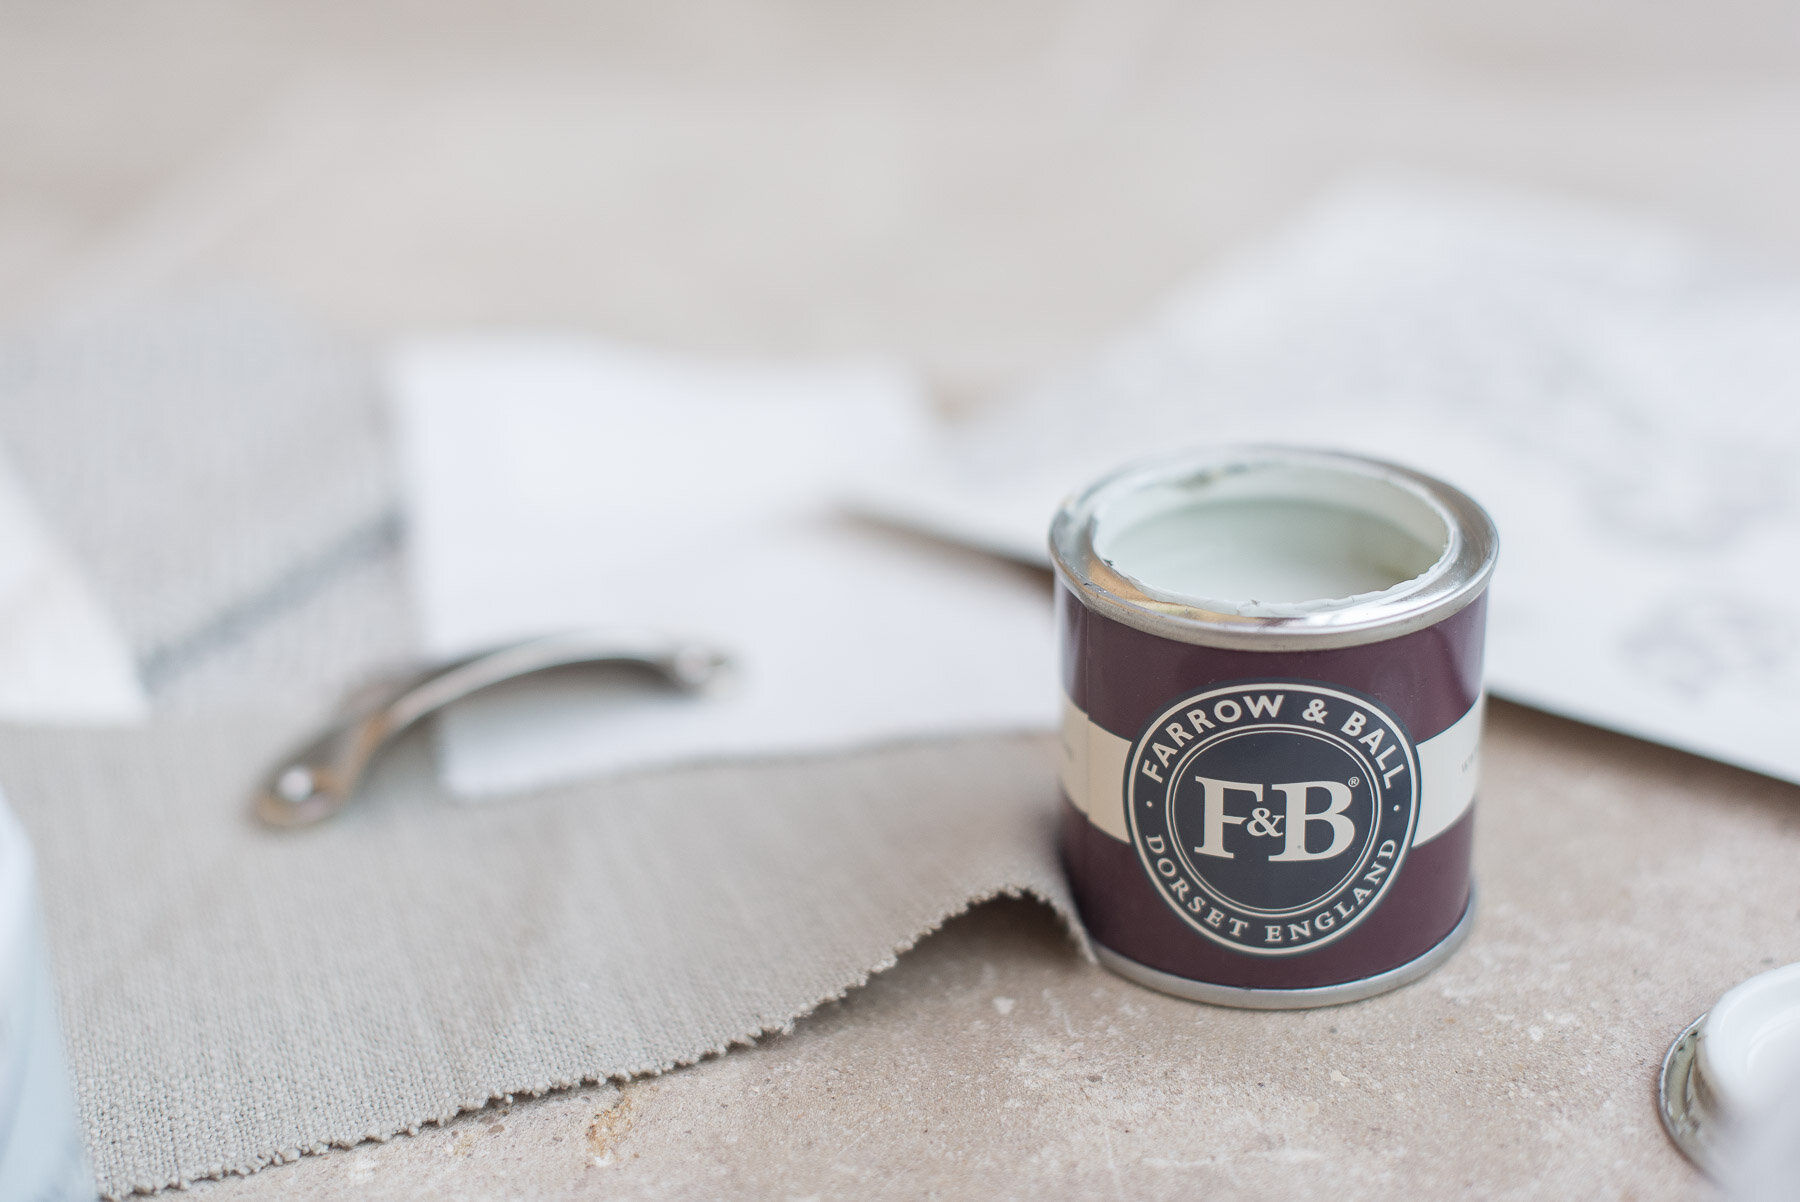
Look back at your colour wheel and select a minimum of 3-4 colours for the room (this is usually a wall colour, woodwork colour, accent colour or any focal point colours). If you’re using wallpaper, copy in a picture of it.
Flooring
If you’re replacing your floors upload a close up / screenshot of what you think you’d like the material to be. If you aren’t replacing floors, try and find an image close to what you’ve got on your floors currently so you can visualise how it could look with other elements of your room design.
Metal
It’s good practice to select a metal finish (e.g. brass, steel, shiny chrome, brushed chrome) for handles, lamps, switches, sockets and stick with the same finish through the room (although we confess we are awful at doing this! It is really easy to forget, so try not to!)
Try to find a picture that represents the sort of metal / finish you’d like and copy this in to see how it all looks together.
Other things you could feature in the mood board
You may like to include furniture examples (especially if they will play an integral part of your design, a yellow sofa for example), tiles, wallpapers, lamps (especially if they are architectural focal points, such as a large curved lamp), lighting, storage ideas etc.
Now create the mood board – the easy part!
I used Google Slides to create these mood boards and highly rate it!
It’s free to sign up for an account with your gmail, or perhaps you might be familiar with it already?
Start a blank sheet.
Remove all titles by clicking on them and hitting delete on your keyboard.
Then insert images by clicking ‘Insert’ > Image > Upload from computer, and drag it to arrange where things are placed.
Keep adding images in until you build up a scheme for the room.
When you’re finished, go to ‘File’ > ‘Download’ > ‘PDF Document’ and save it somewhere safe, or print it and stick it somewhere you can regularly see.
It really is as simple as that! It’s so quick to create a mood board for every room.
If you want to explore the design in your home a little further, watch the short video below or visit my course page to see if the How to Renovate a House course is for you.
I hope you enjoyed this post. Thanks for reading,
Fifi xoxo
