How we used our own online course to smash our renovation budgeting and layout
Back in 2019 we spent 3 months hunkered down in our home office in pure development mode to build an in-depth online renovation course entitled How to Renovate a House.

It was never all smiles during THE COURSE development. Never. Ever.
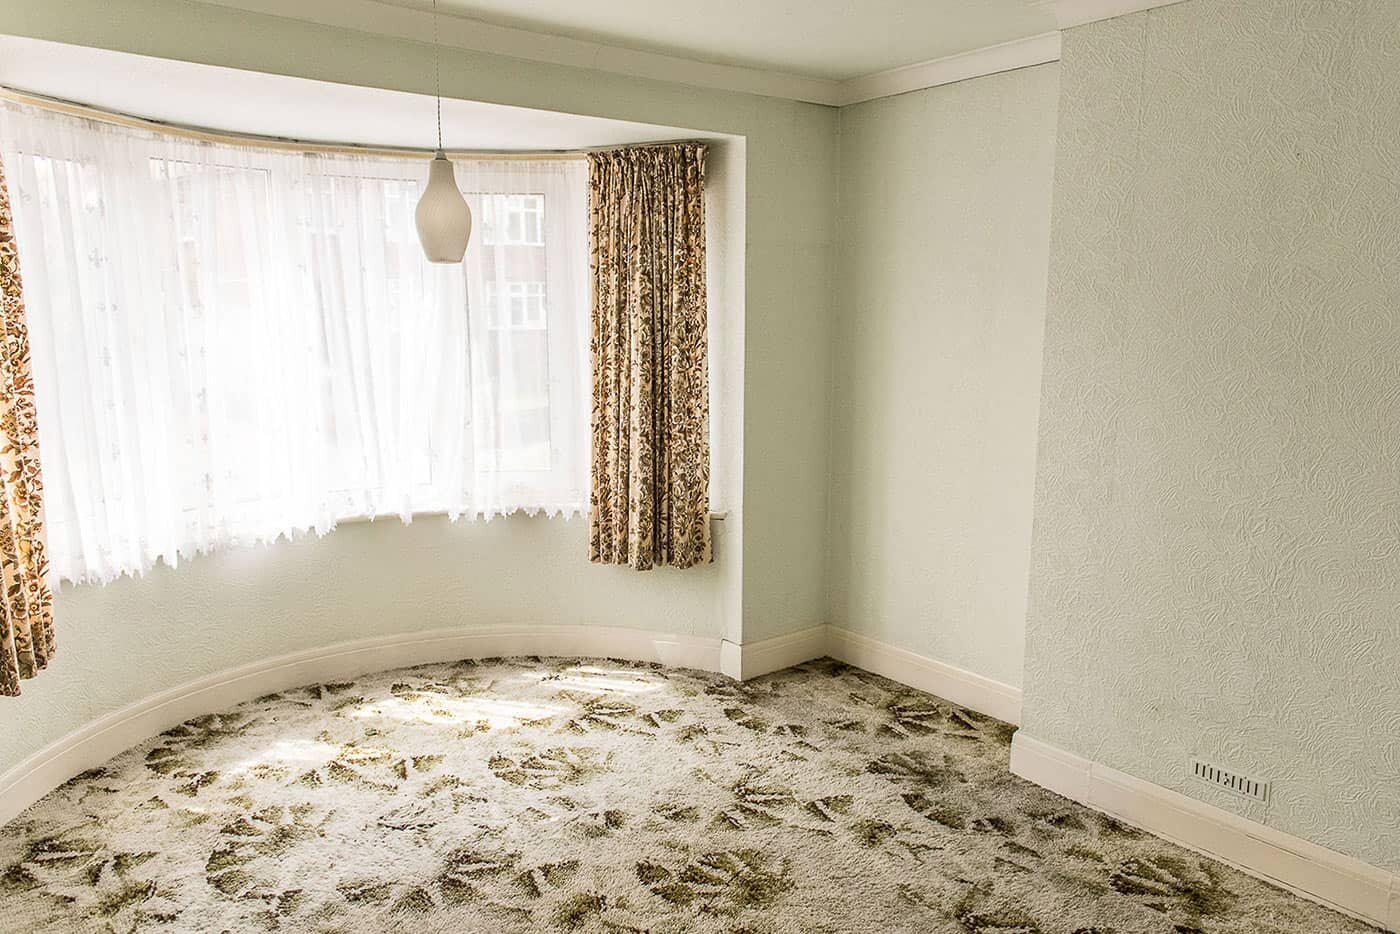
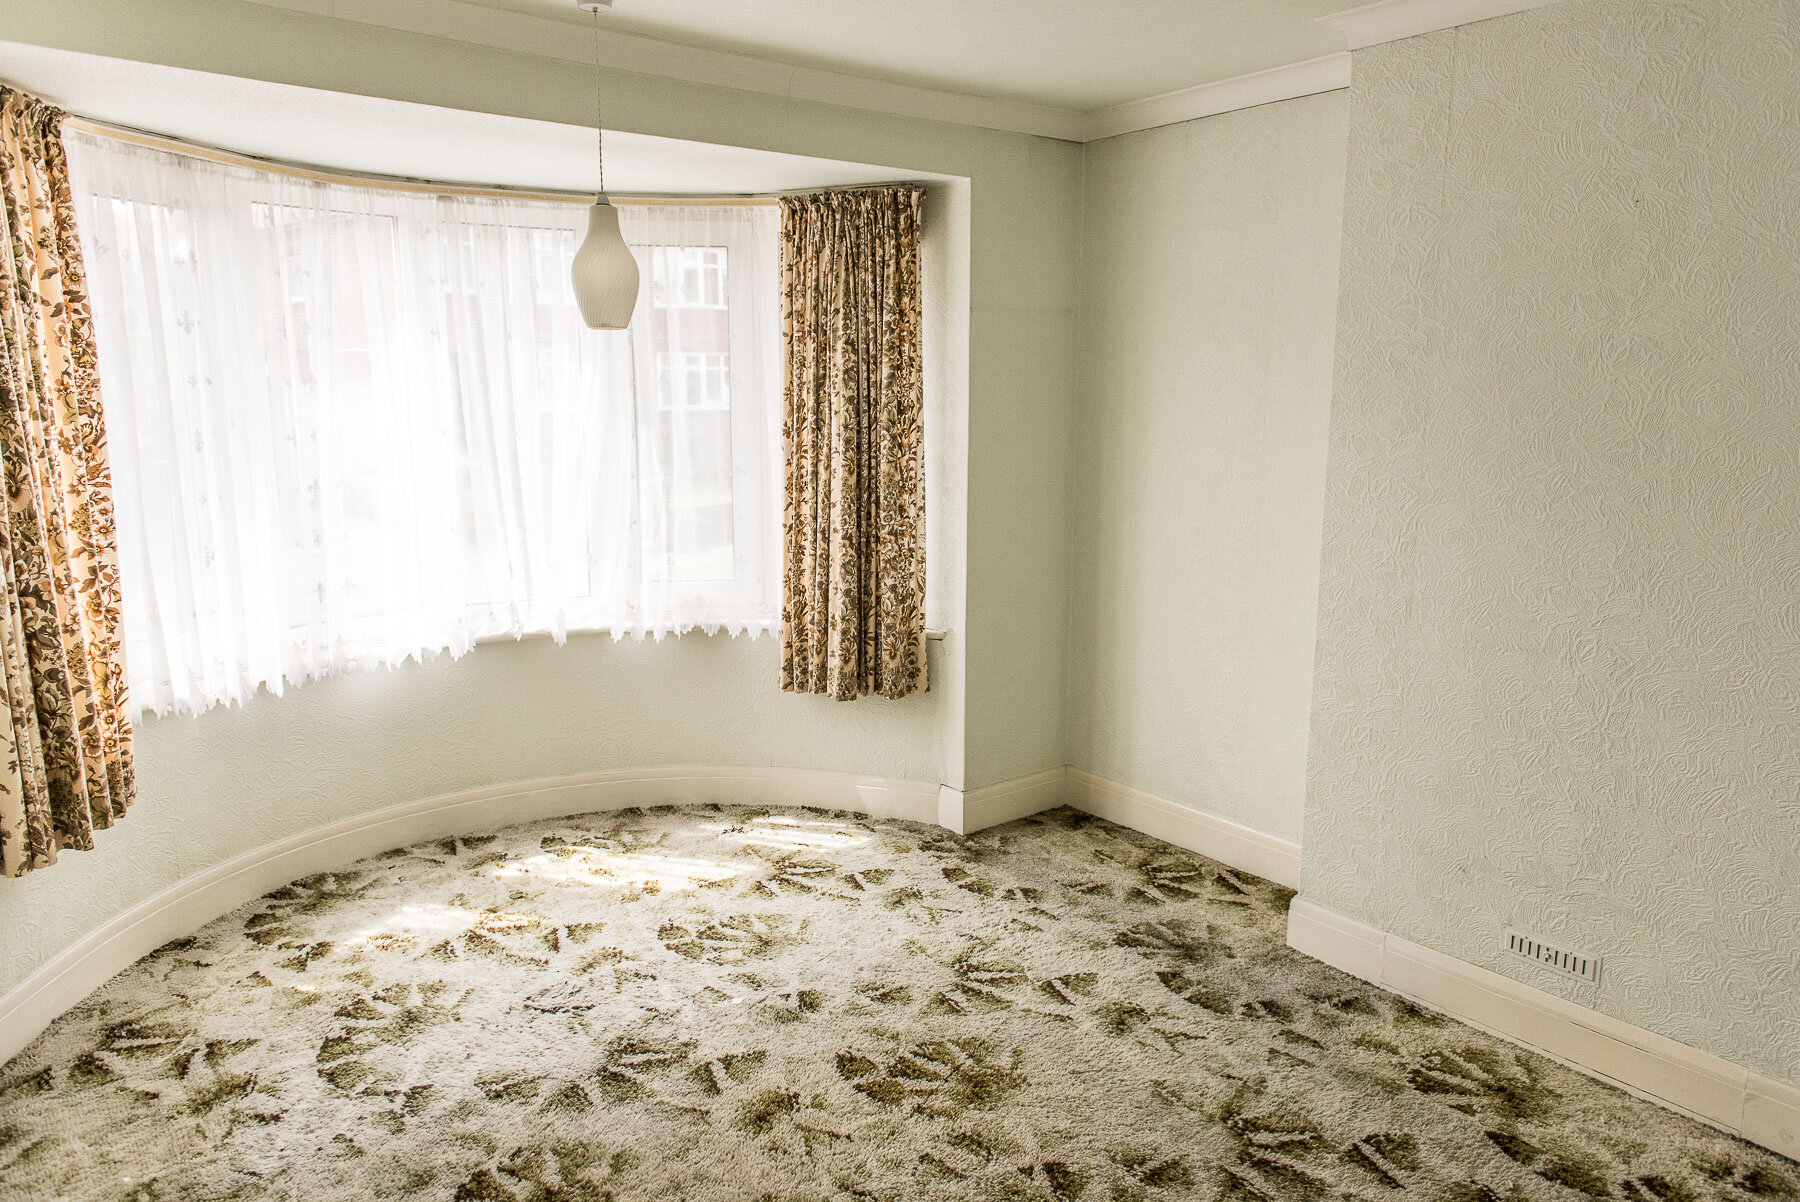
With a master bedroom to renovate (see above for stunning carpet choice by the previous owner), we knew that doing our own course was a must – to get us planning the renovation in the right order.
Not only were we able to revisit each module in the course, working through it as if we were students, but by the end of just the first 2 modules we had gotten clear on exactly what we wanted to do with the bedroom.
So believe us… The course works! It got us focused and we made some amazing progress on our planning in a short space of time (of course, Covid happened and slowed us right down but let’s not focus on that slight issue!)
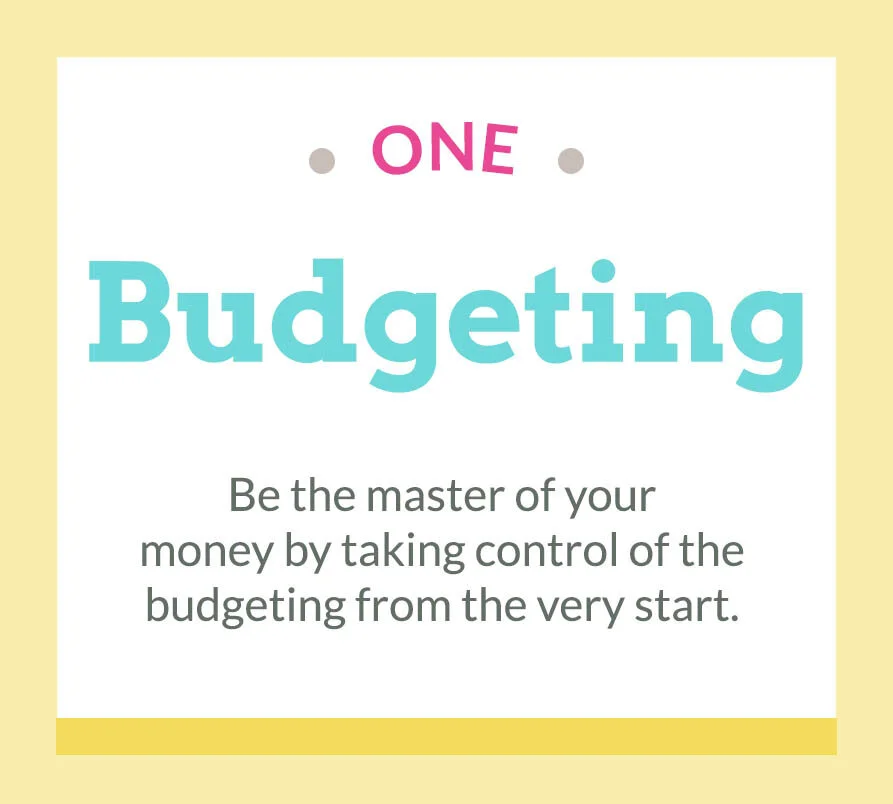
We spent an entire day doing the first two modules of our course (Budgeting + Layout) on just the one room, and it reminded us quite how much work and thinking is required to ensure a stress-free renovation that doesn’t go over budget.
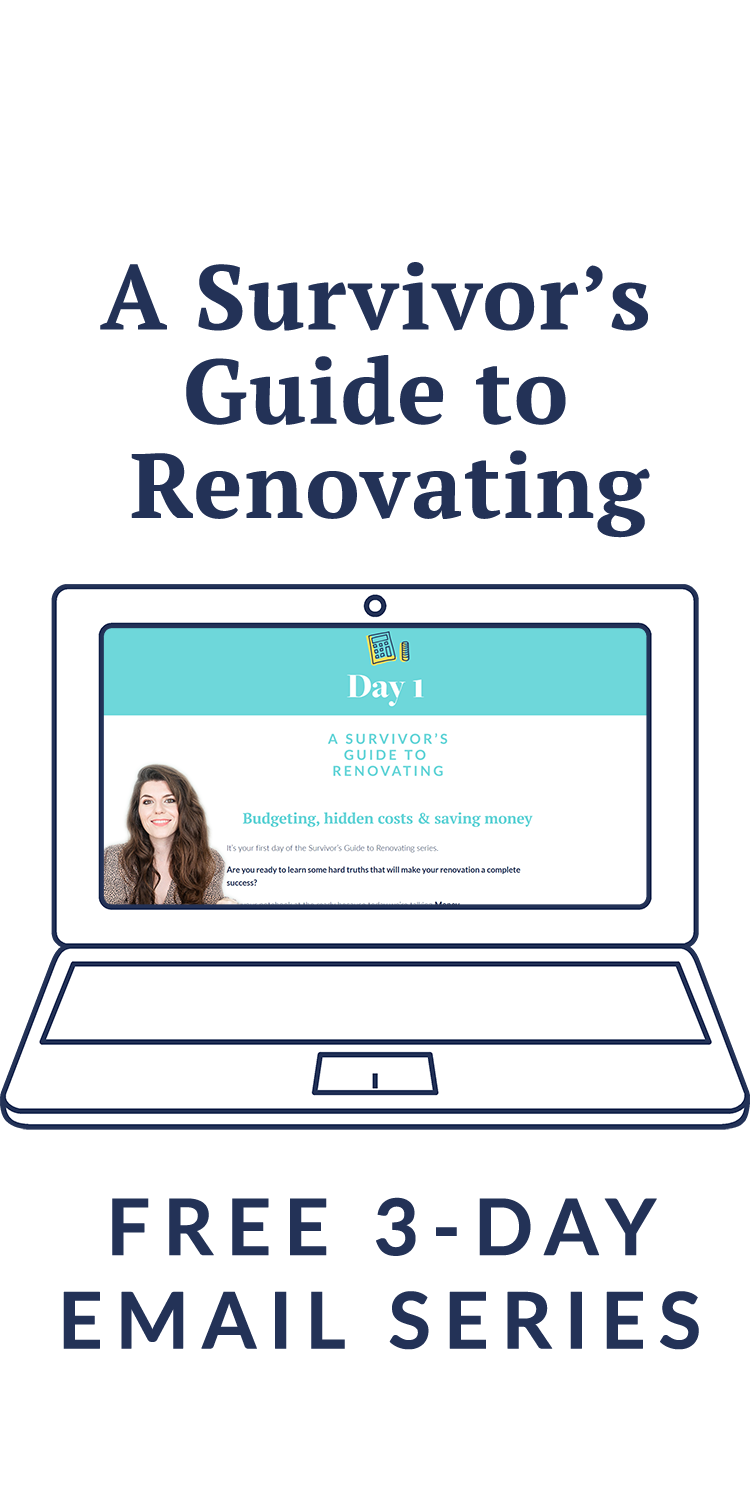
By the way, if you’re interested in hearing some tips we have around this for free, take a look at our Survivor’s Guide to Renovating which is guiding a lot of new renovators in our community.
This is how the course helped us, after the first 2 modules…
Firstly, it made us have difficult conversations
The course makes you face some difficult decisions. We actually found that we didn't agree on quite a few bits so it was good to do it as a couple in order to make sure that we were aligned with the decision making process one way or the other. Much better than getting into renovation mode and finding out that we didn't agree and had to change something… while potentially embarrassing ourselves having a barney in front of the builders! ;)
We discovered exactly how we want to use the room

Mapping out the space
One of the exercises in the course helps you define your wants and needs for the room by initially addressing the key activities you’ll be doing in the space but also inviting early decor ideas you know you want.
For a kitchen this might be cooking, cleaning, entertaining, having a breakfast bar for the kids to do homework on etc… For our bedroom it was sleeping, reading, getting ready, built in alcove wardrobes etc. Walking through exactly how we would use the room made us discover design ideas to address these areas. ‘Getting ready’ was a good example – we hadn’t considered where a full length mirror would go in the room, nor where I could dry my hair or do my makeup in natural light. So having this insight early on we were able to factor in an extra plug point to our electrical plan, to sit near a make up area for plugging in a hair dryer to make my routine super simple. I’d have forgotten all this if it wasn’t for the exercises in the course.
We prevented any surprises…
Layout can be such a nightmare to visualise – more so if you’re knocking walls or introducing built in storage that could make the room feel smaller. In our case, we want to install wardrobes inside the alcoves of the bedroom, but we just couldn’t visualise how much it would ‘shrink’ the space.
Luckily the course addresses the process of visualising a room using 3D imagery and design. With easy to follow videos showing you how to use a simple piece of software, it meant that we were able to add in all measurements for the room and build in design features to see it 3D.
Guess what we found out? The wardrobe installation will be very close to the window, which could obstruct window dressing. It’s a surprise we can now address later in the course when we decide on Design elements, potentially opting for window dressing like shutters that don’t need clearance either side of a window like curtains do.
We got real, and addressed our concerns up front…
We were initially worried that the space between our bed and the wardrobes would be too small to allow space to comfortably walk around and hoover (the important things in life 😂), but measuring the whole room, marking out where the master bed would end, and how deep the wardrobes would be, meant we could clearly see how much room we had to walk around – and it’s just about enough space! Phew!
We mapped out a heating and electrics plan
We’ve done a little bit of thinking about how to heat the master bedroom, and finally decided to go for a curved bay radiator. Read our heating post if you’re looking for heating ideas too. Understanding heating requirements early on is something that is super important and the course gets you really understanding what you need. It asks all the right questions and has a whole suite of resources to help to work out which heating and lighting/plug socket plans are for you.
We also spent some time thinking about the best positions to place light switches and sockets and discovered some smart home functionality that we might want to utilise – again, the course provides guides on electrics and heating plans in an extensive Resources section to help first time renovators if it all feels a bit alien.
In Summary…

In conclusion, after completing only 2 out of 6 modules in the house renovation course – Budgeting and Layout we’ve achieved so much:
We now understand the ball park figures for how much it will cost to renovate (with adequate contingency)
We can now get accurate quotes for the work as we understand electrics and heating labour needed
We’ve nailed major decisions that we can simply show to our contractors
We’ve started getting a very clear idea for what furniture and fixed furniture we need to order
We’ve addressed key concerns to prevent misunderstandings that can cause work to be undone
We’ve agreed on decisions preventing conflict further down the line
As we’ve been working on it together, we feel like we’re designing the room to be exactly what we both want

When we carried out other renovation work in the house, we didn’t have this course to help us step by step. We had to make decisions like this on the fly and it was intense. We really did learn the hard way…
Doing our own house renovation course made the whole process 100 times faster, more focused, and thorough. No hidden surprises that can end up costing extra money.
And that was just 2 out of 6 modules complete… Design, Planning, Shopping and The Build up next!
What we wish we knew about renovating before we started
Grab our Free Survivor's Guide to Renovating
👉 Tips on budgeting, getting trustworthy contractors & delivering on time
👉 A step by step method to follow
👉 Confidence to do things right; don't regret wasting money!

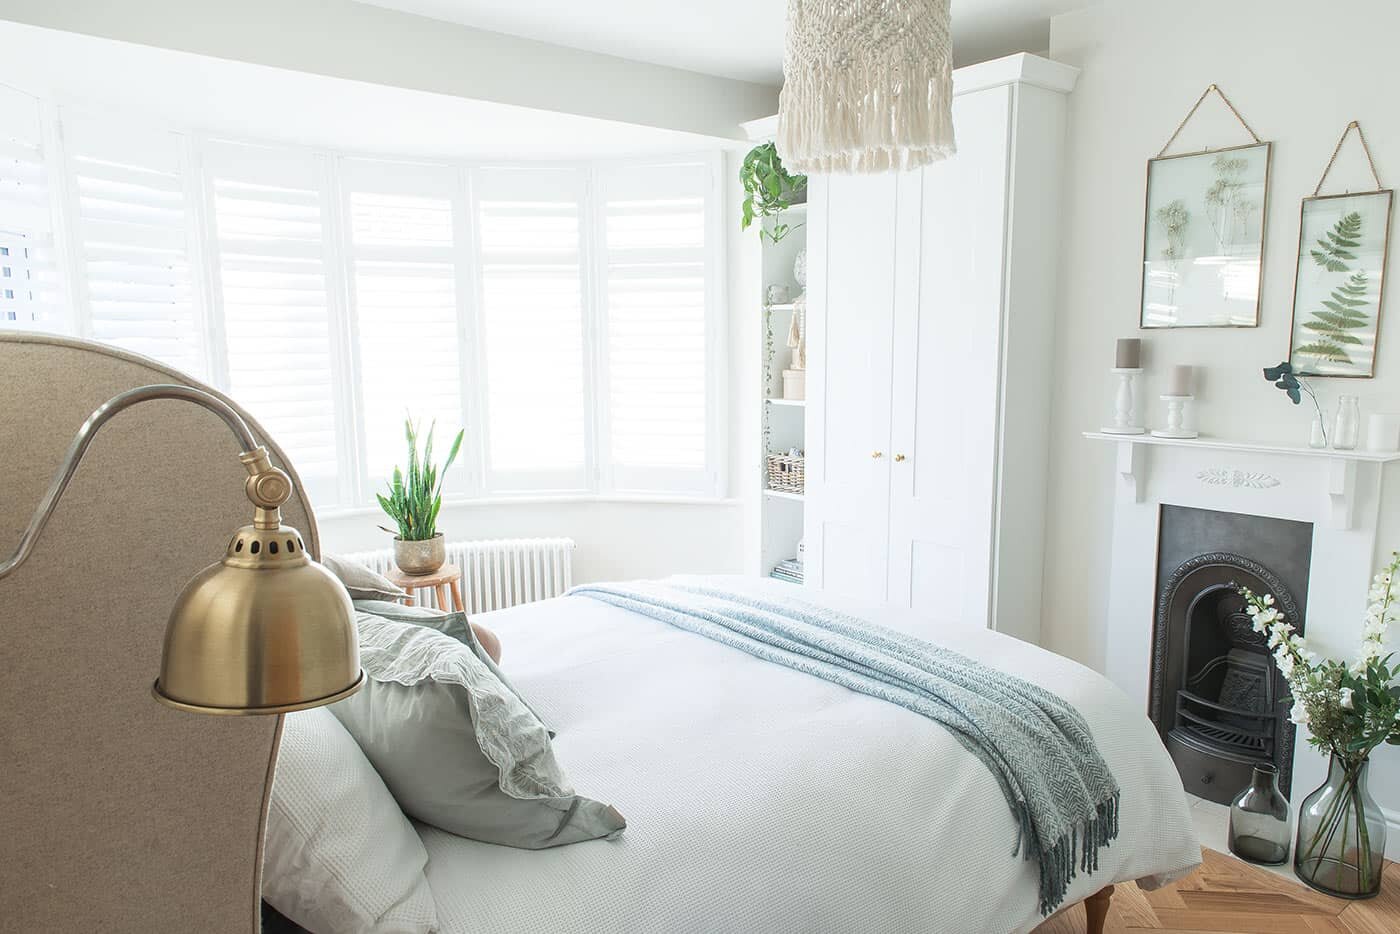
Update: We think the results speak for themselves!