Our new UPVC bay windows install | 1930s house renovation
When we moved into our 1930s semi detached house back in 2016, one of the inconvenient truths flagged in our survey was that we would need to install new UPVC bay windows at some point fairly soon (in fact, most of the windows needed replacing).
Our surveyor quoted about £10K to replace the front windows 🤯
…but luckily we negotiated the price of the property before we exchanged and managed to get that knocked off the price 👍
New windows are one those projects that have a cost-to-benefit ratio that feels like a punch to the gut. Windows are behind window coverings much of the time, and the benefits (the look, sound, heating) feel like only a minor improvement, especially when faced with other huge and more measurable (exciting/sexy) undertakings in a house renovation project.
However the original windows weren’t just a bit crap, they were really, really crap.
The size of the problem
Our windows were in dire need of replacing by the time we came to do them 4 years into owning our property. Both curved bay windows needed replacing, plus a window for the small front room we use as our office. They were disgusting.
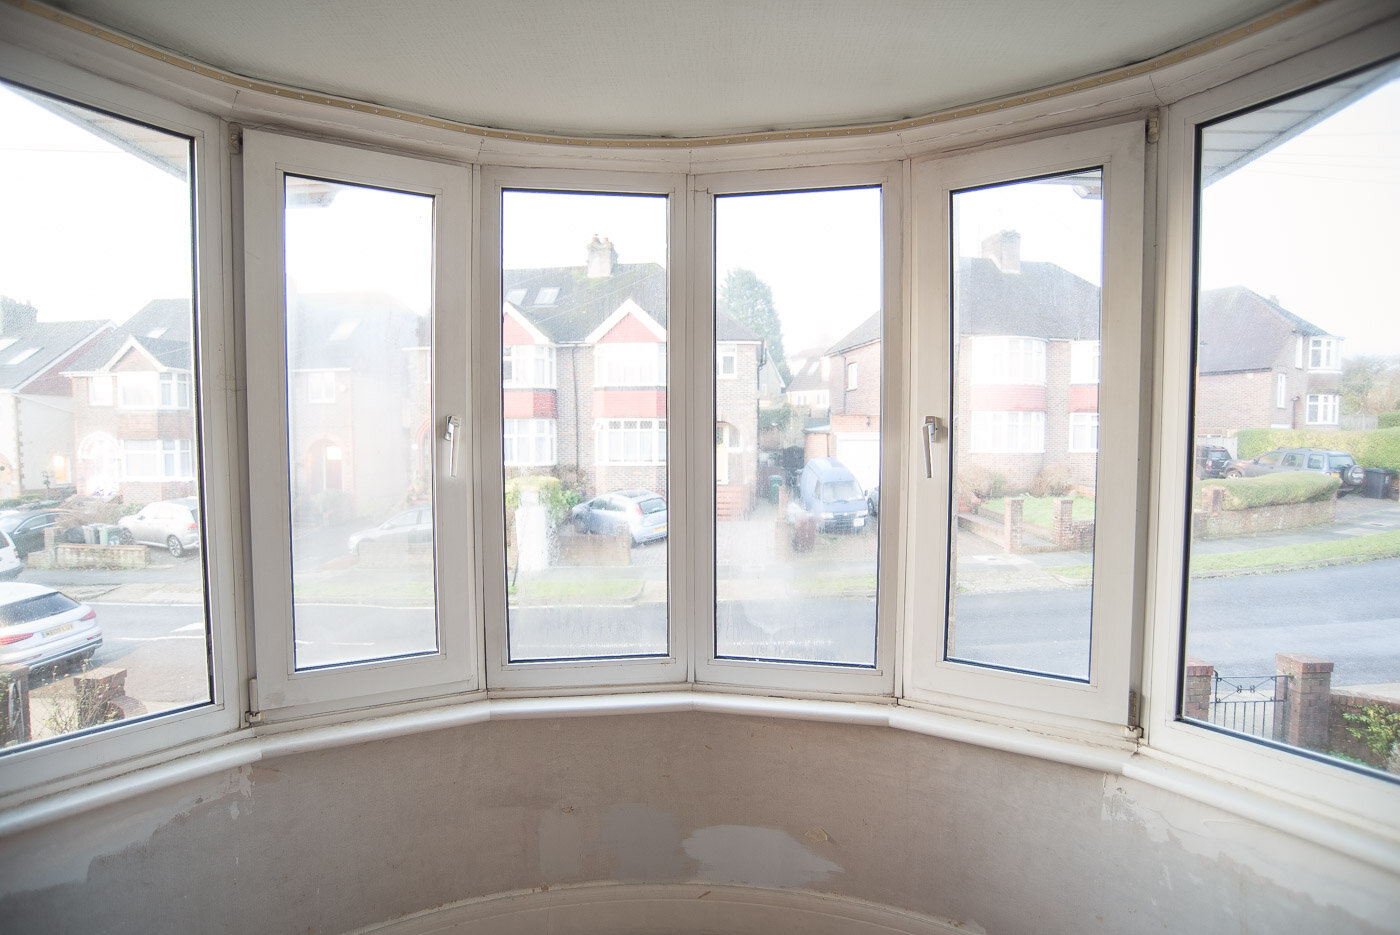
The seals were gone on most of the windows, the UPVC had yellowed to a disgusting degree and there was condensation inside the glass. There was minimal sound and heat protection.
One of the windows in the upstairs bay fell off it’s hinges when you tried to open it so they posed security issues too.

THE MASTER BEDROOM BAY WINDOW AS IT WAS - an old 1930s bay window

BEFORE: THE curved 1930s LIVING ROOM BAY WINDOW

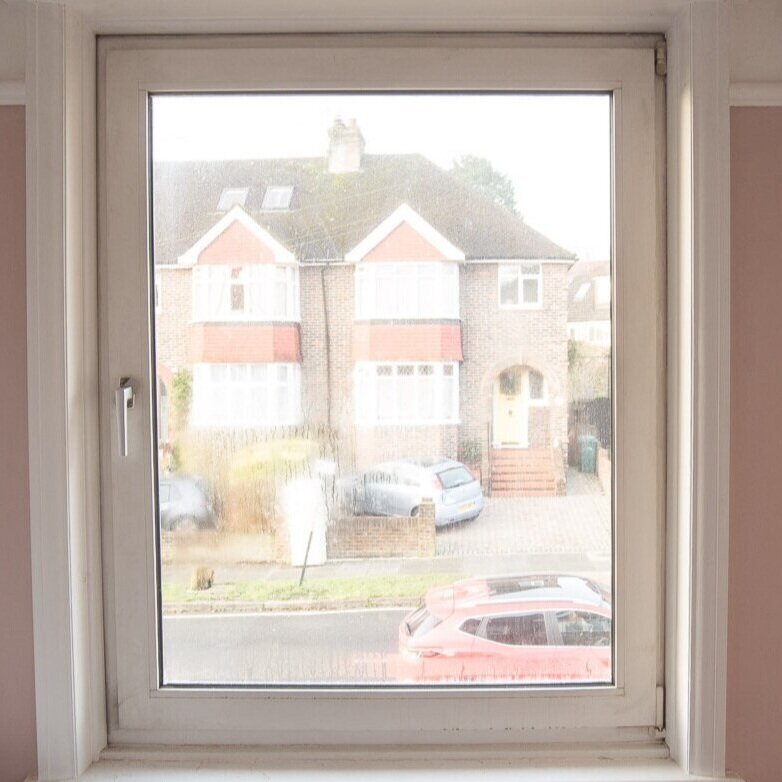
The ‘FROSTED window EFFECT’ in our UPVC bay window

Our grimy OFFICE WINDOW before the 1930s house rENovation
We think that the windows must have been 30-40 years old, so well overdue an upgrade. As the property is a 1930s house with the bay windows being one of the main features, it was so important to us to improve them in a way that was in-keeping with other houses on the street.
The project
The straw that broke the camel’s back was that our master bedroom couldn’t really be completed until the bay window was replaced. The window in this room was so bad in fact that you could see straight out into the street!

THE ‘AIR CONDITIONING’ - our draughty 1930s windows
There was no point in doing any work on the bedroom until we had this window replaced, and there wasn’t really any point in doing this window and not doing the other two…This happens a lot in renovations, you start one project and it’s like a jumper with a thread that you pull and it just keeps unravelling….
The budget
We had a quiet/rest year as part of our renovation and managed to save a few thousand pound for the project. We don’t usually take the loan route, but that was about to change which you’ll read about below. We saw online that two bay windows could be anywhere from £6K-£12k. The thought of parting with this money for white plastic and glass did feel like we were about to get robbed but hey…you only need to do it once, it enhances the value of the house and we kept saying to ourselves “it’s an enabler” (i.e. to complete our master bedroom).
The sales appointment
The windows company came around and there weren’t any real surprises to be honest, the usual feeling of a sales guy being a sales guy if you know how that feels…
If we were to give advice on how to get a good deal in the sales meeting, it’s to set out your rough budget (based on googling around) and then take it down by 25% when the sales guy asks you what your budget is. Normally they can work to your (lowered) budget to secure your custom. Basic negotiation tactics really.
There was an offer of a 0% loan which we decided to take up, so we paid 50% and were lent 50% by Barclays Partner Finance (controlled through the window company we hired) for 24 months. The rationale was that there were no downsides to taking the loan and it meant that we could use our savings as a buffer or for emergencies. We have actually been paying off the loan monthly with our initial windows savings pot but overall, the loan has given us peace of mind that we still have access to funds for any unforeseen emergencies.
The install
What was perhaps most surprising was the speed at which the install happened. It took two days to do all three windows, we were really impressed with the team and the pace of their work.
On a crisp December day we watched the scaffolding go up, and window install commence. That day, the weather was on our side, beautiful sunshine and clear skies. Until the second day came we didn’t really think about the weather!

THE SCAFFOLDING GOING UP around the bay window

THE FRAMES of the new bay window WENT IN REALLY QUICKLY


The second day came and the weather took a turn for the worse and as the focus shifted to the master bedroom, it was literally raining into the house! Thankfully we didn’t care too much because our pre-renovation room was just floorboards and un-plastered walls (see below).


After
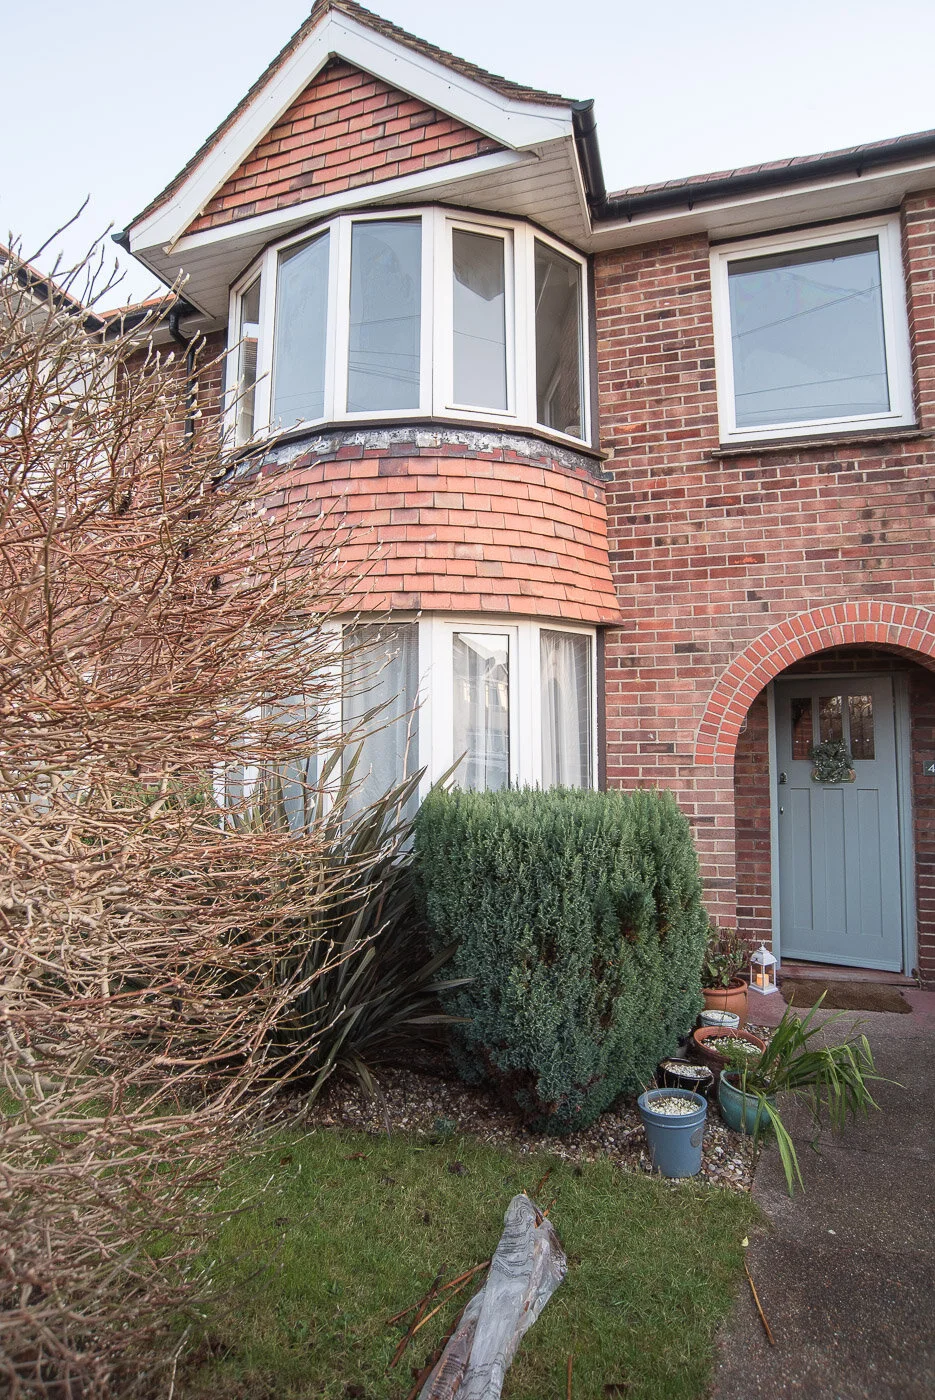
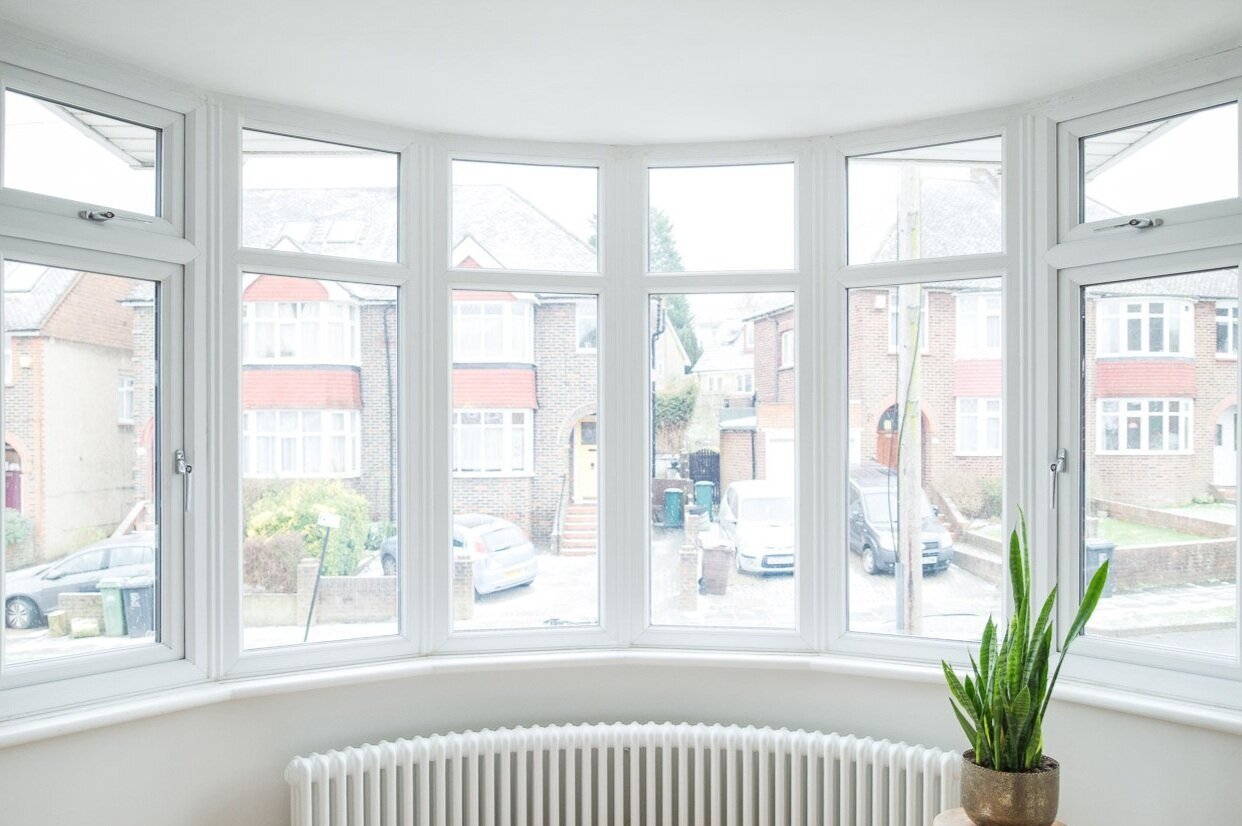
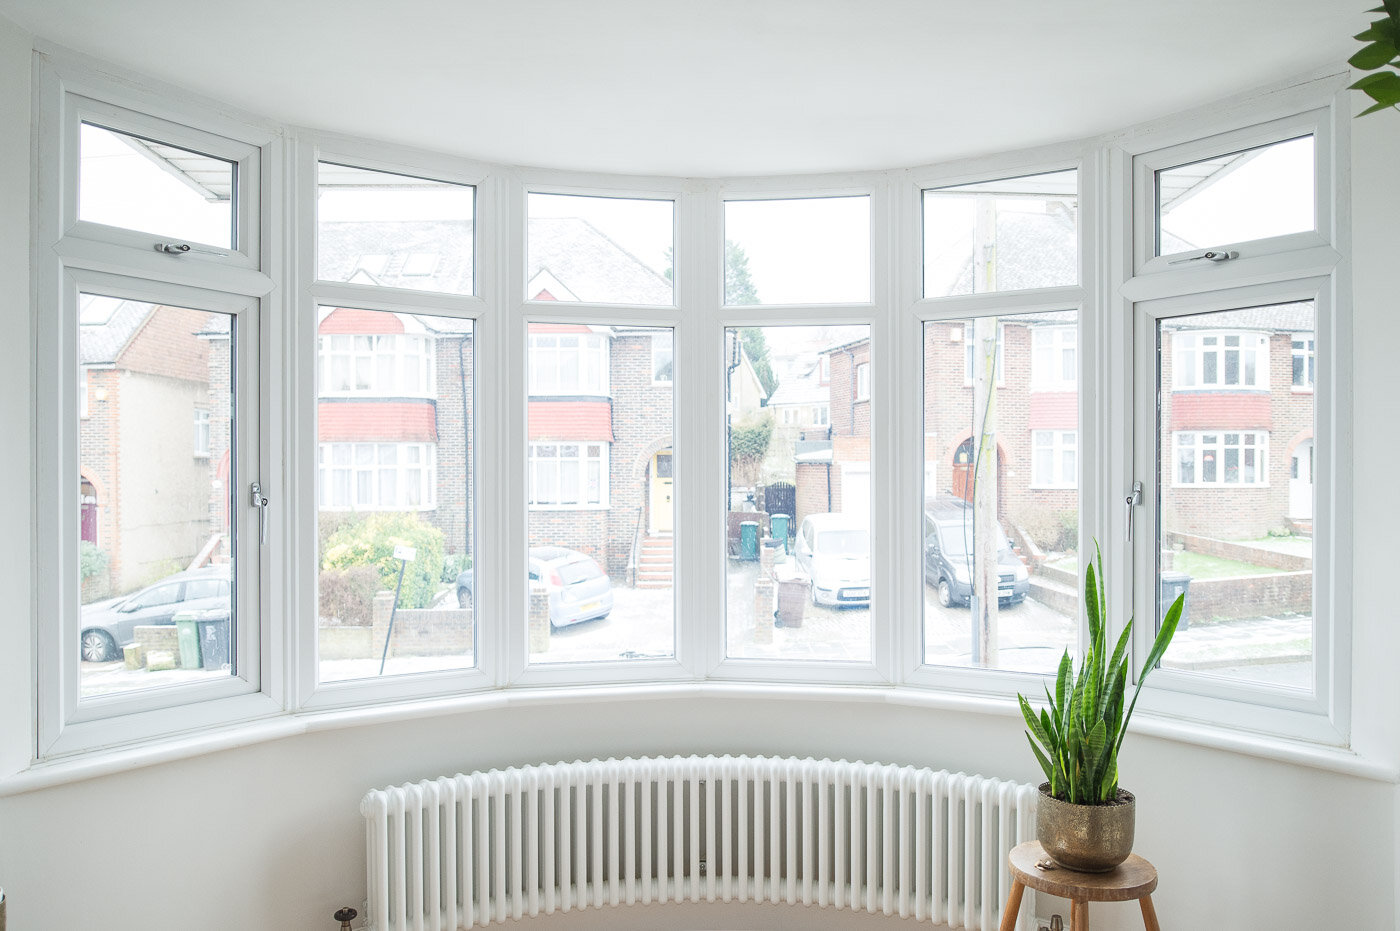
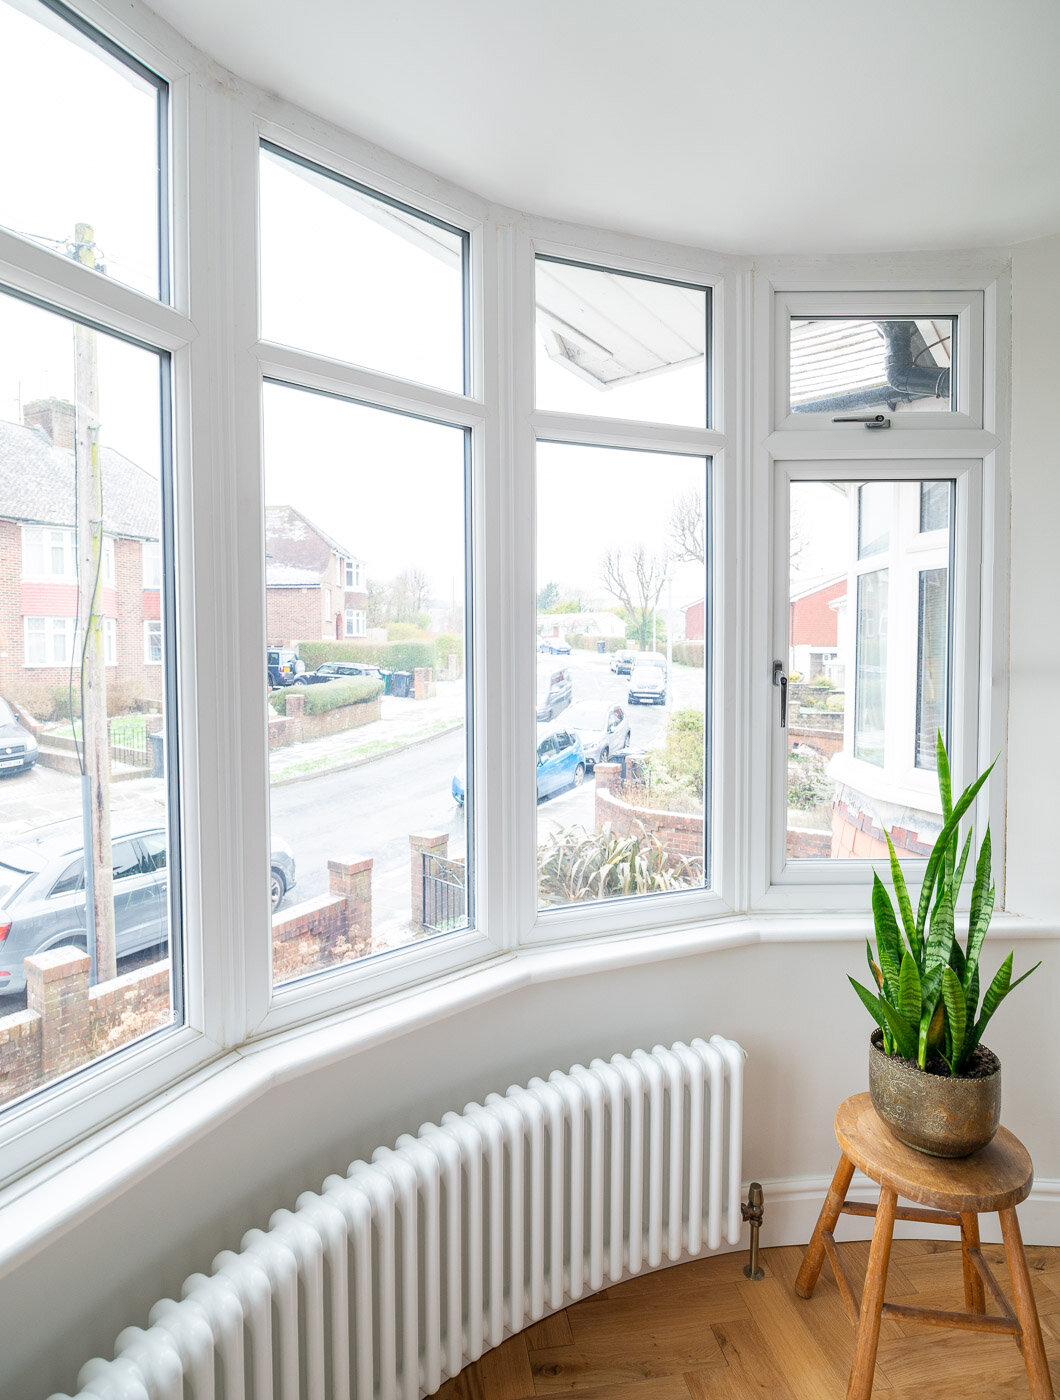
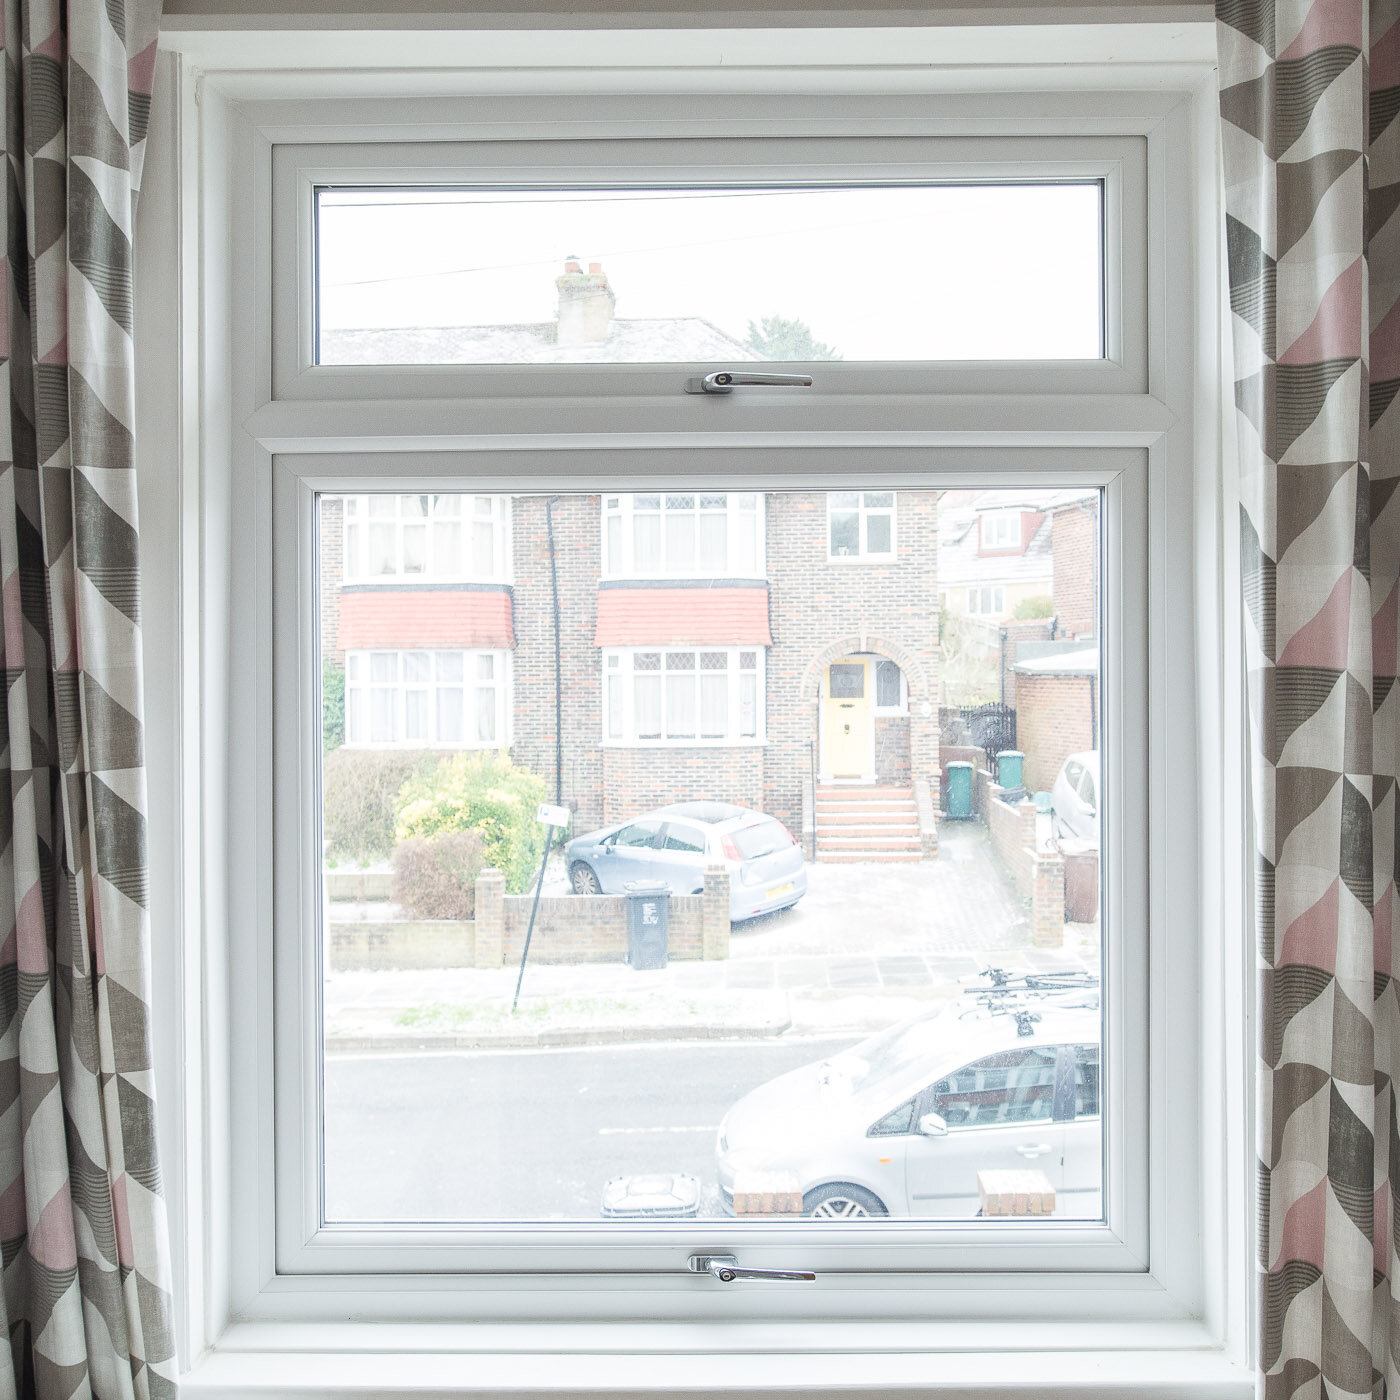
After what was a pretty whirlwind experience, 48 hours of intense work and disruption, the windows were in and looking shiny and amazing.
What a difference they make to the front of the house. Stunning!

We’re so pleased with the results. At the sales appointment, we chose the colour, handles and formation of the windows which, if we’re completely honest, was so straight forward.
You see, every house on our street has white UPVC curved bays with a divide at the top. It was a no-brainer to match our next door neighbours’ and line up the divide to be identical to theirs.
The only debate was white or polished chrome handles. White would have been more discreet, blending in with the frame, but in the end we went with polished chrome because our previous white handles yellowed and got so dirty in all the joins. At least with chrome we can easily polish them up.


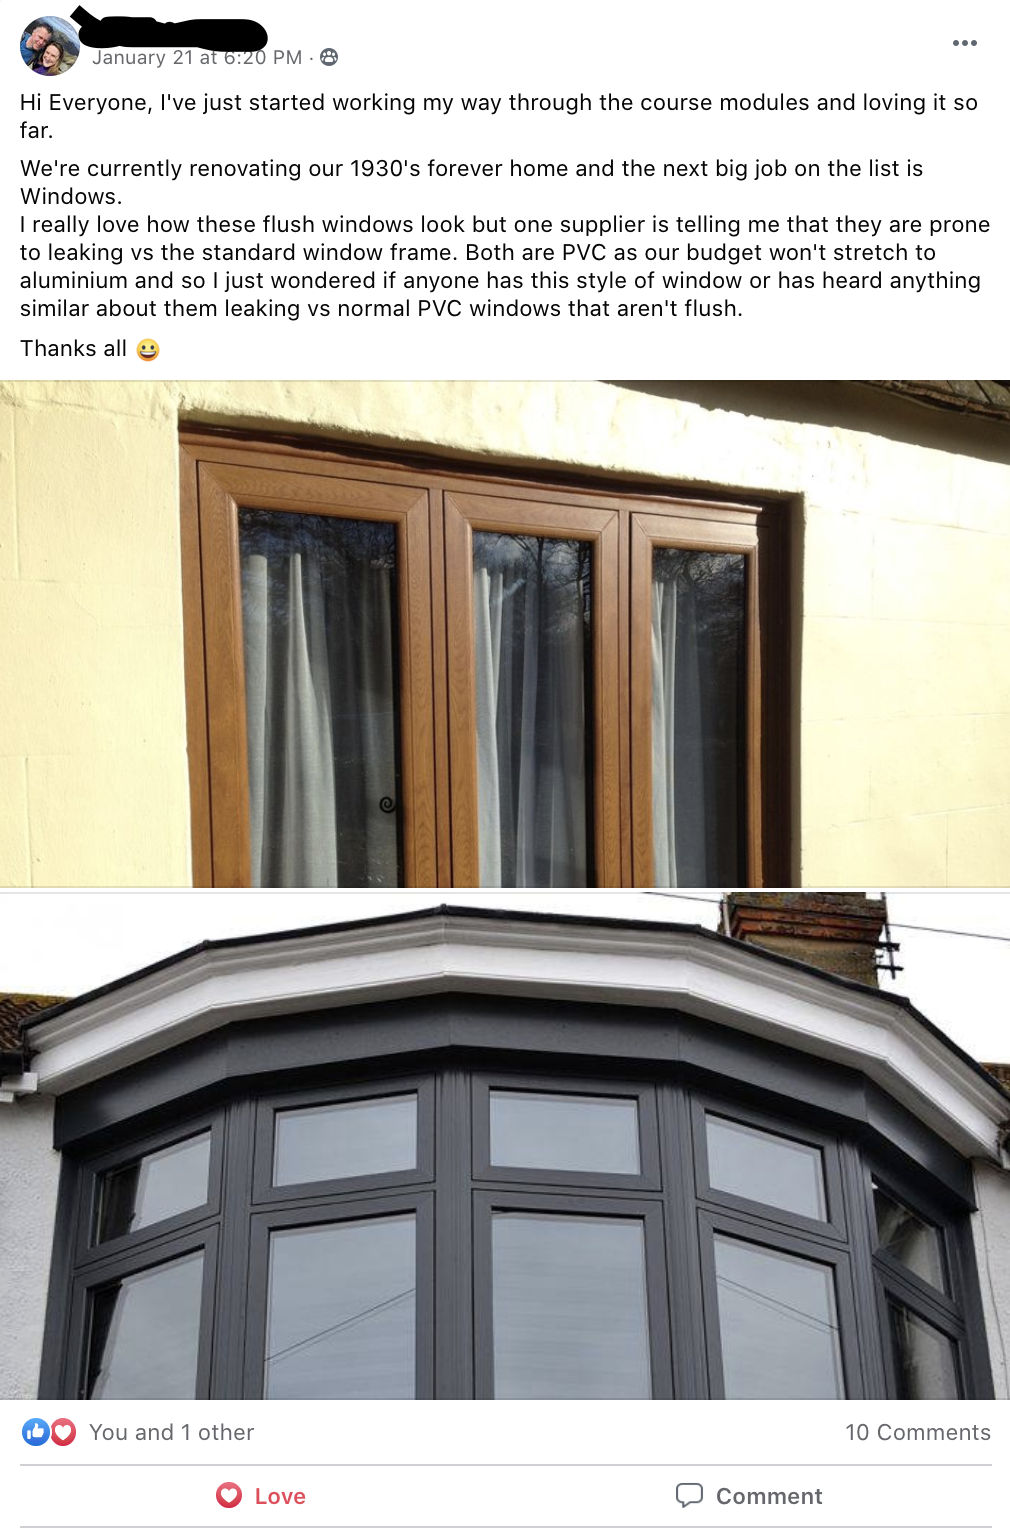
Another design idea, which we probably would have explored if we were doing this project again, was to consider flush casements for a more modern look. It’s where (unlike ours) the individual window frames sit completely flush to the surrounding frame.
As a member of the Reno Club pointed out in the post above, a lot of suppliers don’t rate them saying they’re prone to leaks but after sharing this post lots of other renovators in the group confirmed they’ve got flush casements installed with zero issues.
Sharing that with you in case you’re tackling a similar project and keen to understand some options.
In summary
We admit it, we underestimated the impact of getting new windows to the front of the house but we’re SO pleased with the result and it’s got us fired up wanting to makeover the exterior now. We experienced so many benefits:
The front of the house looks so much better, it’s almost like getting a brand new house facade and has upgraded the look massively from dated and yellow to fresh, shiny, white and new!
The noise reduction is really good, our road isn’t too busy but we now hear probably about 30-40% less noise now.
So much less heat escapes with these new windows that have better technology and brand new seals.
We are able to open our windows without worrying they’re coming off their hinges!
We can finally get shutters installed because the window are now outward opening.
But best of all the master bedroom renovation was able to be progressed to completion!
We hope you like the update and stay tuned for more updates on our renovation blog!
Neil
See more: