Our utility room makeover | 1930s House Renovation
This could perhaps be the most requested blog post I've ever had yet the room itself was unbelievably simple to design and very affordable! It seems many people are looking for ideas for a utility room, or for inspiration for utility room storage or cabinets.
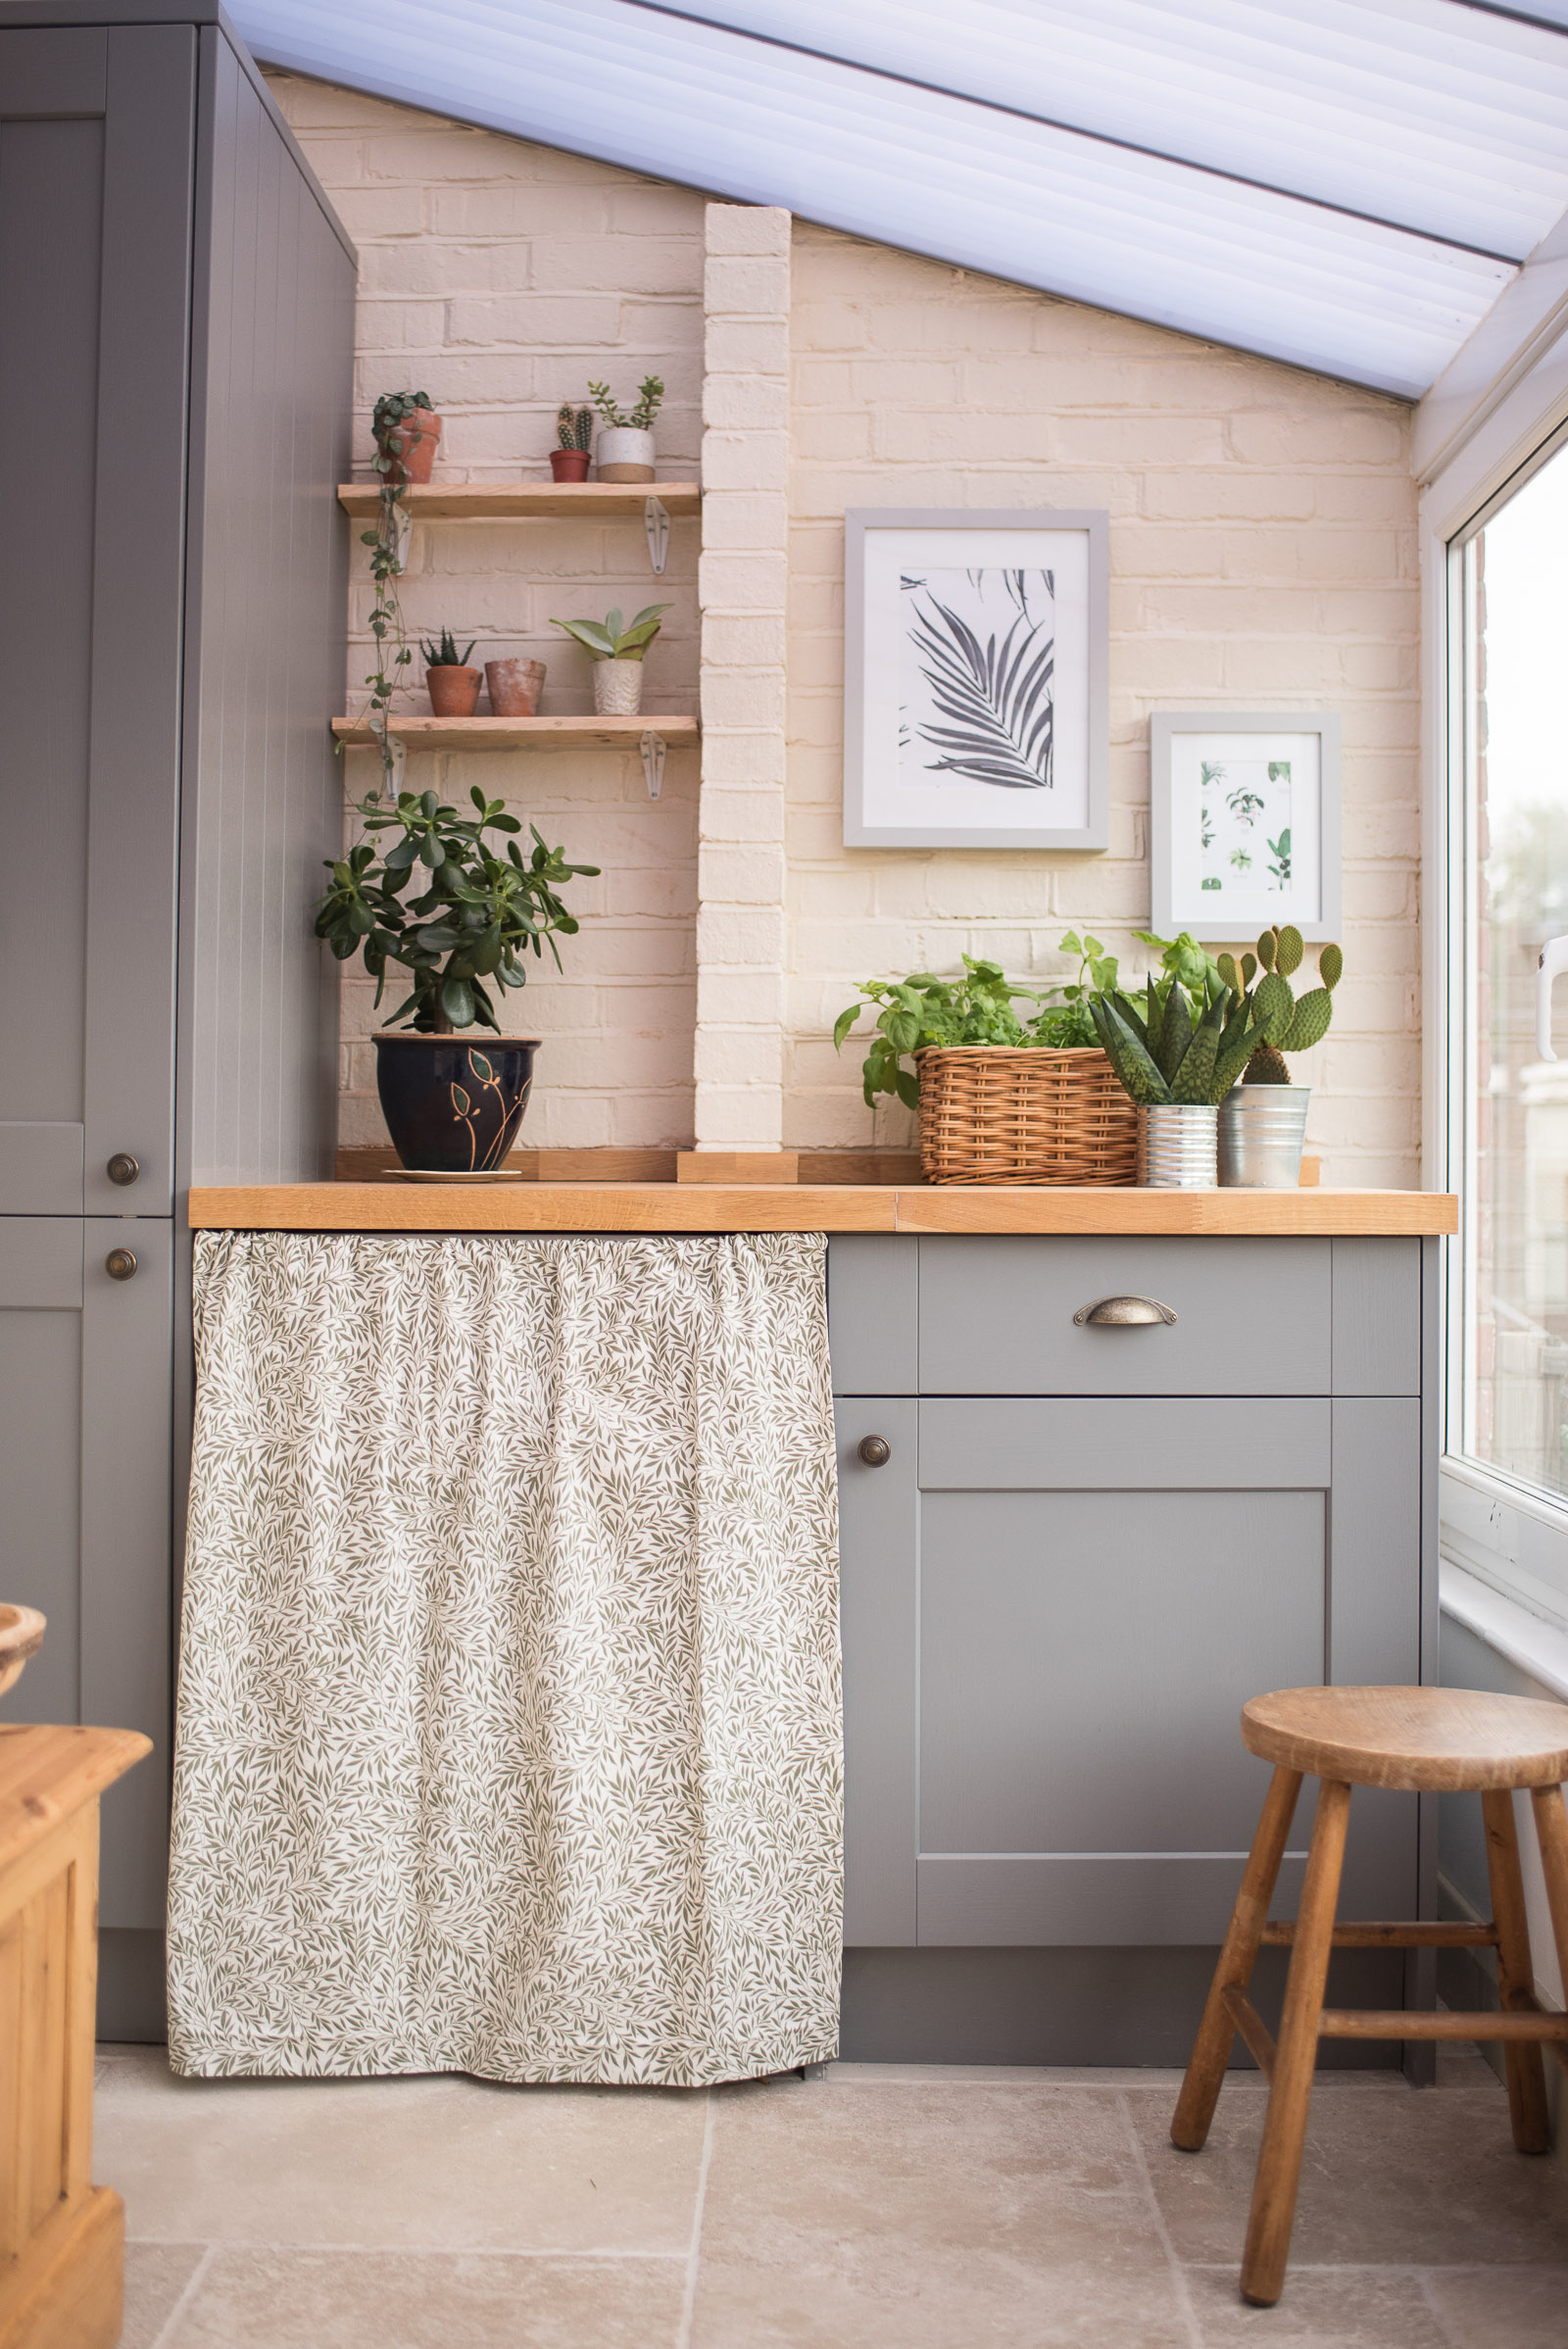
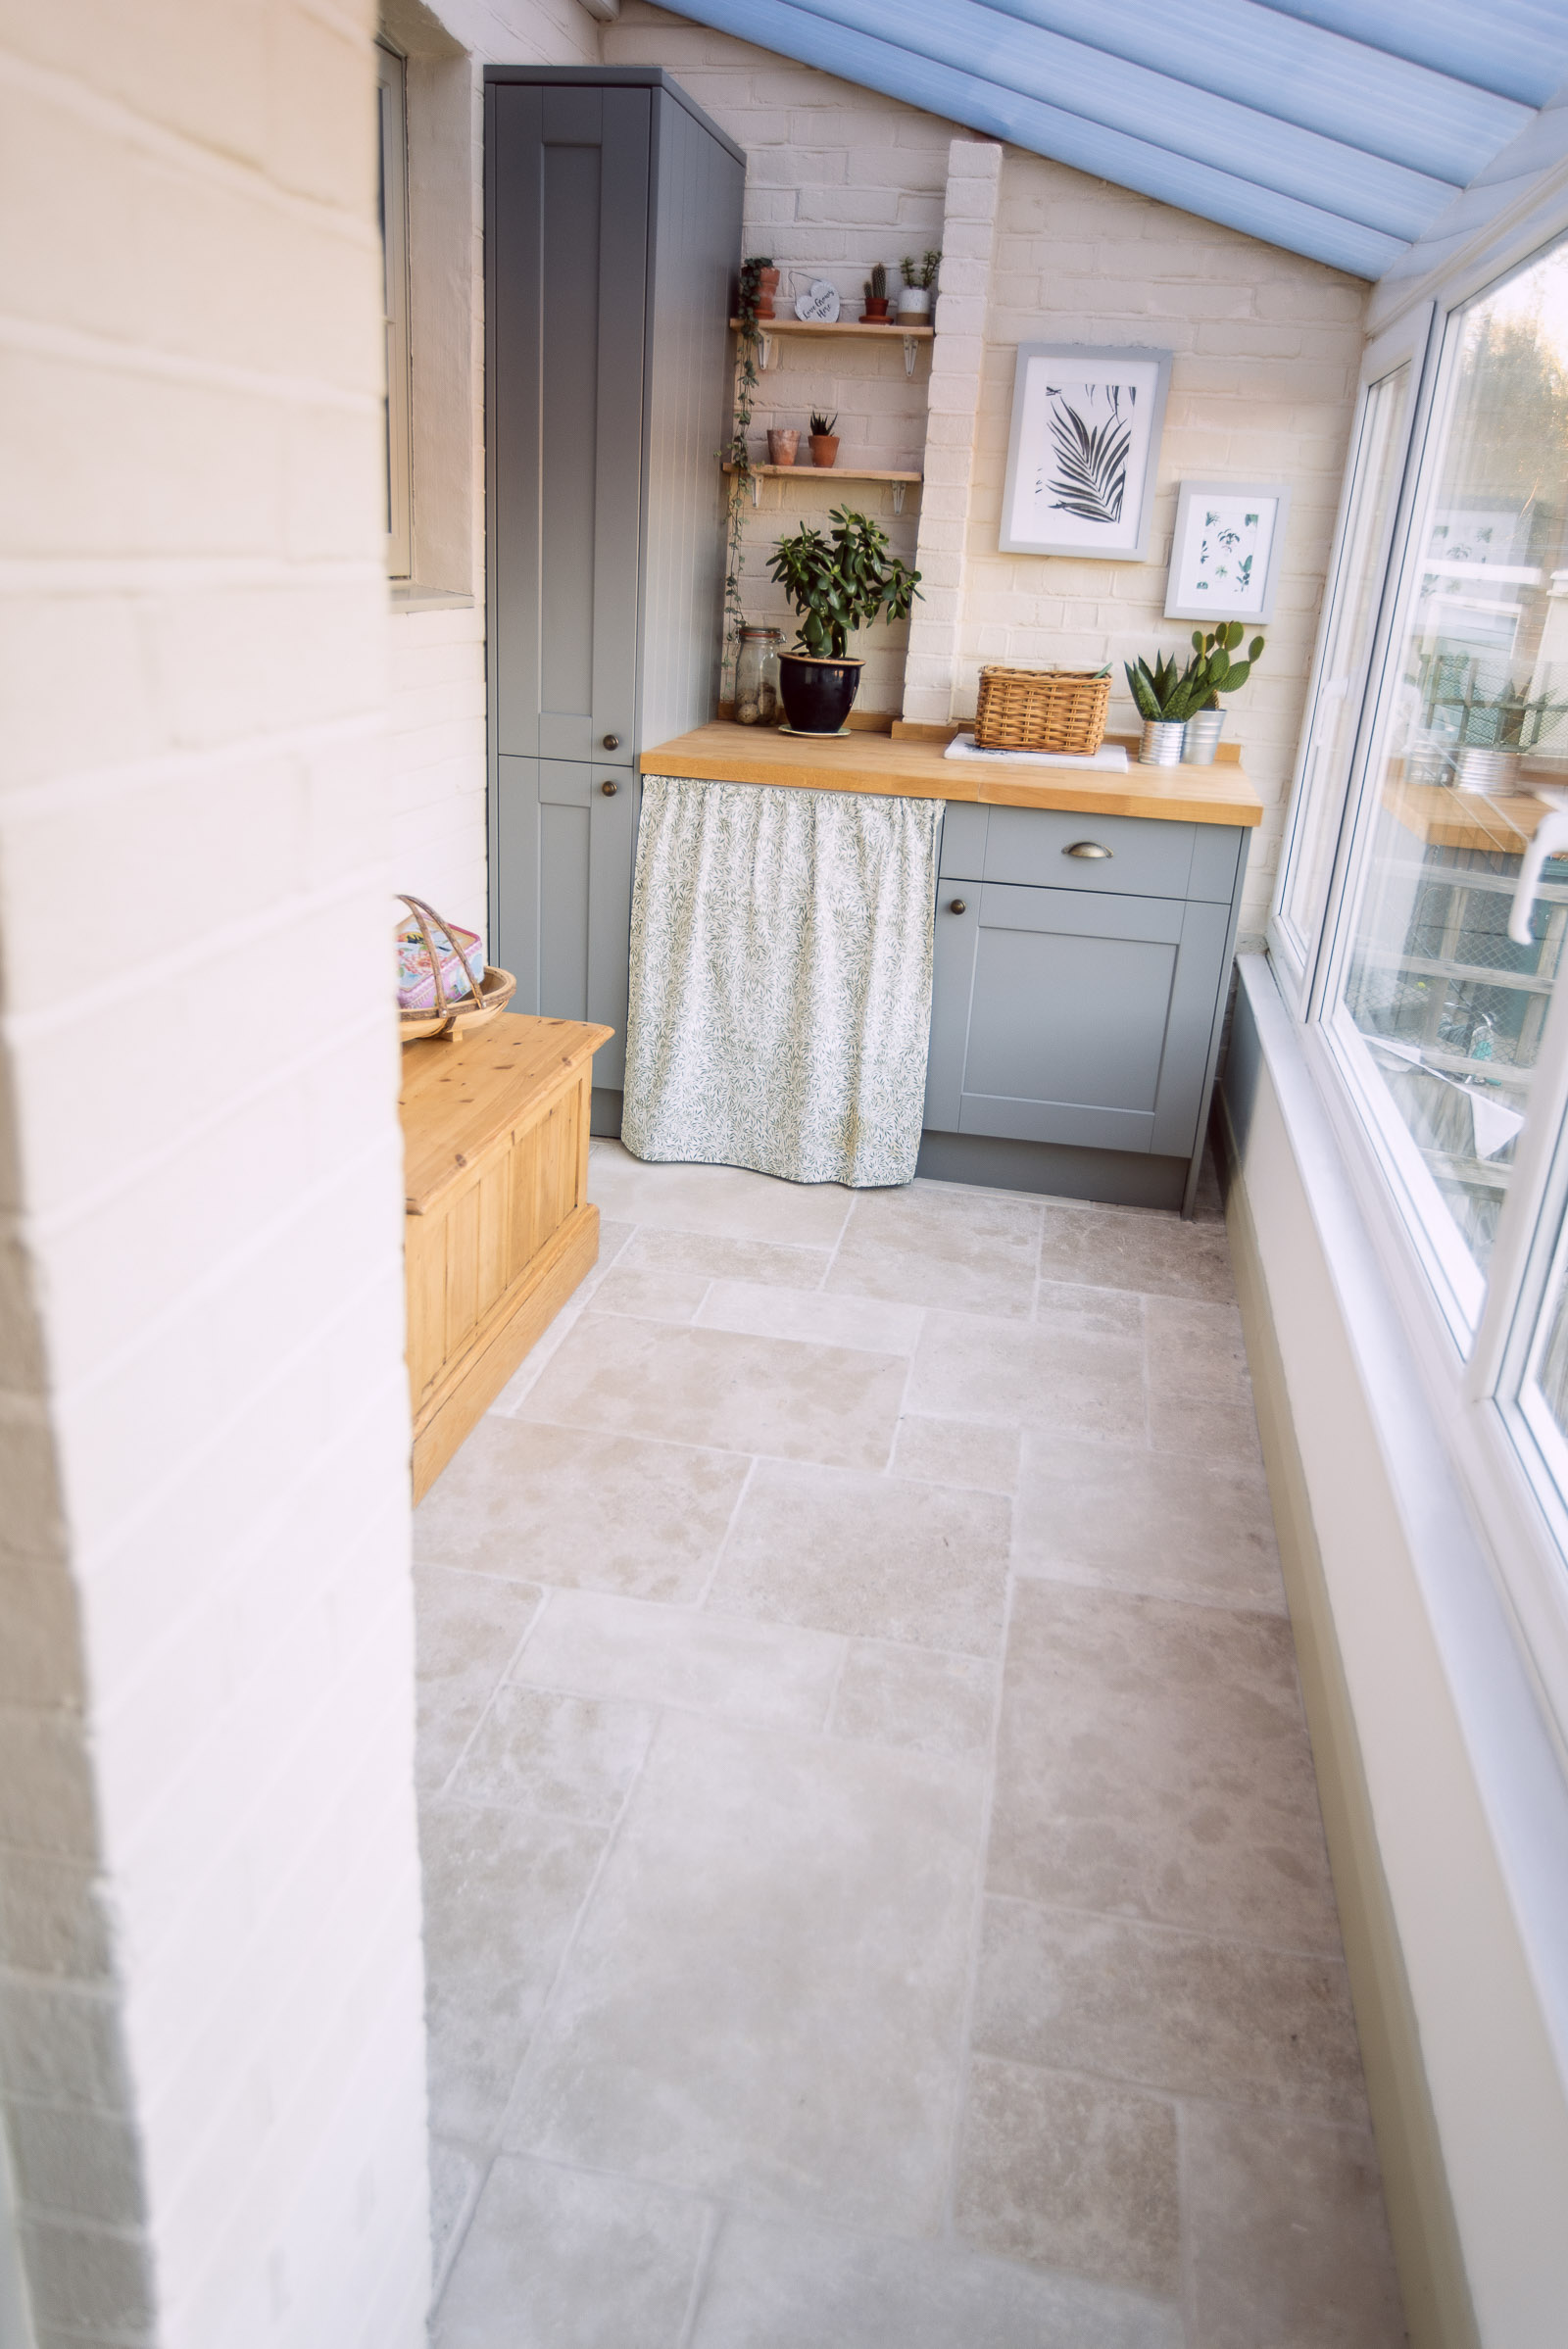
I'm so excited to finally share how we converted our unloved sun room / conservatory / lean-to (call it what you will, it was a 'nothing room' in our 1930s house) into a much more practical laundry room.
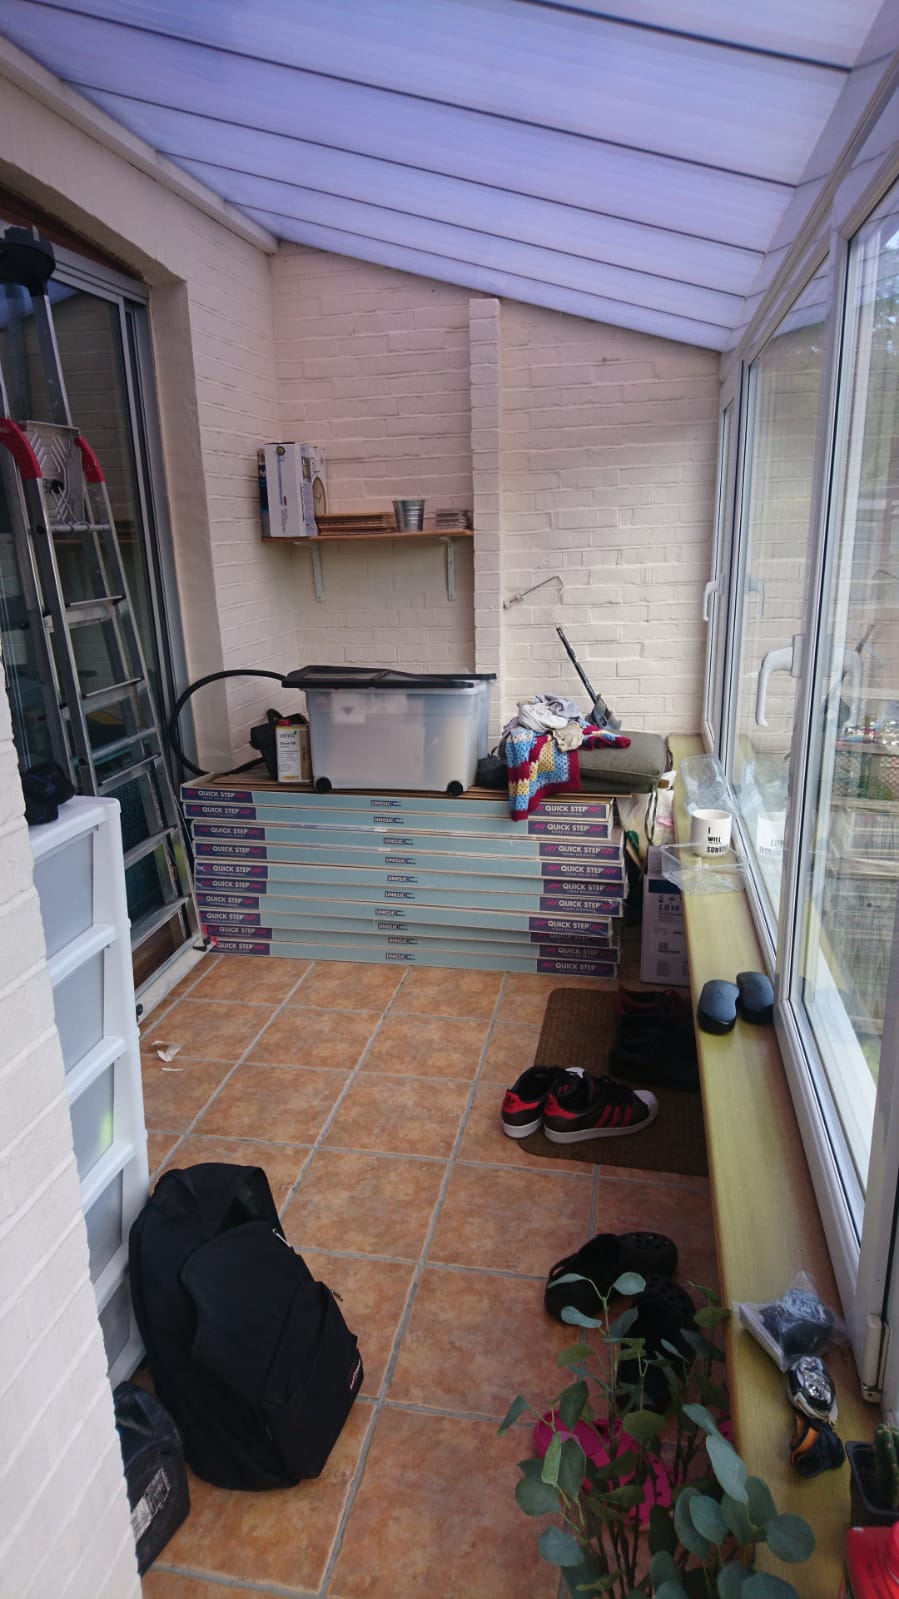
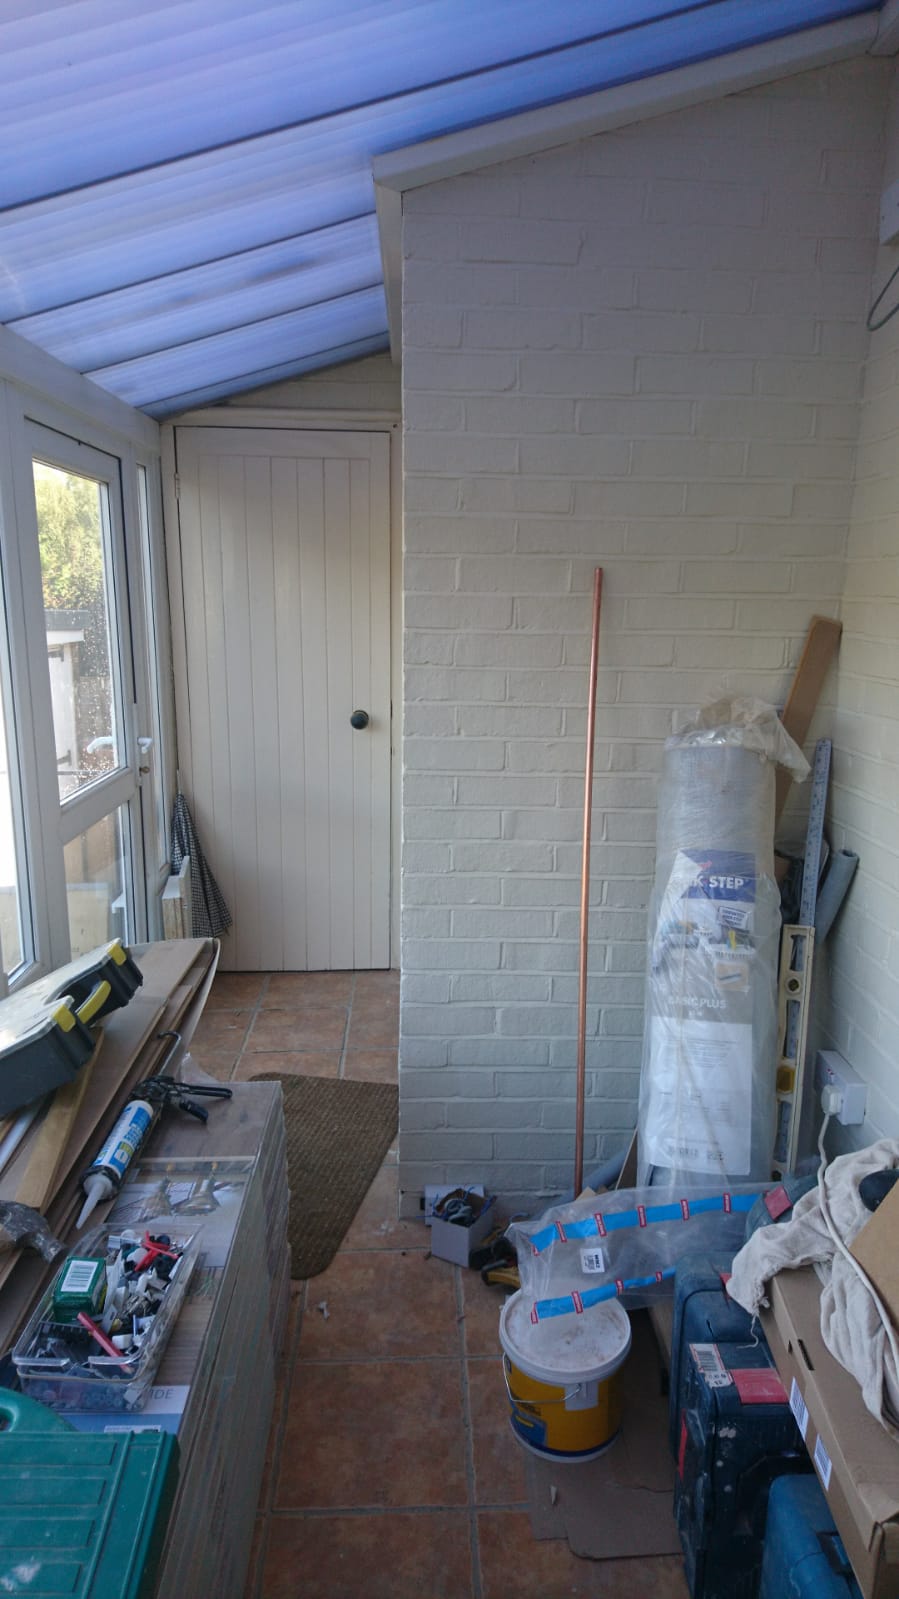
Before: How the utility room looked when we first moved in
This strange room at the back of our house wasn't quite big enough to call a conservatory, was definitely not big enough to create into a dining room or living space, but was beautifully lit with natural light and bags of potential, that looked out onto the garden through large (upvc, bleurgh) windows.
Sitting directly next to what is now our kitchen diner, it was a prime spot to turn into my dream utility room.
BEFORE
BEFORE
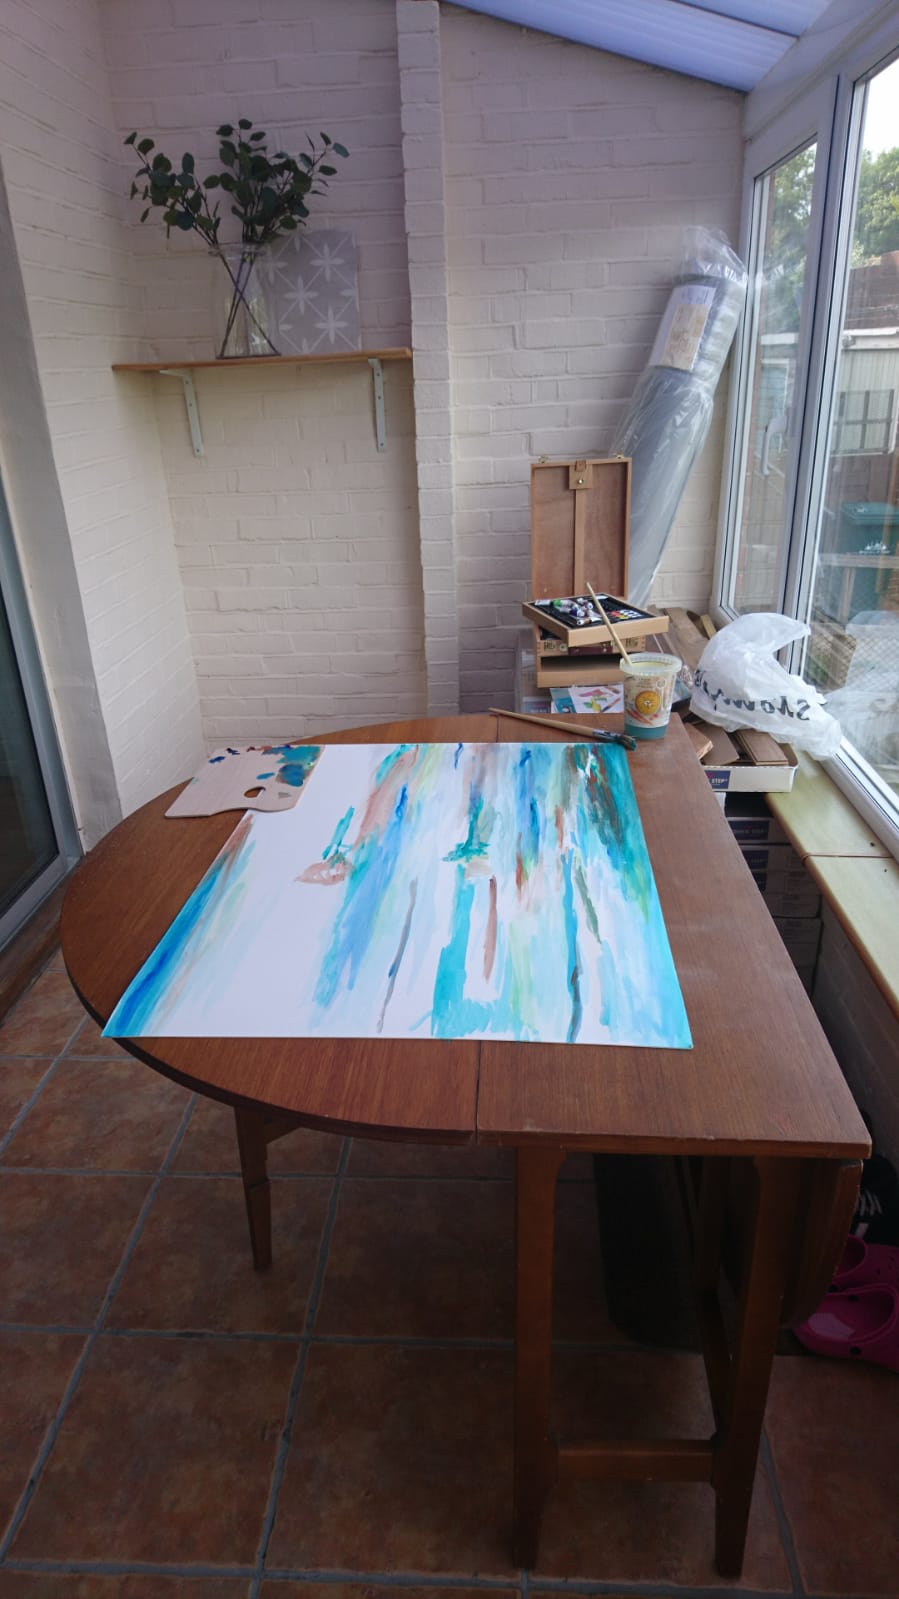
At one stage I got so desperate I tried to make it into a place for me to paint!
Getting ideas for the utility room and why I chose to design it myself
We started thinking seriously about this room shortly after we did our kitchen diner renovation and ordered the units in the same delivery as our kitchen units, which allowed us to use scrap oak worktop and other leftover materials from the kitchen reno to save on costs. We kept the cabinets the same kind of style as our 1930s bathroom, too.
As an interior blogger and being passionate about house renovations, I quickly became familiar with what it takes to design a kitchen, watching how our kitchen suppliers used CAD software and a good ol' fashioned tape measure and sketches to create a design on paper first.
So I literally did the same. I researched the standard widths of units and appliances and sketched everything out. (Tips on design can be found in our How to Renovate a House course)
It turns out designing kitchens/utility areas is actually very simple once you know the standard unit sizes.
I wrote down the measurements of the space I was working with and decided which units I wanted where, taking measurements as I went along.
It’s like a jigsaw, you piece it together when it arrives but then finish it off with a worktop, kickbacks and tongue and groove panelling on any exposed edges to give it the 'bespoke' look.
It was that simple.
Step by step: How I tackled the project turning our conservatory into a utility room
1) I started by listing our needs for the utility room
The first thing I did was write down our practical needs for the utility room.
On my list was:
Utility room storage (there’s plentiful inspiration online for utility room storage ideas if you’re stuck)
A home for our washing machine
Potential space for a tumble dryer (we were torn about getting one because they can cost a lot to run and a little unnecessary for 2 people)
A place to dry clothes in the Winter
Somewhere I could neatly tidy away an iron and ironing board
A little bit of storage for things like light bulbs, rarely used cleaning products, Neil's drill, Neil’s cycling gear etc
A place to perch and look at the birds in our garden (we get such beautiful birds on our feeder and this room is the best spot to watch them)
And the design ideas I wanted the room to incorporate were:
A stone cottage-look floor (on my wish list since forever)
Dark units with brass handles/something different to our kitchen units but still complementary
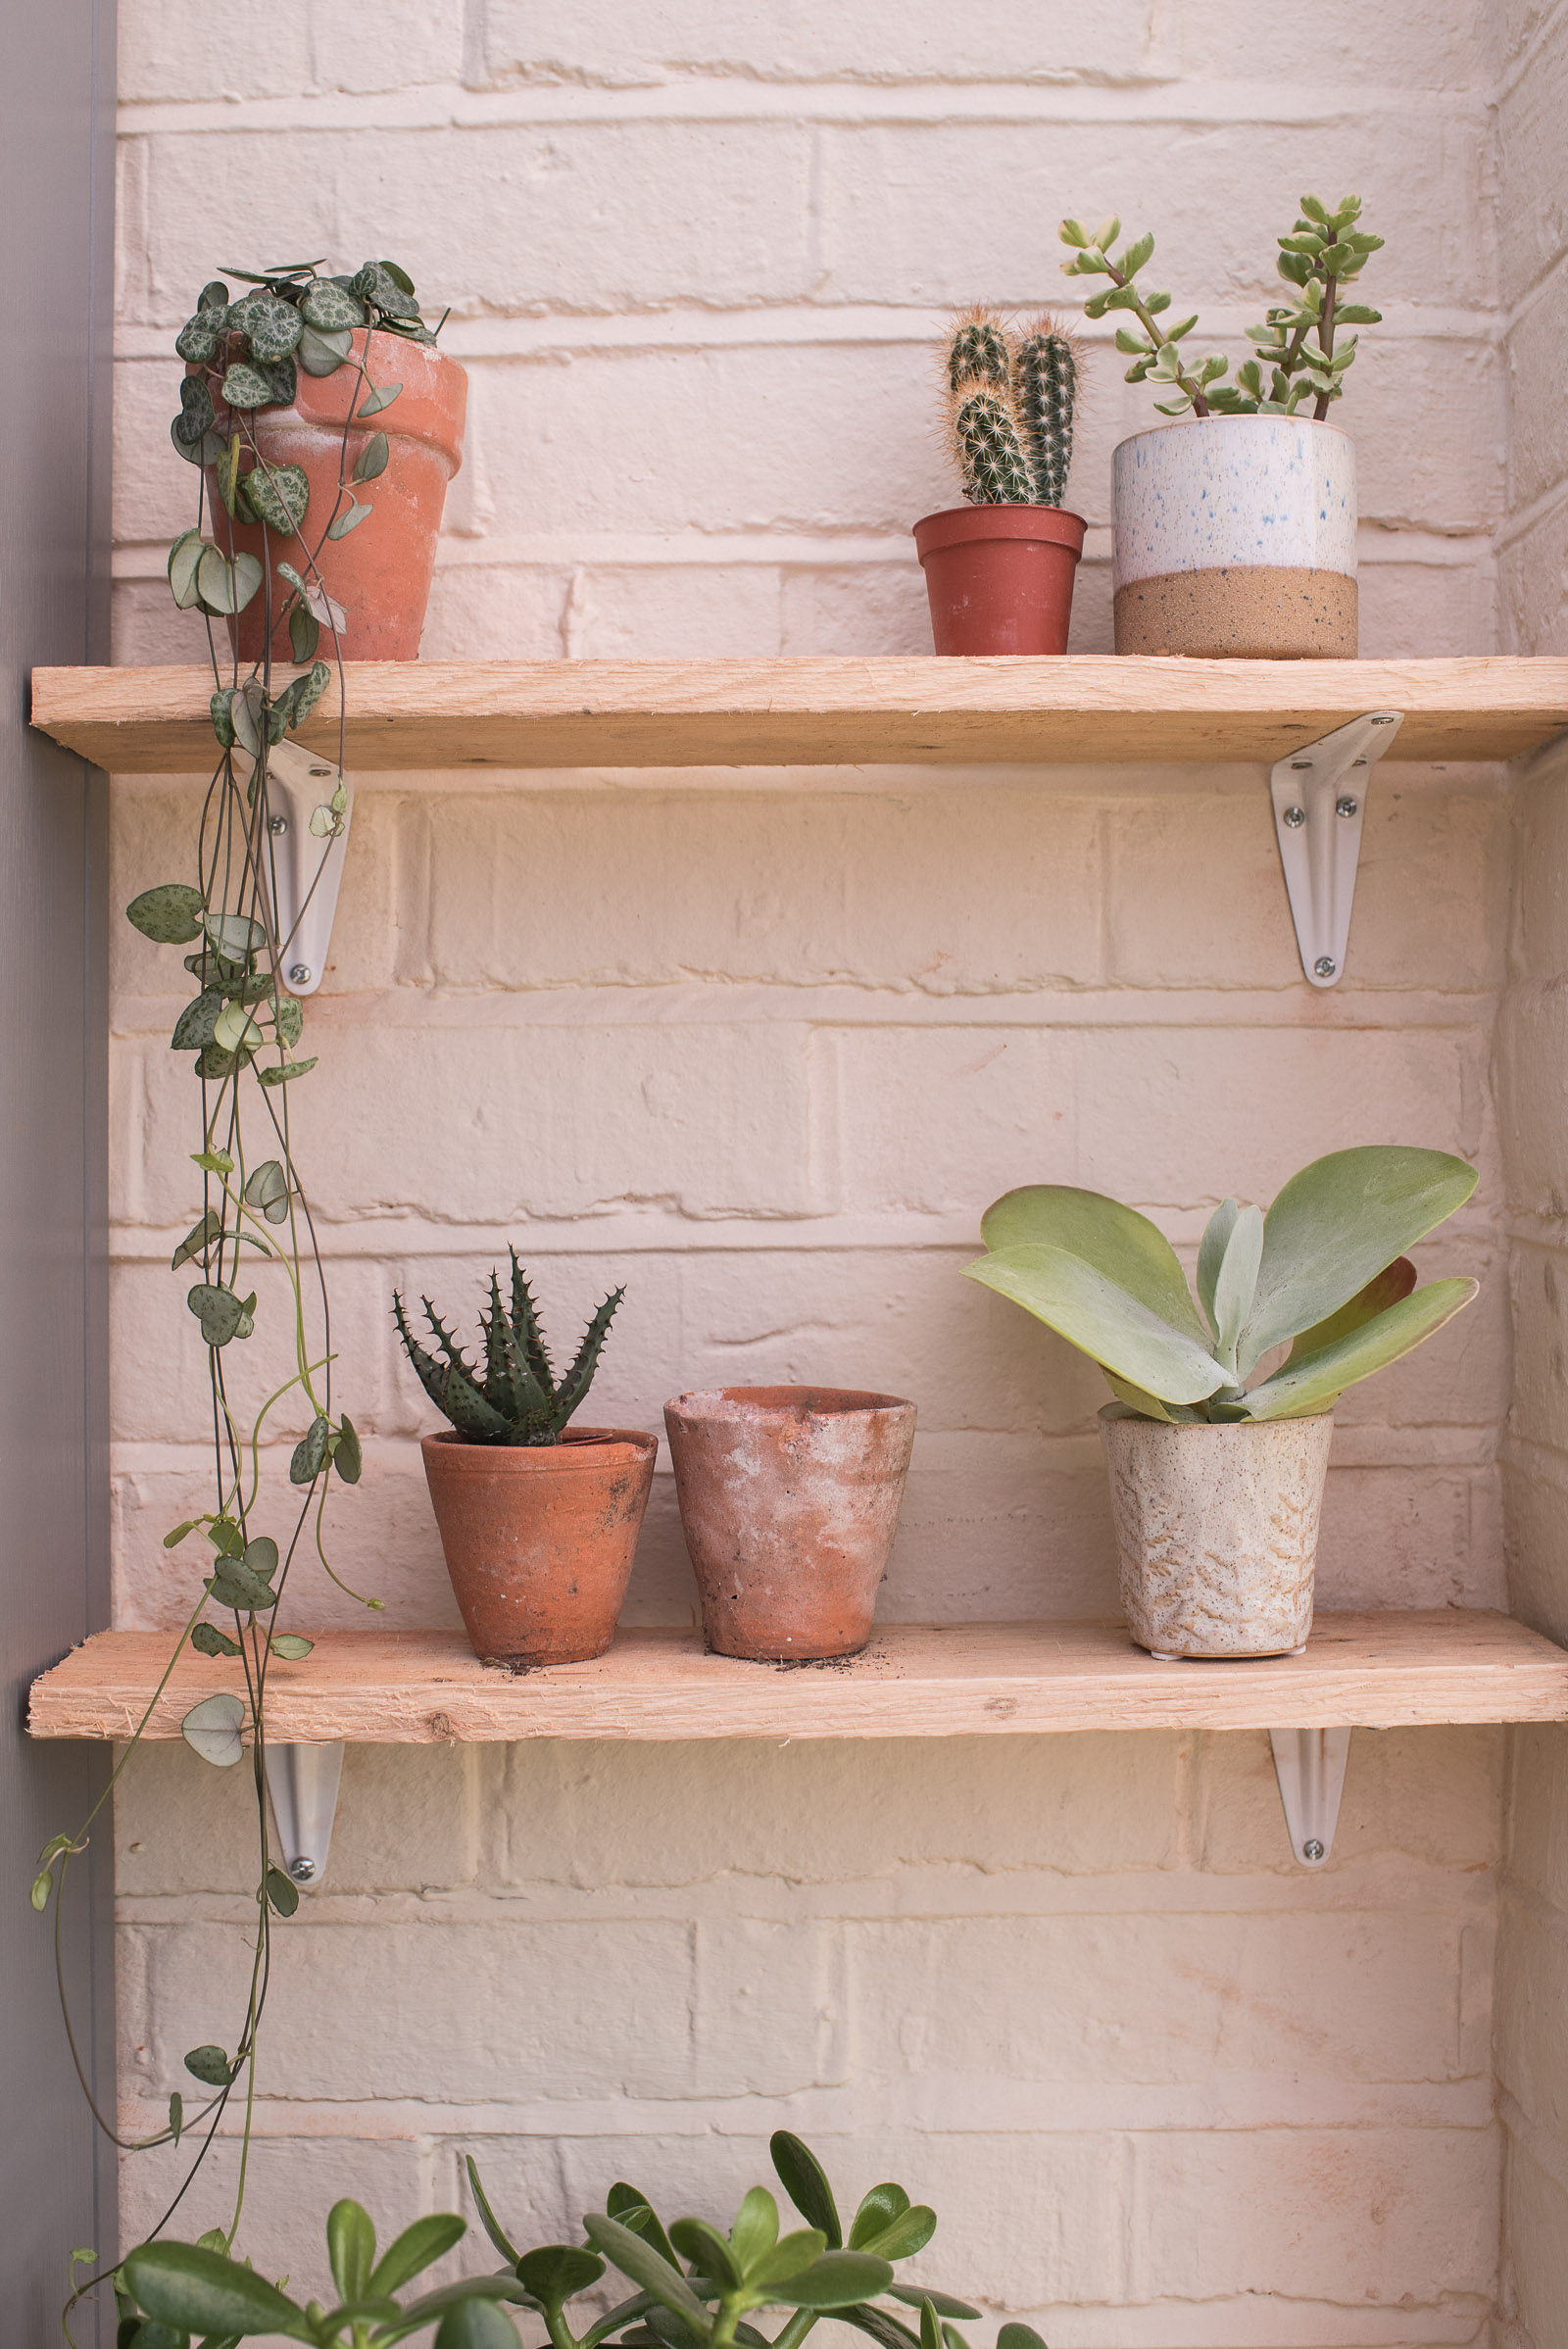
Plants! Lots of plants! I wanted to take advantage of the natural light in this space
2) Next, I estimated our budgets
We always use our renovation budget template when we start a room refurb, to work out whether we have enough in savings to go ahead or whether we need to save more.
We also use it to track renovation costs as they happen.
I could see exactly how much money we had leftover after our kitchen diner renovation was coming to an end so I entered the list of work we needed to do in on column, and my estimates in the other.
The overall figure I had to play with was approx £3500. A tight budget but doable.
The overall costs including labour was just shy of this figure and covered:
Plumbing in a radiator (it gets deathly cold in the winter and I needed good heat control to effectively hang clothes to dry when it's too rainy to hang them outside)
Insulating the room
Labour + cost of stone flooring
Labour + costs of new electrics/light
Labour + costs of utility room units
A new washing machine
Plumbing to fit new washing machine
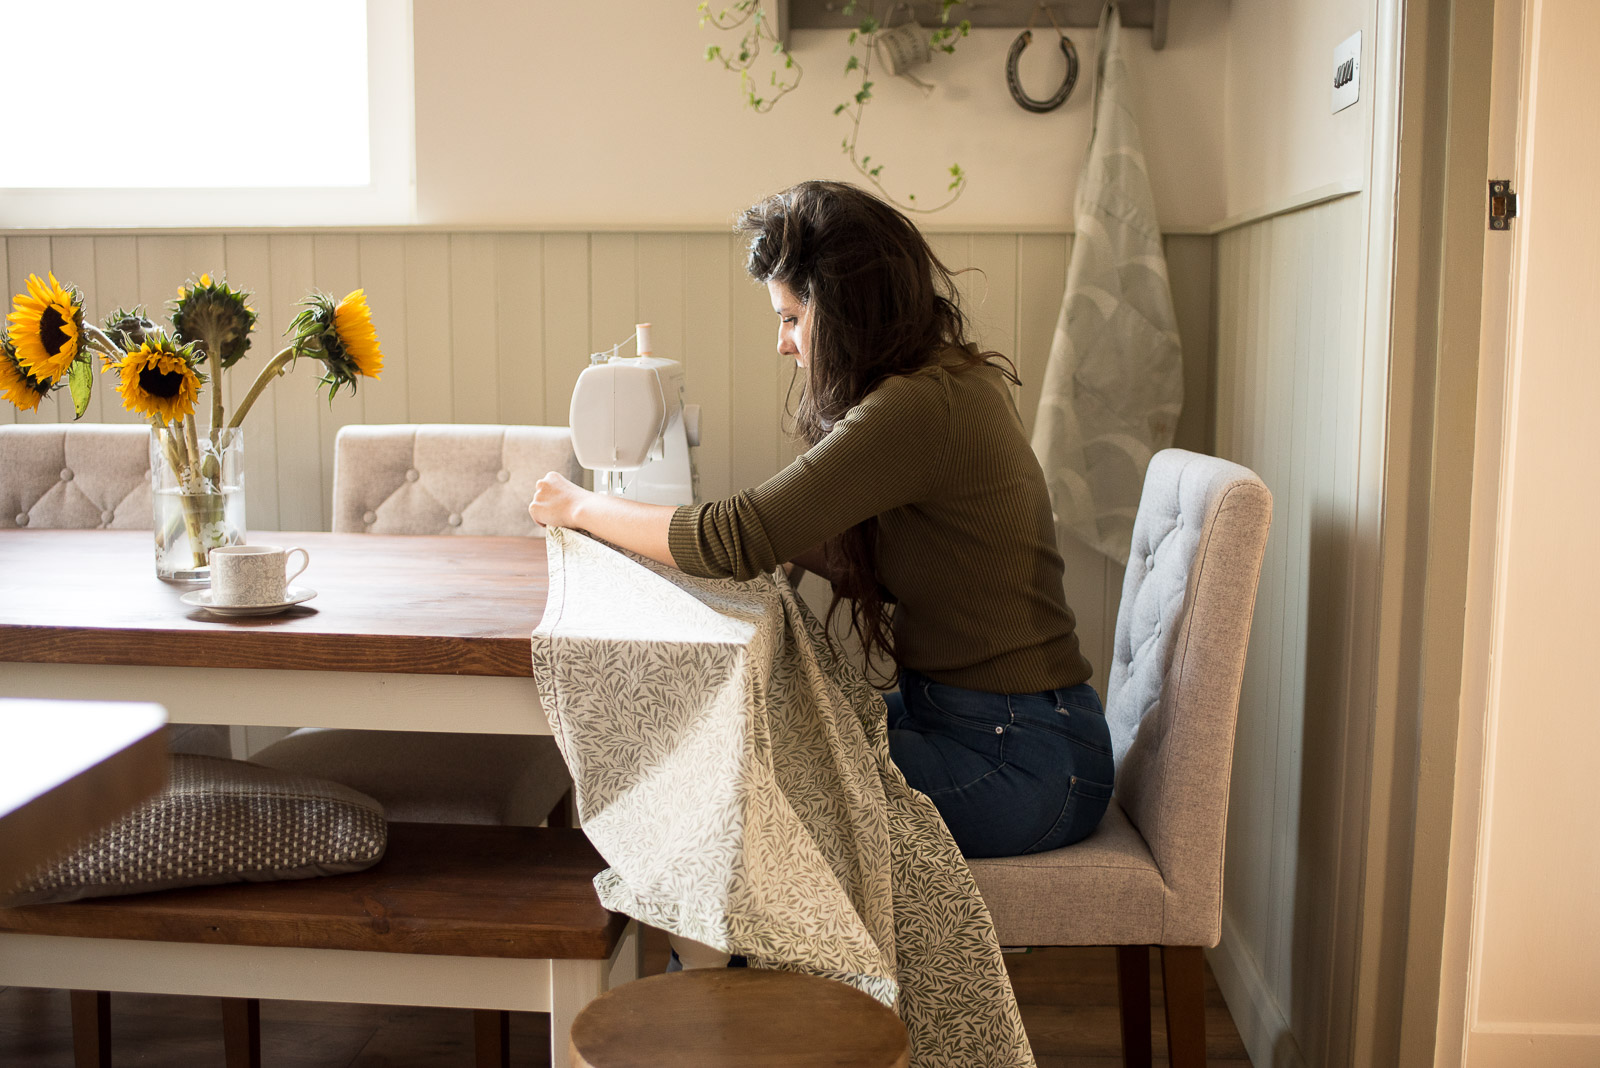
We managed to keep costs fairly low thanks to reusing leftover materials from our kitchen diner open plan renovation and doing some DIY to bring personality to the room. Neil installed shelves, I sewed a cover for the washing machine. But if it wasn’t for our meticulous tracking using our budgeter Neil built, costs definitely would have spiralled and we’d have been left with a half finished room.
Where did I buy everything for our utility room?
I've popped a list of all the bits we bought for this space below, perhaps if you’re looking for ideas for your utility room this will help.
Our Utility Room Shopping list…
Radiator
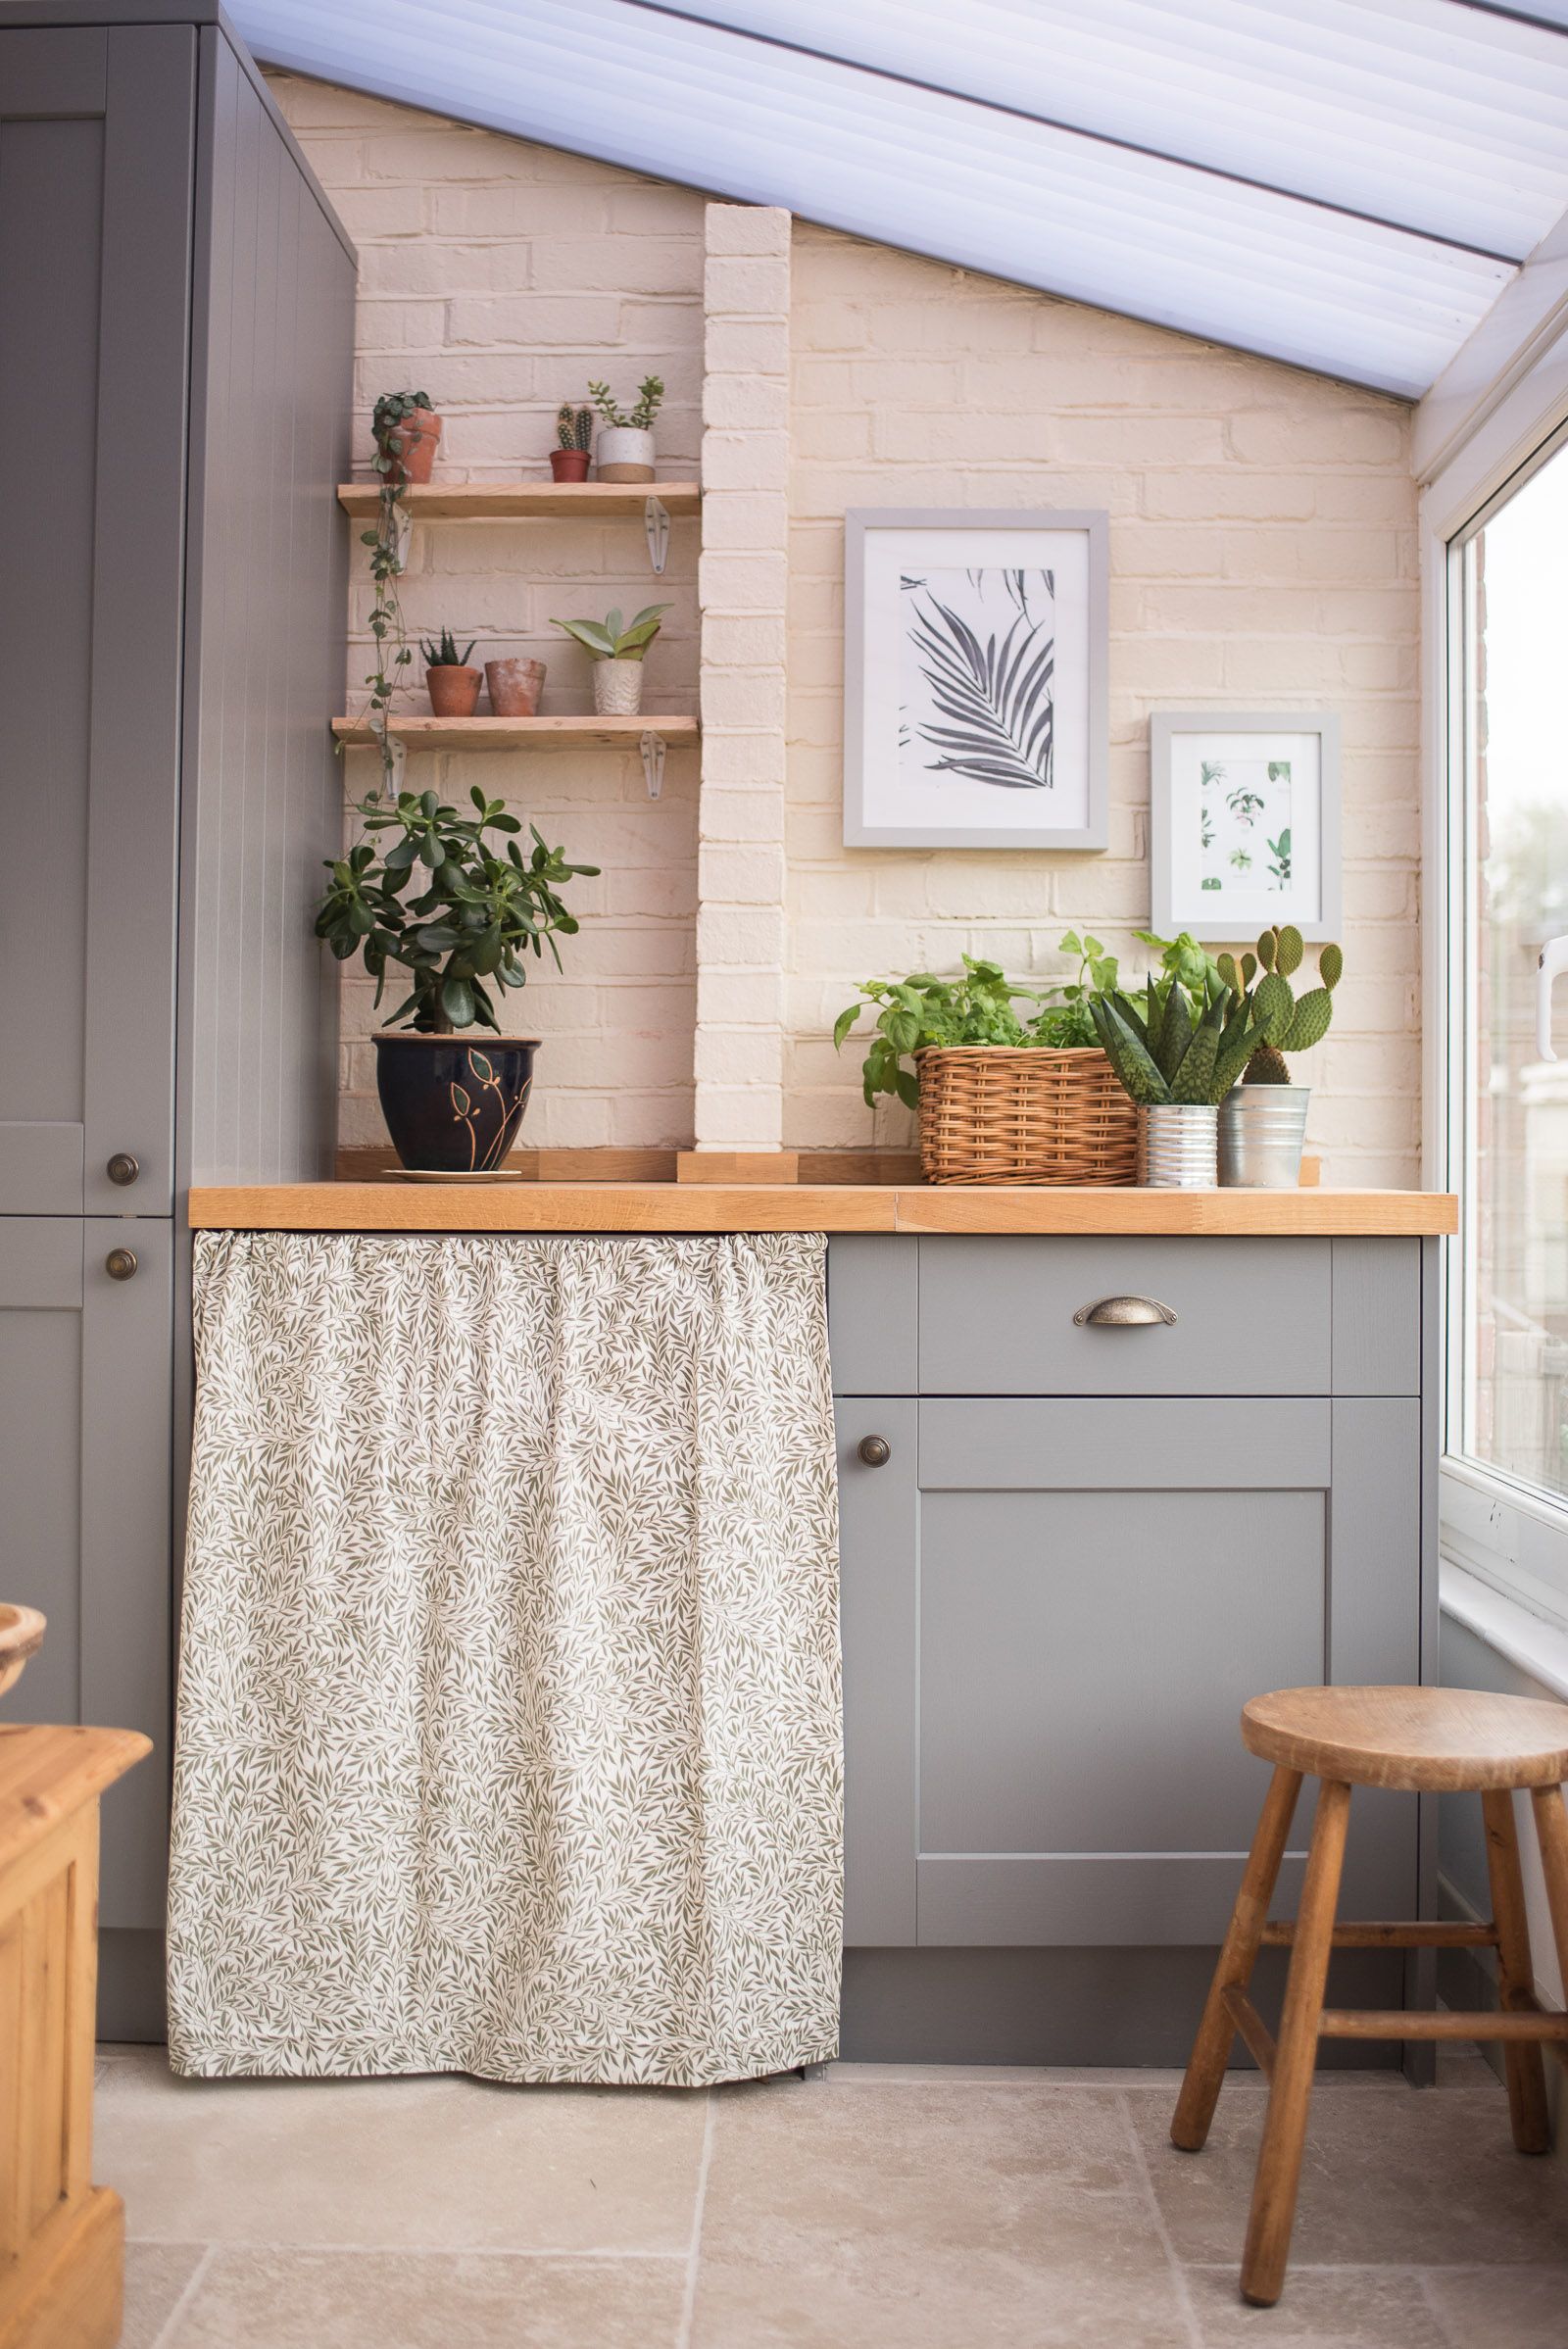
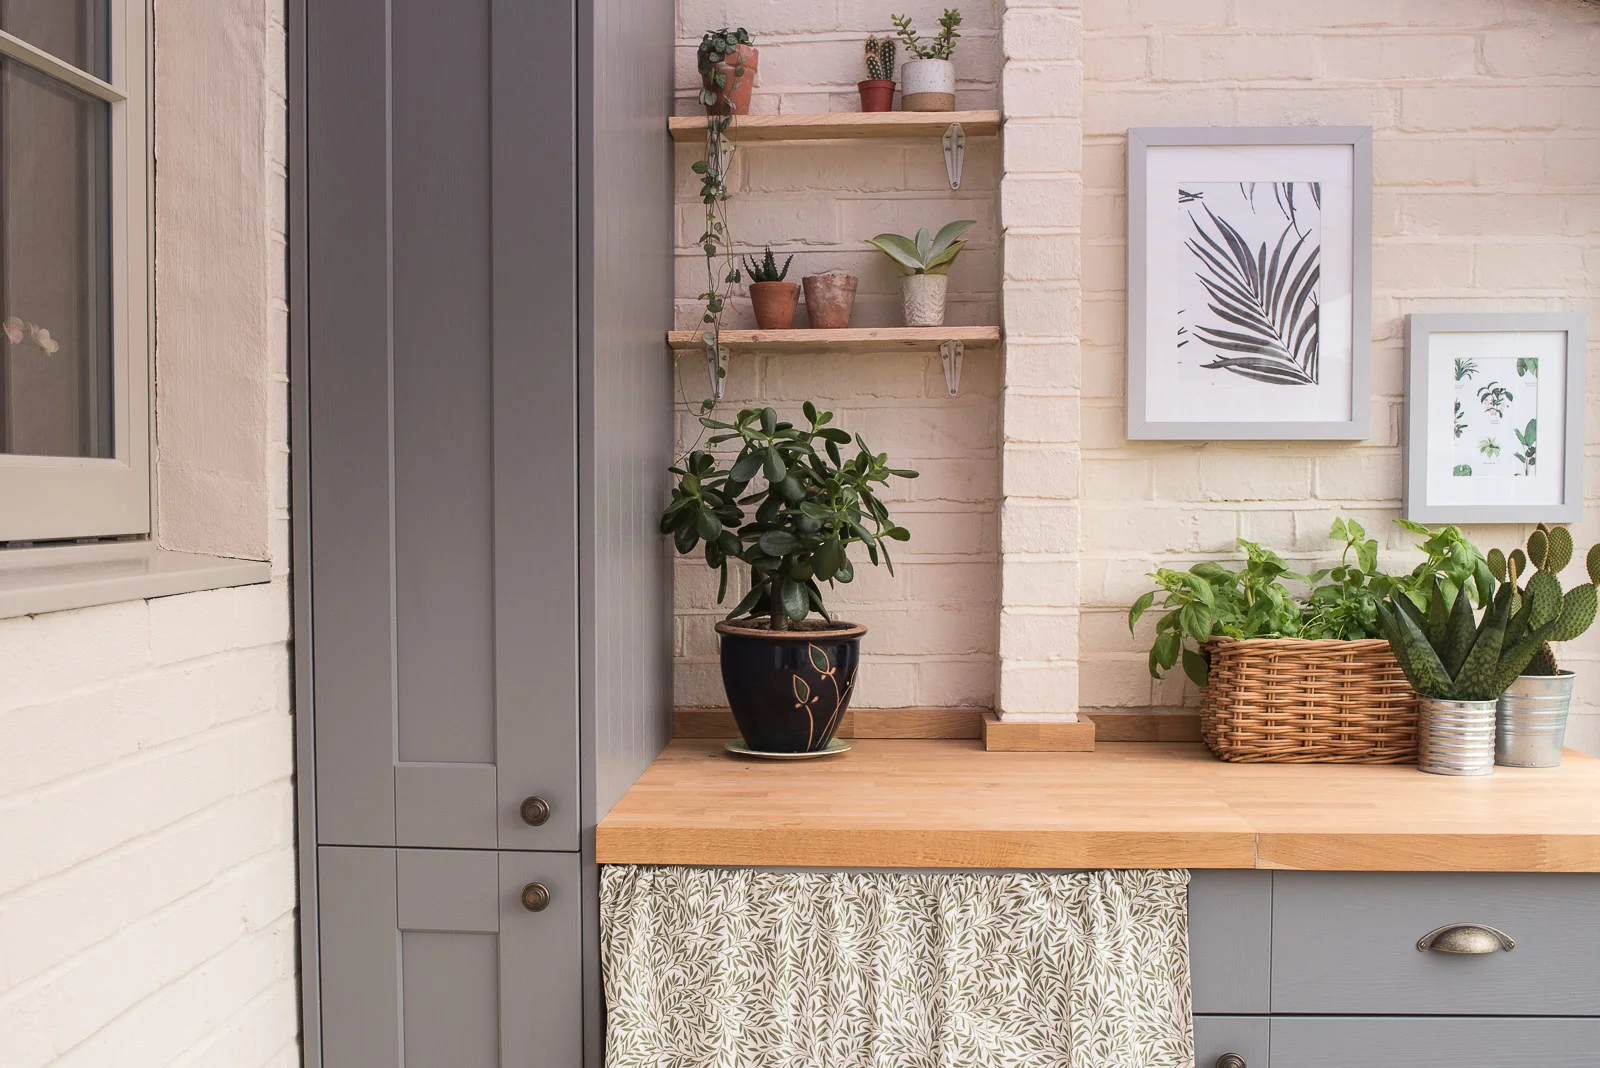
Cabinets + worktop - Fairford (Slate Grey) kitchen range from Howdens
Handles - Antique brass / Knobs + Cup Handles
Floor tiles - Amazone Beige Modular Tumbled Tiles from Topps Tiles
Wall colour - Lime White (colour matched to Valspar)
Washing machine - Bosch Serie 6
Wall light - Dusk Lighting (sold out but similar here)
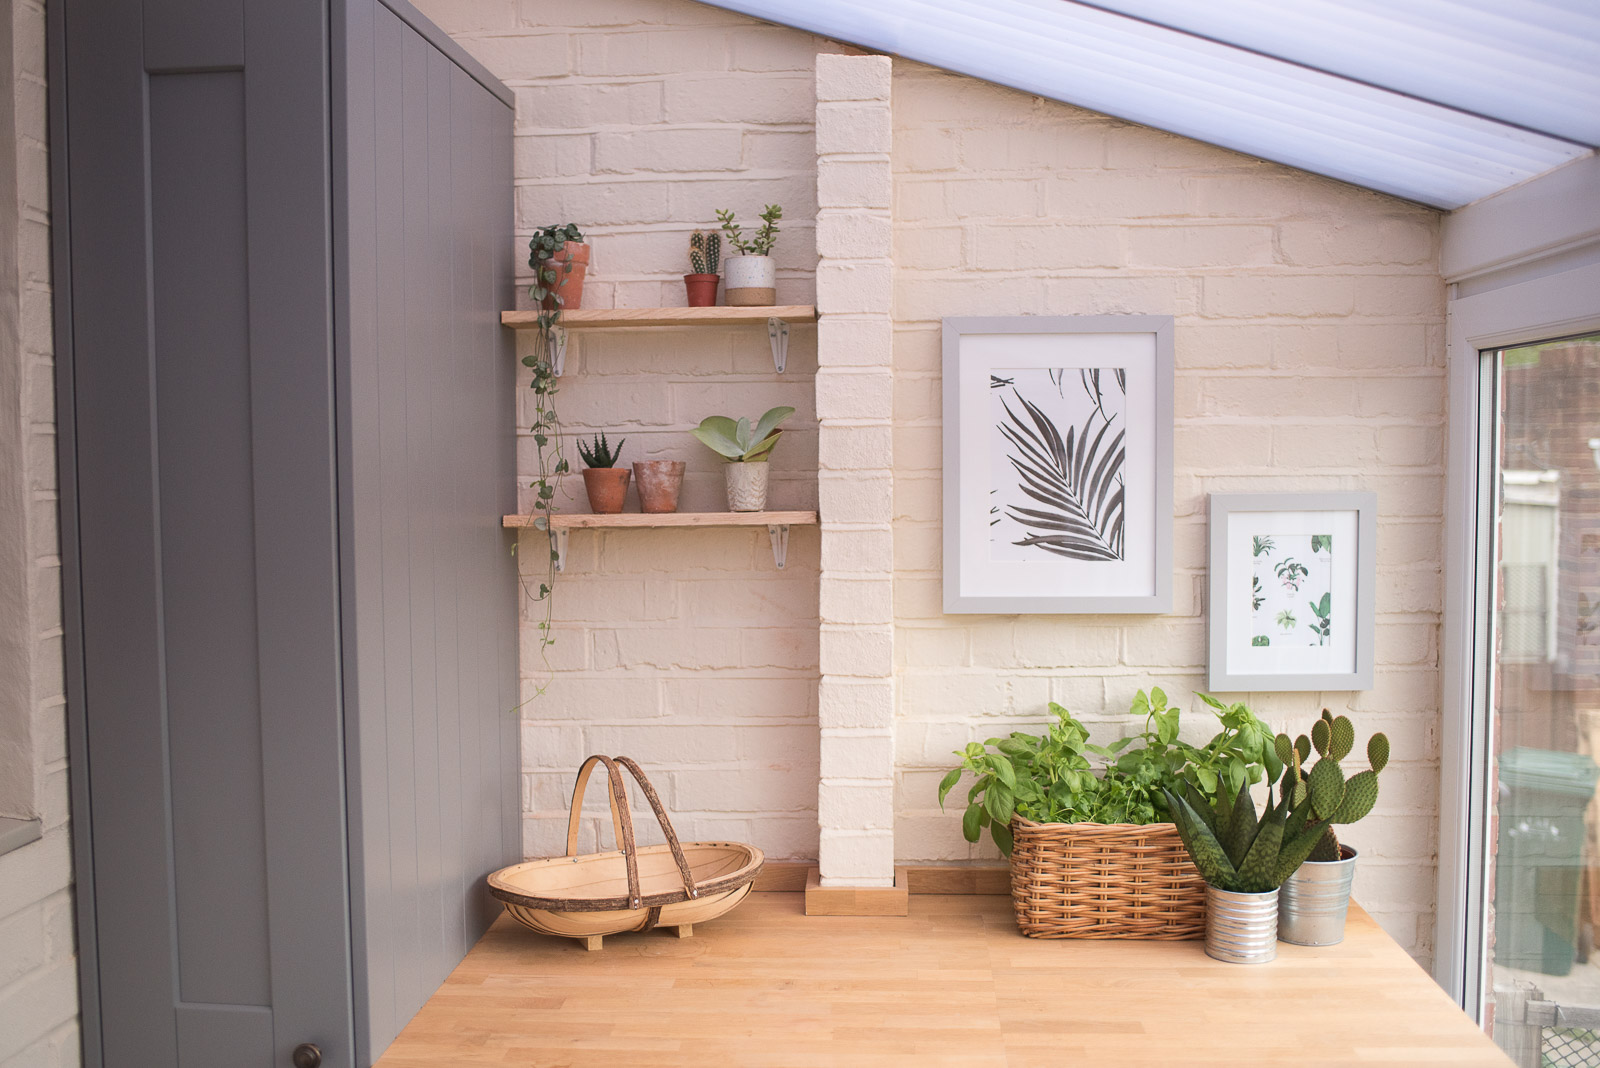
Shelves - Made by Neil with scrap wood and these brackets
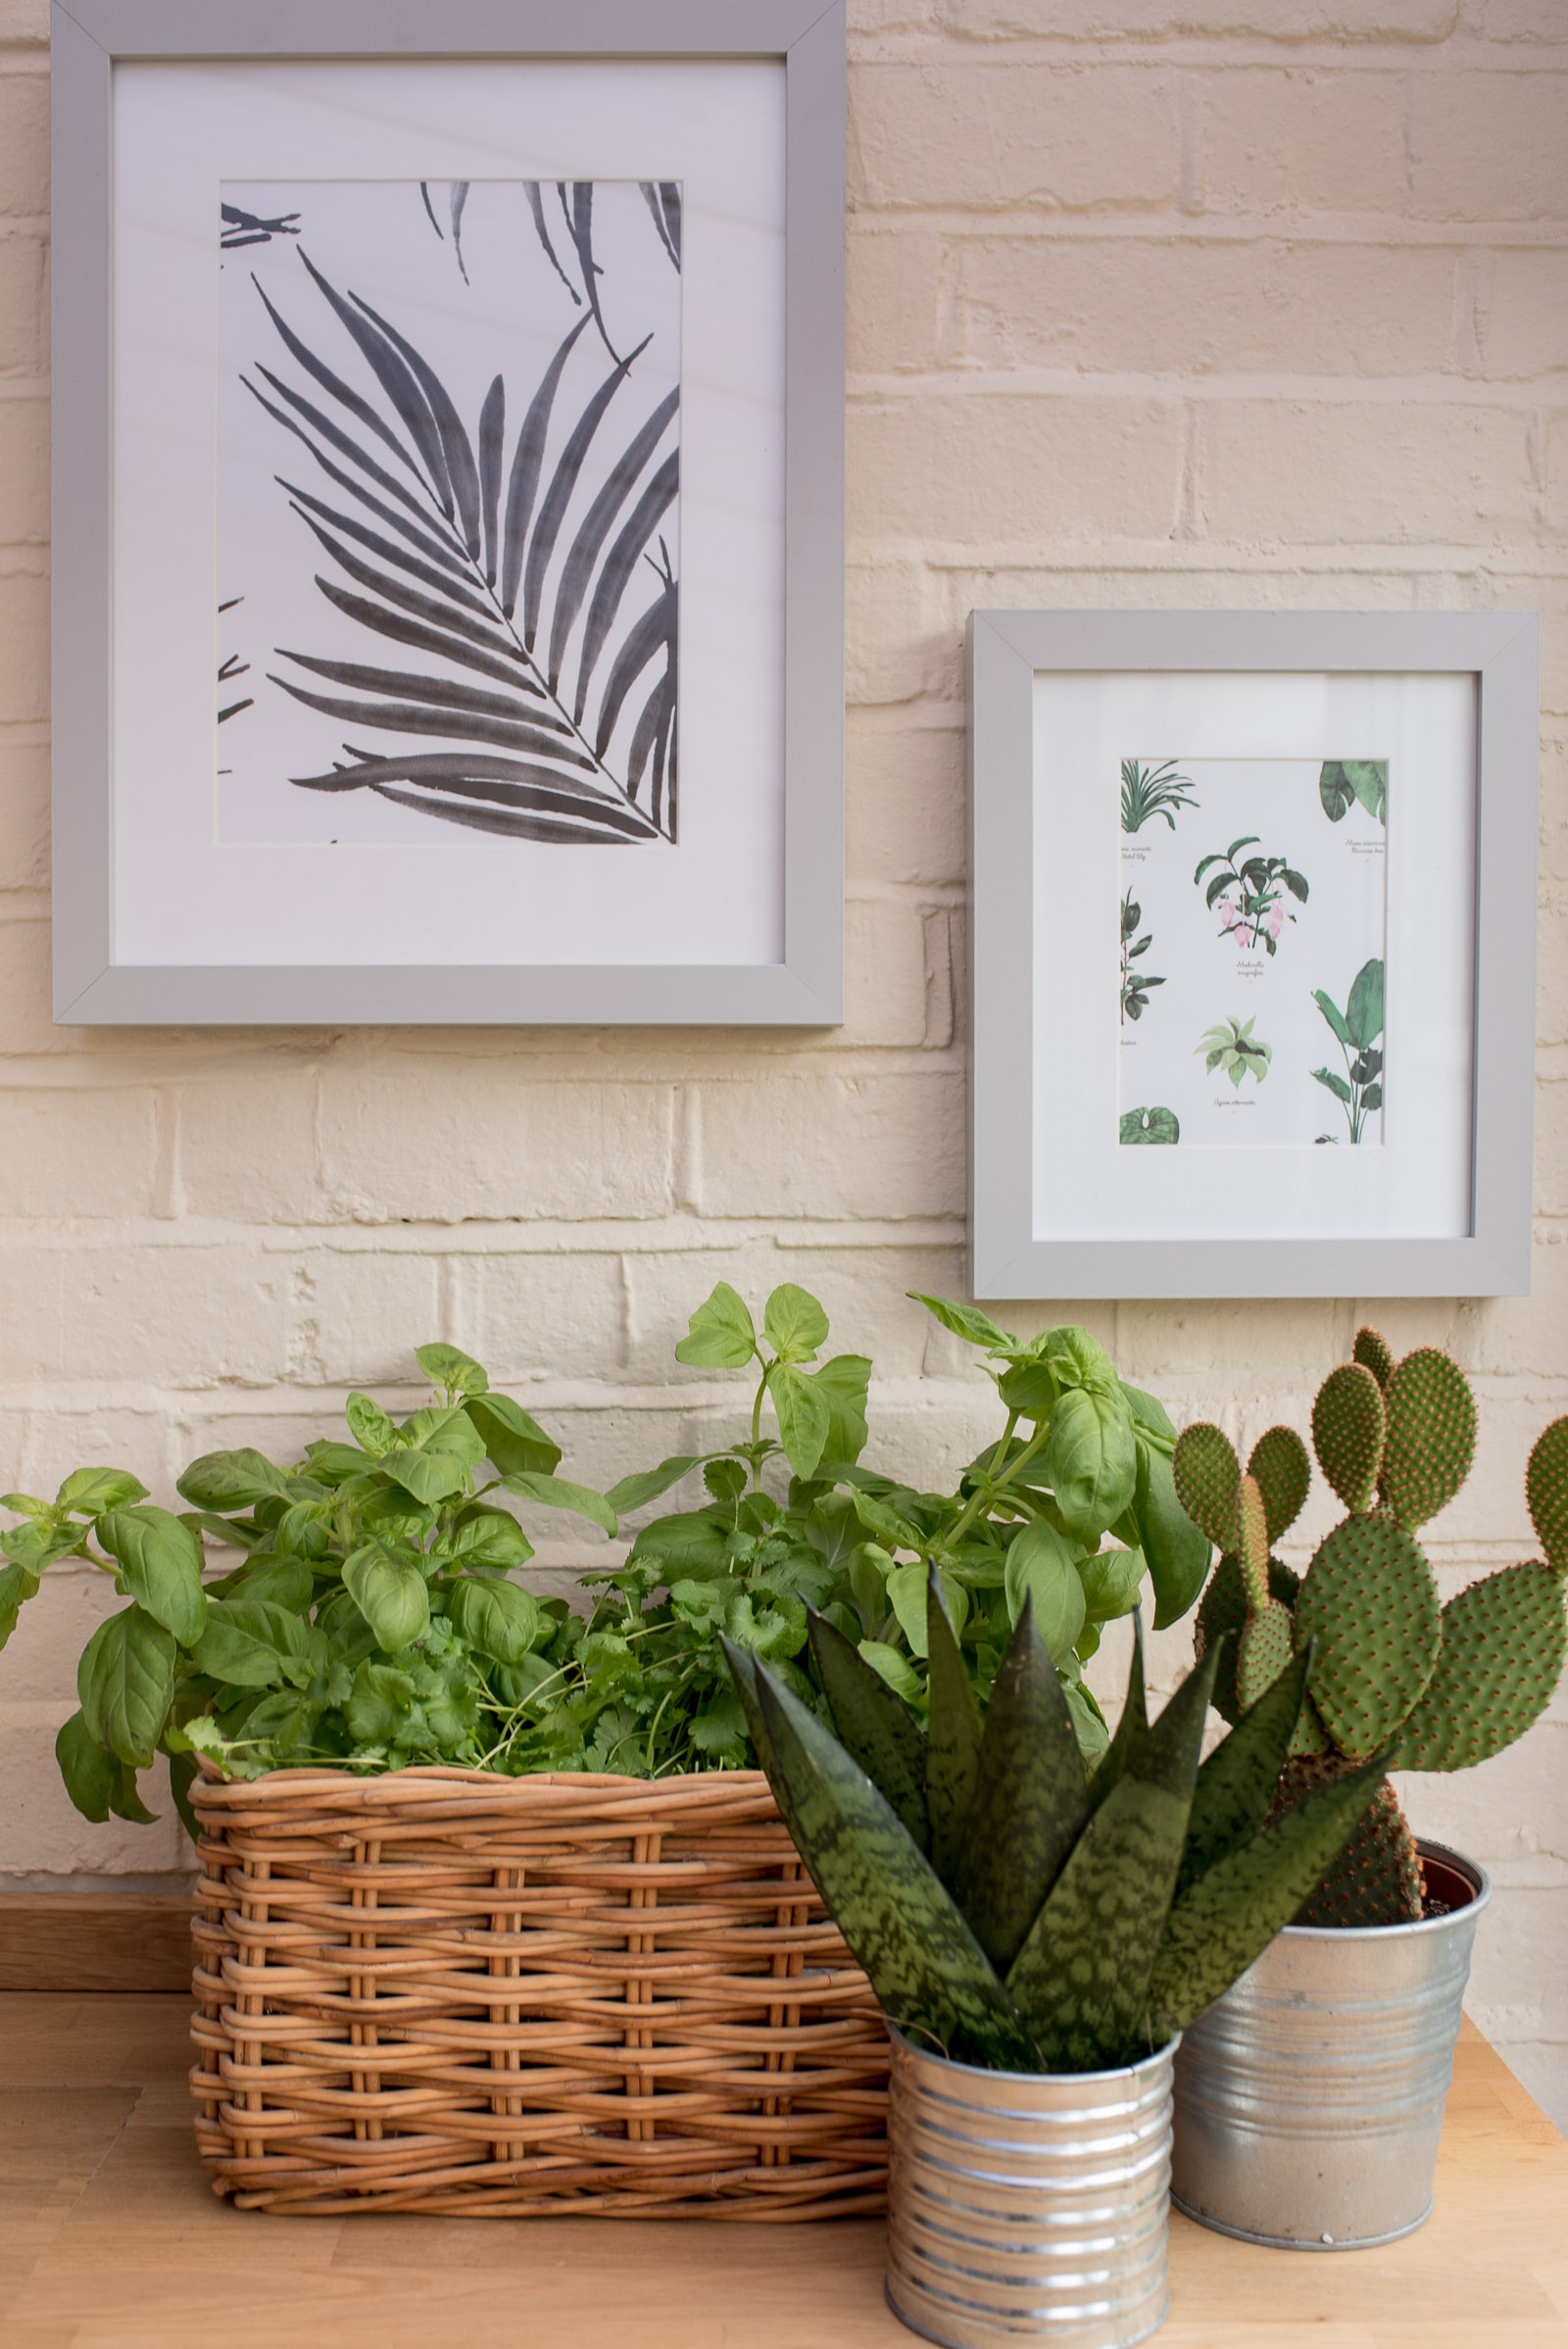
Plants - Various from From Victoria
Frames - George at Asda (Out of Stock, but they have similar ones here)
Pictures inside frames - Leftover wrapping paper from From Victoria
Wooden blanket box / storage - Antique shop in Henfield, Sussex (similar one here)
Hope you enjoyed this post, I’d love to know what you think! Send me any comments or questions on Instagram :)
Renovating a house? Check out our FREE downloadable Renovation guides to help you budget, design and more!
Photography all by Neil William Shaw
Some links in this post are affiliate and help towards my costs running this blog.

