My Bathroom Renovation (with Before & After pics)
🛁 Psst... This post was first written in 2018!
Since then, we've given our bathroom a whole new refresh and honestly, it's our favourite version yet. If you're looking for our latest bathroom costs, design and before & afters, head to our updated post instead.
This post contains affiliate links, for more info look at the disclosure page
It’s been almost 2 and a half years since we moved in to our 1930s semi detached house, and finally we have a bathroom that’s been brought up to date! I’ve definitely learned you’ve got to have serious patience when you’re renovating…
As any home renovator will know, room makeovers can never be rushed - especially when you’re on a tight budget like we were with this bathroom. It’s a project we’d love to have got done at the same time as our kitchen renovation but because of funds we had to put it off to the year after.
When we did our ‘finger in the air’ budgets for our home renovation we originally budgeted a naive £5000 for our bathroom renovation. I thought this was a lot at first, but after a chat with a friend of mine who’s an interior designer and designs bathrooms day in day out, we soon found out a more healthy budget would be around the £7000 mark. We’d never have got this done under £5000.
And there was quite a bit to do… This is the floor plan before and after.
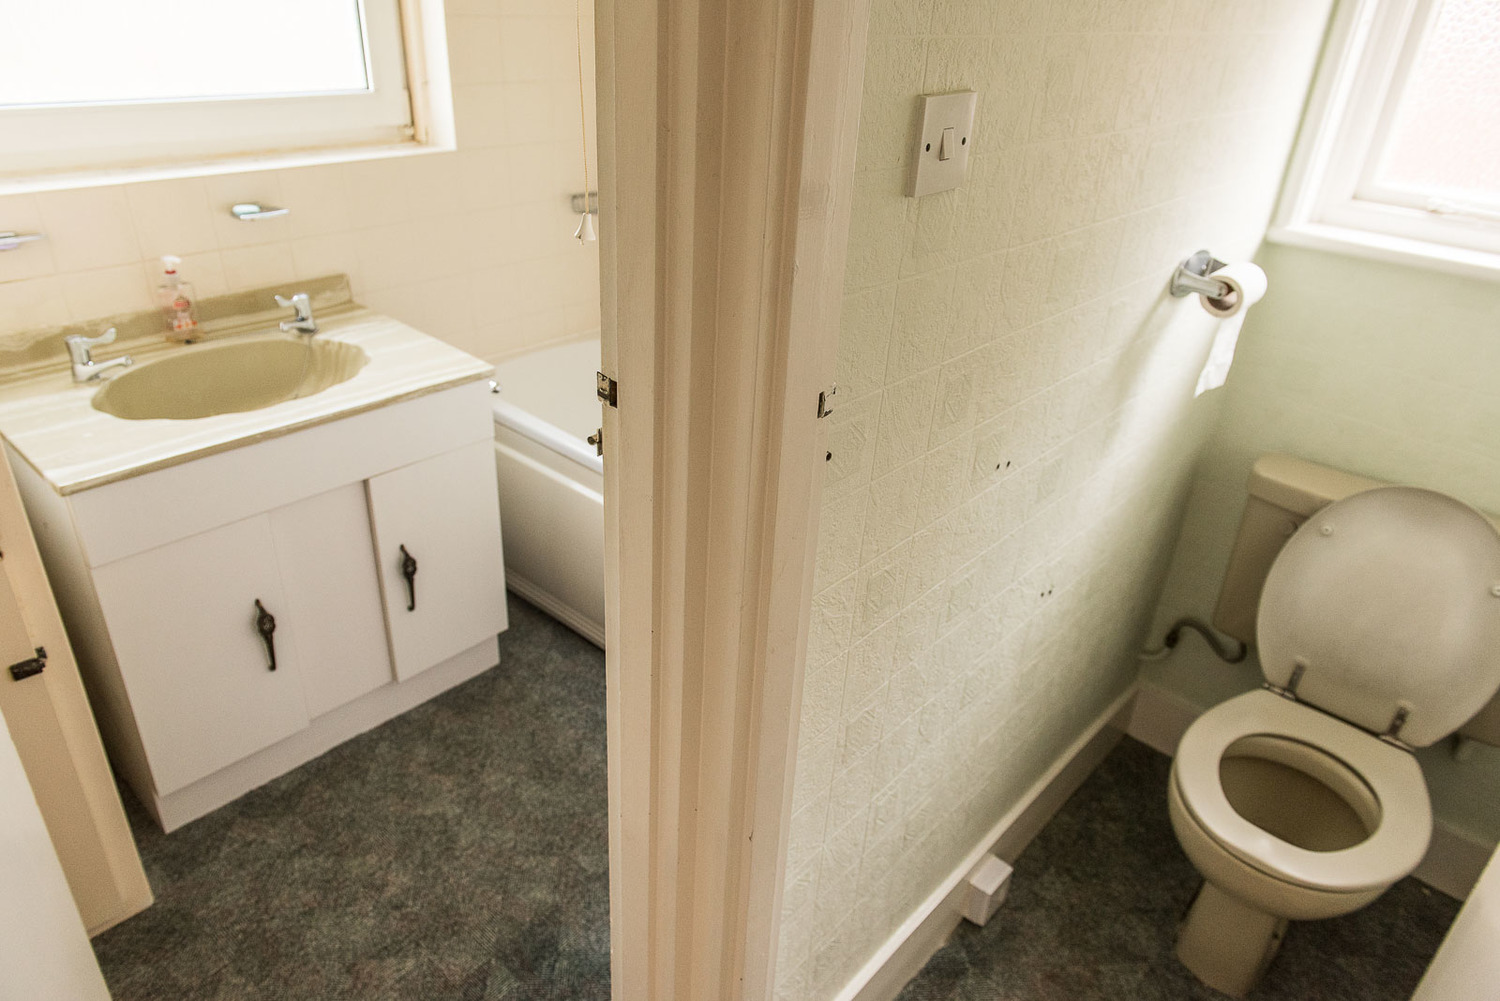
As you can see we partially demolished the wall dividing the toilet and bathroom to create one open family bathroom. We left most of the plumbing layout the same in an attempt to reduce costs, and ripped out the cupboard that used to house the hot water tank, moving the sink waste over to a different wall so we could get more storage space, plumbing in a radiator here instead.
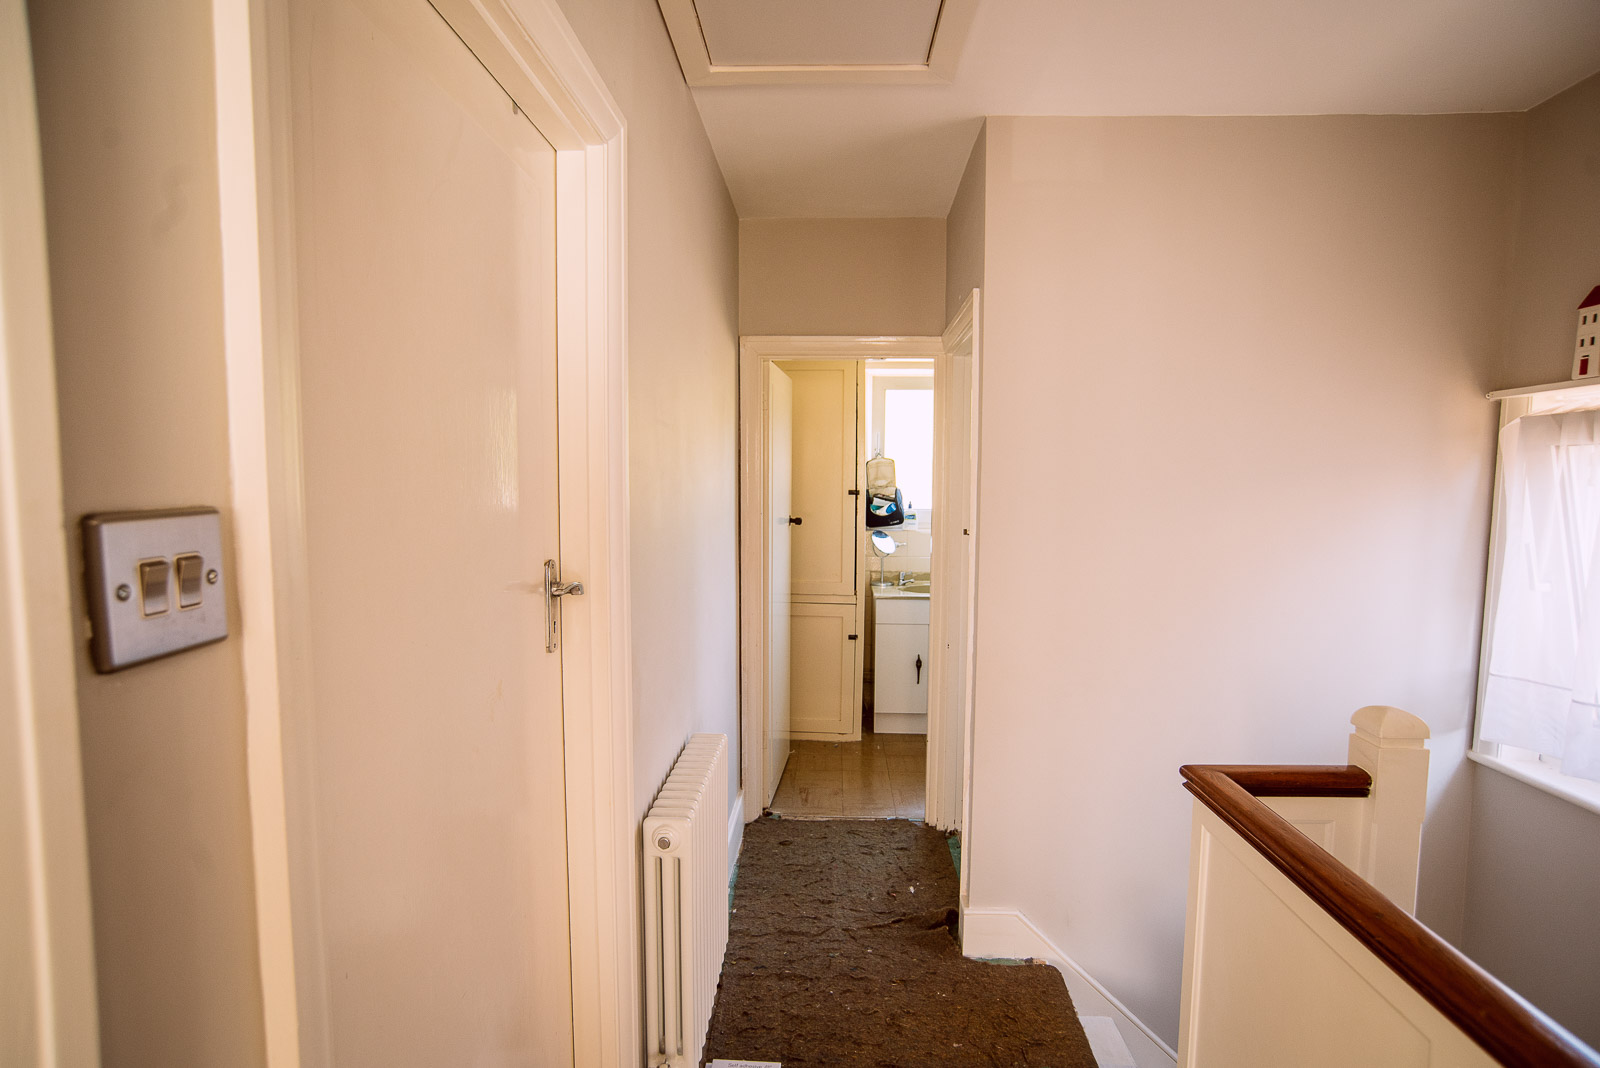
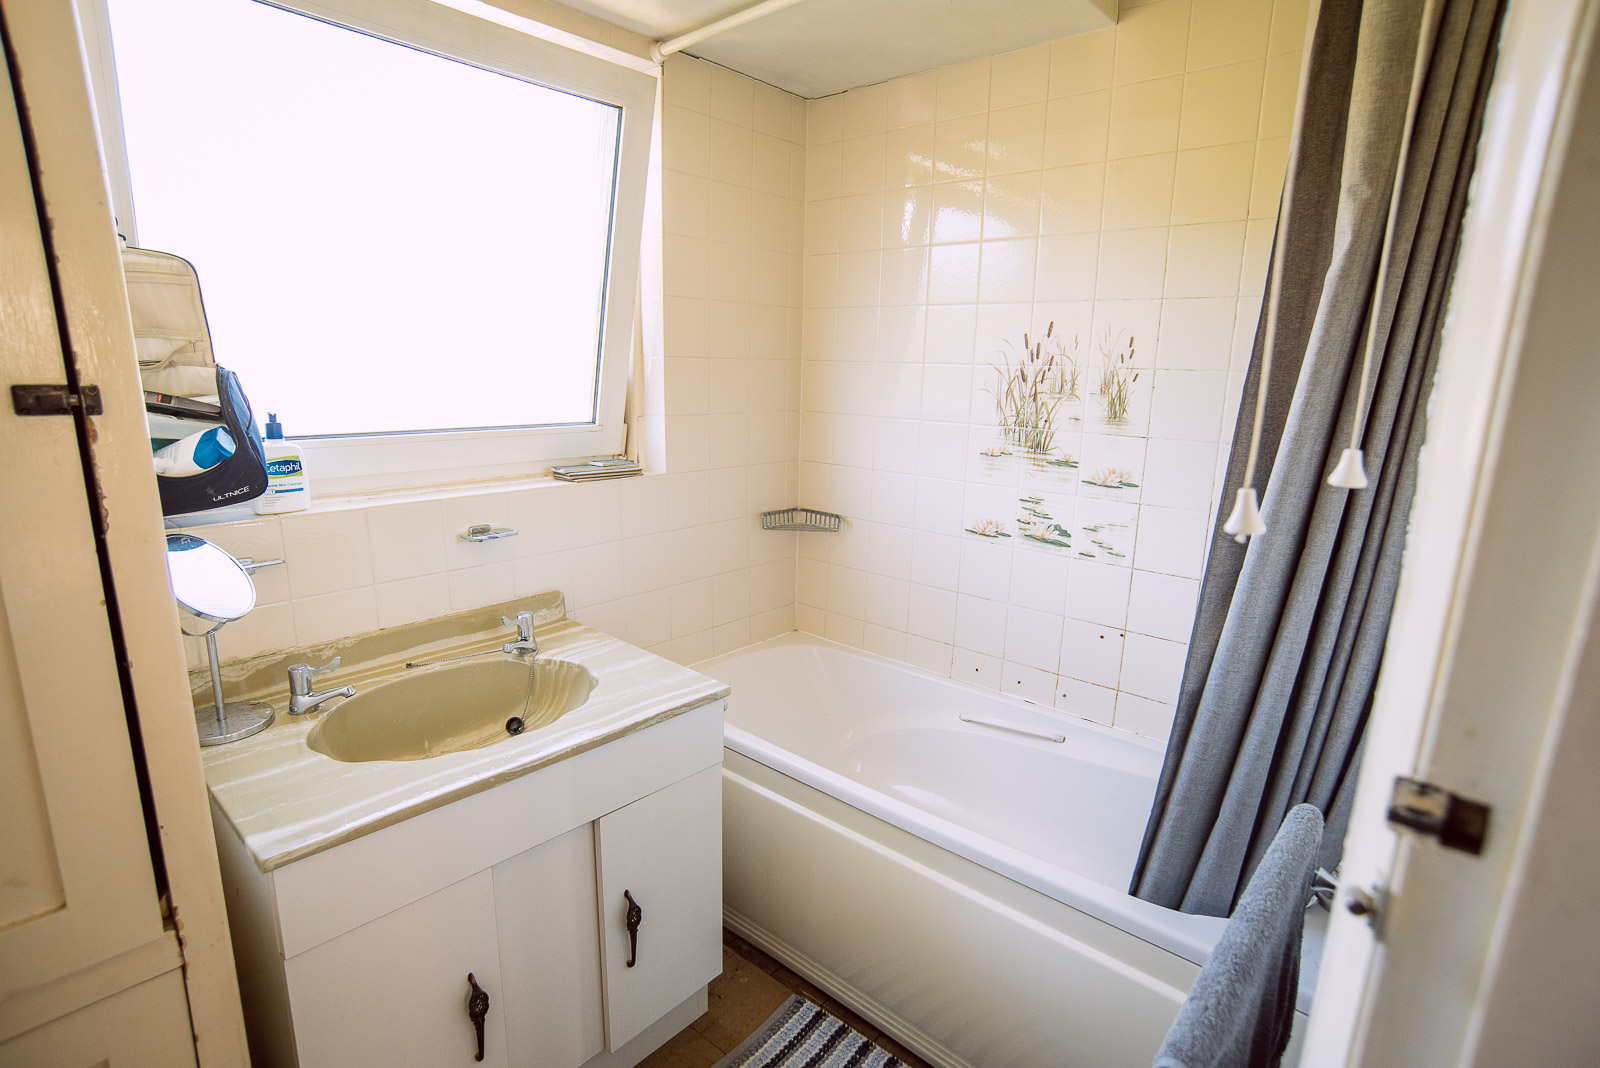
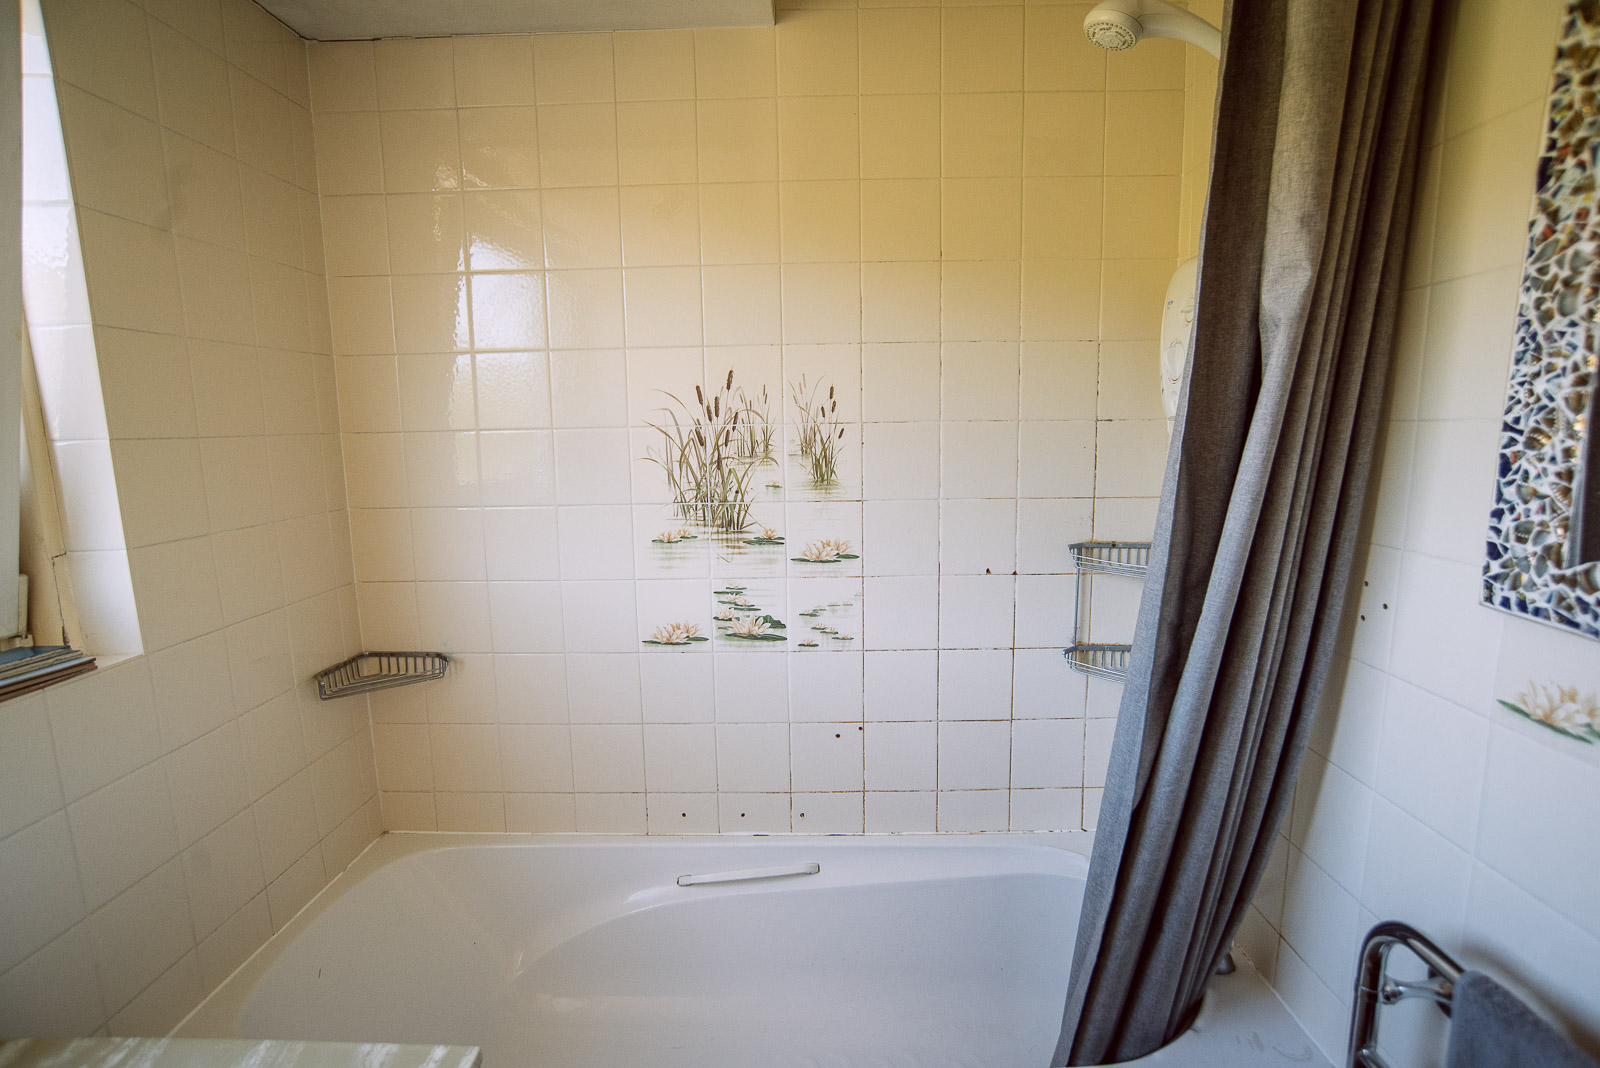
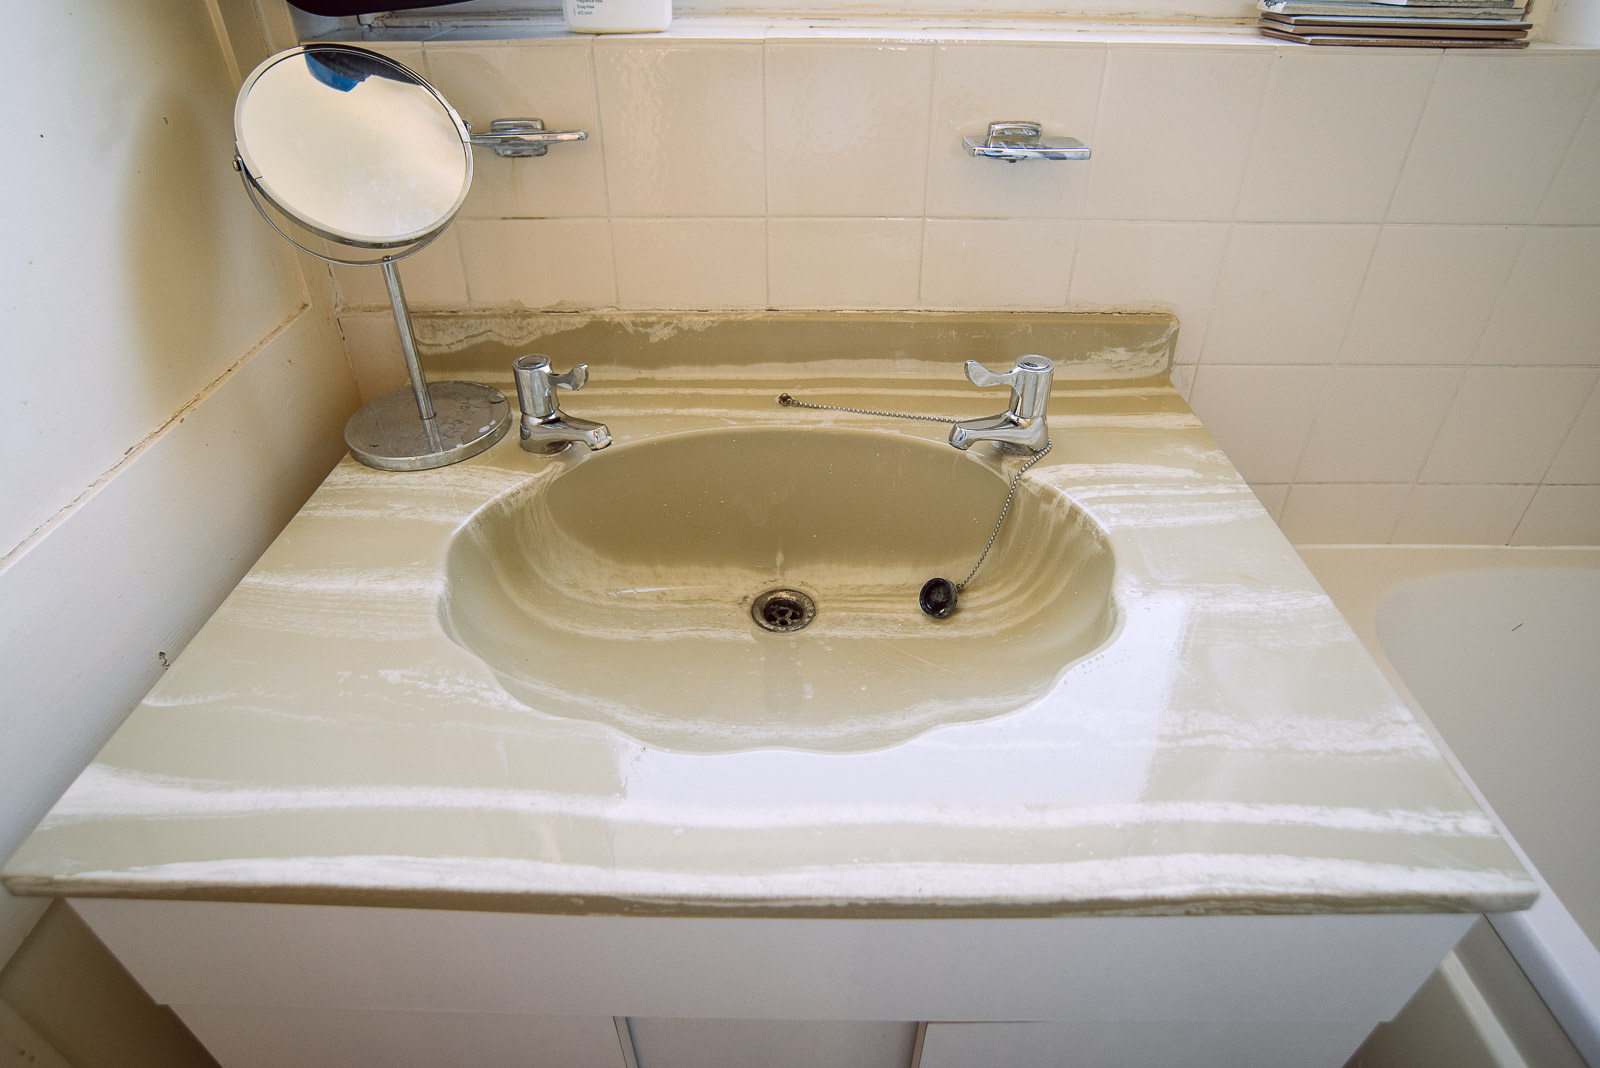
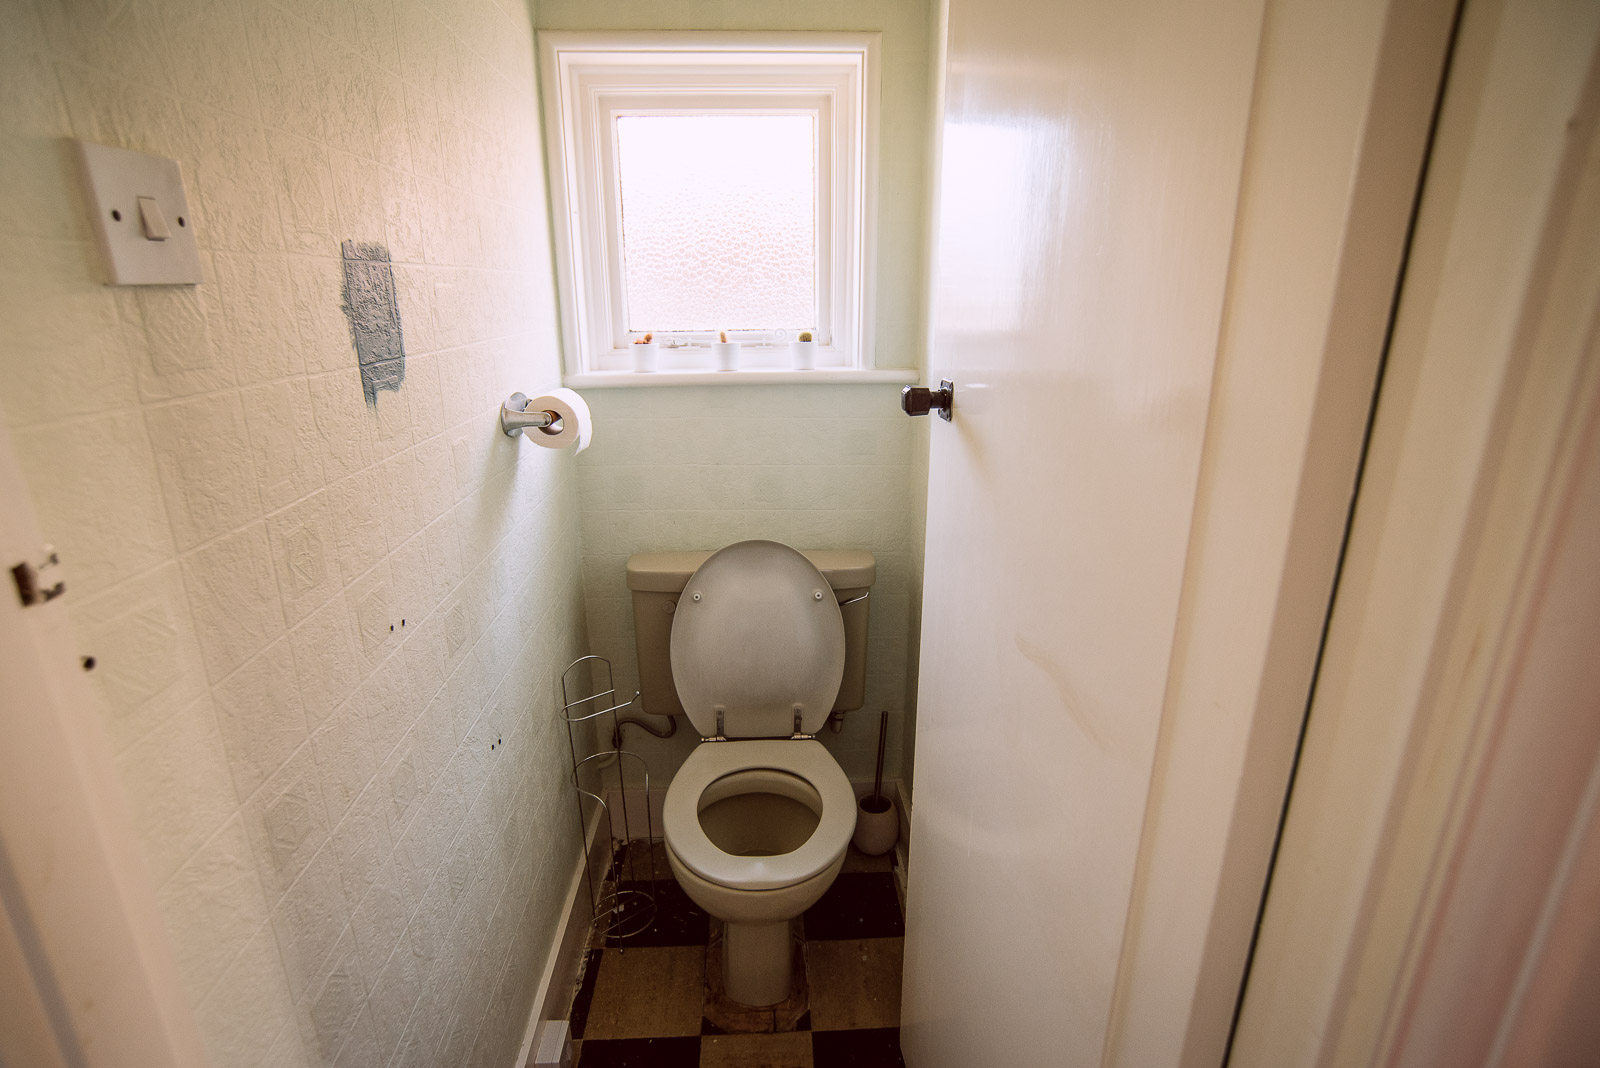
Before the bathroom renovation
I can’t believe we lived with this bathroom for over 2 years! Brace yourselves…
Obviously the first thing to go was the old avocado suite (much to some of my friend’s dismay - they liked it haha!) and gave the whole room a huge, much overdue upgrade on bathroom suite, electrics, storage space, flooring, lighting, wood panelling… everything.
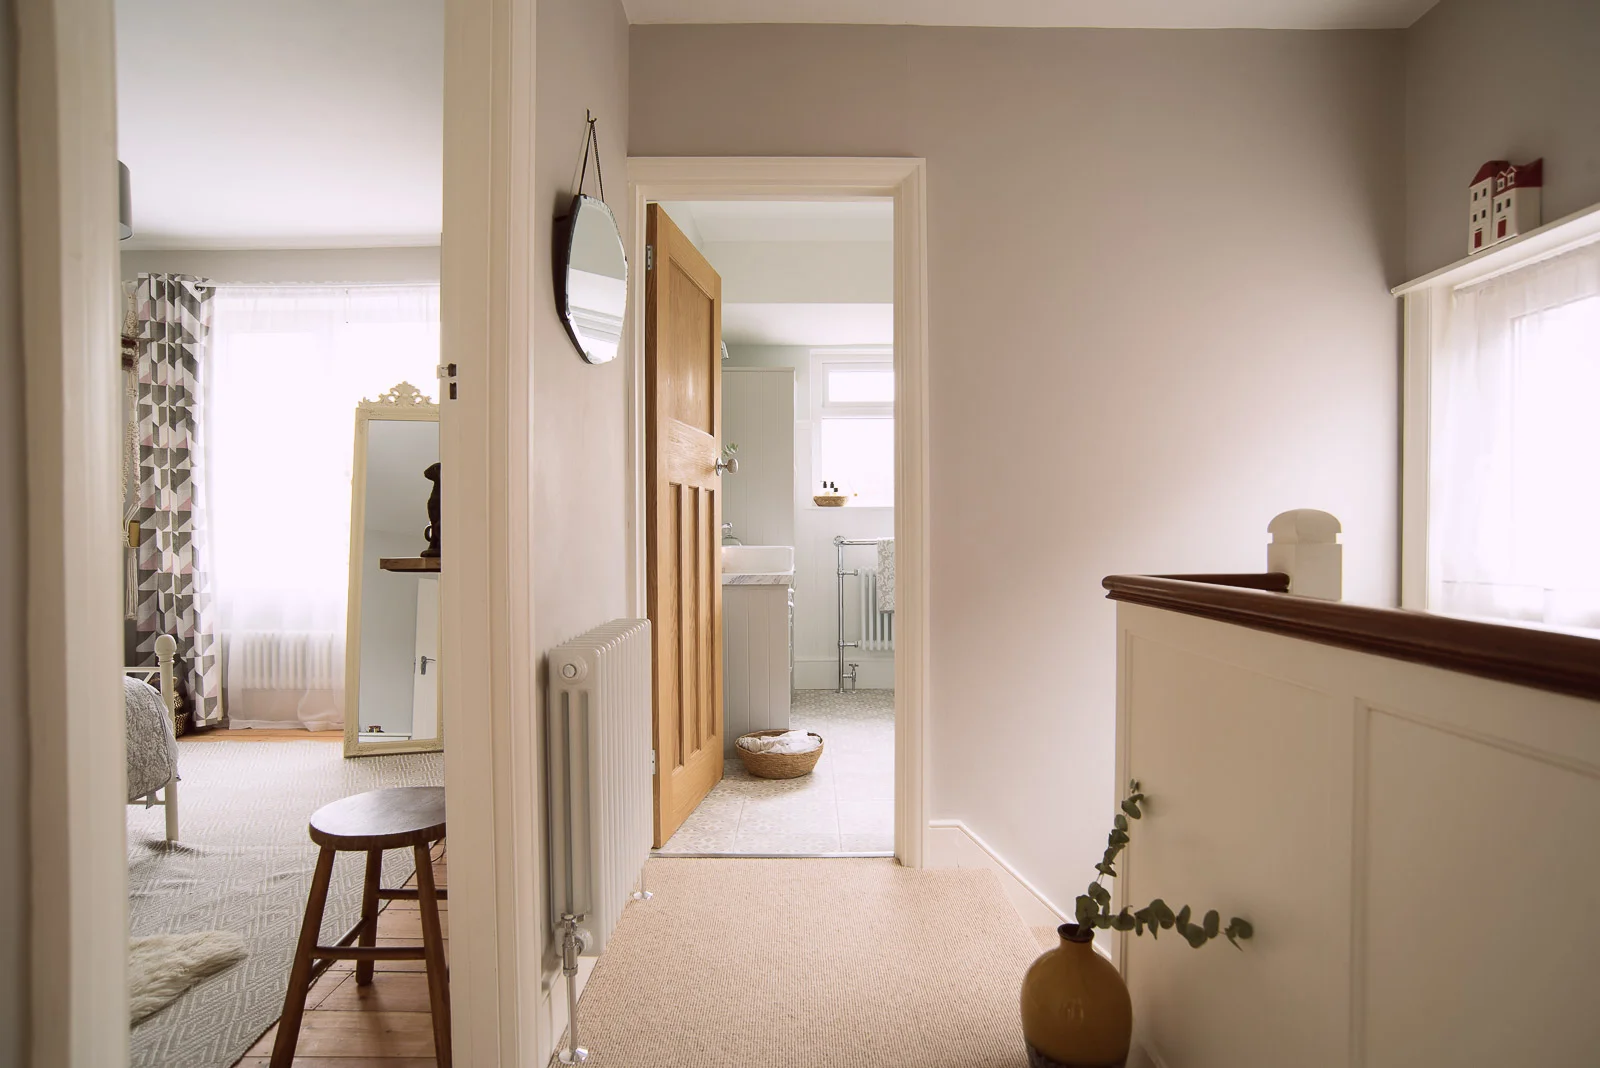
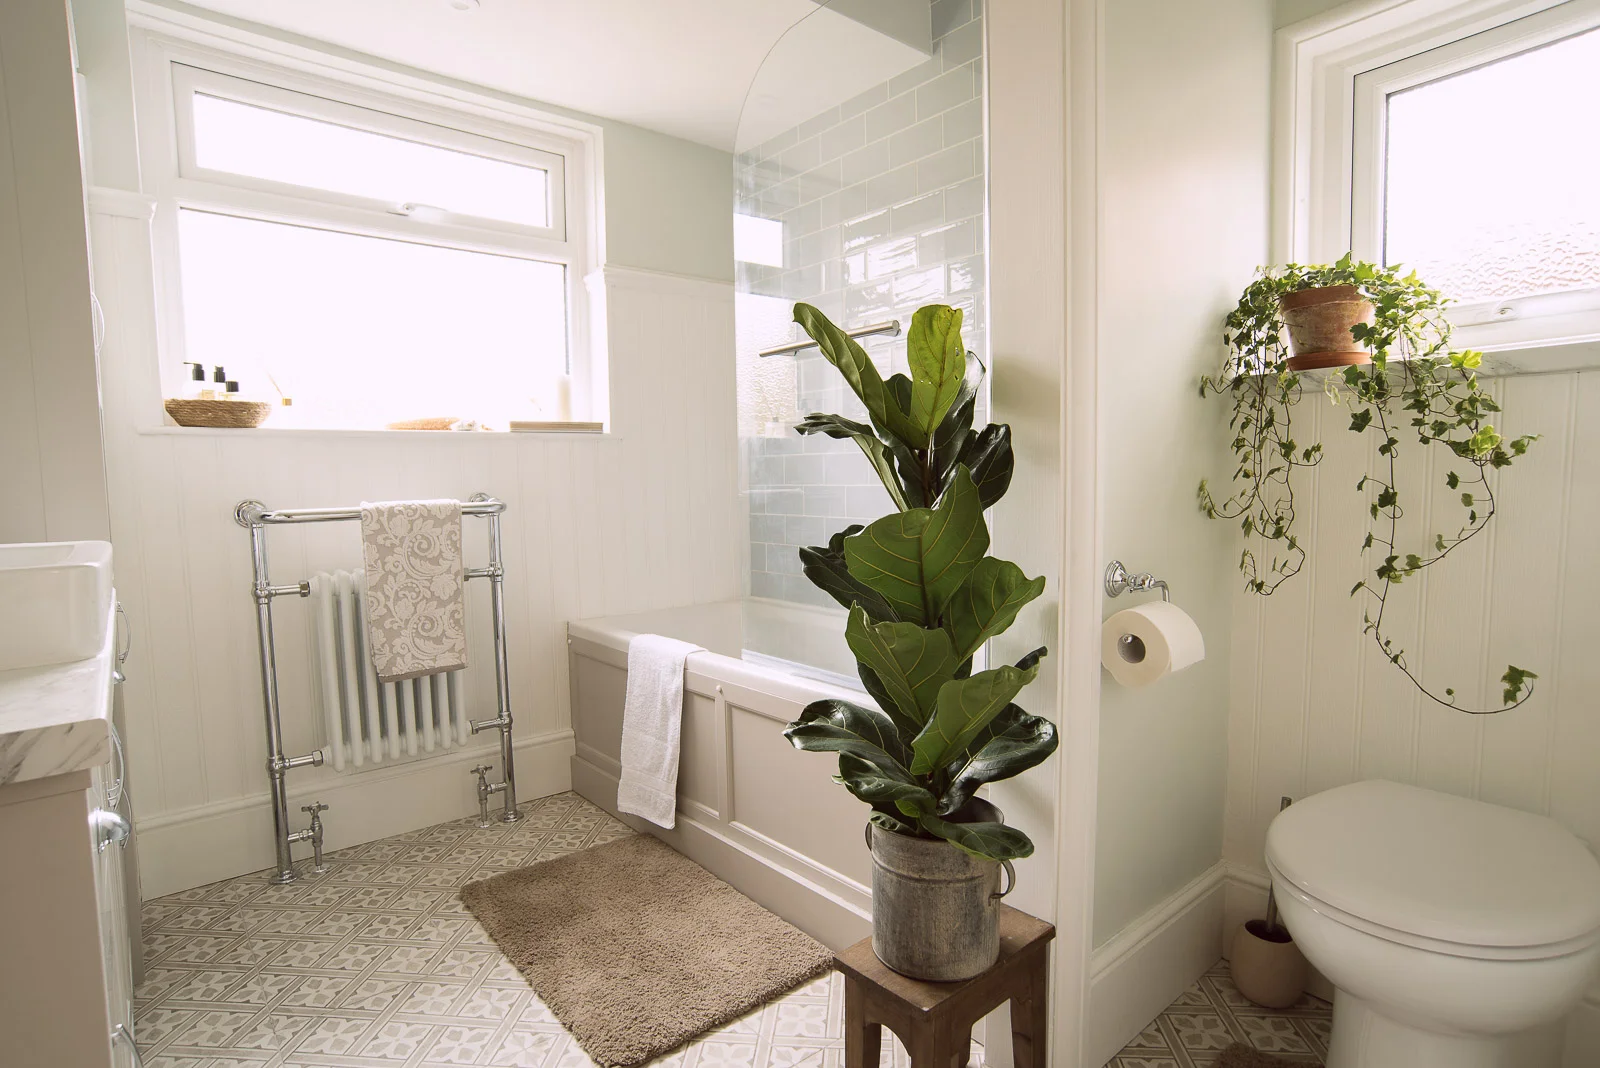
Here’s how it looks now…
Rather watch a video of the transformation? Neil documented it all…
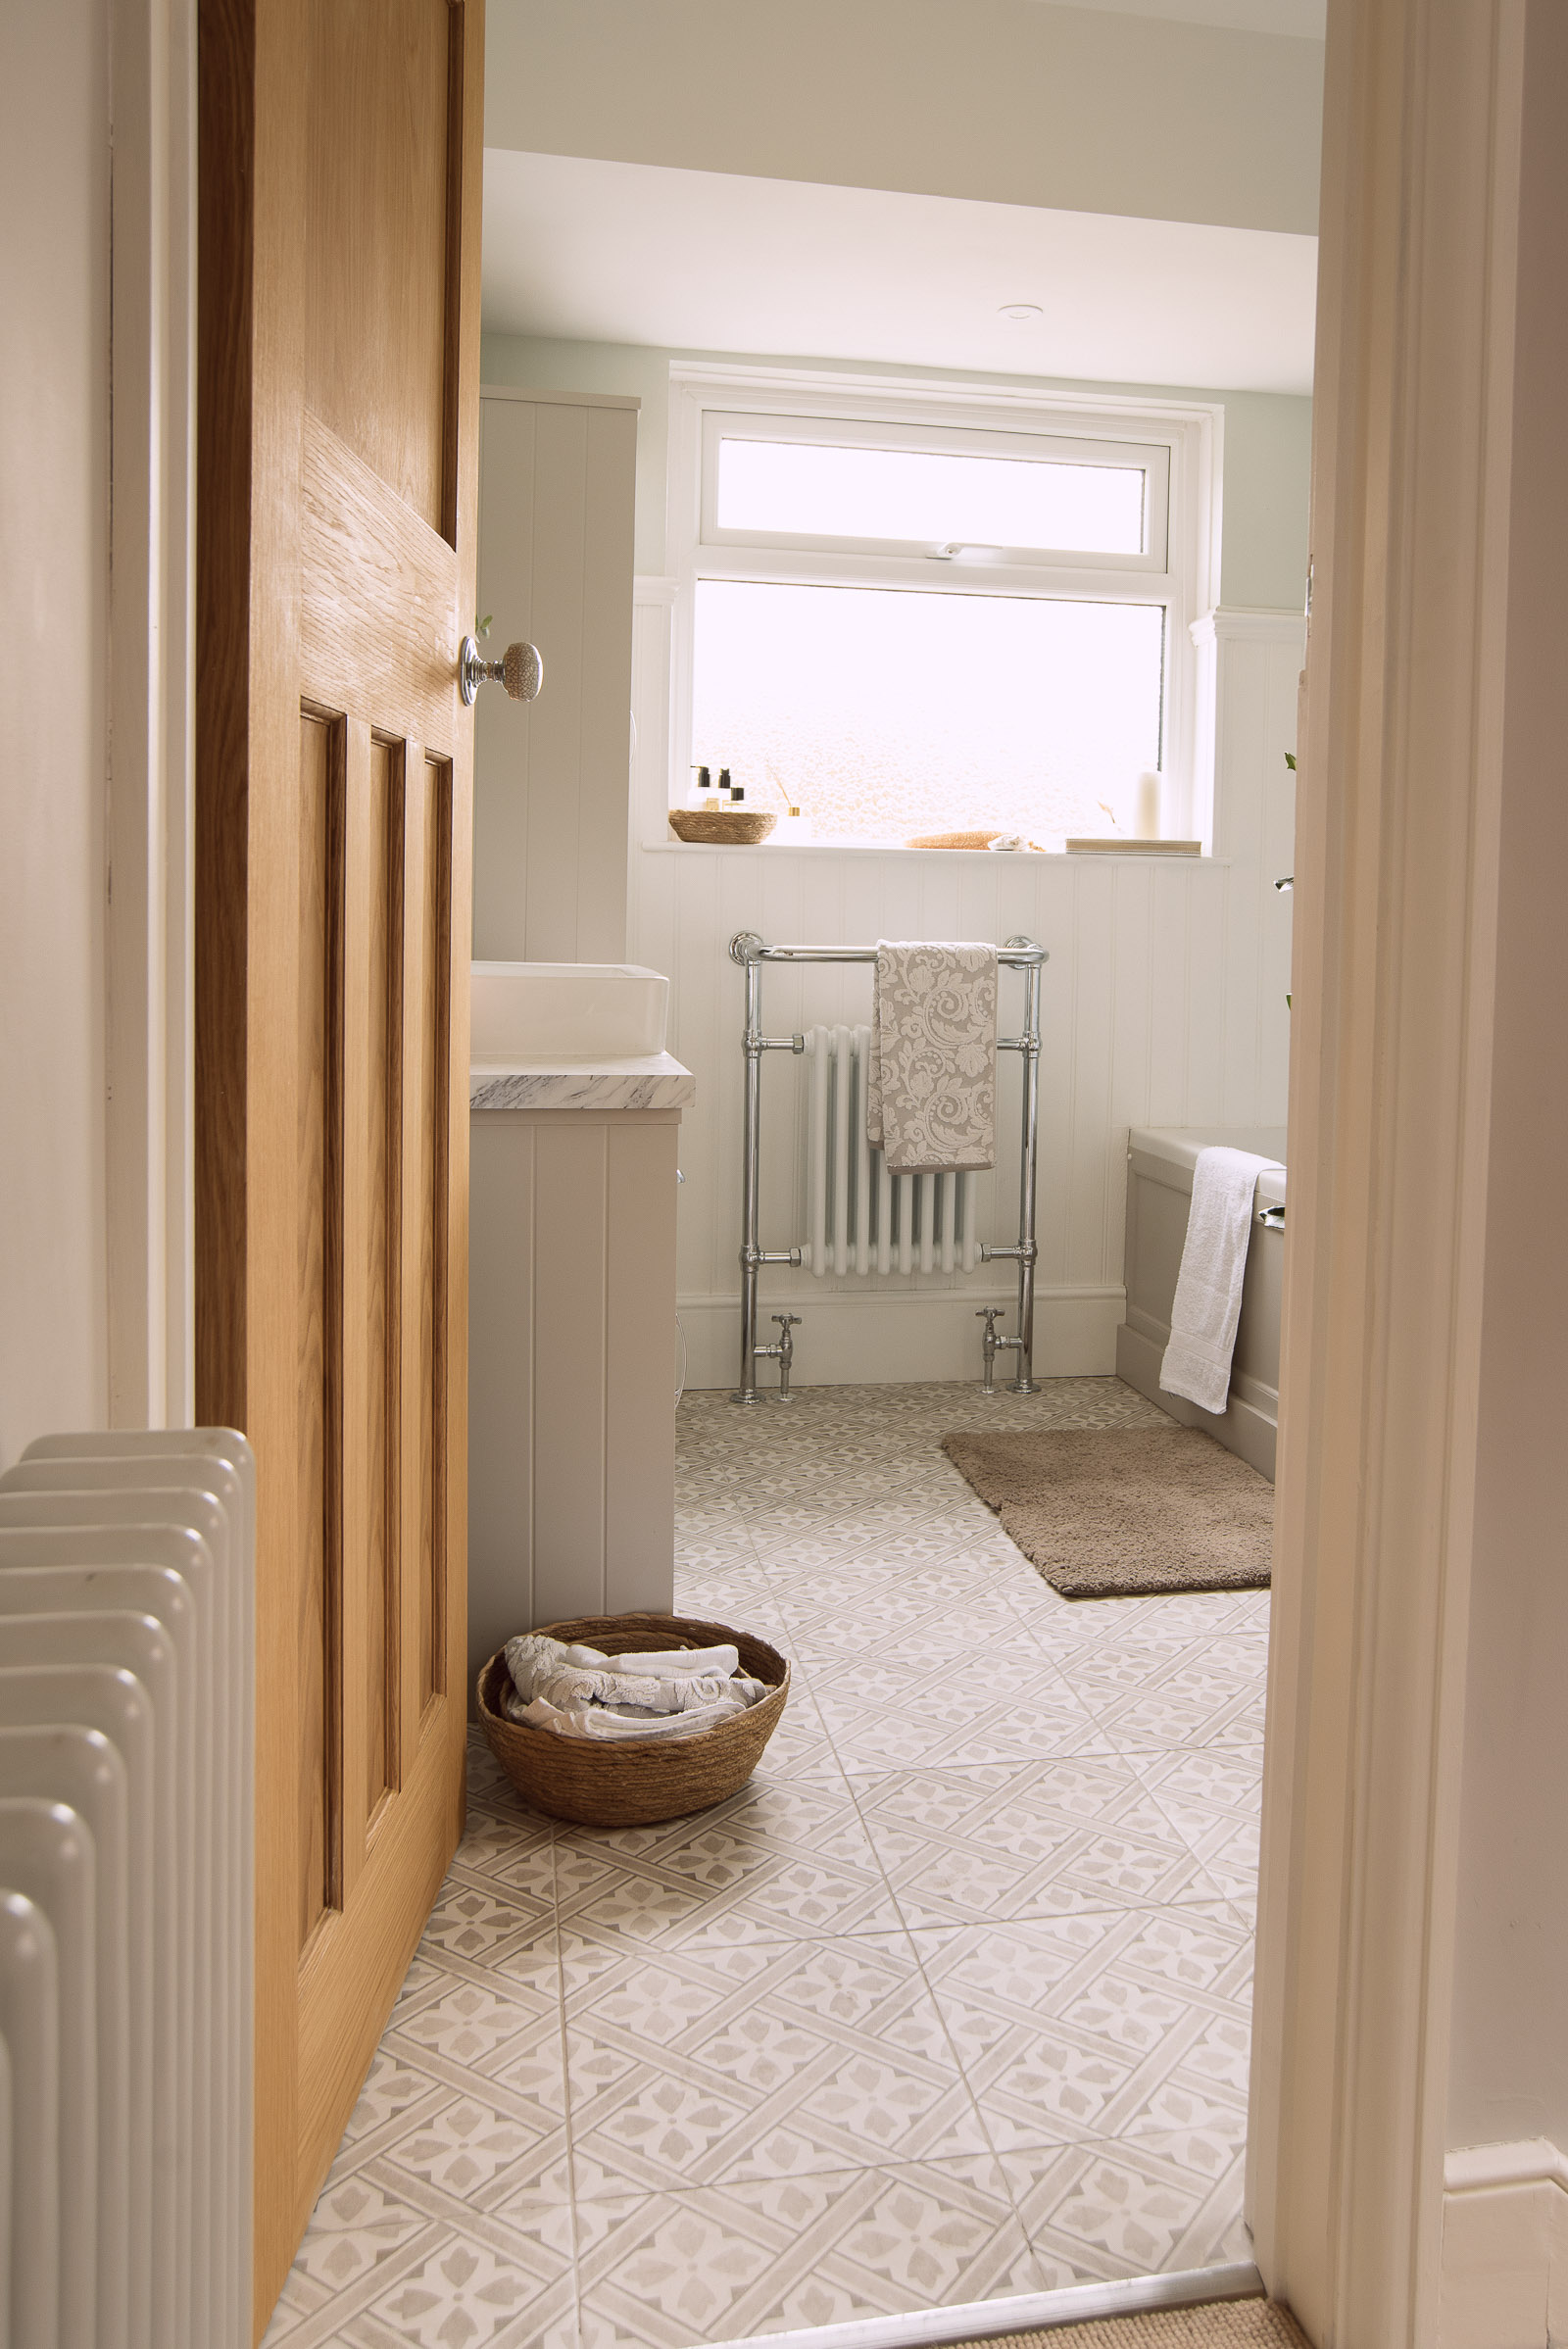
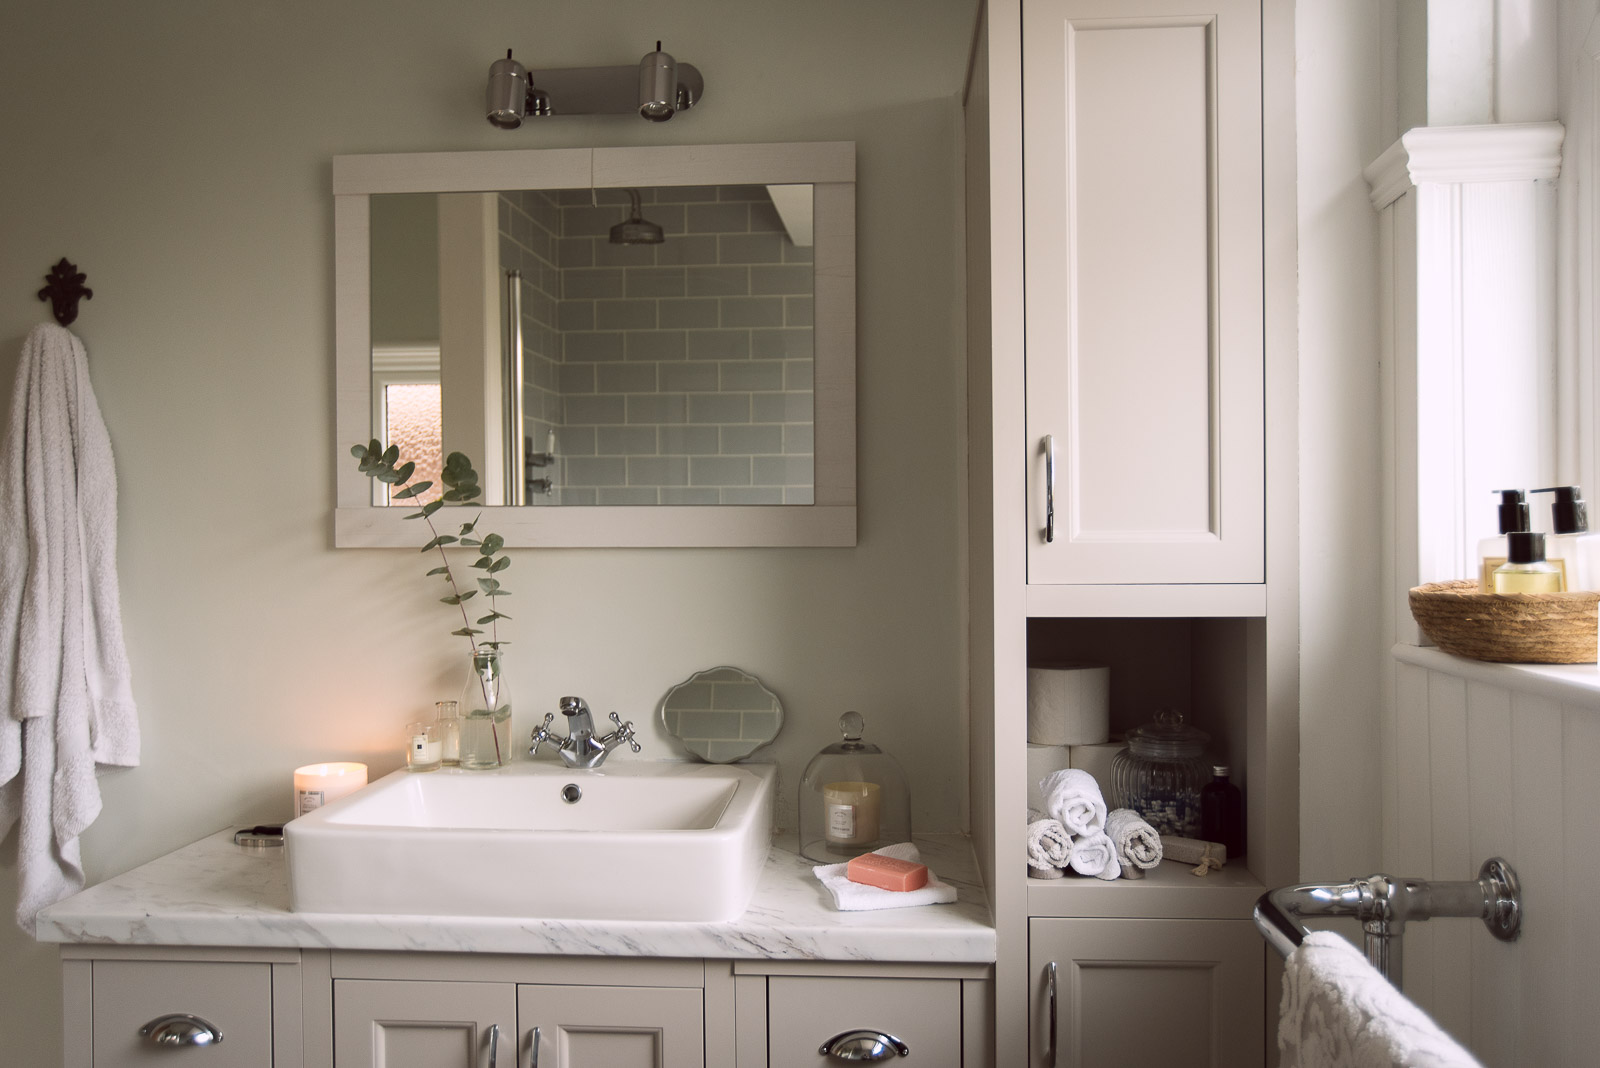
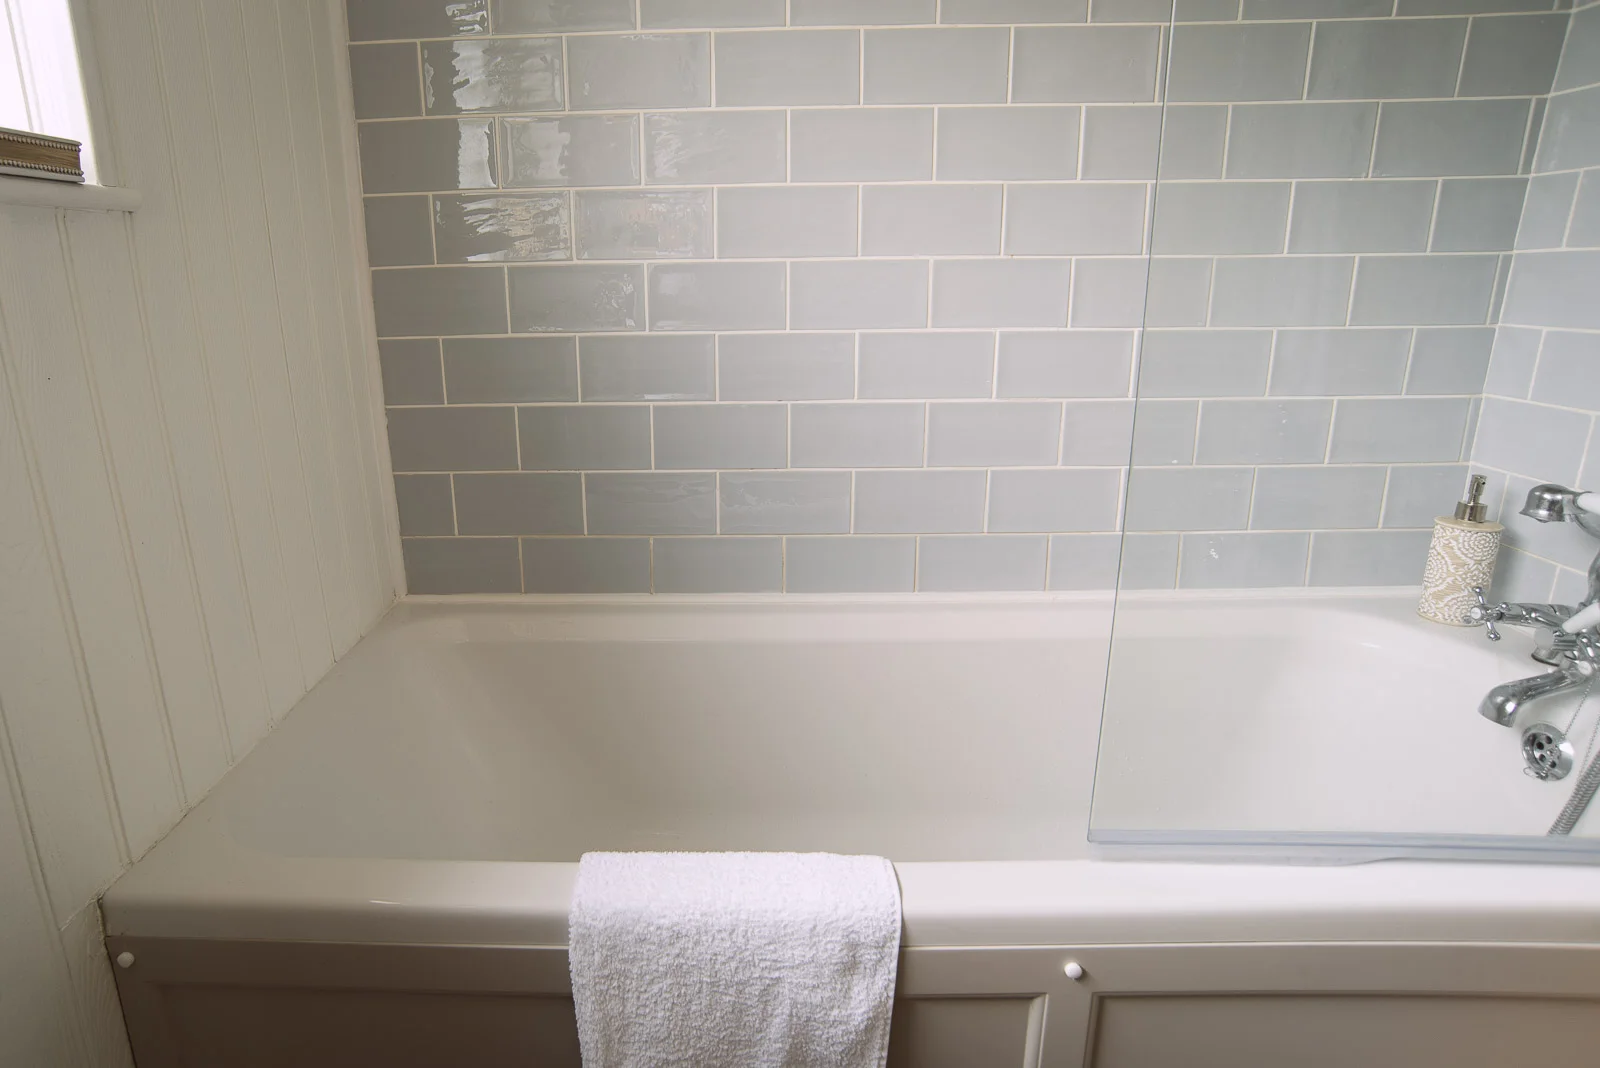
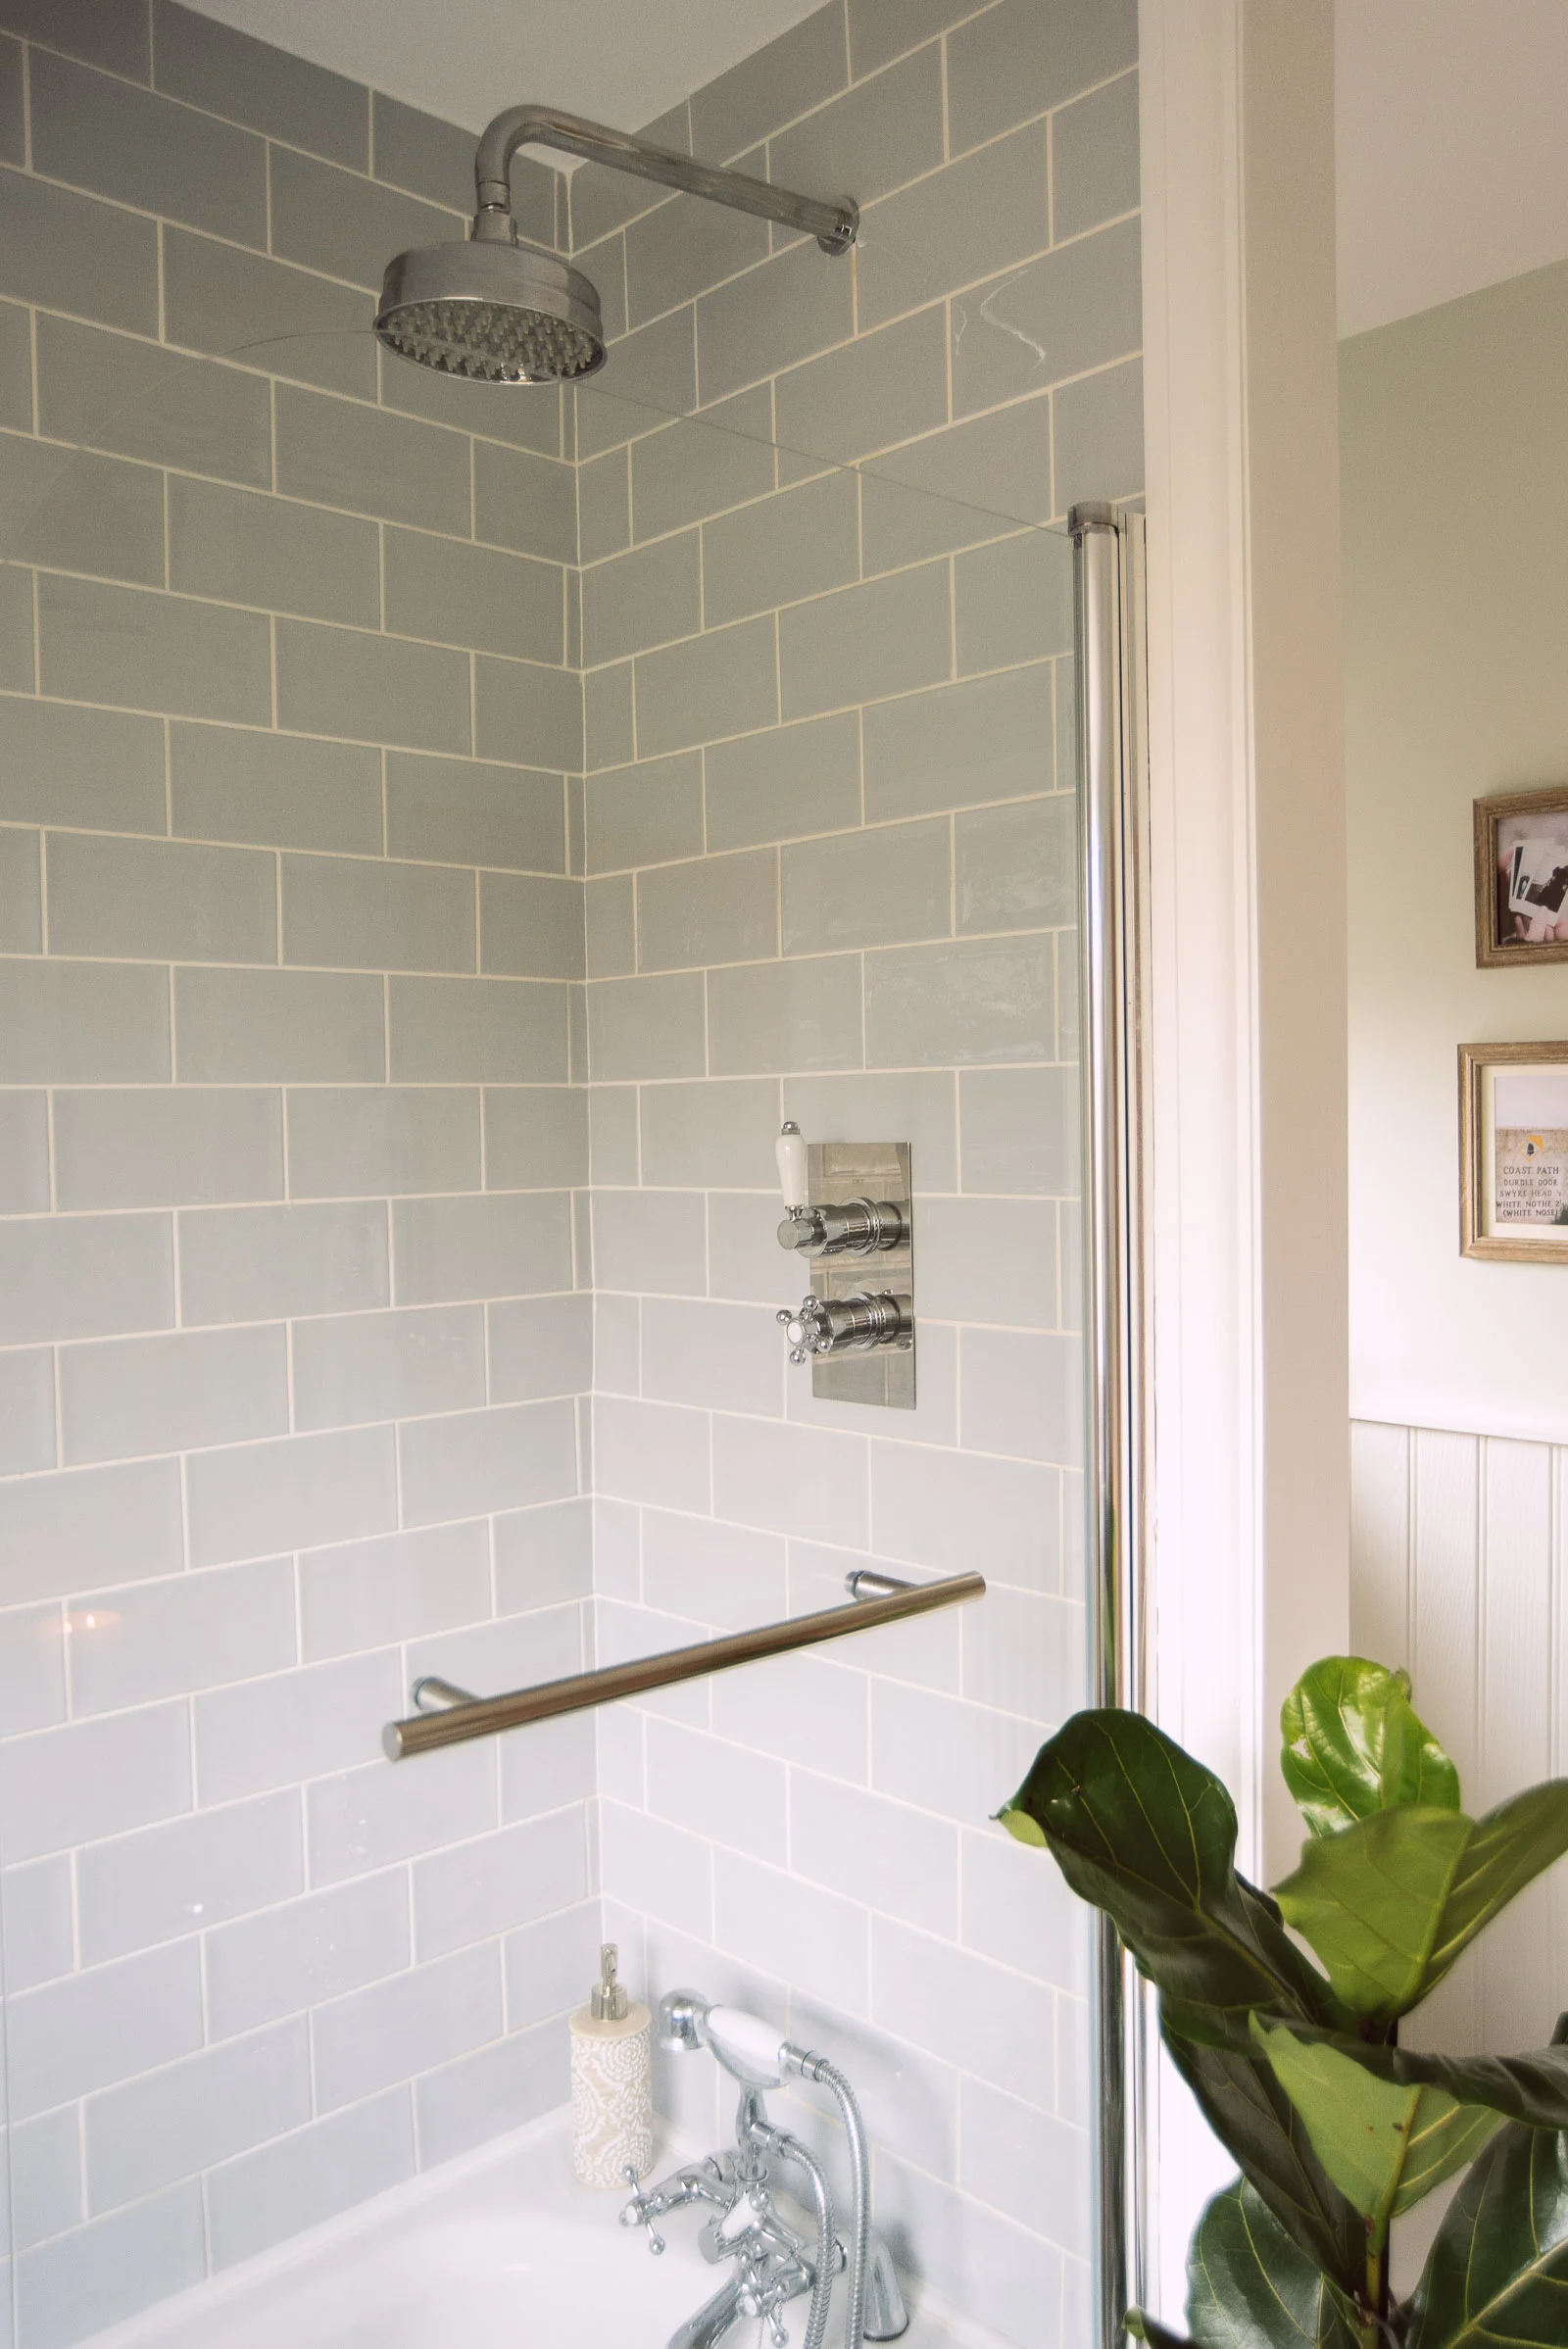
1930s bathroom ideas after renovation - Laura Ashley tiles in Dove Grey, available HERE.
It’s remarkable how just by knocking down half the toilet wall, making the room one space rather than two and extending into the landing fractionally has made the bathroom feel inviting and spacious.
A real important thing for us was to maximise storage space in here. If you’ve read my other house renovation posts you’ll have heard my complaints about the lack of storage when we first moved in.
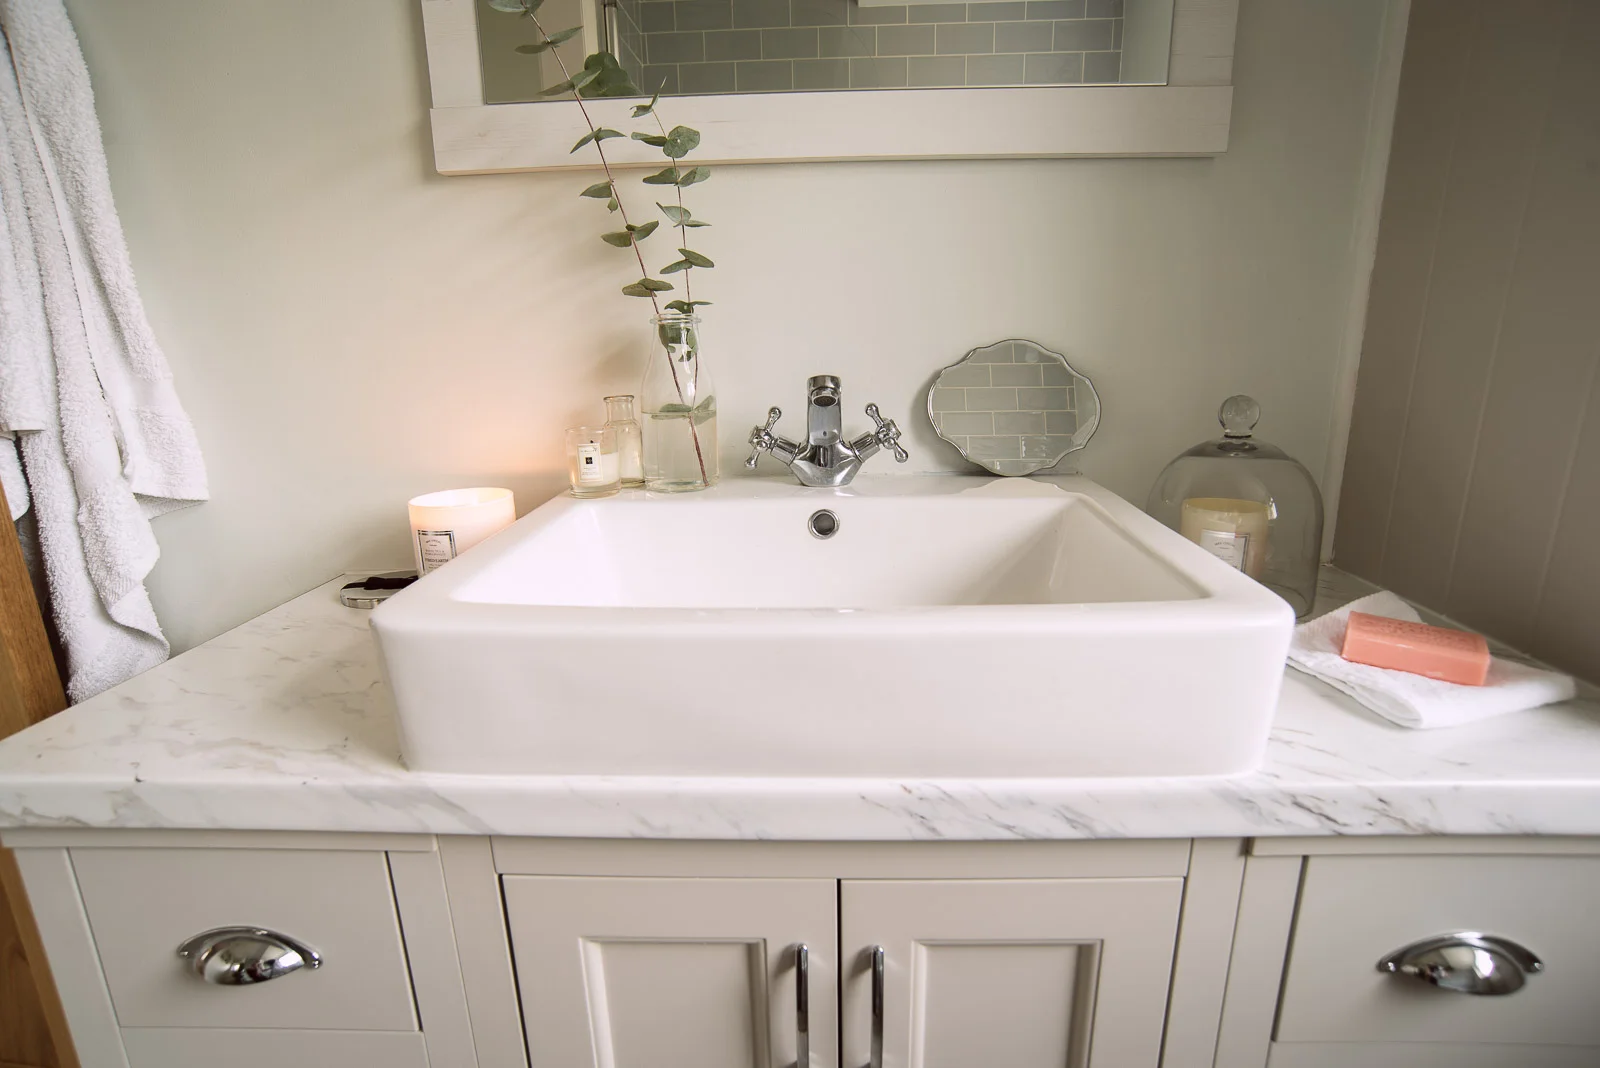
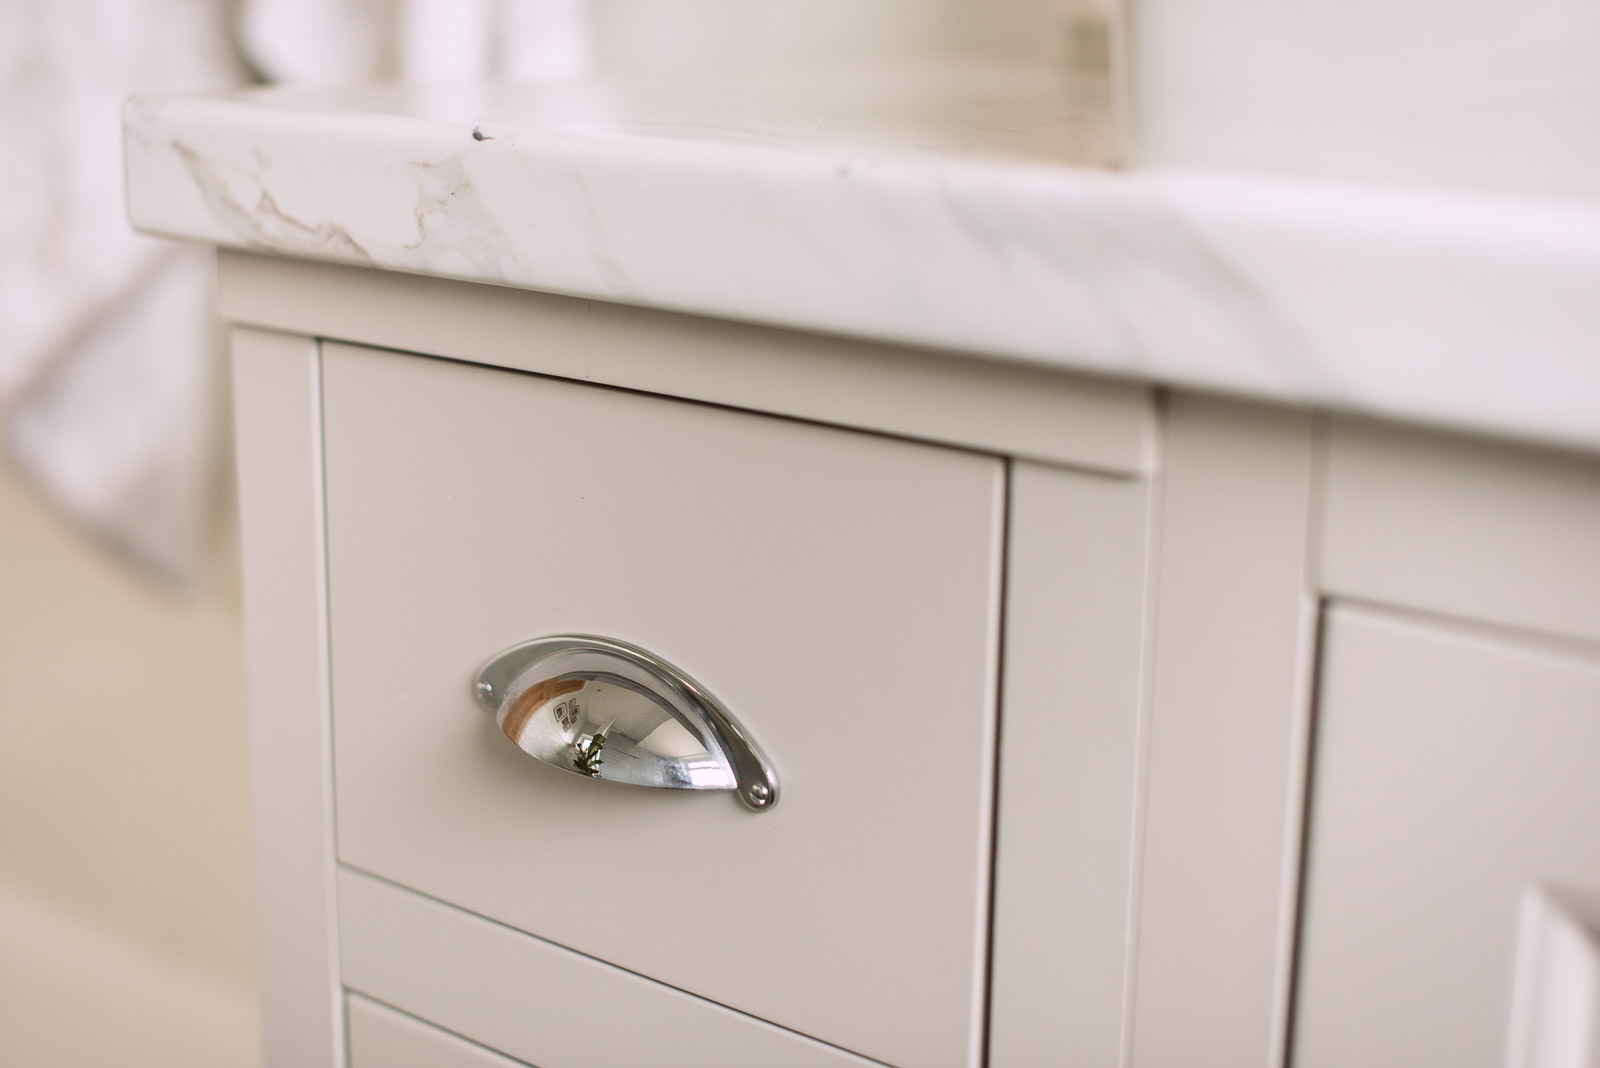
Choosing this vanity unit was one of the hardest yet the most important decisions we had to make designing this room. I wanted something that was neutral in colour, with a large countertop sink, worktop space either side of the sink and ample storage… as well as something that made the most of the 1.7m wall space we had to fill.
Looking back it didn’t seem achievable, and after A LOT of searching online we found nothing that suited what we wanted.
So we just sort of DIY’d this one.
We ordered this Chatsworth grey vanity unit, this matching side unit to position next to it, and a tall unit to position on the end.
I hated that it didn’t have a worktop on it to as it started to get scratches all over during the renovation work, so Worktop Express came to the rescue.
Can you believe that this worktop is laminate? It looks really close to marble and was perfect for under the counter top sink. It’s Worktop Express’ Kitchen Calcutta worktop. Easy to fit and even easier to keep clean. It works really well in humid rooms too. We loved it so much we even used leftovers to make a boxed in cistern shelf behind the loo.
1930s bathroom ideas after renovation - SEE: tongue and groove cladding for bathrooms
The wall panelling
Having tongue and groove panelling in a bathroom is a tricky one to get right due to the presence of moisture and we wanted to make sure that our solution was going to be be protected. We’ve written about the various options in our post about tongue and groove cladding, so do check that out because in the end we found a cool hack that includes ready-made moisture resistant wall panels.
The colour scheme
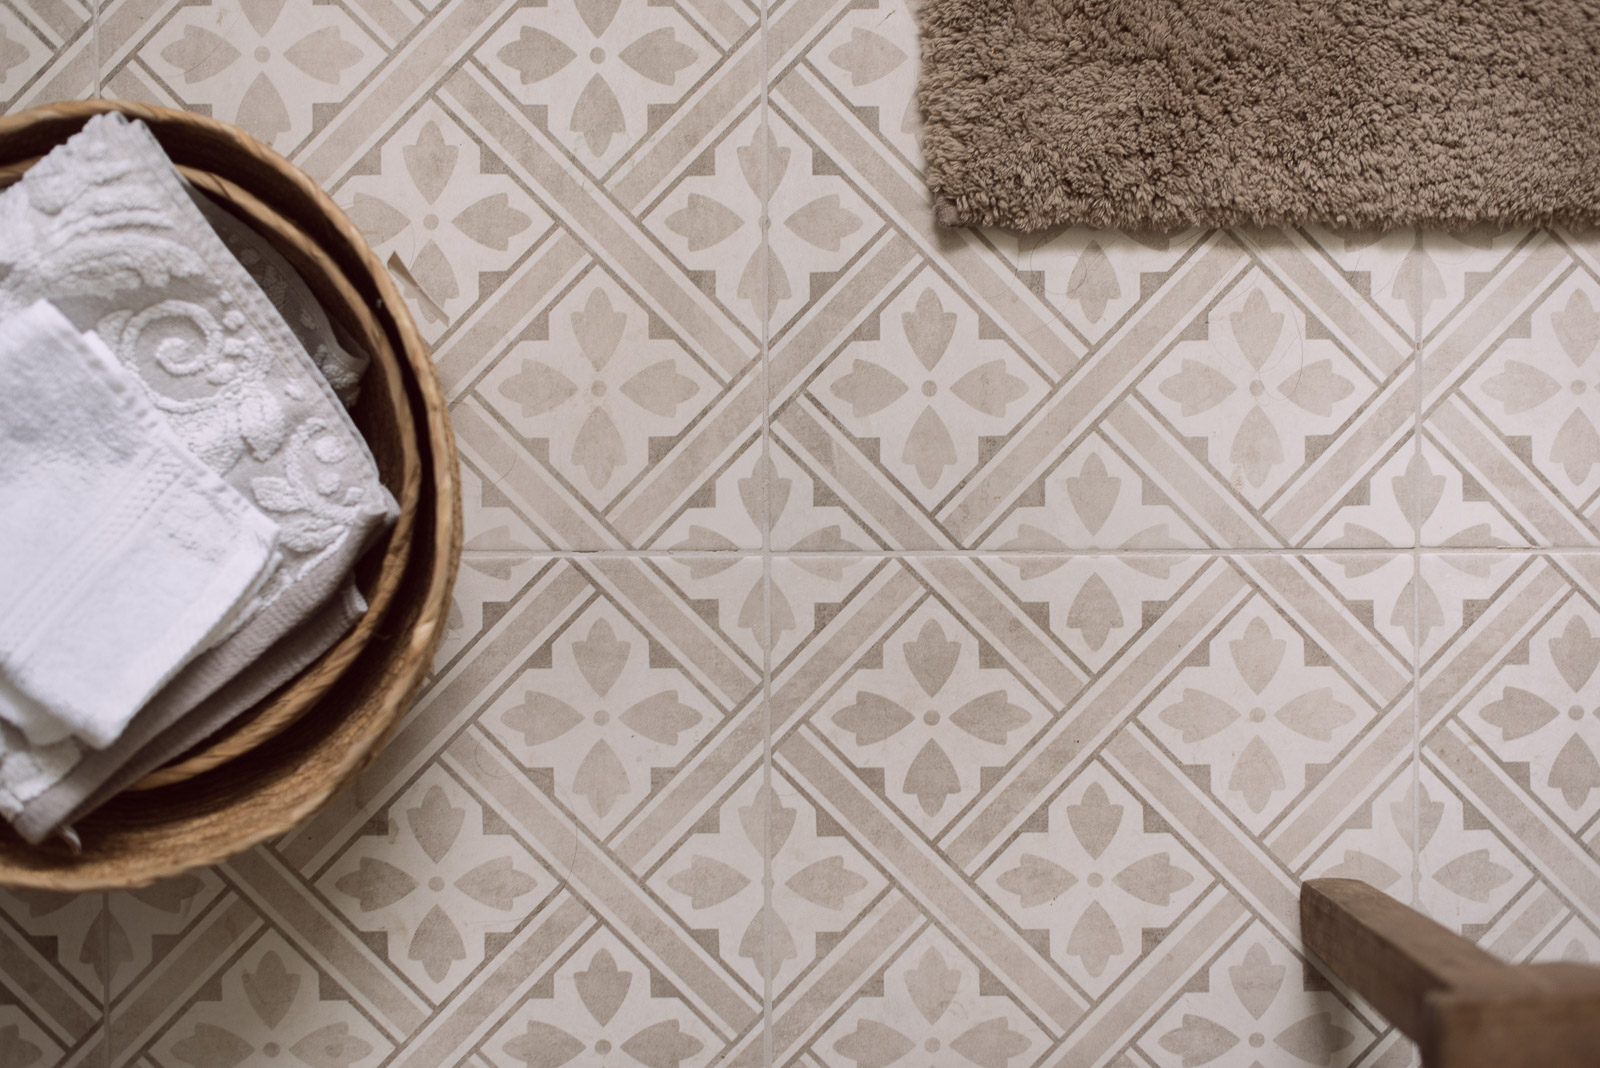
Another aspect of the room I really wanted to get right was the colour scheme against our gorgeous patterned floor tiles.
Ever since we moved into this house, I had my heart set on these Laura Ashley Mr Jones Dove Grey floor tiles from British Ceramic Tile. I didn’t know where they’d go at first, but I always adored how soft they looked, and then knew they’d be perfect for the bathroom.
The day they were laid was such an exciting one!
We colour matched the grout to the tile as best we could and it just so happened we could use leftover Gun Metal grout we had for our kitchen tiles.
If you follow me on Instagram (or watch the bathroom video above) you’ll have seen my difficulty choosing wall colours. In the end we went with a softer palette using Valspar’s Kitchens & Bathrooms paint which I’ve always used - none of that peeling due to humidity issue you can get with cheaper brands, and I find it easier than other paints to cut in with.
The walls are colour matched to Farrow & Ball Pavilion Blue, and the panelling is Shadow White.
The bathroom suite
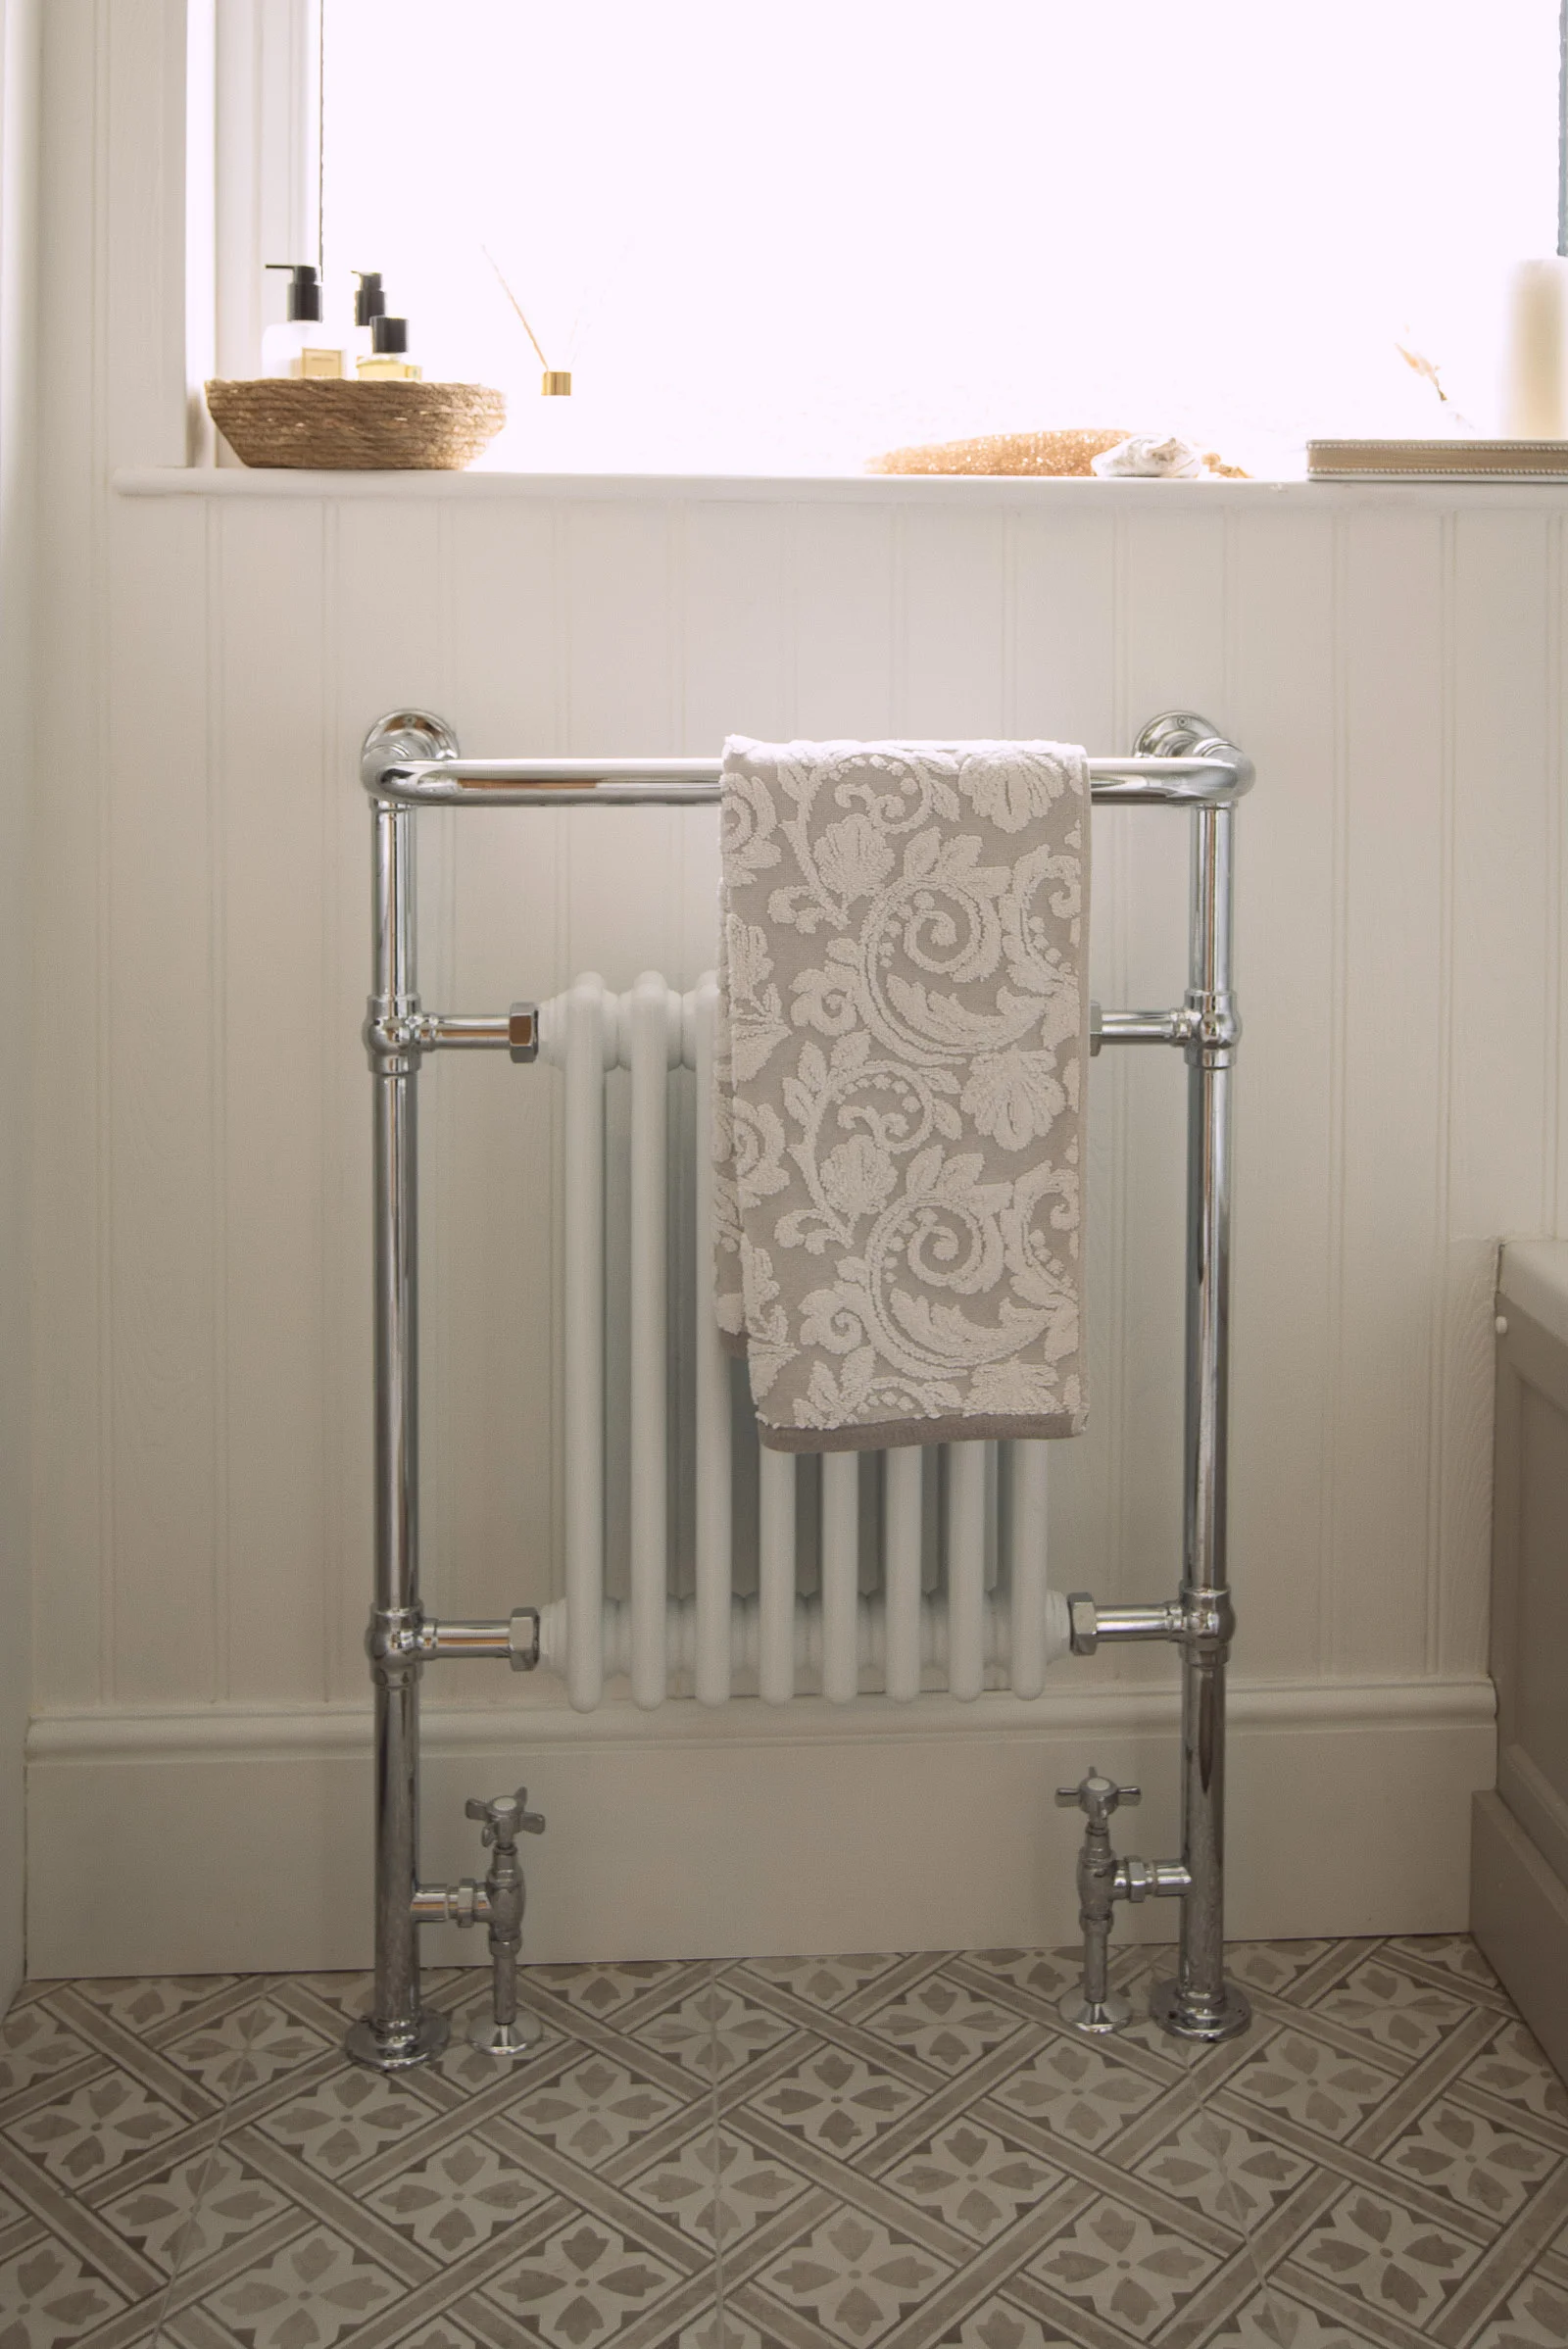
The bathroom suite was an easy purchase as we knew what we needed we just wanted the best price. We got a lot of it from Bathroom Takeaway, the shower screen, the soft close toilet, and the gorgeous towel radiator which is one of my favourite parts of the room. Bathroom Takeaway were just really affordable and do quick delivery. The only thing I changed was the toilet seat as it looked a bit cheap and flimsy (I couldn’t stand on it to paint haha). Easy to replace though, wasn’t it Neil?!
The accessories
The rest of the room was brought together with some coastal styling and warm coloured fabrics here and there.
I’m going to share a post about the bathroom gallery wall we hung in here later on (with close ups!) as I absolutely love it. It tied in a coastal theme as we used Neil’s photos he took from our cold trip to Dorset/The Jurassic coast a few years ago.
Discovering a new interior brand - Grand Illusions - when I was searching for bits to style the room with was so great. I just love everything on their site and made one big order with them. The stool, the galvanised pot I used to stand our Fiddle Leaf Fig in, the divine soap, the glass dome, and the seagrass baskets I got from there - It’s SO AFFORDABLE and well worth looking at their website if you’re looking for bits to jazz up corners of your home.
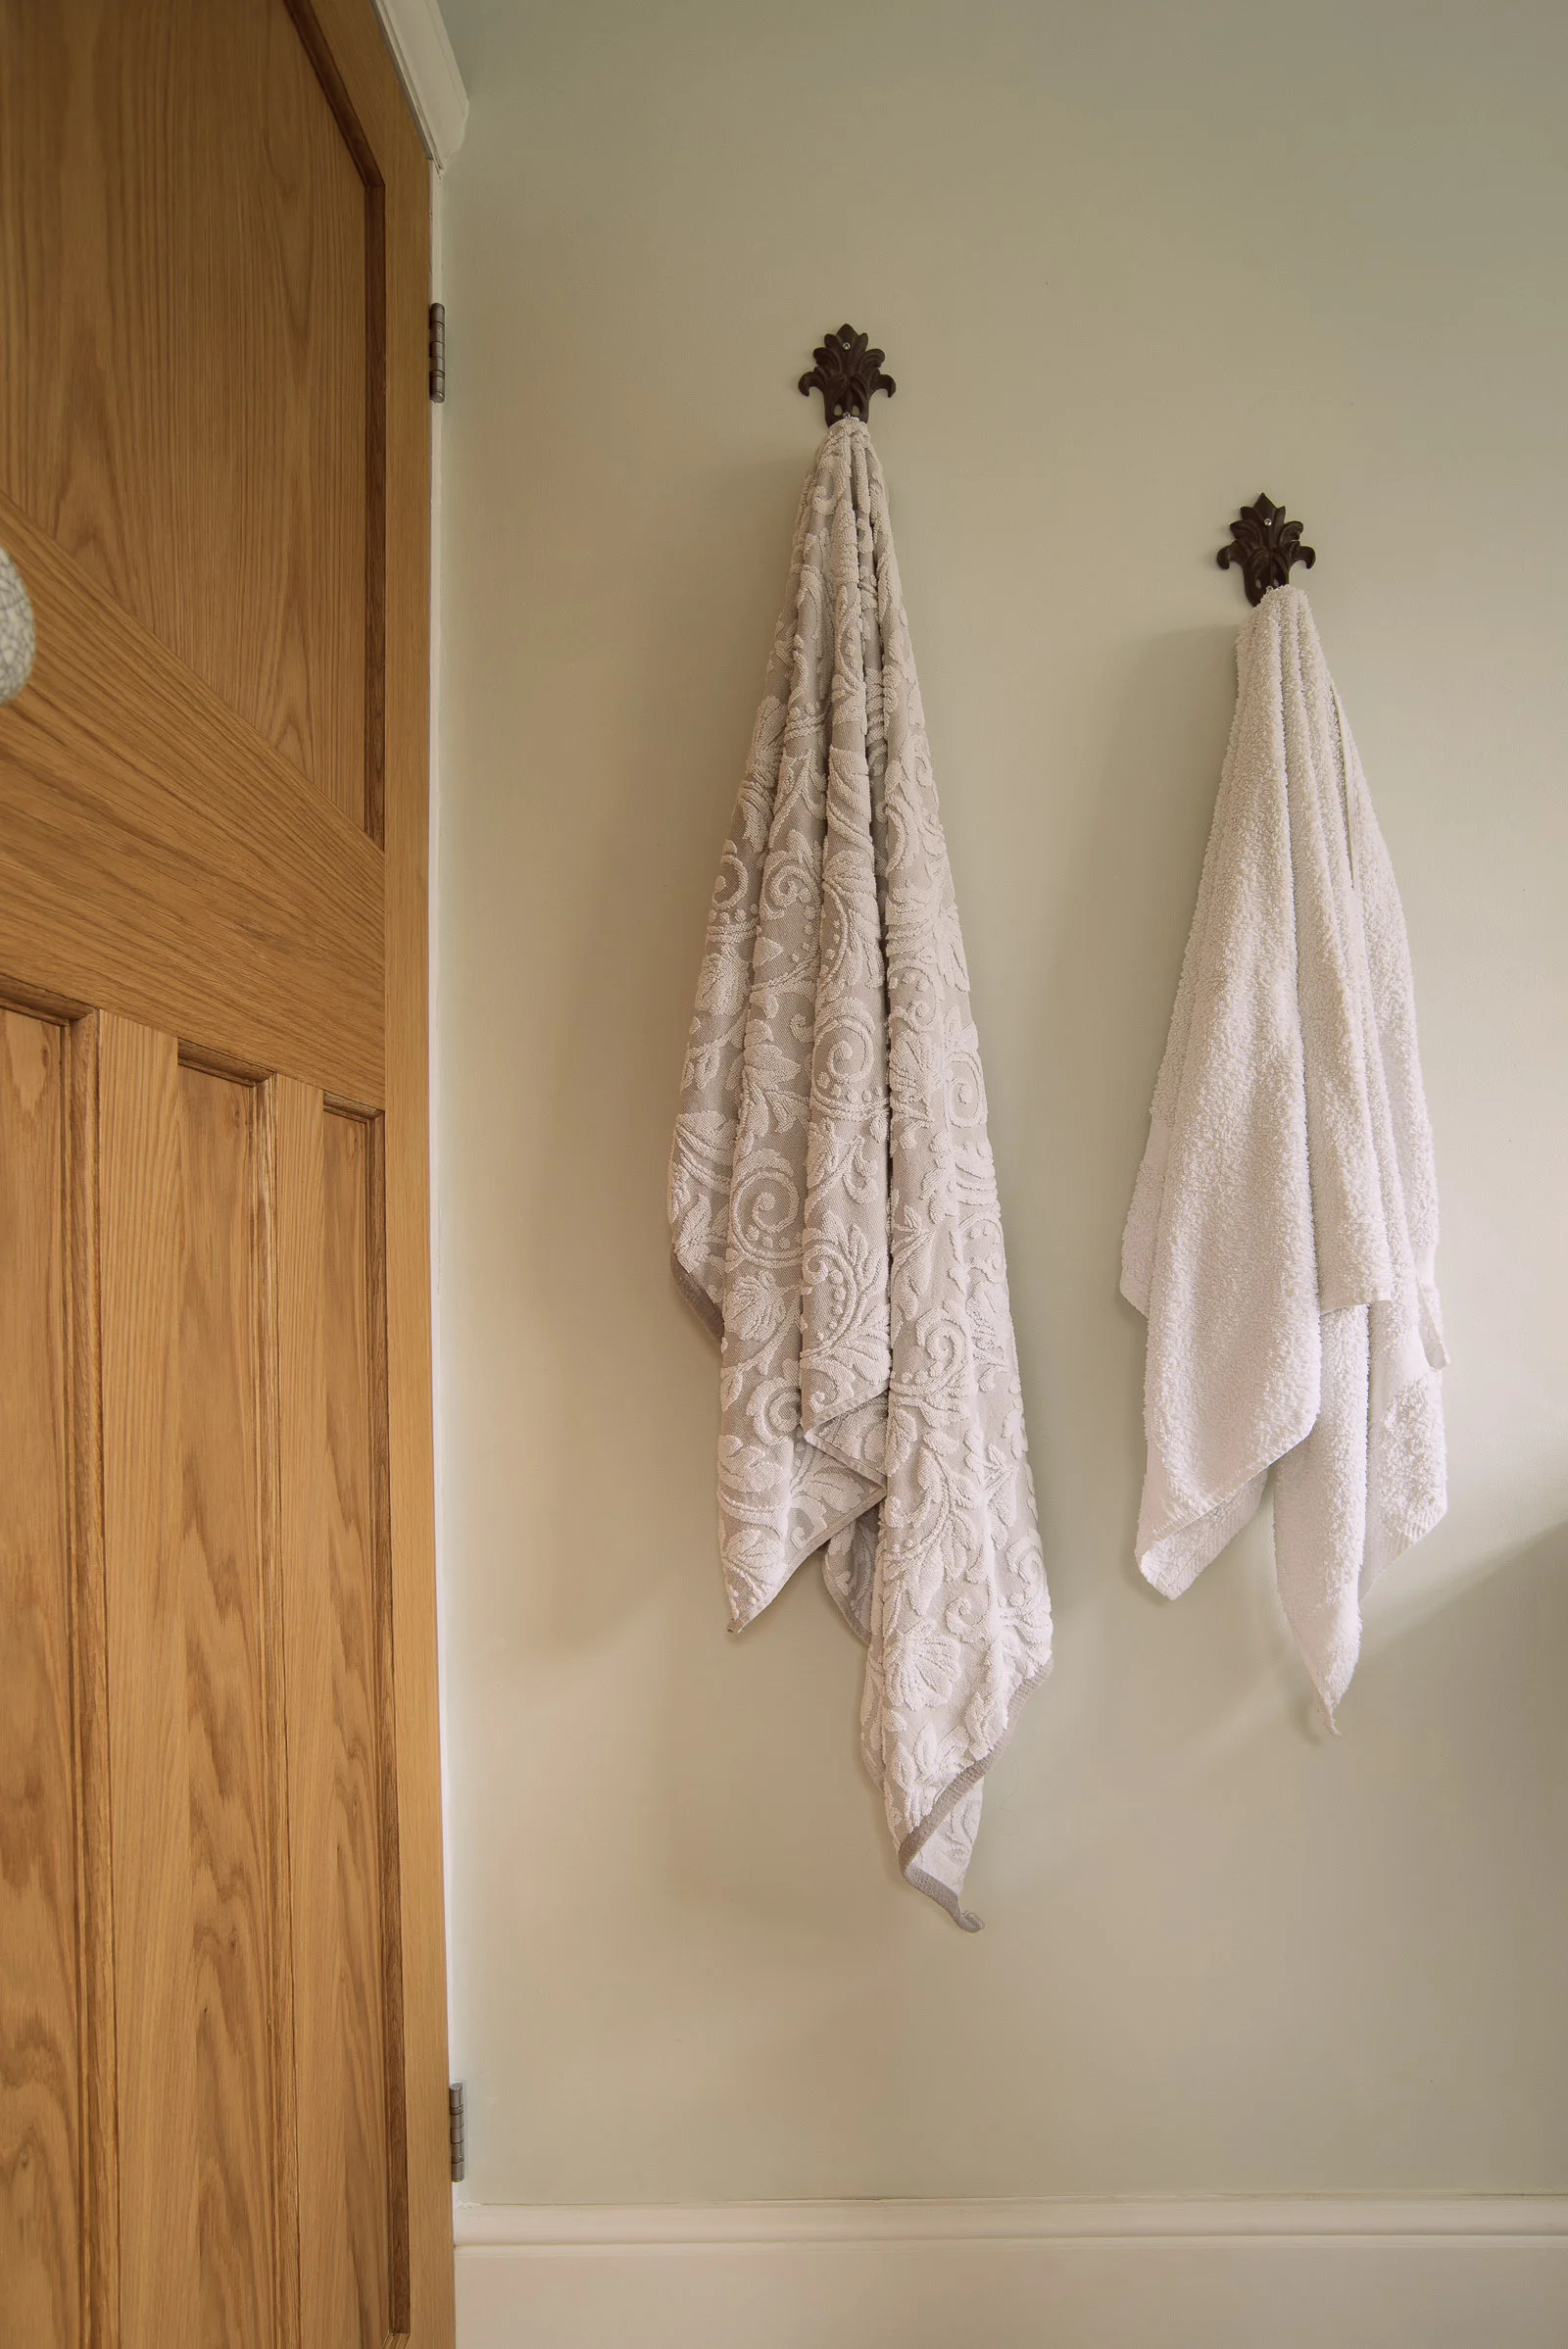
In the 2 years we were saving for this bathroom reno I think what kept me going was the thought that one day I’d be able to have matching towels that would feel all hotel-like and look so organised in our linen cupboard. Our collection of towels were always mismatched and tatty, so when my brand new fluffy spa-like towels arrived I knew it was a milestone!!
I ordered the Bellissimo 6 piece set of towels from Linens Limited which have a beautiful beige jacquard design on them. And to compliment the set, a 10 piece Turkish cotton white towel bale. They wash well, they’re good quality and they make my linen cupboard look so organised now.
And finally to make the bathroom feel like a real spa, candles and diffusers were a must.
If you’re into tiles and country interiors like me you may have heard about Fired Earth’s range of candles with Wax Lyrical. I burned this White Tea & Pomegranate candle for the shoot and the smell wafted all through the house, it was beautiful.
I also spotted Wax Lyrical’s Lakes collection and knew that the Coast Reed Diffuser was perfect for our bathroom. The Lake District was the first place Neil and I went on holiday together and the whole range is inspired by the rugged terrain from that part of the world. Tempted to get more for other parts of the house…
The budget
You can read about this in more detail inside our post on average cost of a bathroom. In short, we went over our initial £5000 budget and the whole bathroom renovation project came in at around £7000 including labour. To keep track of all the costs flying in and out of our account we used our handy renovation budget template which we’ve used for all the rooms in our house now. It’s a must-use for us, to help us keep an eye on our budgets.
Hope you enjoyed reading this post, and please give me a follow on Instagram if you’d like to chat / watch our next renovation project (the Master Bedroom).
This is a collaborative post but all companies featured were chosen by me and all views completely my own. This post contains affiliate links.


