Before + After: Our living room – 6 months on
Some blog posts take 45 minutes to write, and some are 6 months hard work in the making! This one is definitely the latter!
I've been SO excited to share the progress we've made on our living room even though there’s still things left to do (UPDATE It’s finished! Check out our full 1930s living room post).
A recap on what the living room looked like the day we moved in to No. 42… Granny chic, right?
Here’s what we did, step by step:
1. Removed all the old fashioned wallpaper
2. Disconnected + removed the asbestos-filled storage heater
3. Lifted the carpets + underlay
4. Installed central heating
5. Removed all coving + skirting
6. Ripped out the hideous fireplace
7. Lined the chimney and installed a wood burner
8. Fitted a new oak door
9. Moved and replaced light fittings, switches and plug sockets
10. Boarded over the ceiling, plastered and painted the walls.
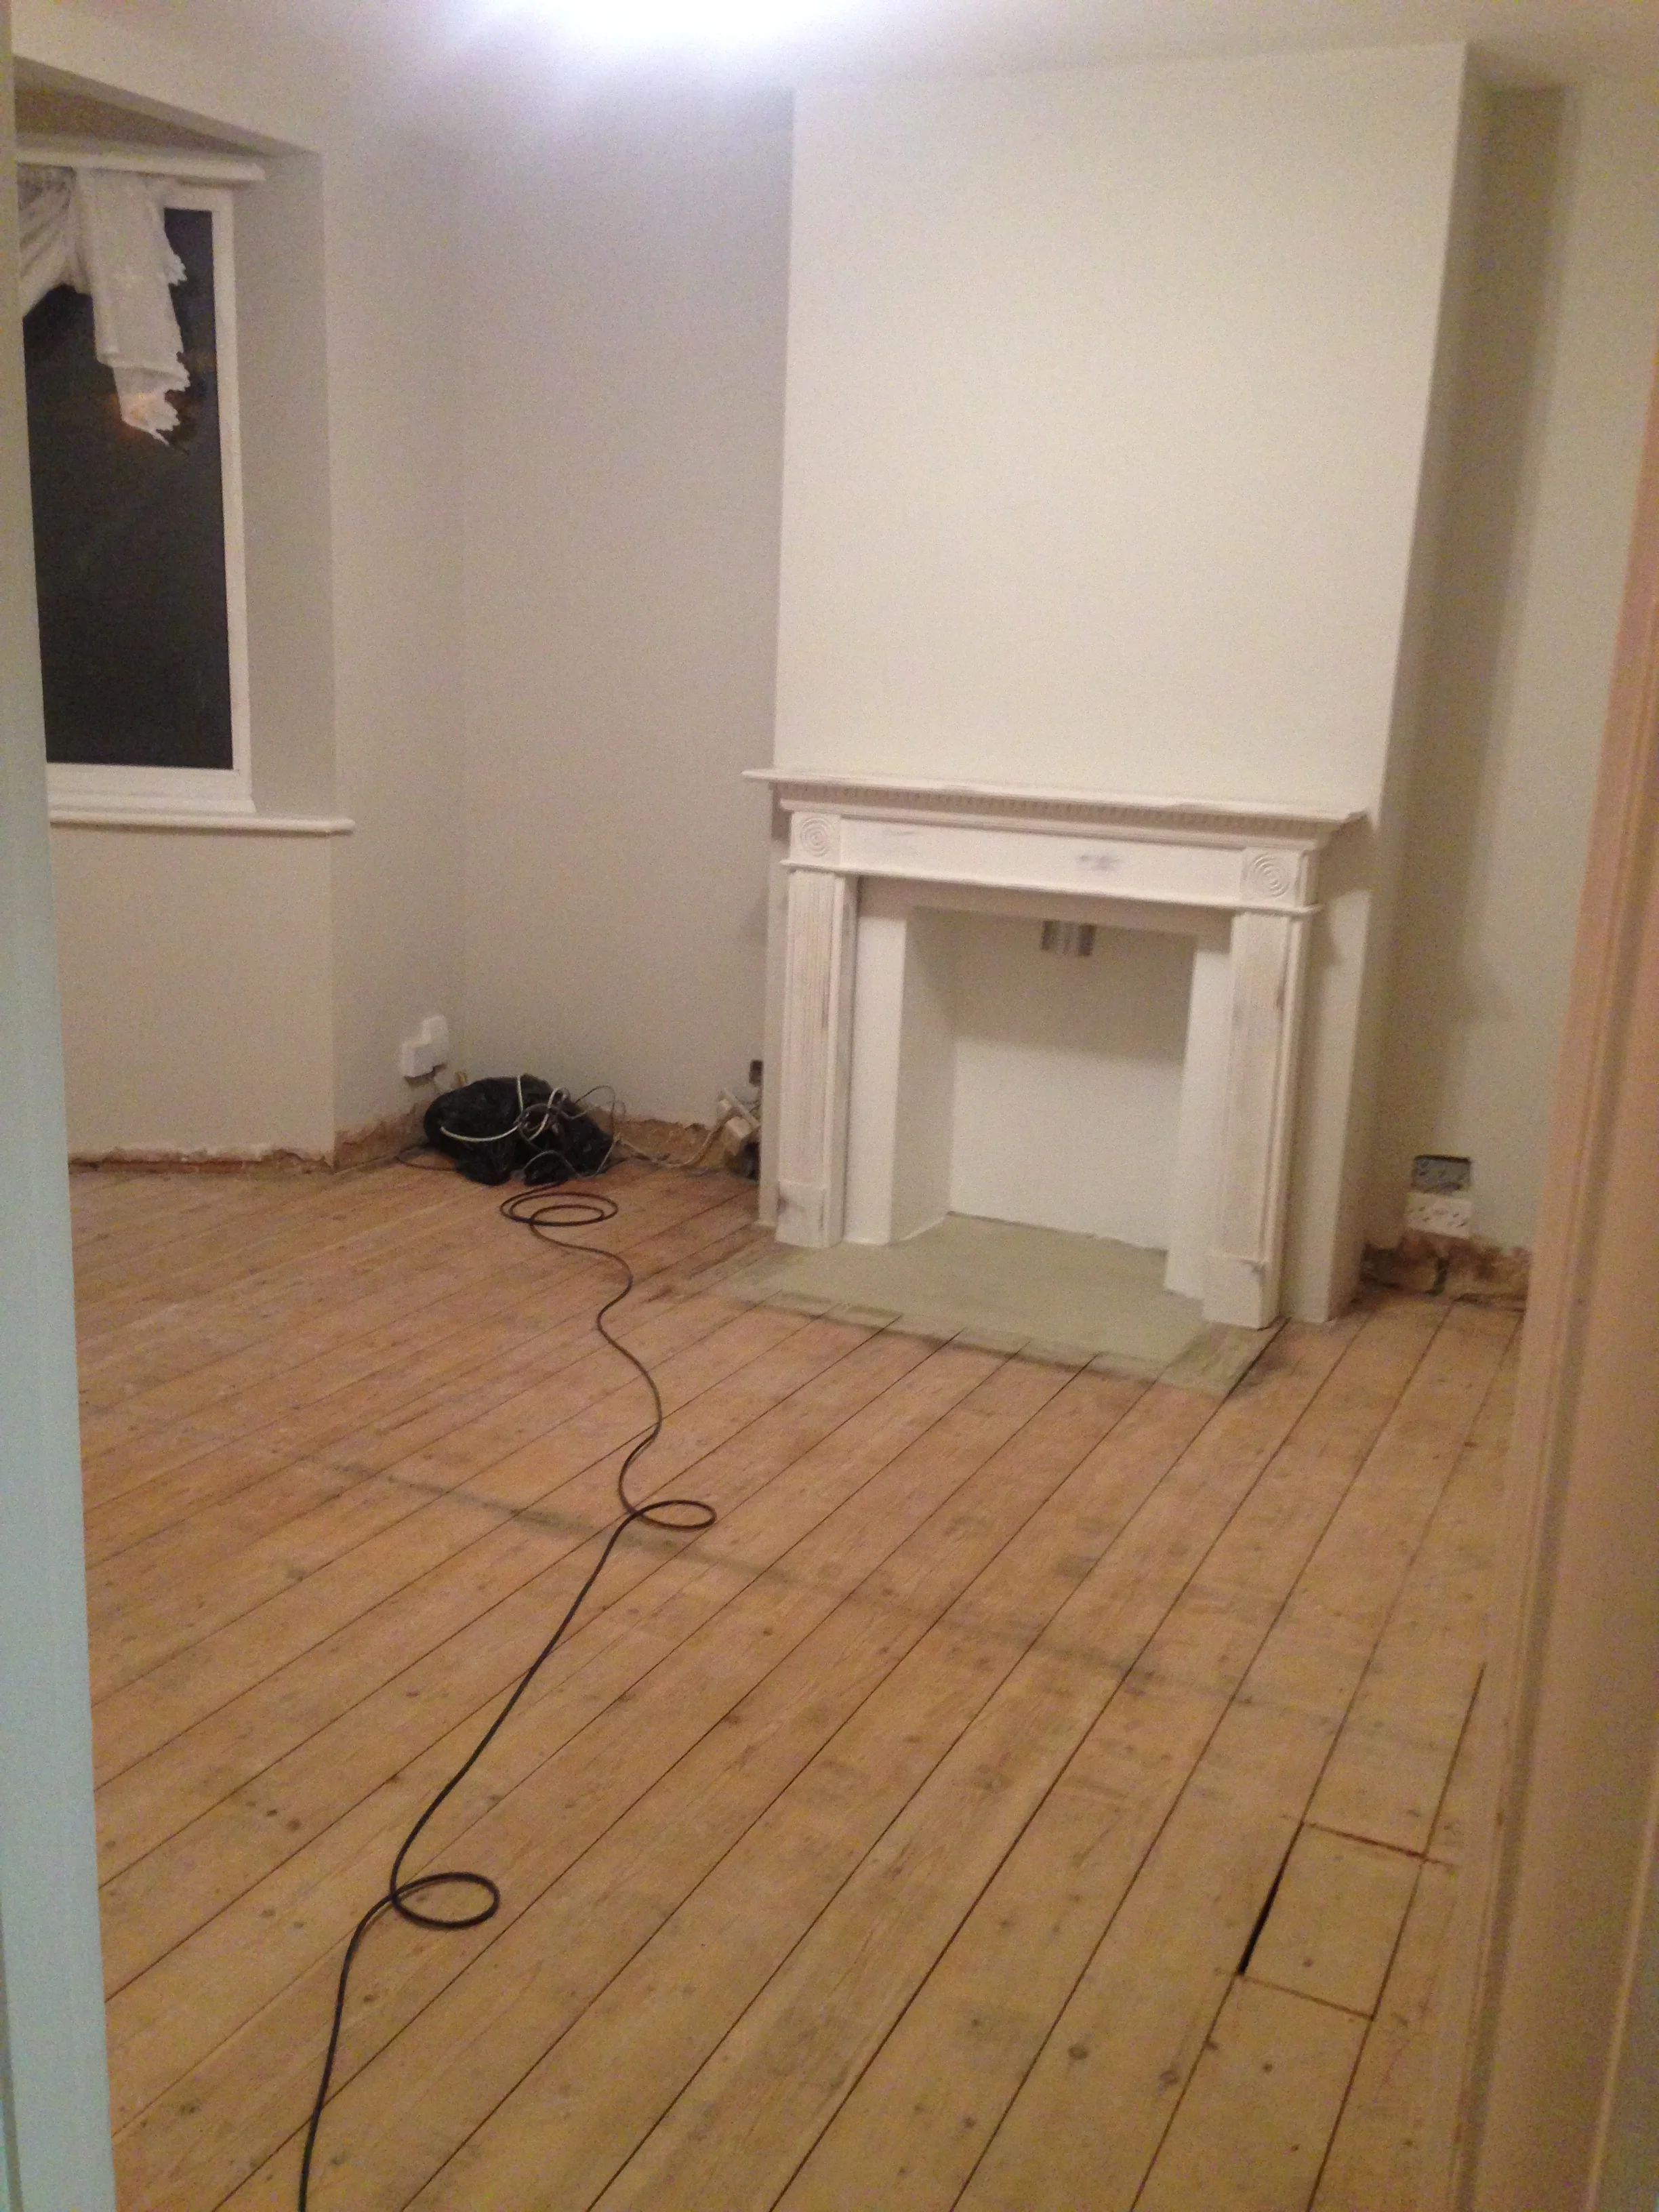
All that home decoration took us 12 weeks and we were left with this…
The day we installed new flooring and skirting boards was the day the room began to take shape. Putting our furniture back in to the room, then finally lighting that wood burning stove made it start to feel like a home again.
A few other home renovation projects we did in this room:
1. Laid a new brick hearth – tiles sourced from a local Brighton company
2. Fitted a new fire surround – £30 bargain on eBay
3. I made extra wide curtains for the tricky curved 1930s bay windows
4. Bought a new armchair – I love it, from it’s the Ariana arm chair from MADE.com
5. Bought a new Sonos system – no idea about technology, ask Neil for details :P
6. Fitted a wood burning stove (then had to replace it for this new one as it kept whistling when the vents were shut!) Love our new one now.
7. Bought a few basic accessories to make it more homely – HomeSense clock, HomeSense wood carry, Sainsbury's lamp
And 6 months on, here’s how it’s looking now. Quite the transformation, right?
These shots were taken in March during the colder months when the fire was in full swing!
Ariana arm chair from MADE.com
Ariana arm chair from MADE.com
With a lot of biiig learning curves along the way (like... don't decide to move your light switch after you've paid £1500 to plaster the room!!) 6 months we feel like this place is starting to feel like home.
We have more to do as it's still very "blank canvas, low colour" at the moment.
A few more things I want to add to this room before it’s finished
(UPDATE It’s finished! See our full living room makeover post)
Install alcove shelving and create a built in log section to the right of the chimney breast
Install more shelving and a bespoke made unit for the TV as the current corner unit isn't the best use of space
Hang a big mirror above the fire... any recommendations? I'm thinking we'll find one in a flea market!
Hang photos and art on the walls which will bring our personalities into the room
Oh and plants! Lots of plants needed once the shelves are in!
I feel like looking back on the before photos, lots of progress has been made. If it wasn't for the attention needed on our kitchen-diner renovation (which is due to begin soon) we would have completed this room long before now. But hey, decoration takes time. And it's been so fun!
I hope this has inspired you if you're about to buy a fixer upper!
This post contains affiliate links but I only recommend companies I have purchased from and love.
Check out our renovation online course
Want to see the next room we renovated?
The Kitchen Diner (With Before + After Shots) ››


