How long does a renovation actually take?

If we’d been asked “how long does a renovation take” when we started our renovation, we’d have probably said a couple of years.
We couldn’t have been more wrong!
If you take a look at Instagram nowadays, people make their renovation look quick and easy. Many of the renovations that float to the top of Insta’s feed boast slick before and after results that gloss over the grind it took to get there. But take it from us, the reality can be very different.
Supply delays, contractor shortages, and inflation-driven price rises mean that it’s now taking even longer to renovate your home and at a higher cost. The majority of large renovations take 1-3 years to complete, but this can vary hugely depending on scope, budget, team size and chosen route to build.
So in this blog post, you’ll get an insider’s view as we give you the nitty-gritty details of our renovation timelines. Plus, you’ll get a view of how long our renovation community expect theirs to take so that you can go into your project with your eyes wide open.
The timeline of our renovation
We renovated slowly and in stages as time and money became available and during a time when we transitioned from full time employees to business owners! We managed the work ourselves whilst living in the property.
We bought the house in the summer of 2016, and having nowhere else to live, we had to live in the property whilst we renovated.
After the initial phases of our renovation, we prioritised our business, content creation and love of travel. This delightful combination slowed our renovation progress, but it gave us time and space to decide on the remaining projects.

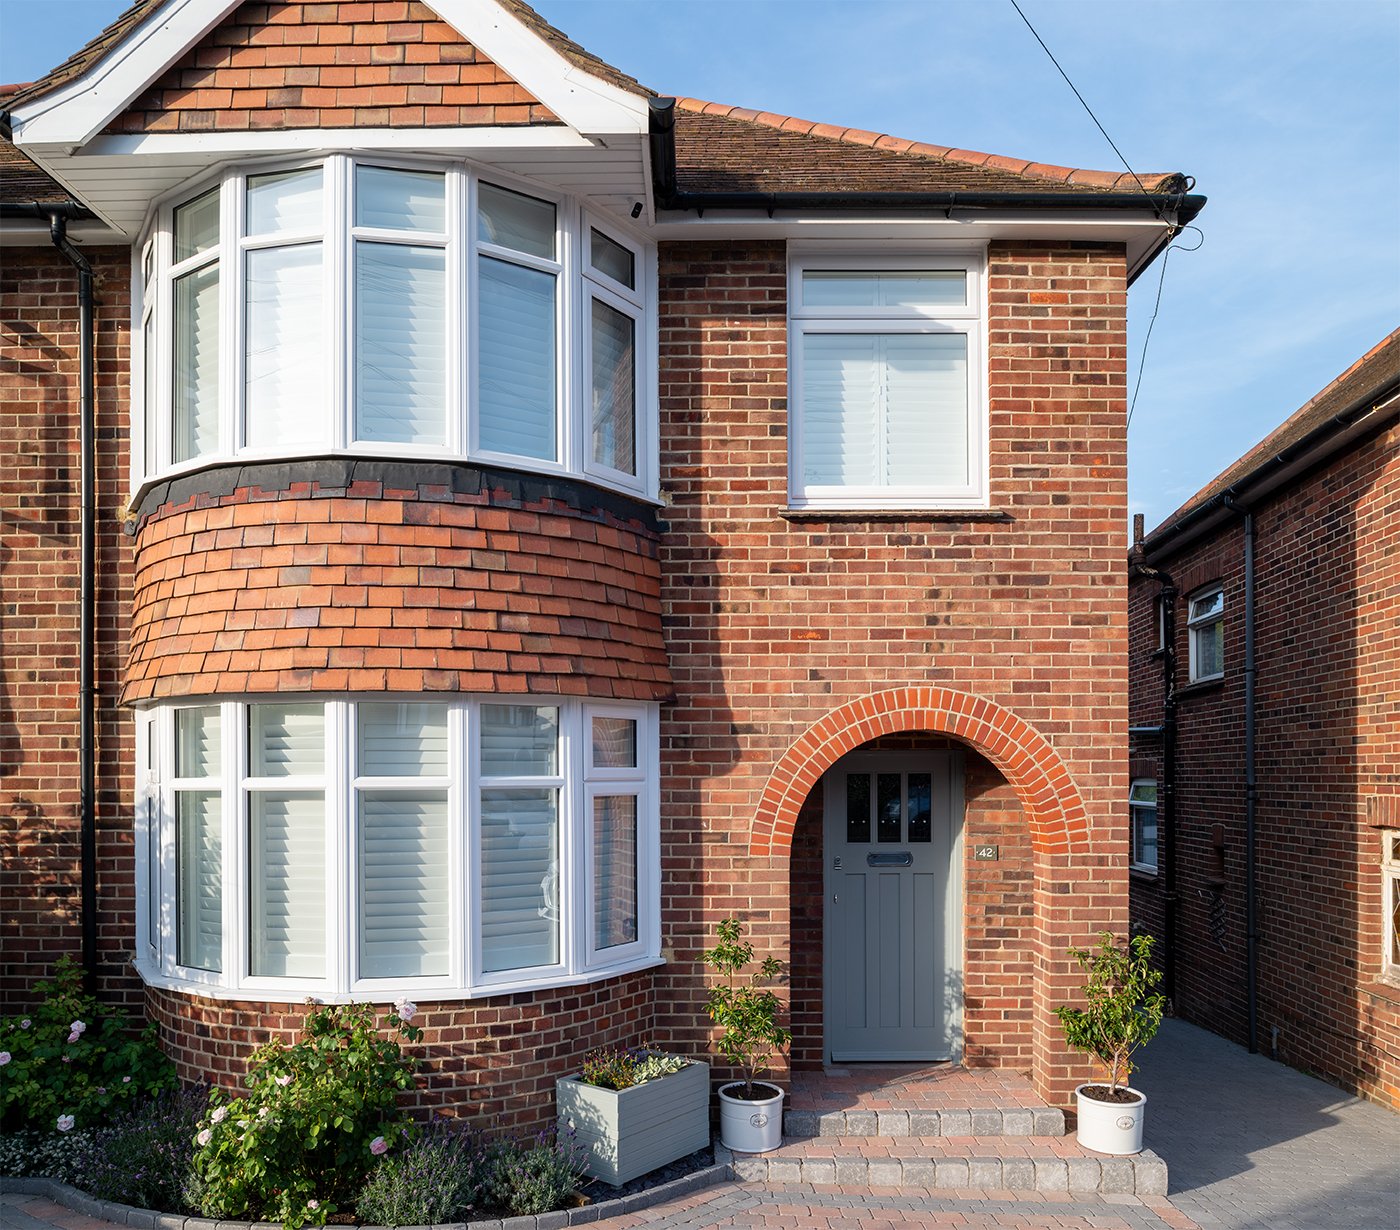
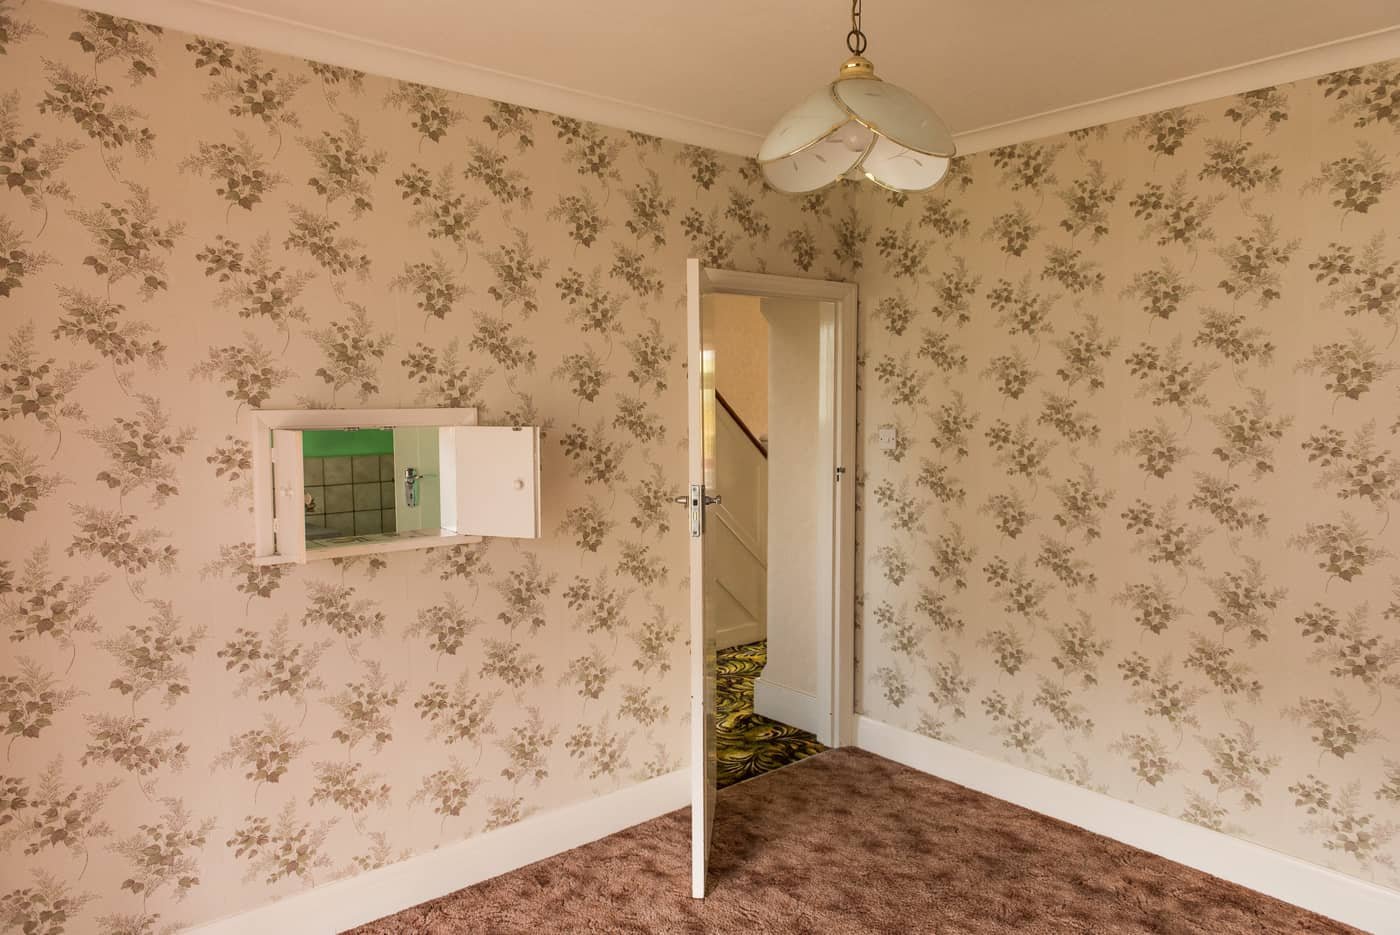
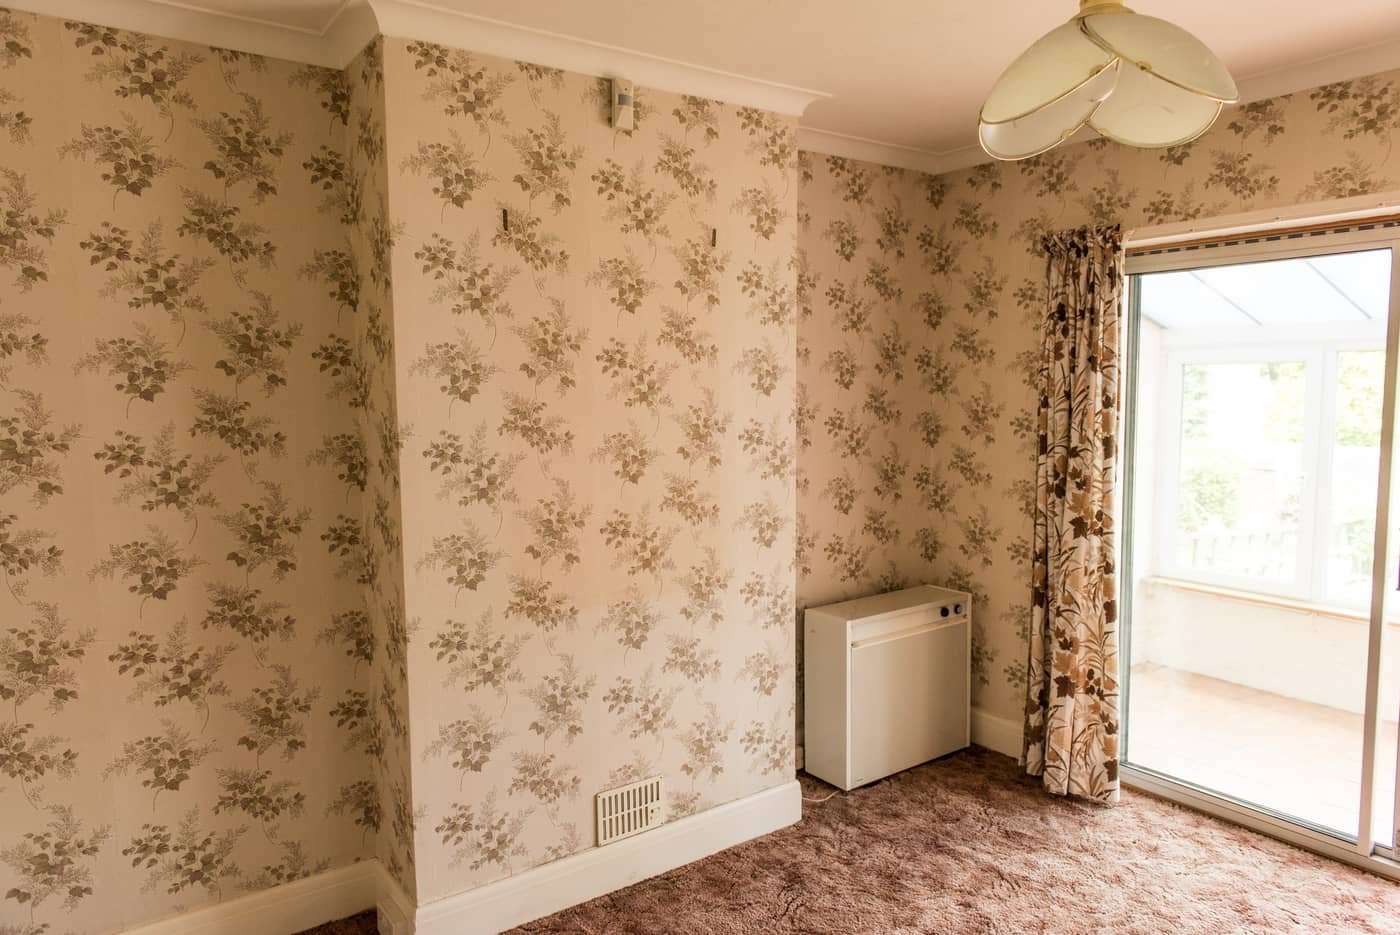
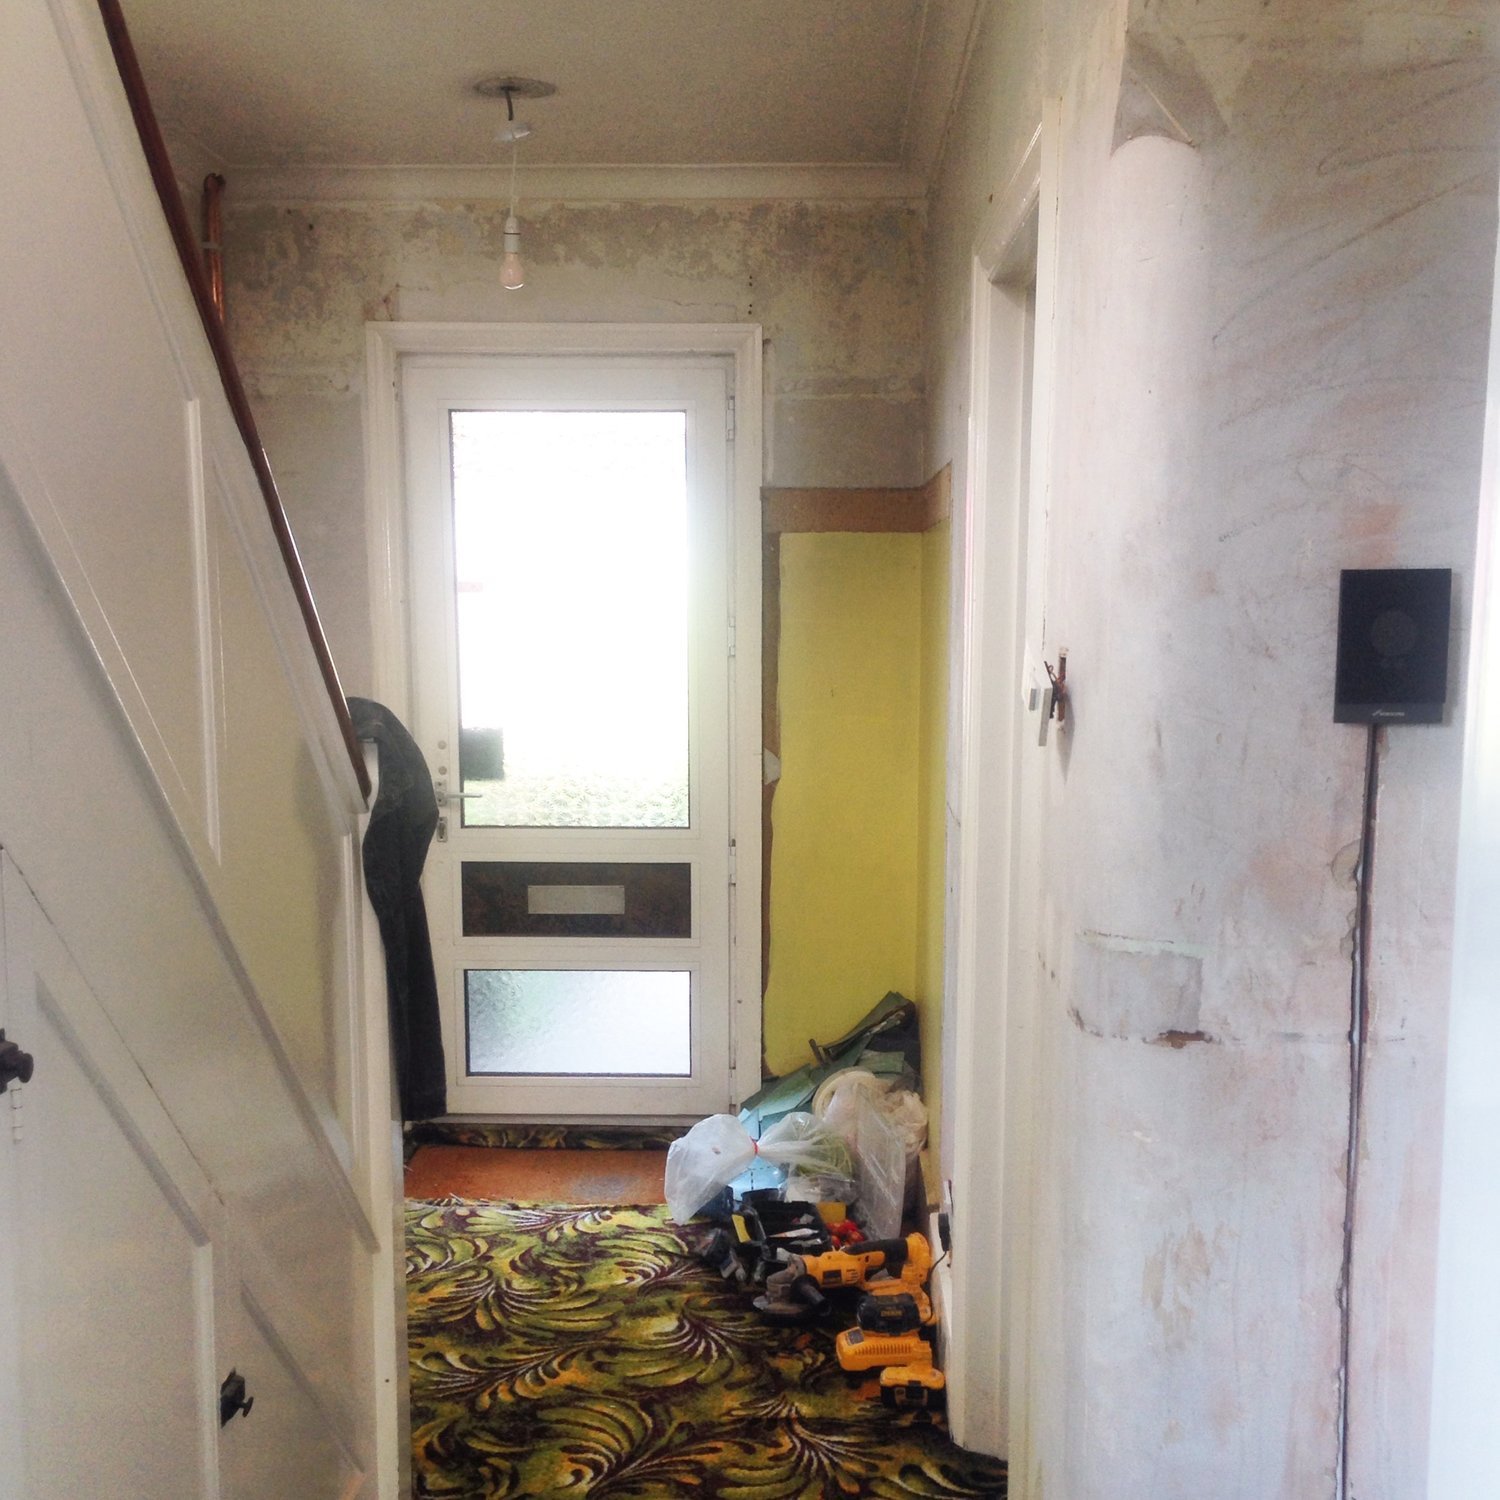
THE HOUSE BEFORE

FRESH FACED AND READY FOR THE CHALLENGE
Immediately we got started with ripping out the carpets (I mean, wouldn’t you? Just look at those hellish things🤮).

The house needed everything doing to it and didn’t even have gas central heating or a gas supply. For us, the scale of the project seemed unreal, but it was a challenge that we were very excited to start.
Renovating was a process that had huge challenges. It tested our finances, relationship and stress levels, but coming out of the other end, we would never change a thing. You see, the way that our home has improved our lives is truly the biggest reward we could ever have hoped for. And we got so much out of the process: it literally helped build us as people.
Our first mistake
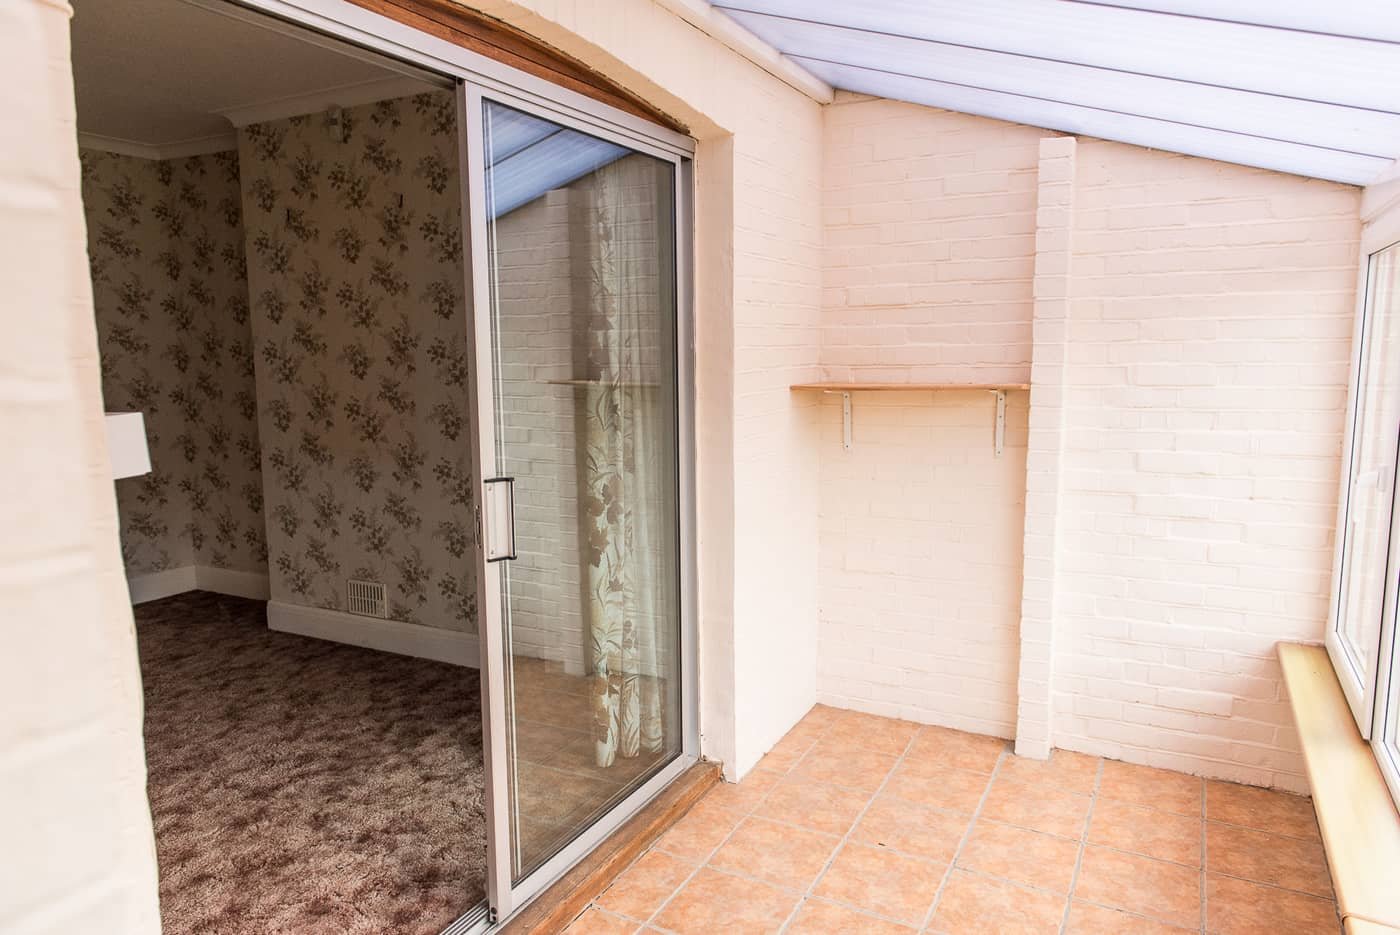
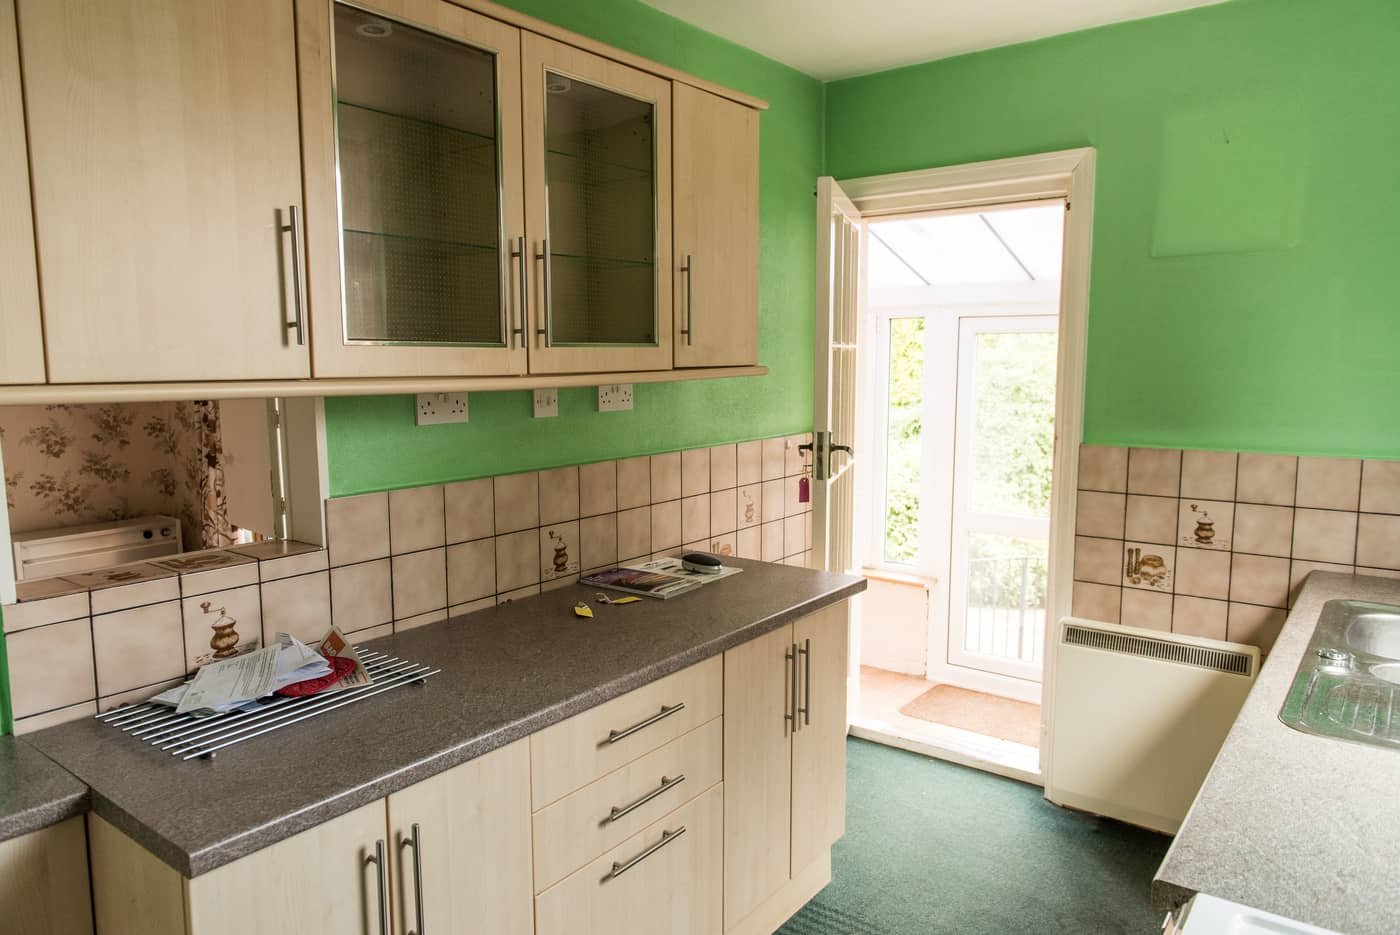
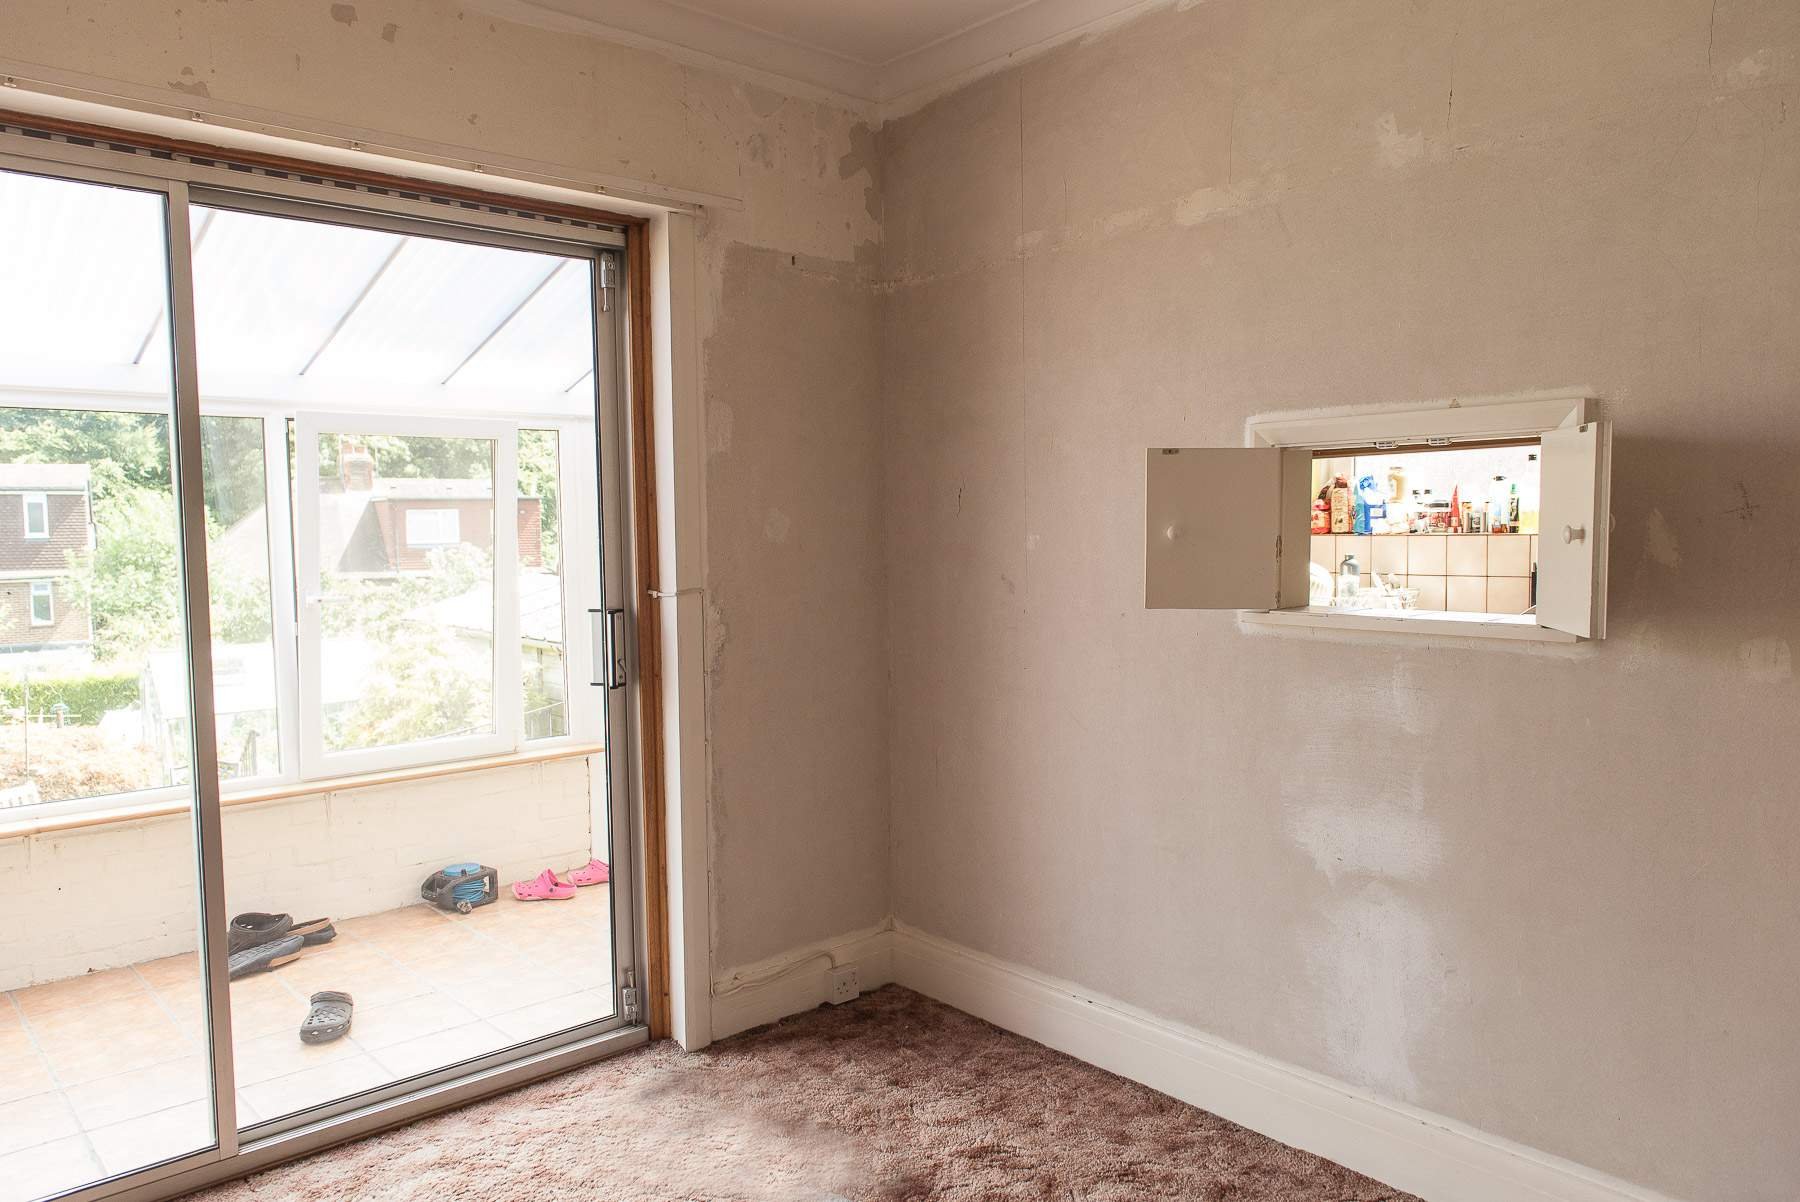
With a sunroom at the back, a small galley kitchen, and a separate dining room we saw an opportunity to create an open-plan space.
So in August of 2016, we hurriedly engaged an architect to create the plans to create an extension and open up the space, alongside wholesale changes to plumbing and electrics.
The result was a lot of wasted time and money because, in the end, we decided against the extension after discovering that project would suck up 80% of our entire renovation budget and the rest of the house would be left to do. You can read all about this here.
We realised that we could get everything we needed within the four walls, so we decided to do a kitchen diner knock-through, leaving us with a much healthier budget for the rest of the renovation. It’s this journey of self-discovery that now forms a part of our renovation planning online course.
First phase: Gutting and Repair (mid to late 2016)
We thought we were making great progress, stripping out the carpets and wallpaper, but actually, we had regrets here. Our excitement about getting started made us realise that some rooms would be completely without wallpaper for several years, so any guests had to stay in the least welcoming room you could ever imagine!
The first phase was all about bringing the property up to scratch; doing some repair work to ensure it was watertight etc - addressing some of the items in our building survey (by the way, if you haven’t got to this stage yet - definitely go for a full building survey rather than Homebuyers Report because the more items the surveyor uncovers, the more you can attempt to negotiate off the purchase price)
From the very start, we budgeted everything to the nth degree using the renovation budget planner tool we now give students in our online course. It allowed us to get pretty effective at eliminating nasty financial surprises.
Here are the first-phase items we did:
Gutting the rooms
Removal of storage heaters
New front door and lintel
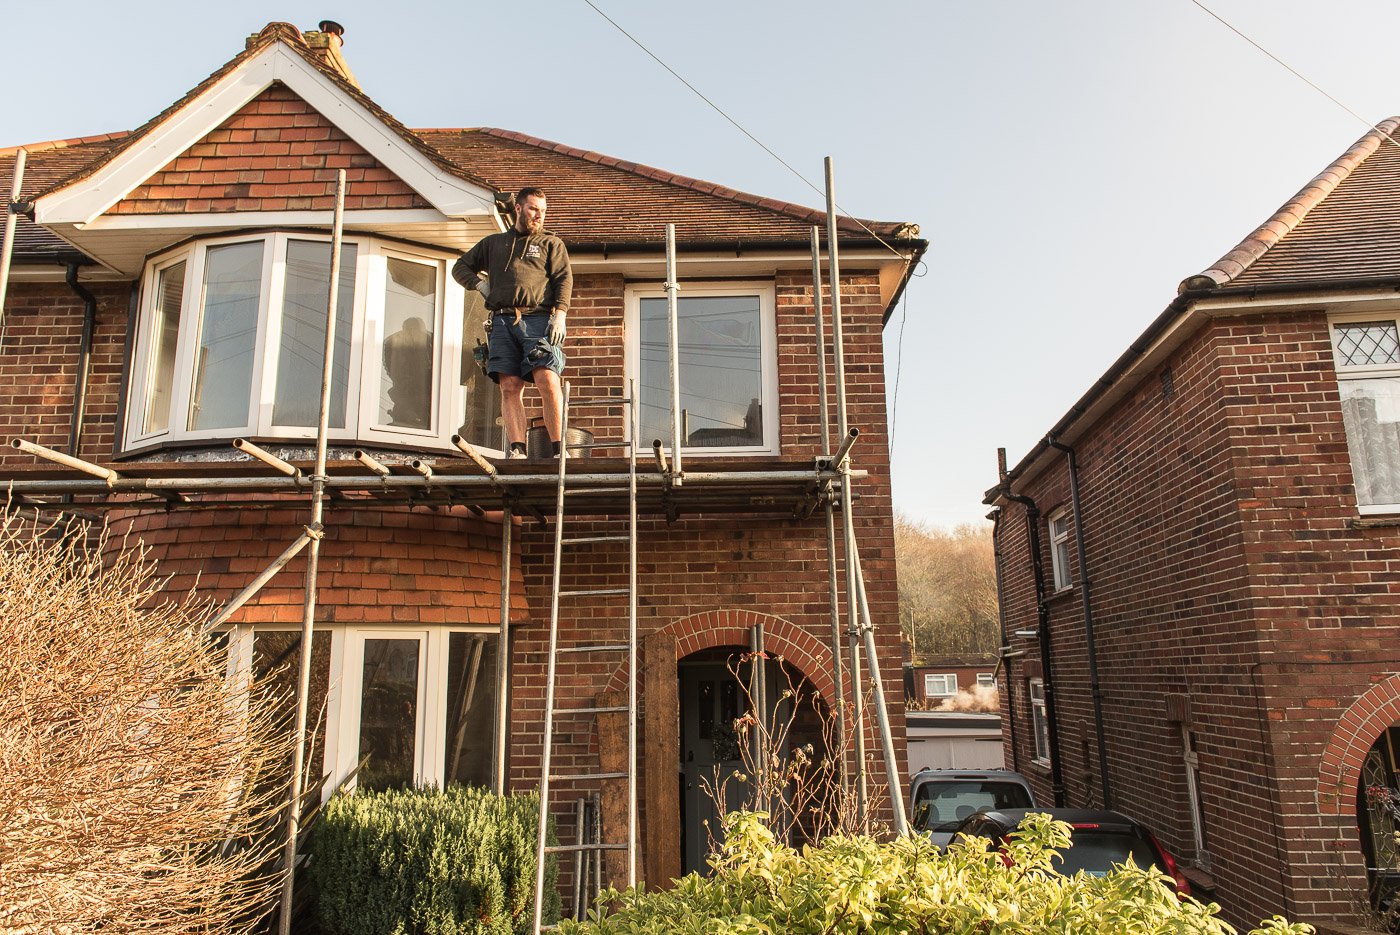
Front bay window first-floor strapping
Rainwater pipe and drainage repair
Rear and side gutter repair
Broken roof tile replacement
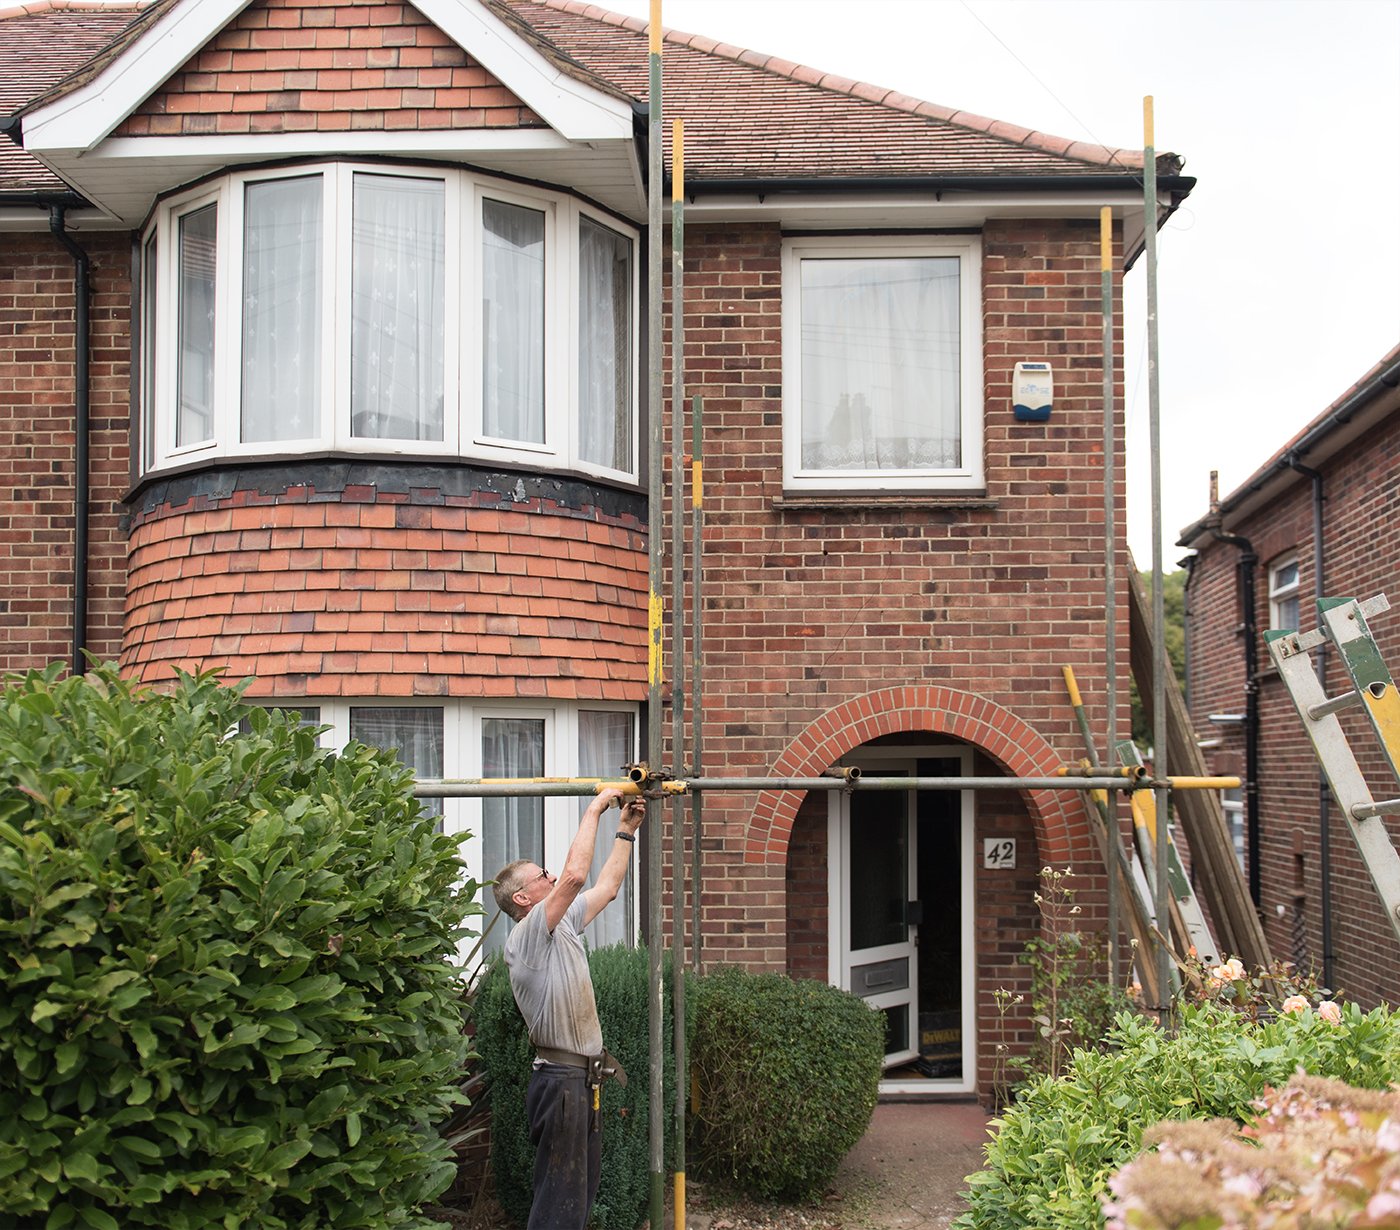
Scaffolding
Whole house pointing repair
New flat roof over the bathroom
Electrical rewire throughout the house & survey
Second phase: Creating our renovation hunker bunker + central heating install (early 2017 to mid 2017)
We chose to renovate two rooms to retain some sanity - the living room and the (future) guest bedroom. You might wonder why we didn’t renovate our large master bedroom first. Well, we decided that we wanted to have a large room as a sort of storeroom for renovation supplies, and we also weren’t that confident about our vision for that room yet, so this would buy us time.
These initial room developments were only to give us a good base, the point was to get them freshly skimmed (plastered), the flooring done, the wood burner fitted, and a lick of paint. The embellishments could come later when we weren’t in “war room” mode.
Another thing we did in this phase was lay loft flooring which gave us crucial storage for supplies, furniture and belongings.
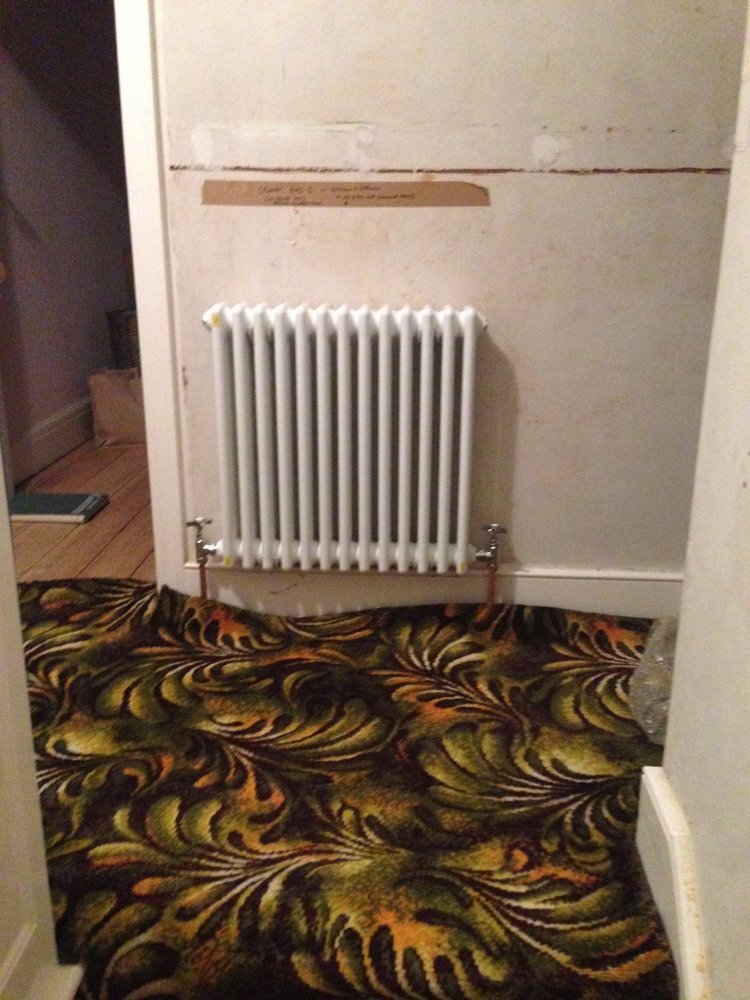
The other things we did at this time were a lot of electrical upgrades and a full central heating install.
Here’s a list of what we did:
Gas boiler installation
New radiators throughout
Guest bedroom - sanding floors
Guest bedroom - skimming and painting walls
Living room - wood burner, flue, hearth, fire surround
Living room - new door
Living room - flooring
Living room - skirting
Living room - skimming and painting walls
Living room - moved and replaced light fittings, switches and plug sockets

Before

first phase living room - just enough to feel comfortable

Before

Very basic first phase back bedroom bunker!
We had a nightmare moment managing this heating installation. It genuinely requires a fair bit of project management. If you're interested in how the whole process runs, this blog post explains it in detail.
So I would say that if you're about to take this kind of project on, plan way ahead before you've even exchanged contracts, and prepare for things to take a lot longer than you think. If you've moved in winter, it might be worth buying a stand-in electric heater to tide you over.
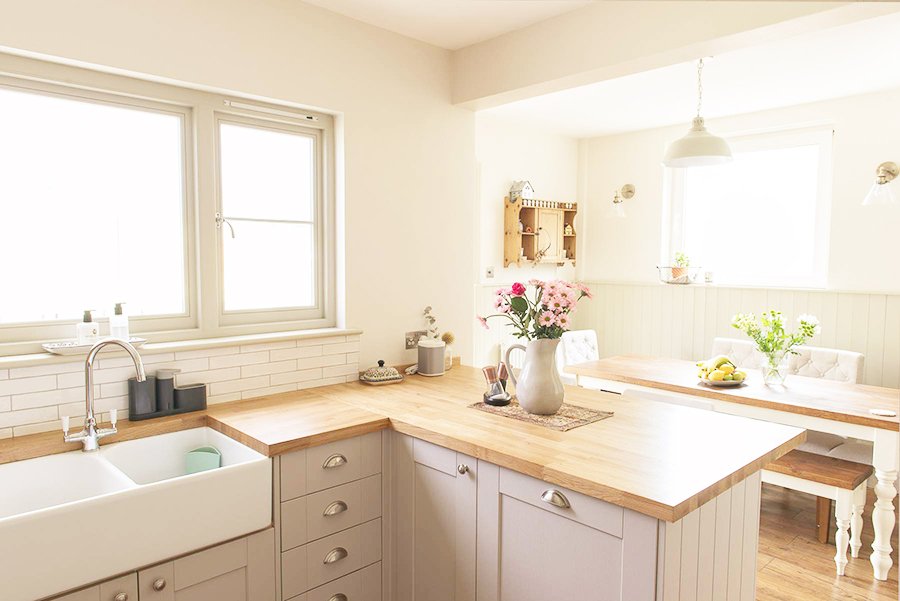
Third phase: The kitchen renovation + utility room + WC (mid 2017-late 2017)
Here’s what we did:
Kitchen diner knock through
Creating window in place of patio doors
Full kitchen install + flooring, electrics + heating
Utility room install + flooring electrics + heating
Windows and doors installed throughout
WC overhaul + flooring
Full decoration of the areas
Our kitchen diner renovation was the biggest and most disruptive project of all. Thankfully our builder was pretty chilled about us living in the house because the galley kitchen could just stay in place, and we could continue using that whilst the demolition and build process ensued.
Of course, it wasn’t pretty. At one point, every night for about six weeks, we had to clean our makeshift renovation kitchen of dust. It felt a bit like camping in our own house but without the fun. Plus, there was drilling - lots of drilling.
There were moments during the knock-through when the entire house was shaking and banging with the din of hammer drills. If you can live or work elsewhere, we would thoroughly recommend it!
Tactical Project 1: Bathroom (6 weeks)
After the first three phases, we burnt through a lot of our budget. We wanted to save up more money so that we could have a buffer for contingency and any emergencies. This took us until the summer of 2018, when we started our bathroom. This took four weeks of actual build and decoration time.


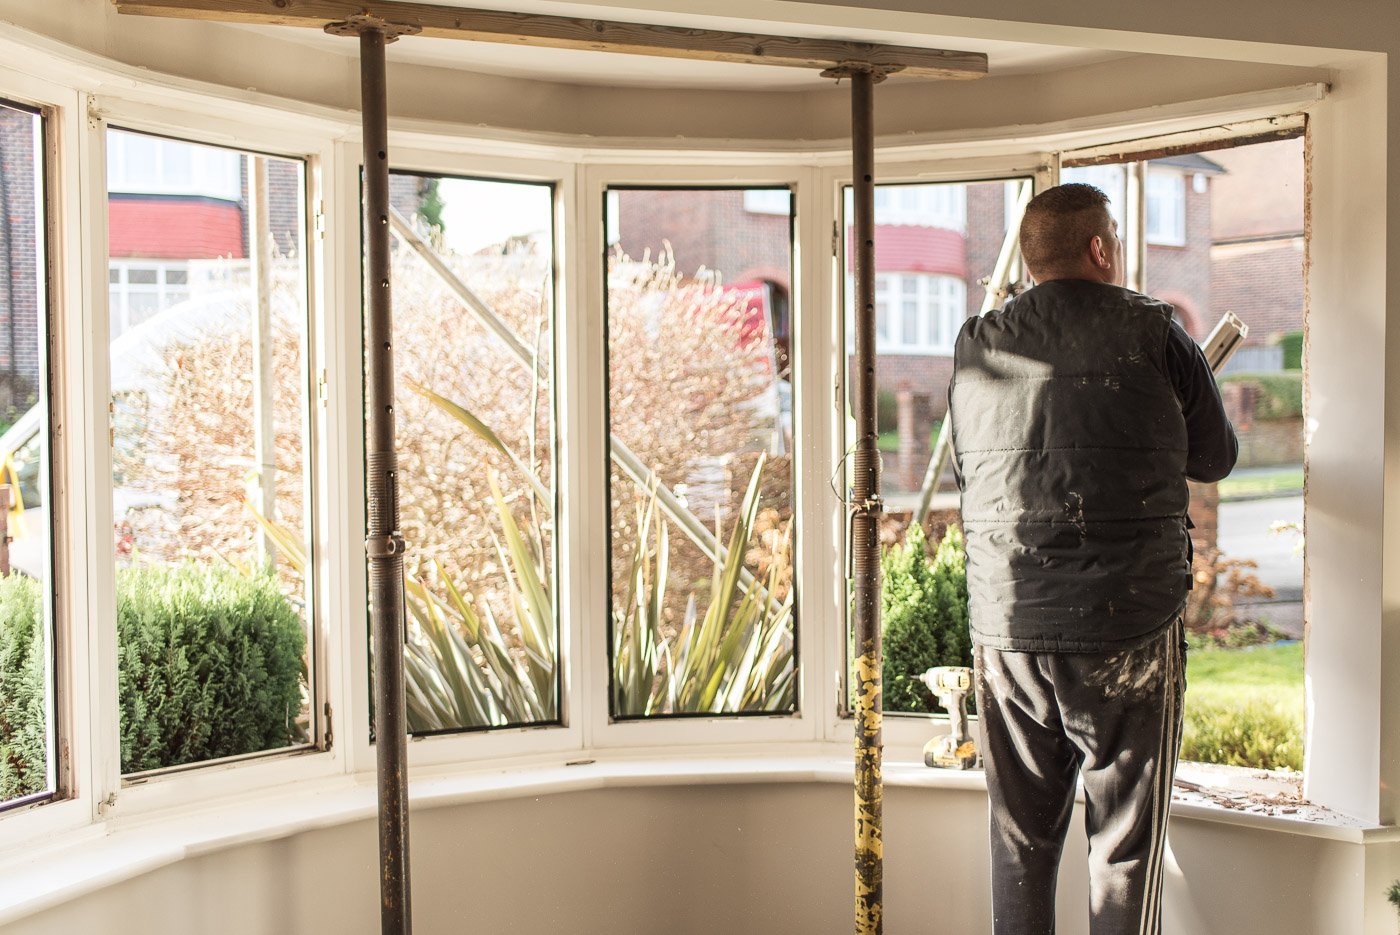
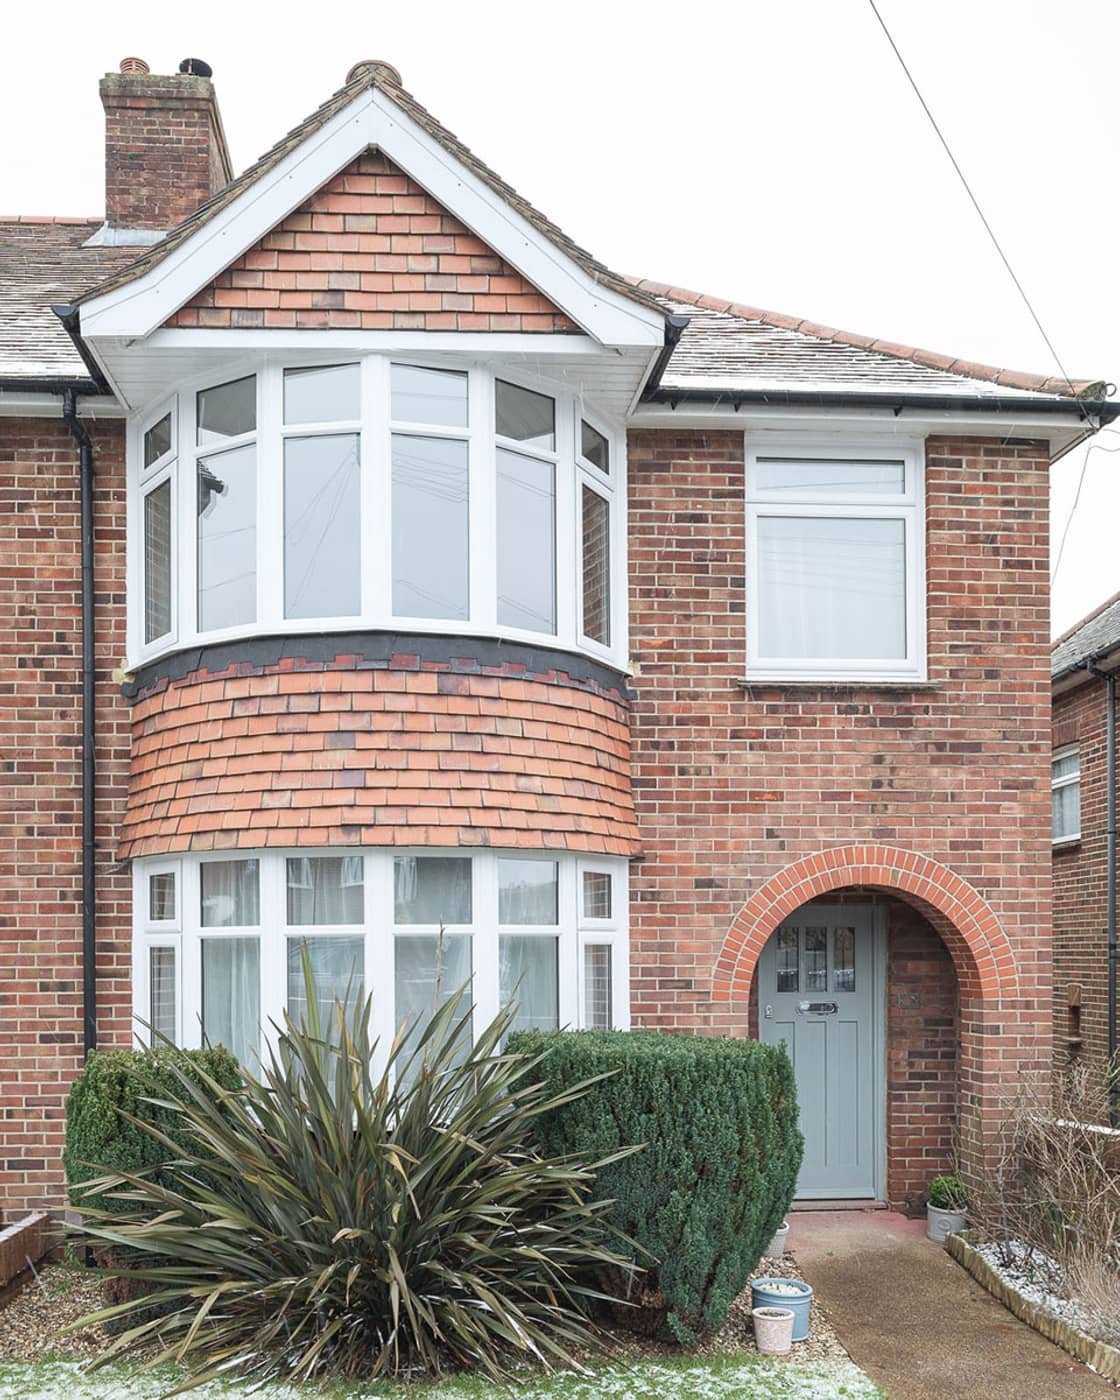
Tactical Project 2: Front windows (2 days)
In 2019 we started seriously working on our business, so we had a year off from renovating and focused on working hard and playing hard! We spent most of our spare hours building the business and used our funds on a big trip to South America.

By the end of the year we agreed to get our front windows done and got them on 0% finance (you can read our Safestyle windows review here). This freed us up to use the rest of our budget on our next project; the master bedroom.

Tactical Project 3: Master bedroom (4 weeks - actual work time)
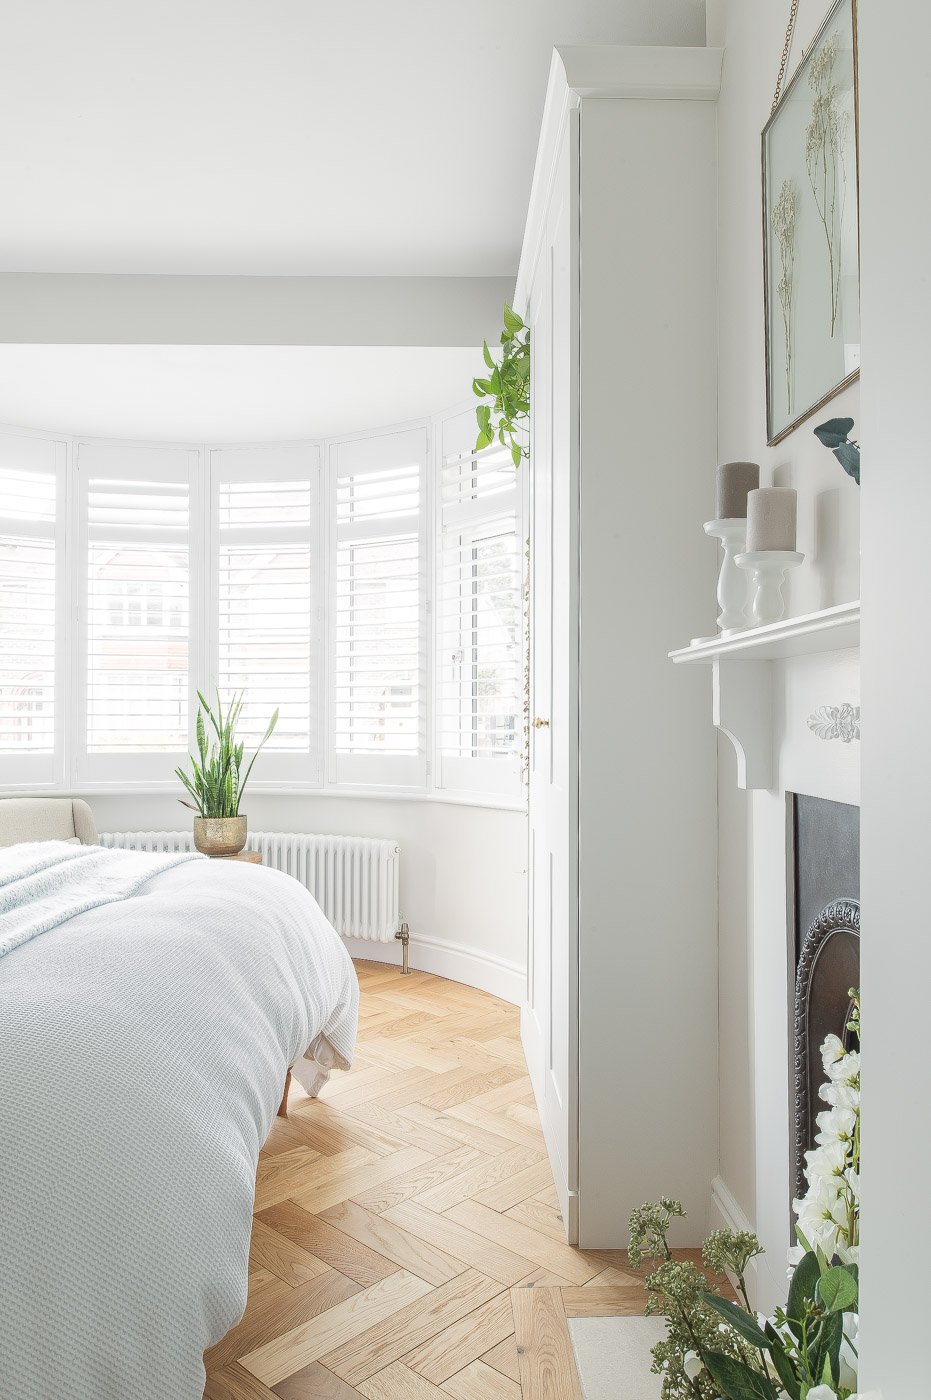
By the time our master bedroom project came around in 2020 we had our design and planning process completely nailed (you can read some behind-the-scenes in this post), but the irony was that Covid-19 had other ideas.
Supply and labour issues plagued the industry and made it feel even more like wading through treacle (renovating feels like that at the best of times).
By the end of 2020, we were both working full-time on Fifi McGee, and our second online course Home Design Lab was in development.
From end to end, the master bedroom took many months just because supplies trickled in slowly.
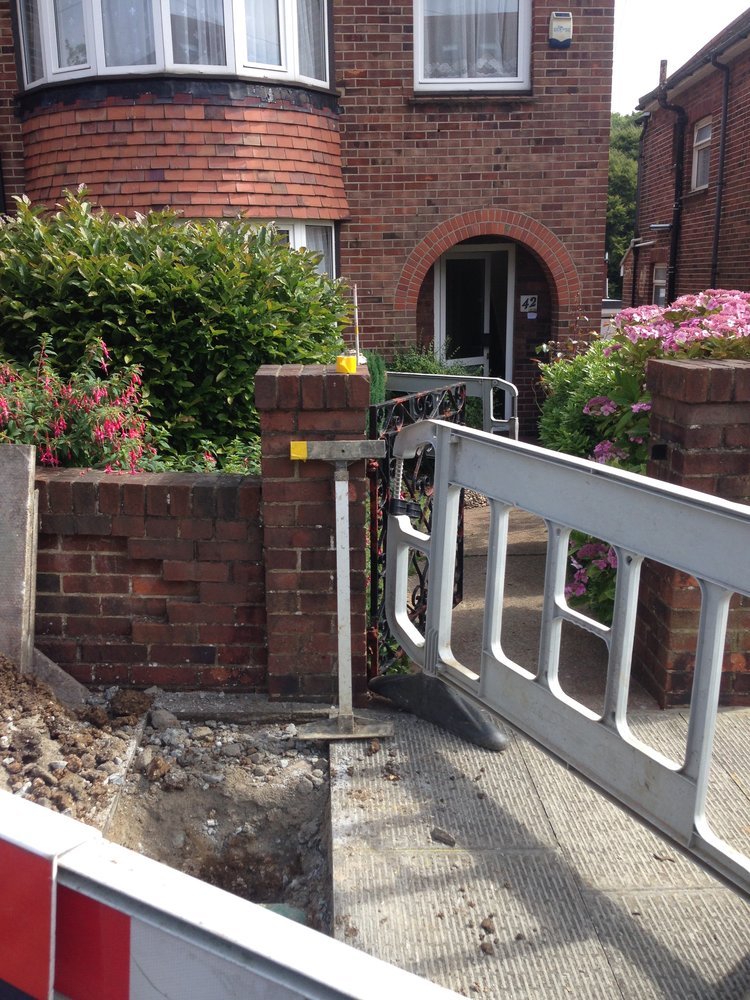
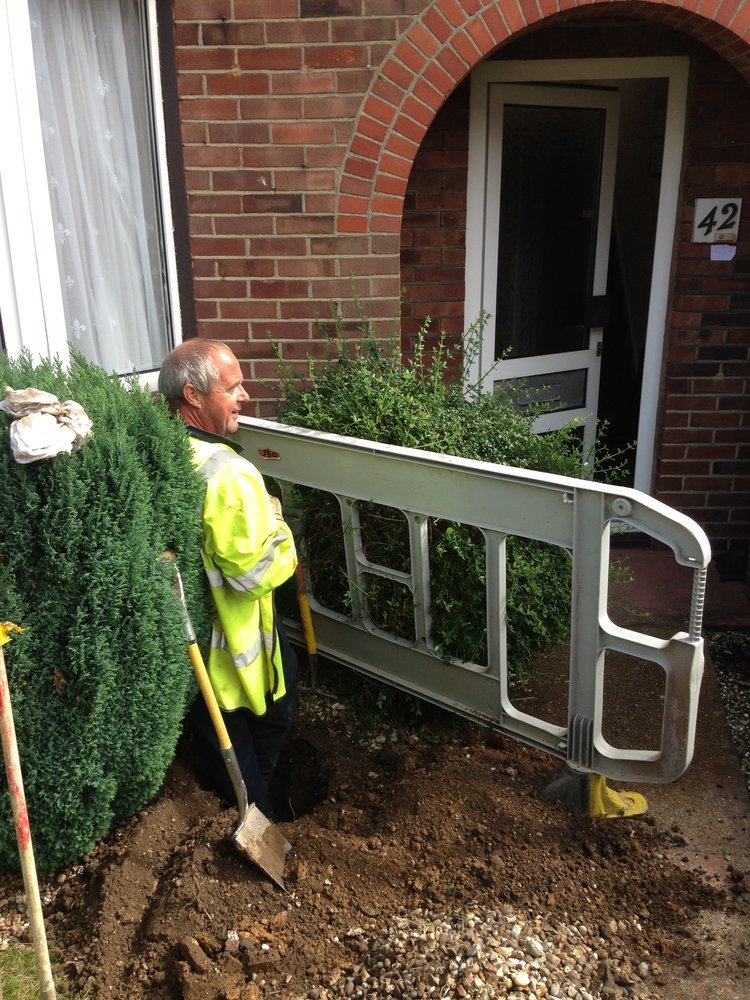
Tactical Project 4: Front Wall & Drive (2 weeks + additional planning time)
In the summer of 2021, we saved enough money to overhaul the front exterior. Our neighbours were happy to be led by us on the drive’s style, and so we got our shared drive done.


Tactical Project 5: Office (1 week planning + 4 weeks work)
By the end of 2021, we had started work on our Fifi McGee office project and officially finished it in early 2022.

So our renovation; How long did it take in total?
Well, the critical parts of our renovation started Summer 2016 when we got the keys to the house through to the summer of 2018 when we finished the bathroom. So that got us a living room, basic bedroom, hallway, landing, kitchen diner, WC, utility room and bathroom.
We effectively took a year off renovating in 2019 and the rest of the lesser priority items took a further 2 years. So looking back it’s taken us about 4 years if we subtract the year off.
What would have increased our renovating velocity?
1) Not making mistakes and getting clearer on our needs earlier
We wandered into our renovation like two innocent little lambs tumbling into a ravine with spikes at the bottom. We wasted money and time. Shameless plug coming - get our online course, it will help you avoid wasting money; many of our students say that it saves them thousands by helping them avoid mistakes, and it will increase your renovation speed by planning effectively.
2) Not living in the house (this has pros and cons)
With us being in the house (we were sometimes even working from home!) This meant that we had to play Jenga with furniture and had to work in phases simply for our peace of mind, if we’d been offsite we could have had more rooms being done at once and it would reduce the clear up time by the builders every night.
Having said that, there is something to be said for being on site frequently because your contractors can ask you questions easily, it’s surprising how many curveballs can happen on site, again this is something our online courses prevent through adequate pre-planning, reducing compromises and panic-mode decision making.
3) Reducing multiple focuses
Renovating is all-consuming and requires real focus and a go-getter mindset. This is crucial during the intense early stages when you’re battling knowledge gaps whilst tackling the most complex project you might ever do. After those critical early phases were complete and the ‘heat’ had reduced somewhat, we decided to renovate more slowly which allowed us to focus a little more on the other elements of our life, business and travel. Helping our clients and students to achieve their dream homes has been rewarding but ultimately slowed our own progress.
Technically we could have decided not to do this and stayed completely pedal to the metal in the dust and disruption, but heck, there is much more to life than that!
What did our renovation timeline look like?
Mid-2016: Moving in and repair work,
2017: Living room, guest bedroom, central heating, kitchen diner, utility room, WC
2018: Bathroom
2019: Year off/Windows
2020: Master bedroom
2021/2022: Office
How long do our Reno Club members expect theirs to take
In a recent survey, we asked our Reno Club how long they expected their renovation to complete. It seems that most of them believe theirs will take 2-3 years to complete the main part.

So what’s next for us?
Well, currently, it’s mainly about helping you to get your dream home! We are always working hard on creating the process, tools and information you need so that you can plan your dream home quicker, easier and cheaper.
We also have a large client project at the moment which requires a considerable amount of attention.
In terms of our home, we’re planning some updates to our living room and, if we ever get around to it, the guest bedroom too. We’re the type of people that, if asked “what do you want to do in 5 years’ time”, we draw a complete blank. Who knows if we’ll be in this house in 5 years’ time!
Happy renovating, and thanks for reading.
Neil x