The Master Bedroom - Progress Update
Our renovating journey has been a fairly long road, but the last leg is here (we’re kidding ourselves that it stops here right?). Progress is currently in full flow right now and there’s no turning back!
It’s incredibly exciting and rewarding when the final pieces of the puzzle start to come together and you see all of that planning starting to pay off.
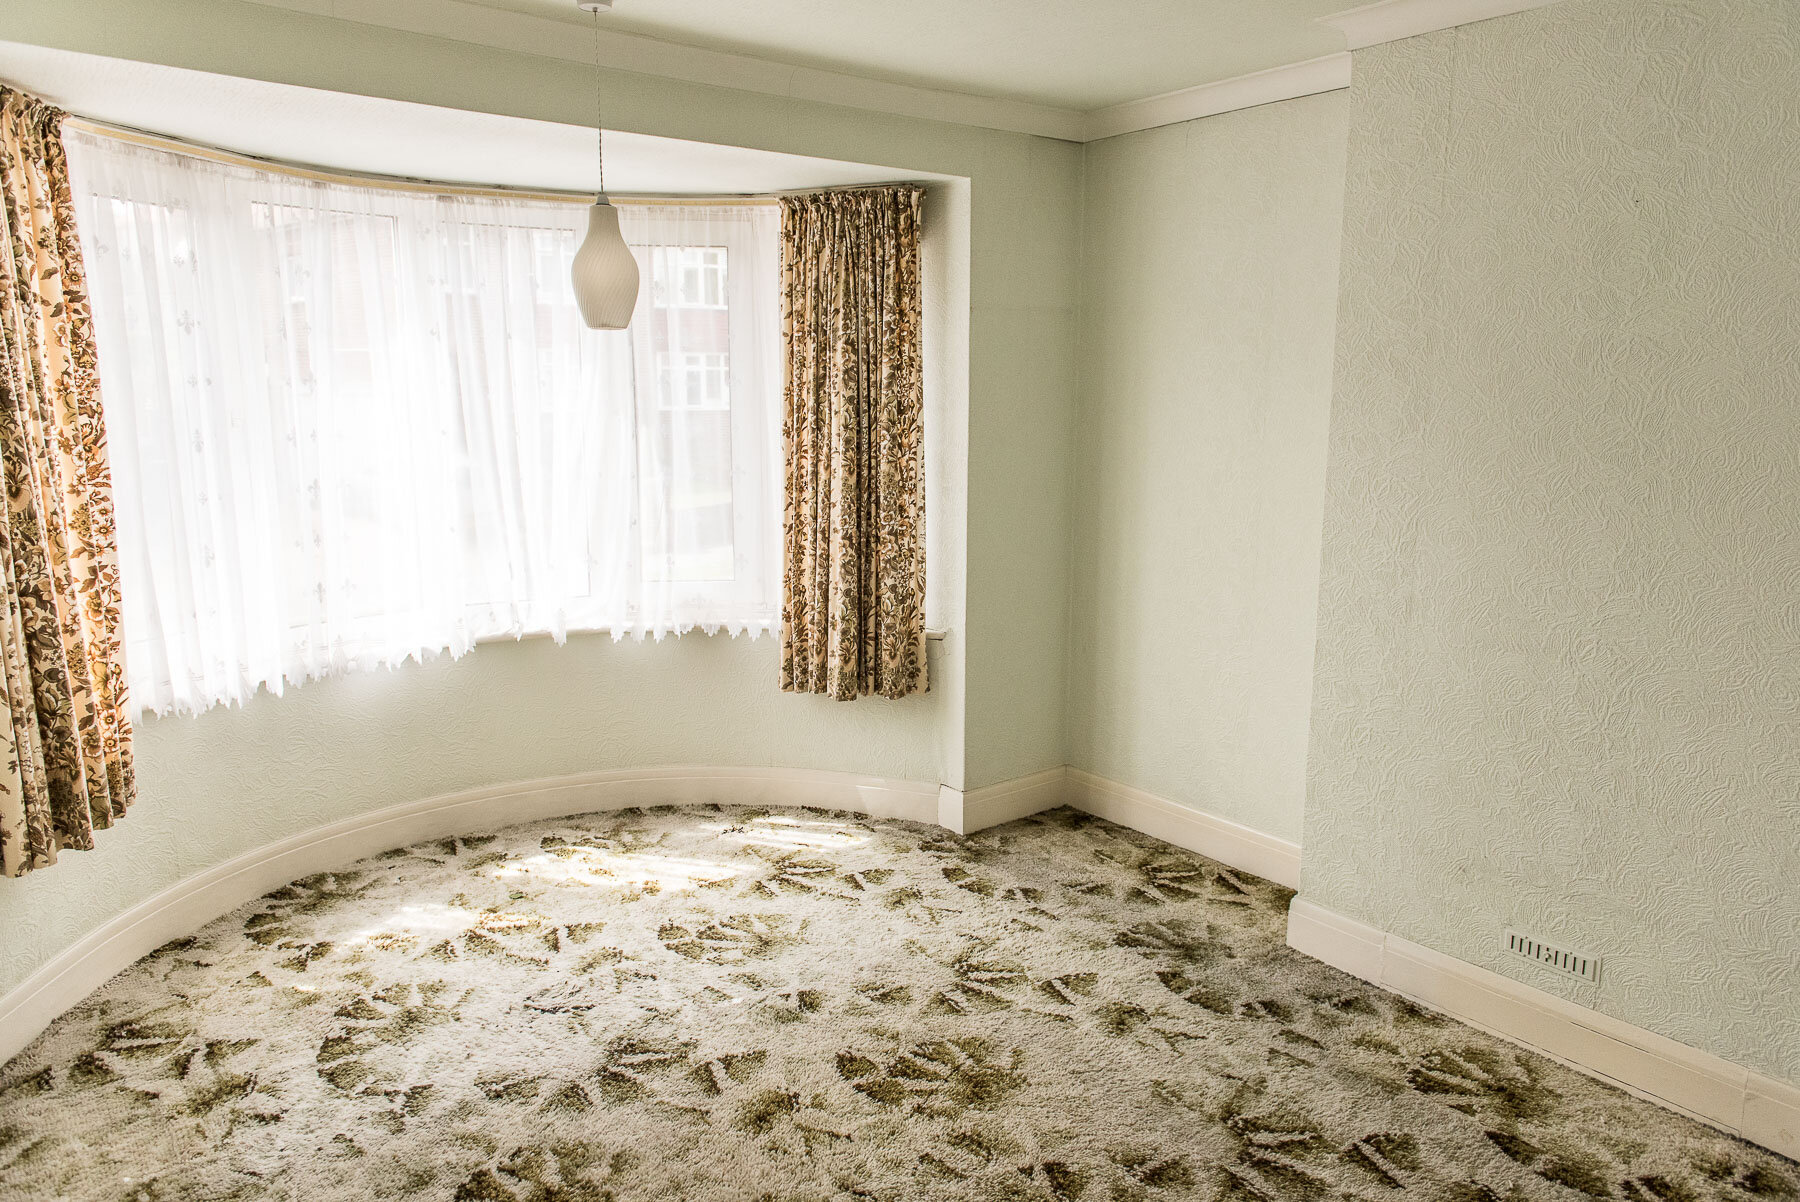
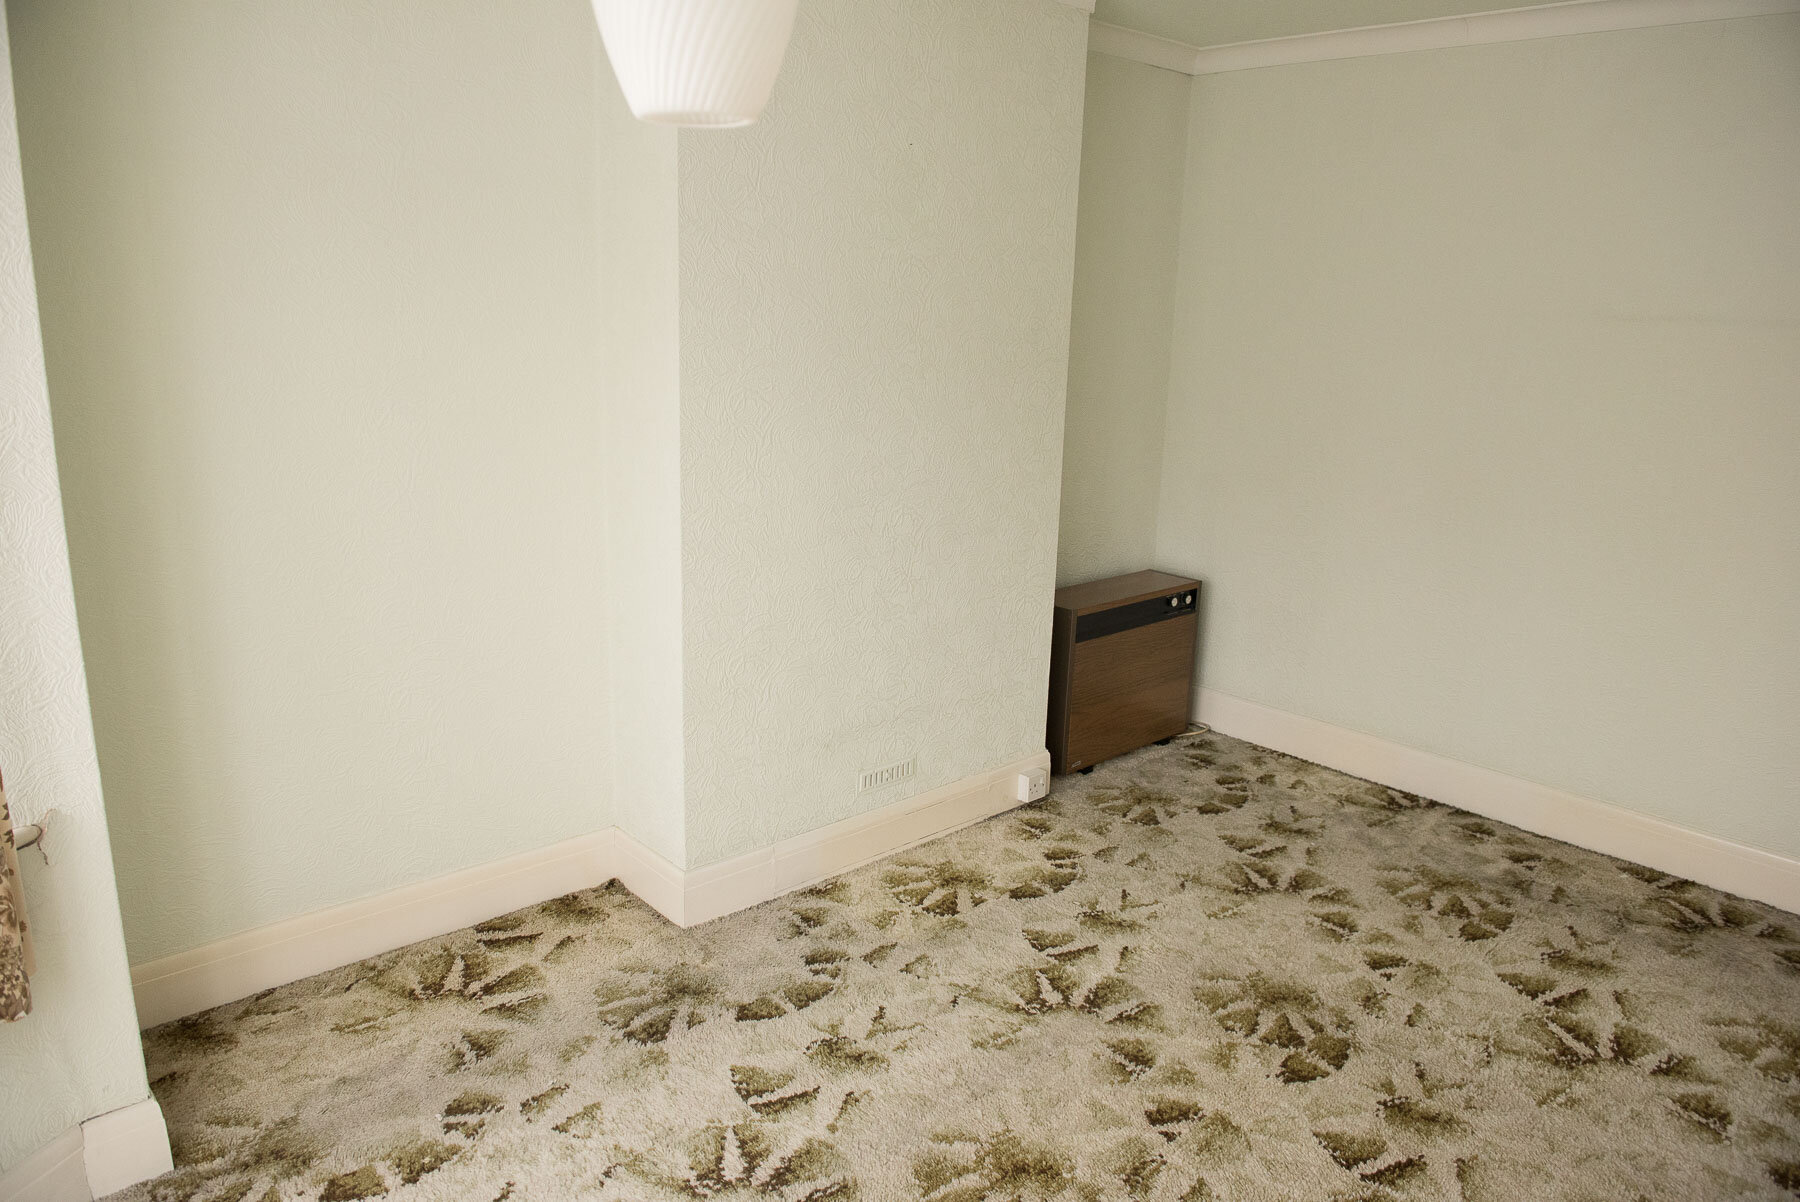
How the master bedroom looked before
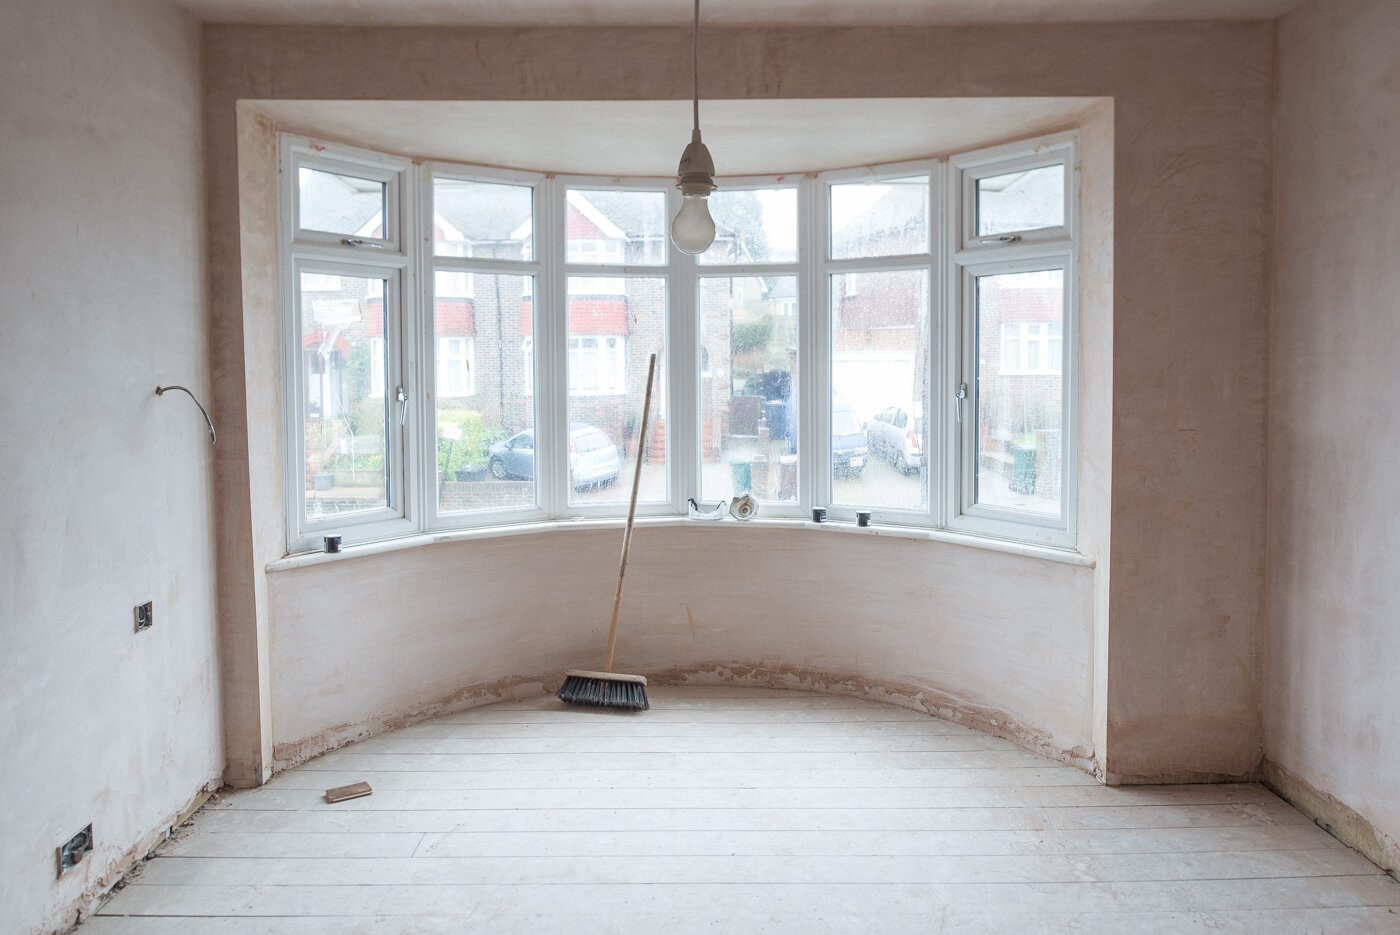
The windows
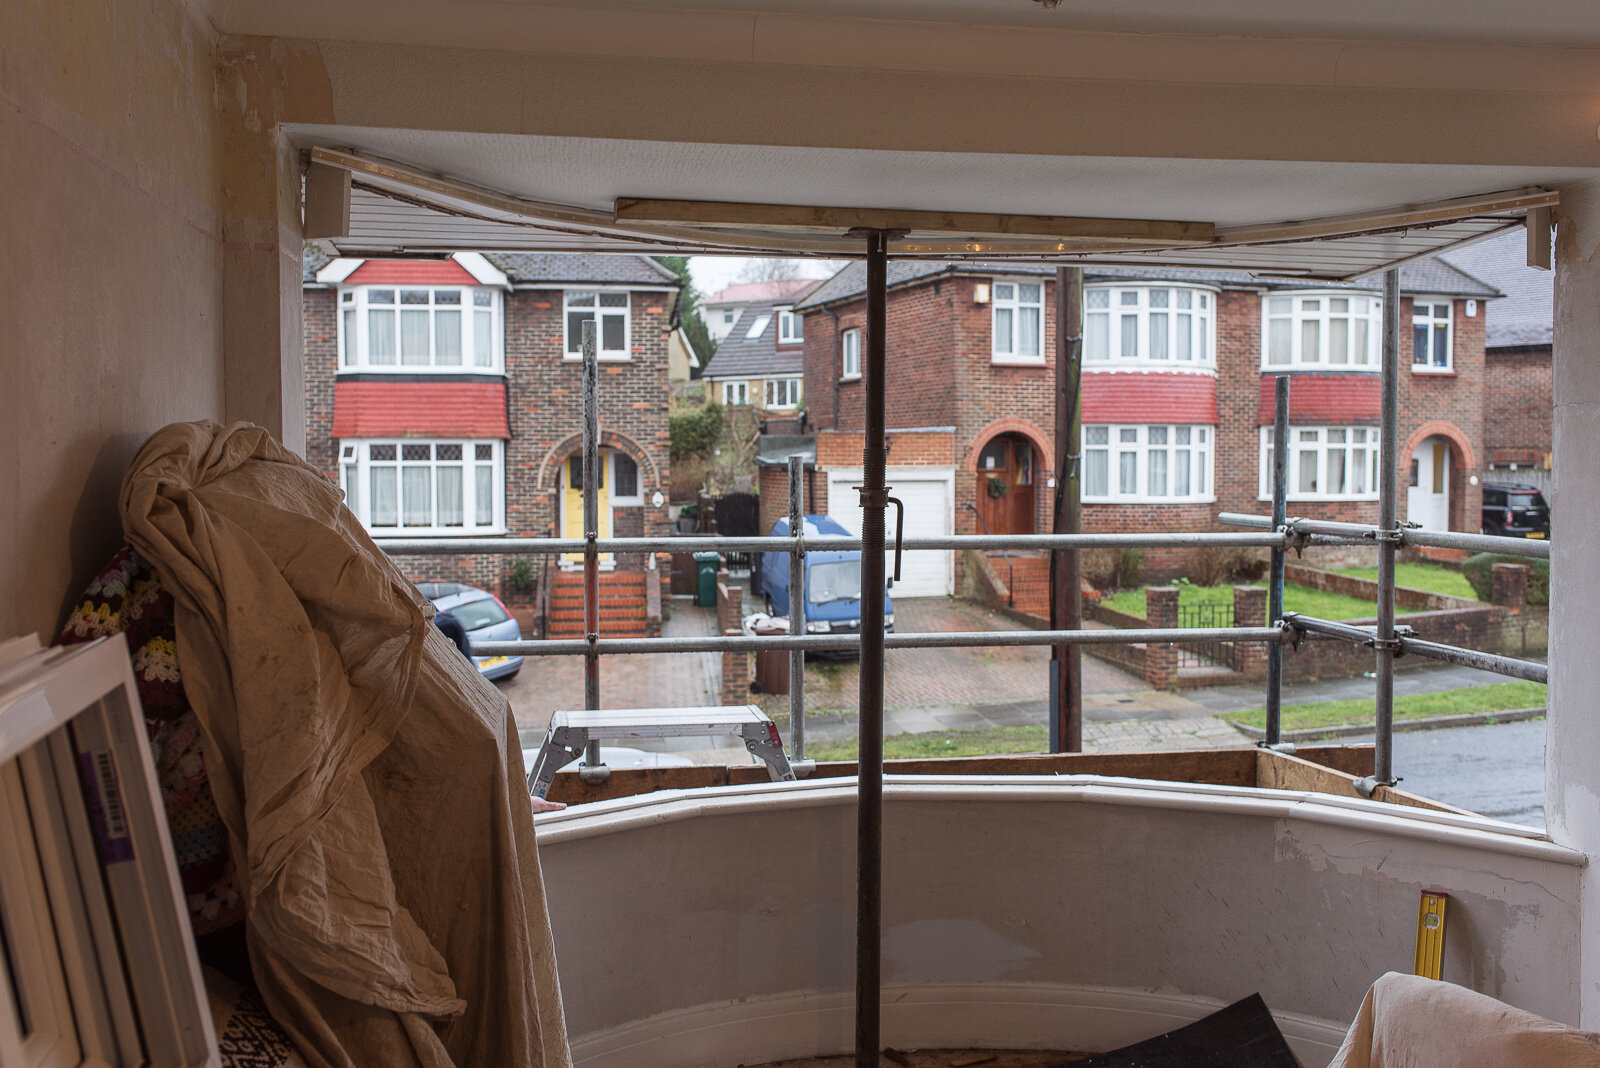
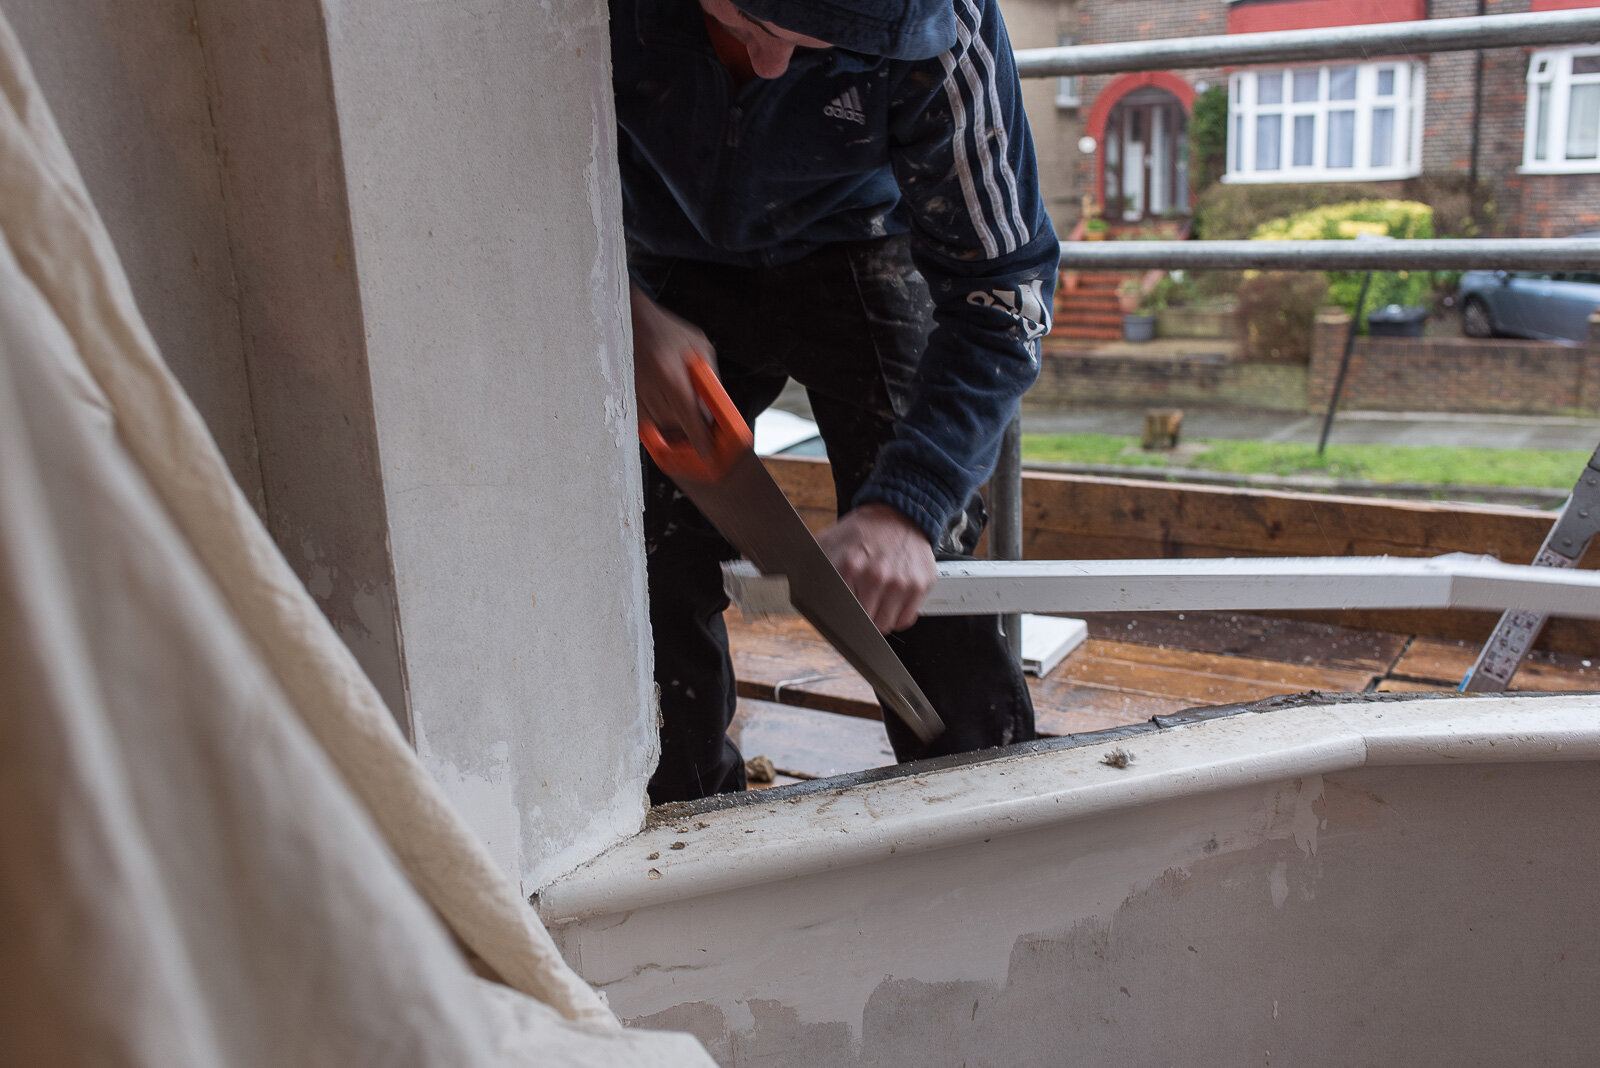
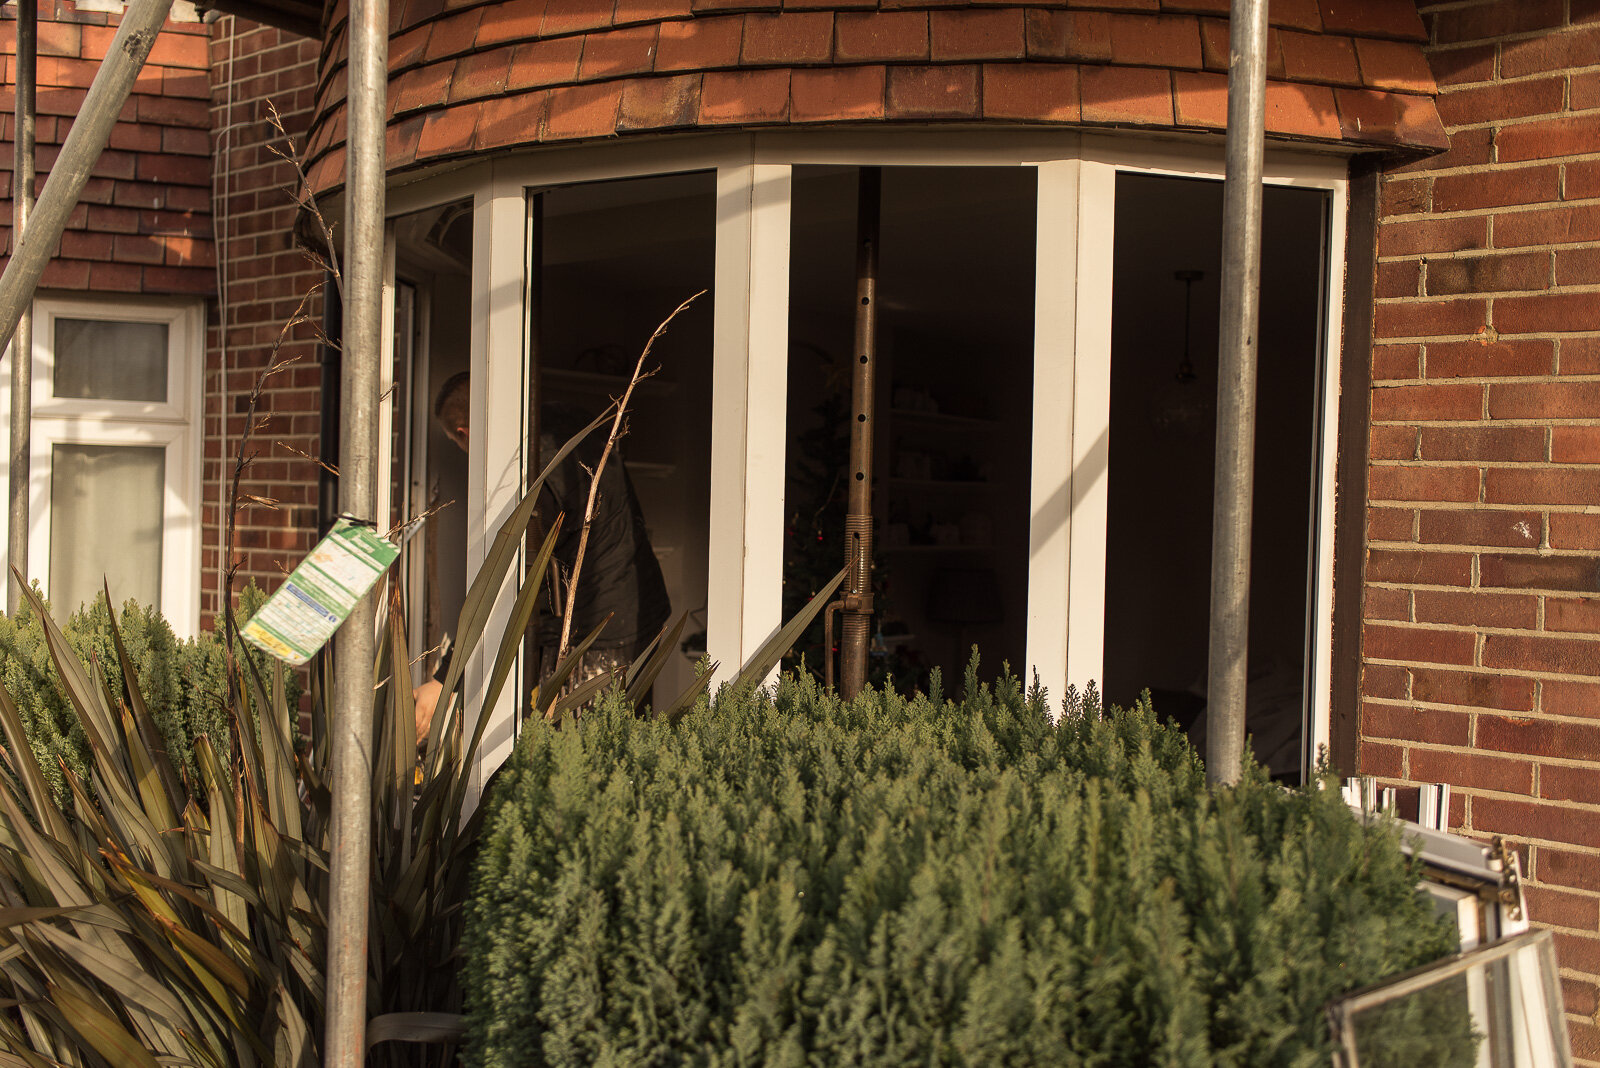
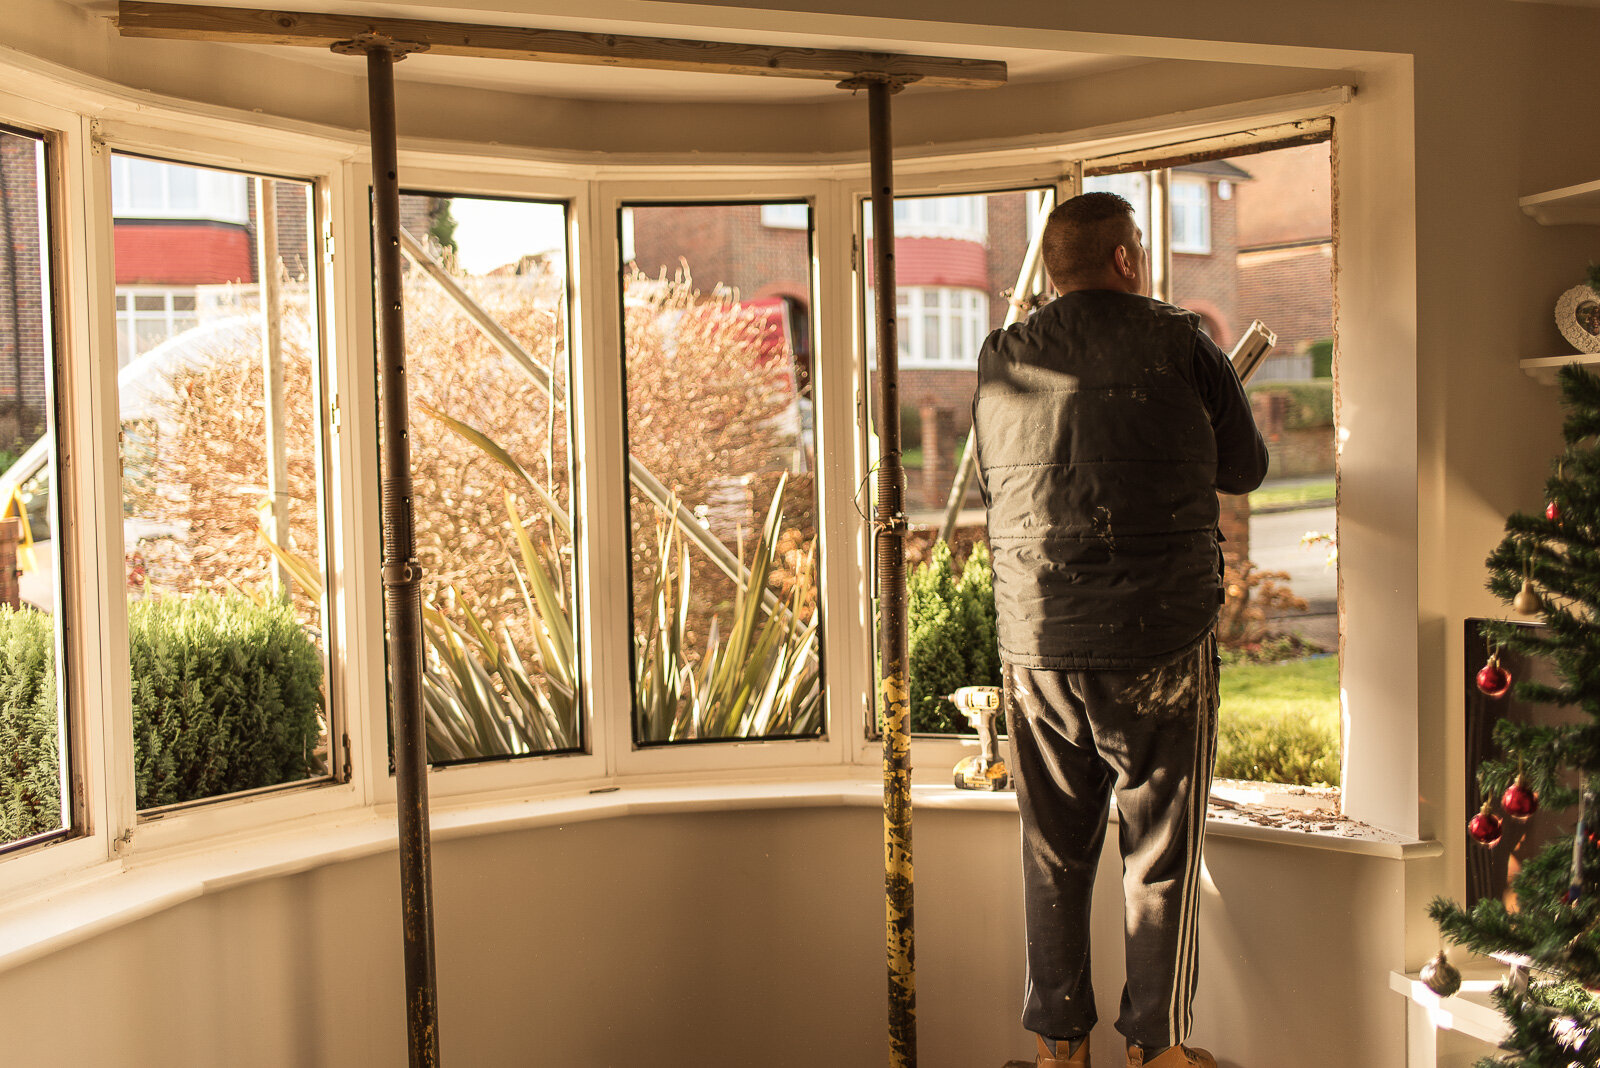
The work all started by getting our front windows replaced (3 windows in total).
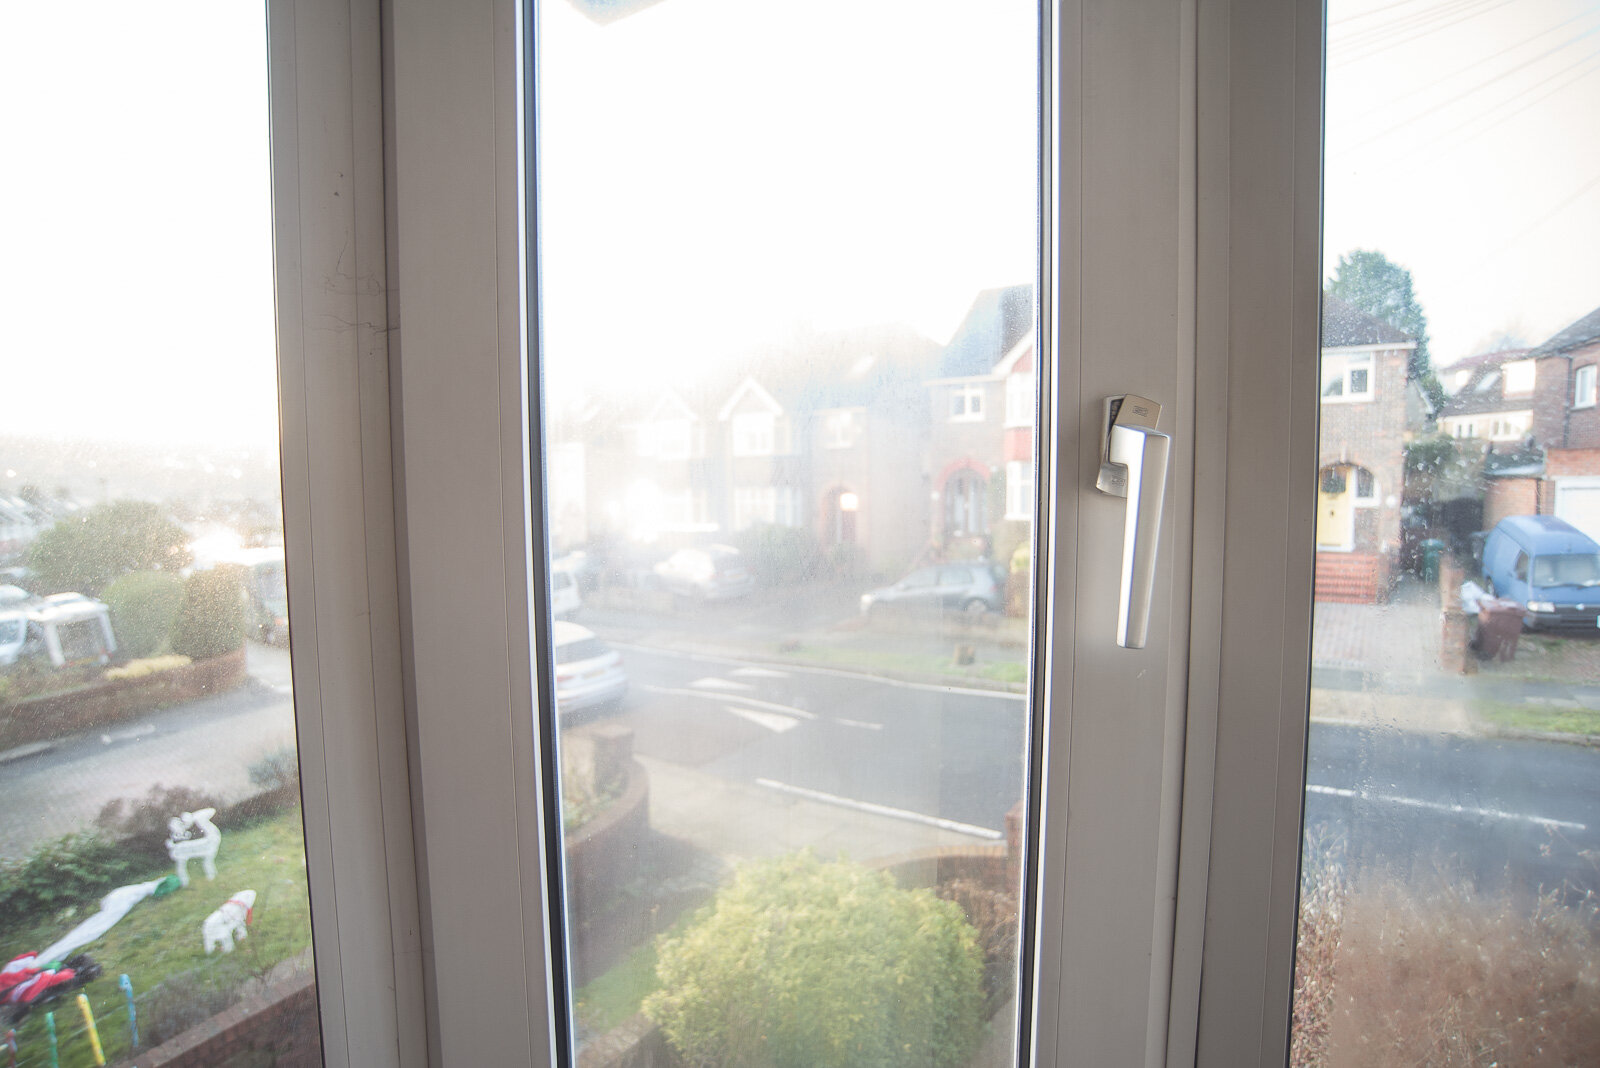
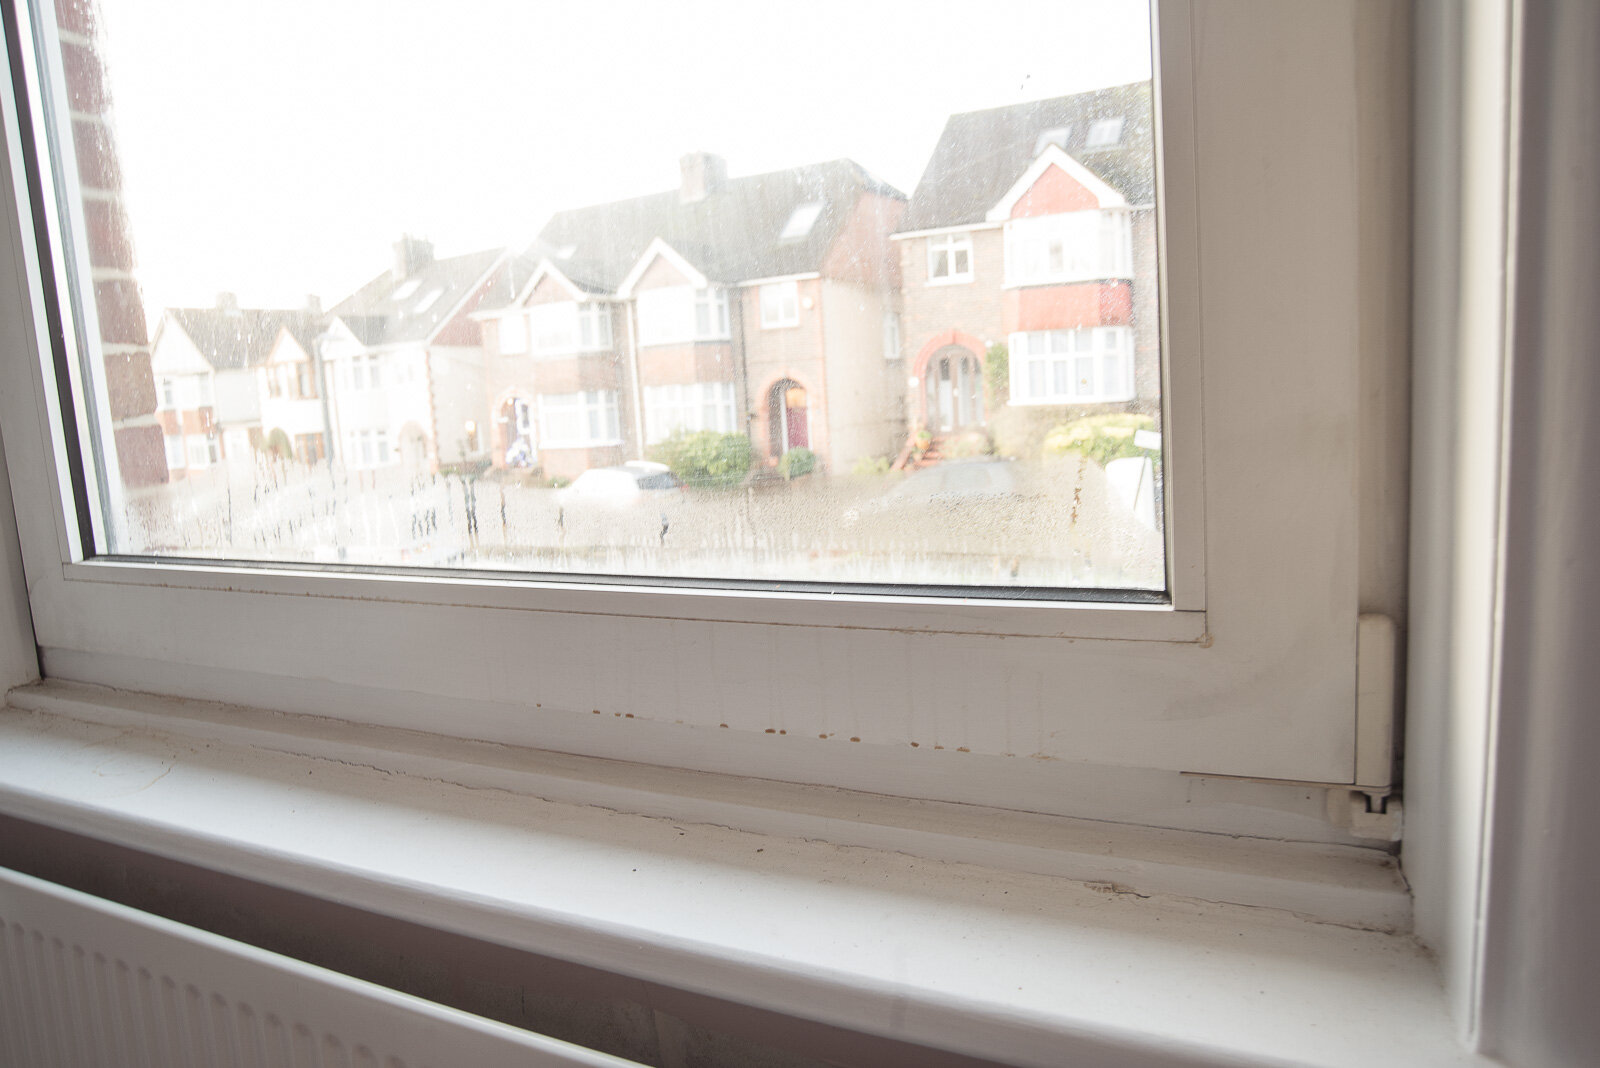
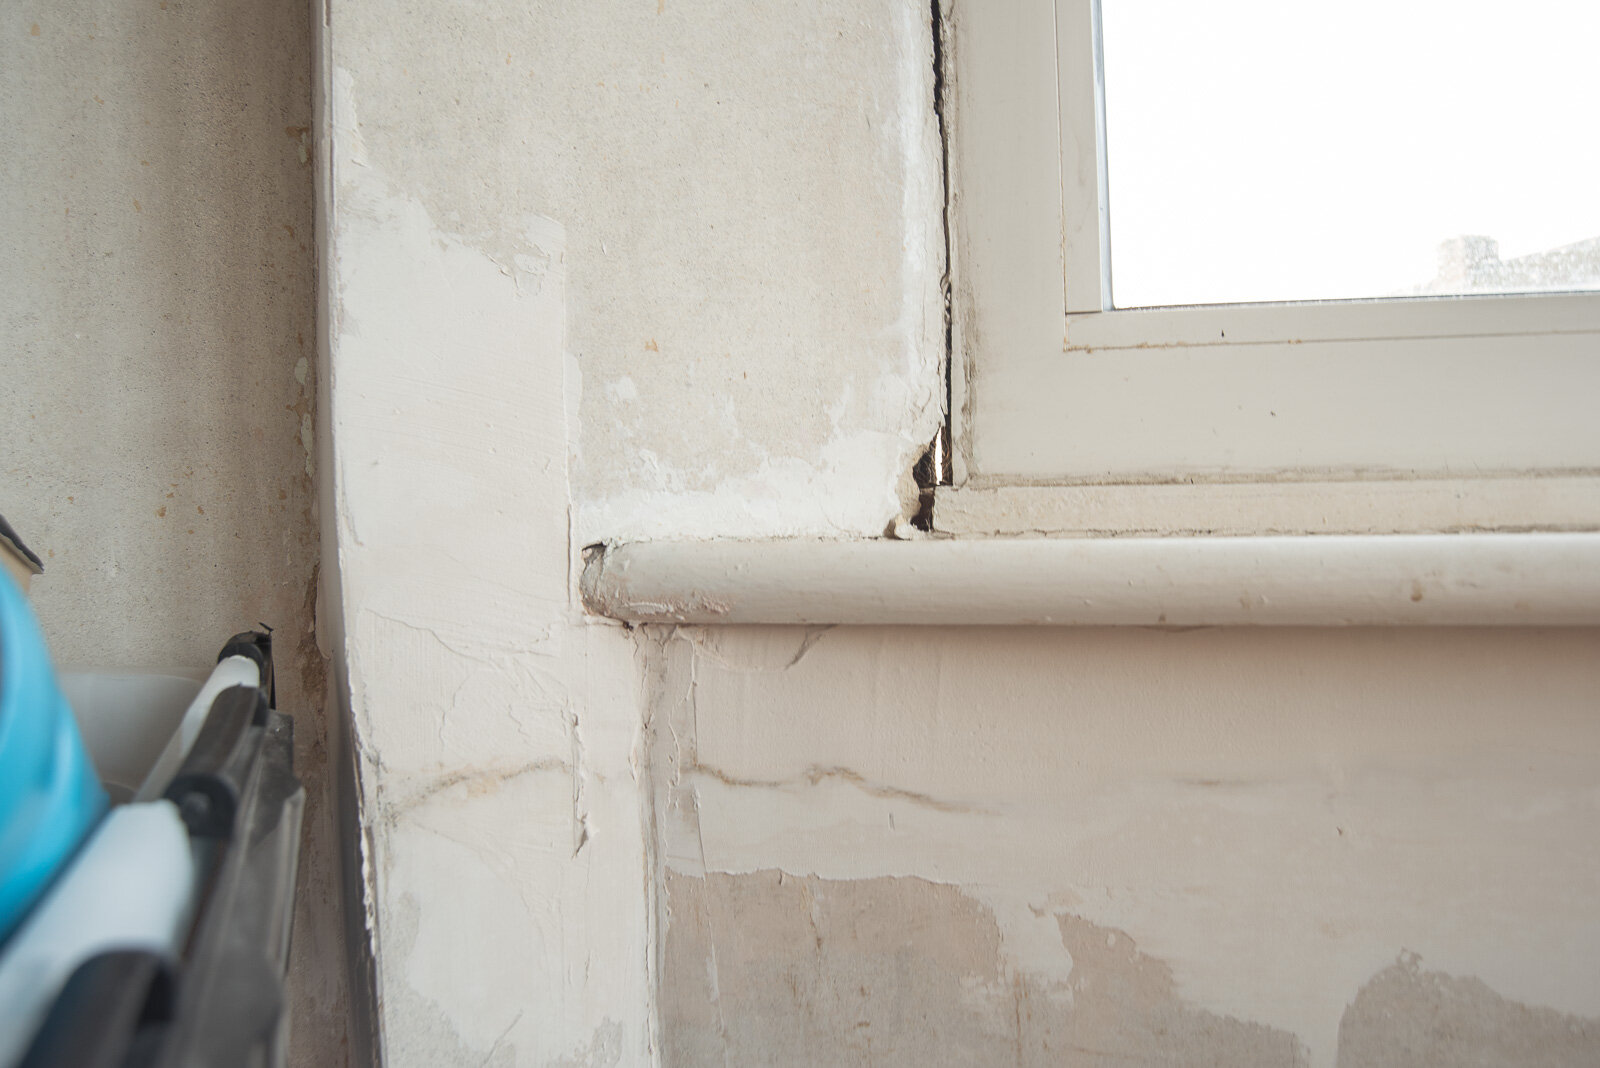
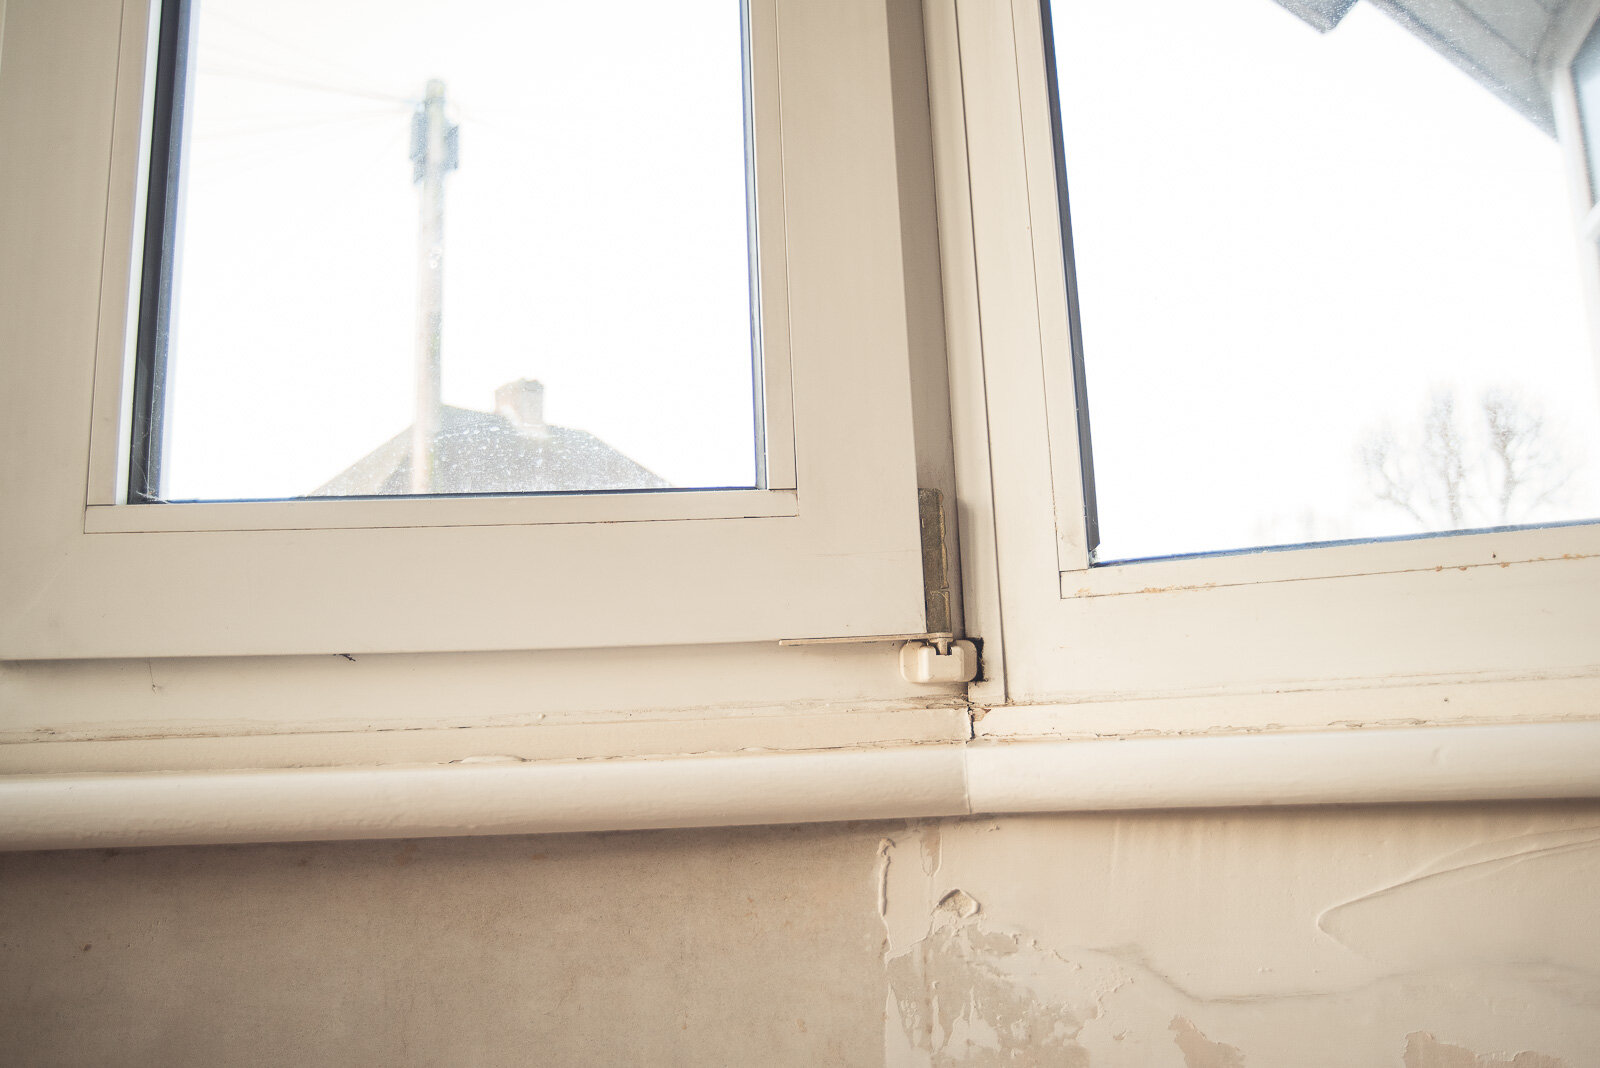
When we moved in we knew that they had a limited shelf life, the seals were gone, the plastic was yellowing and internal condensation was a permanent ‘feature’. We lived with these disgusting beasts for more than 3 years!


THE OLD DISGUSTING WINDOWS
We got Safestyle UK in to replace them and we were mightily impressed with them. They turned around the whole project in two days, working through some seriously horrible weather to get the job done (at one point it was raining in our living room) leaving everything exactly as they found it PLUS some brand new shiny windows.

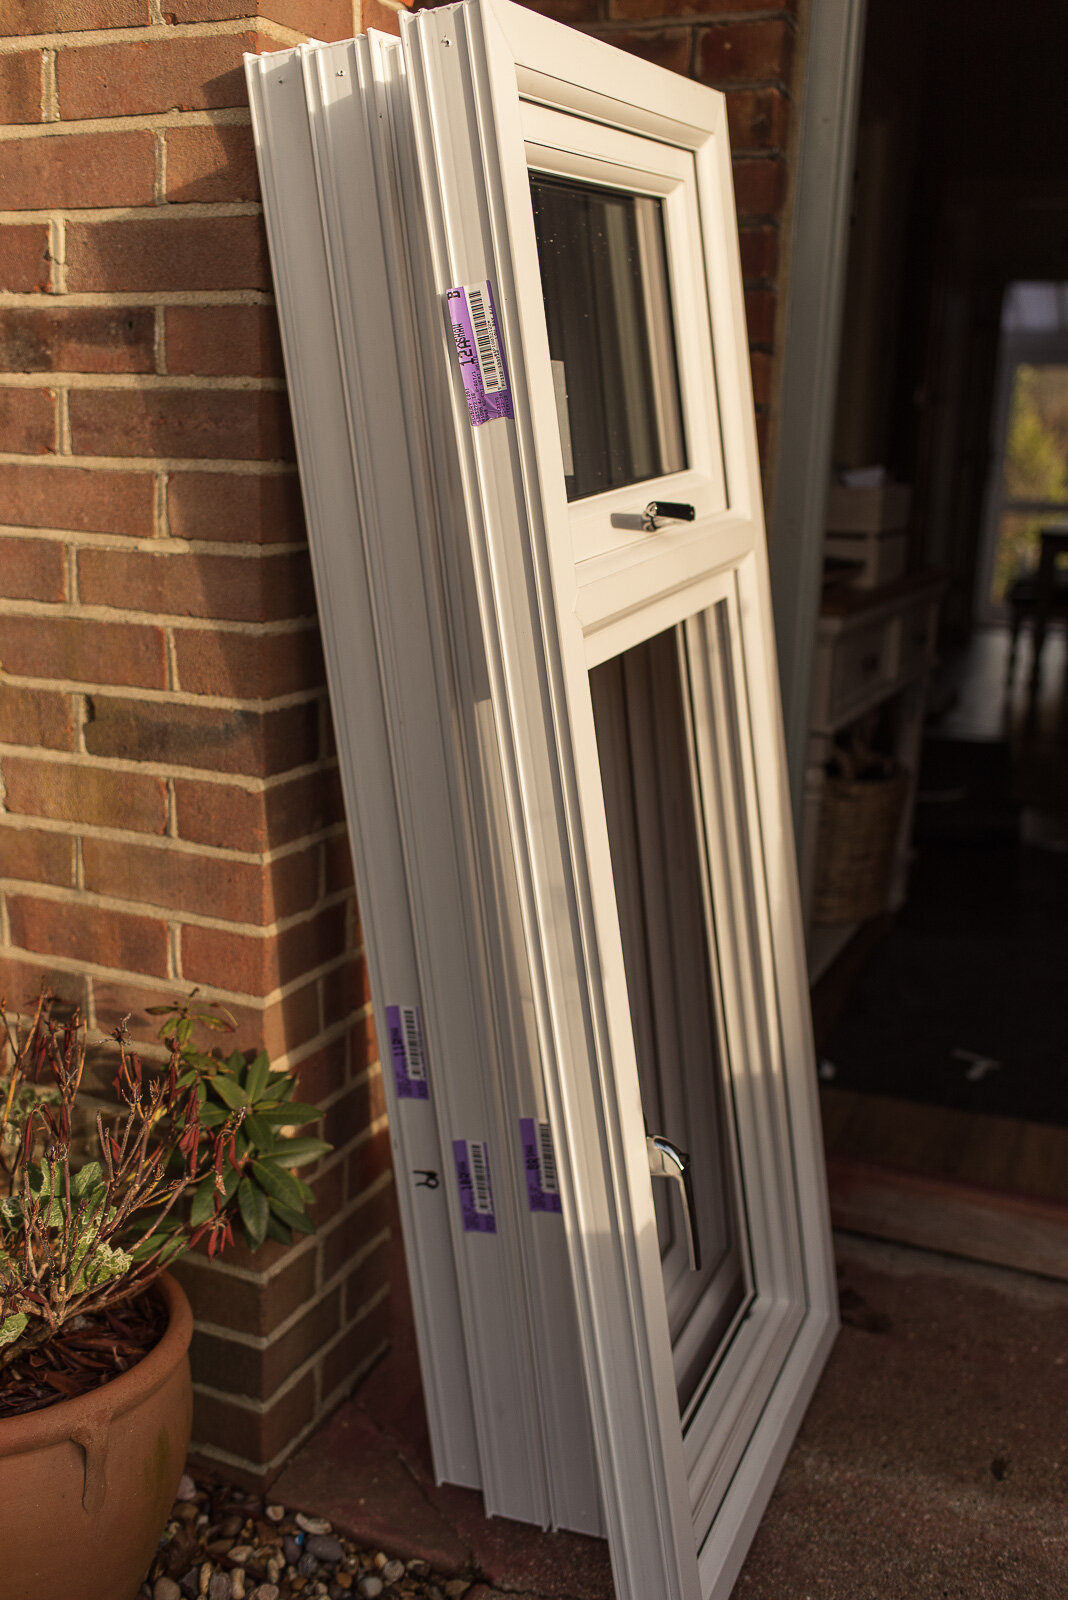
We wanted to get these windows done because our plan is to get shutters installed and there was no way that we wanted to bolt those little beauties onto these cruddy old windows!
Sorting out the loft and the bedroom
We finished of the installation of loft boarding and we had a massive loft clear out. This was an instrumental part of our preparation.
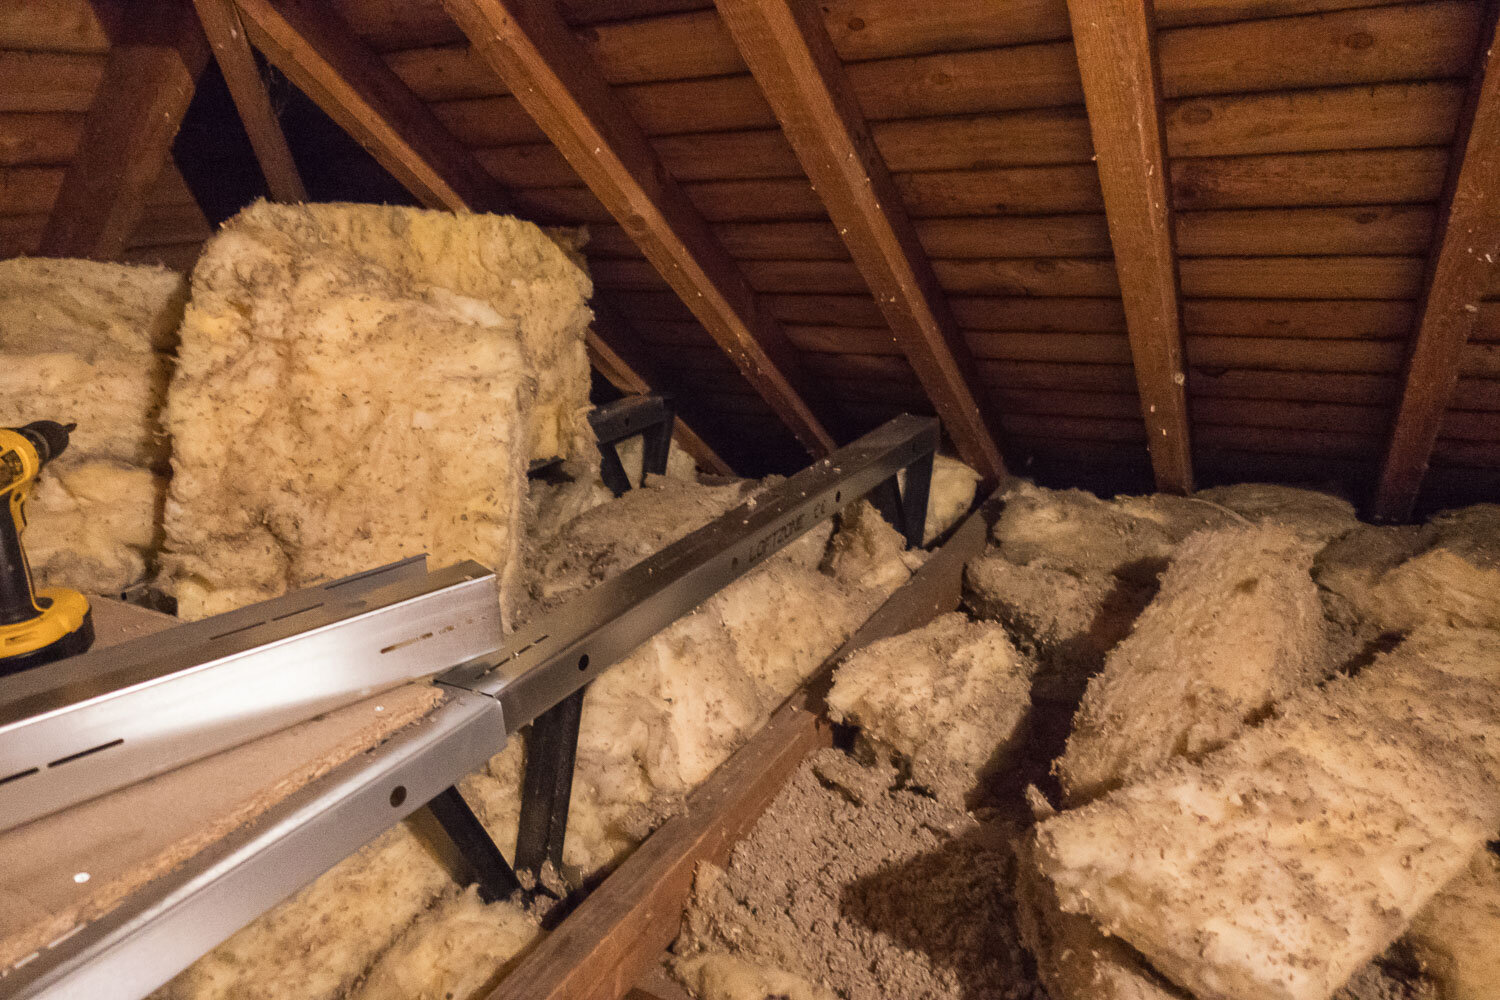
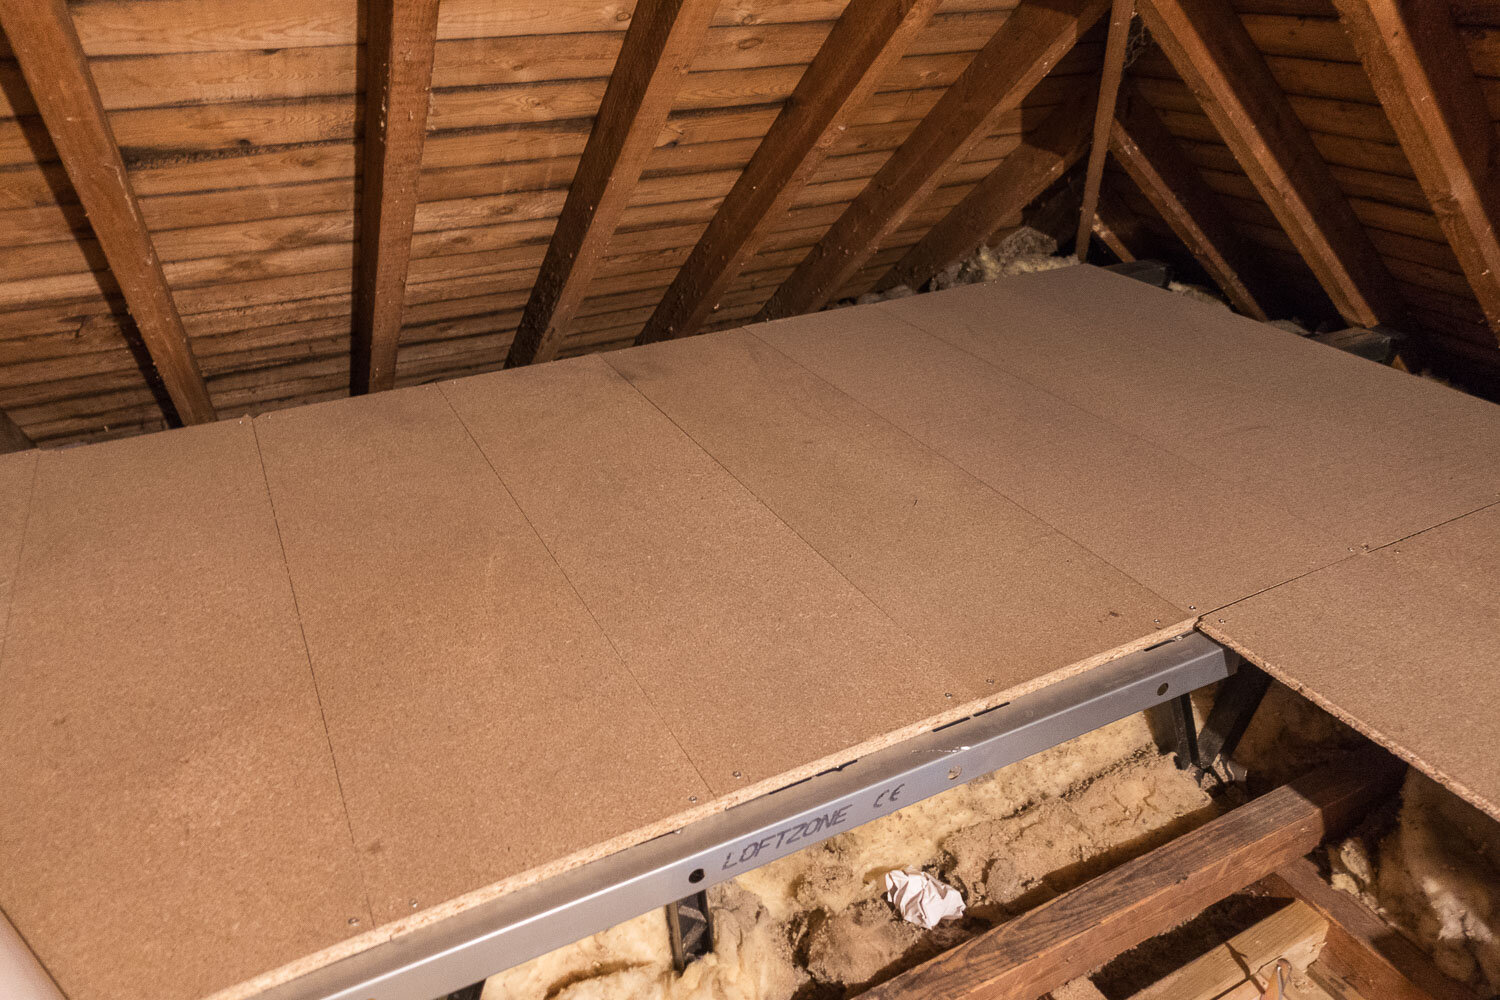
“Why was this instrumental?” we hear your ask. Well, since we moved into the property we have been using the master bedroom as a store room for all sorts of bit and bobs and we had to move all of this up into the loft.

After the clear out we had a huge feeling of satisfaction, feeling a whole lot lighter after we sold, tipped and charity shopped all of our unwanted bits.
We budgeted and designed

We wrote a post all about how we used our own renovation course to smash our renovation budget and design and so with a clear view of our money and our vision we could now set about starting the project.
We actually wanted to get started before we had the entire money for it. With a bedroom that we don’t currently use this is entirely possible; at any time we could stop and wait for more money to come in, it’s just an additional luxury to have this room (we’re looking forward to having a more comfortable space for our guests and some additional storage of course).
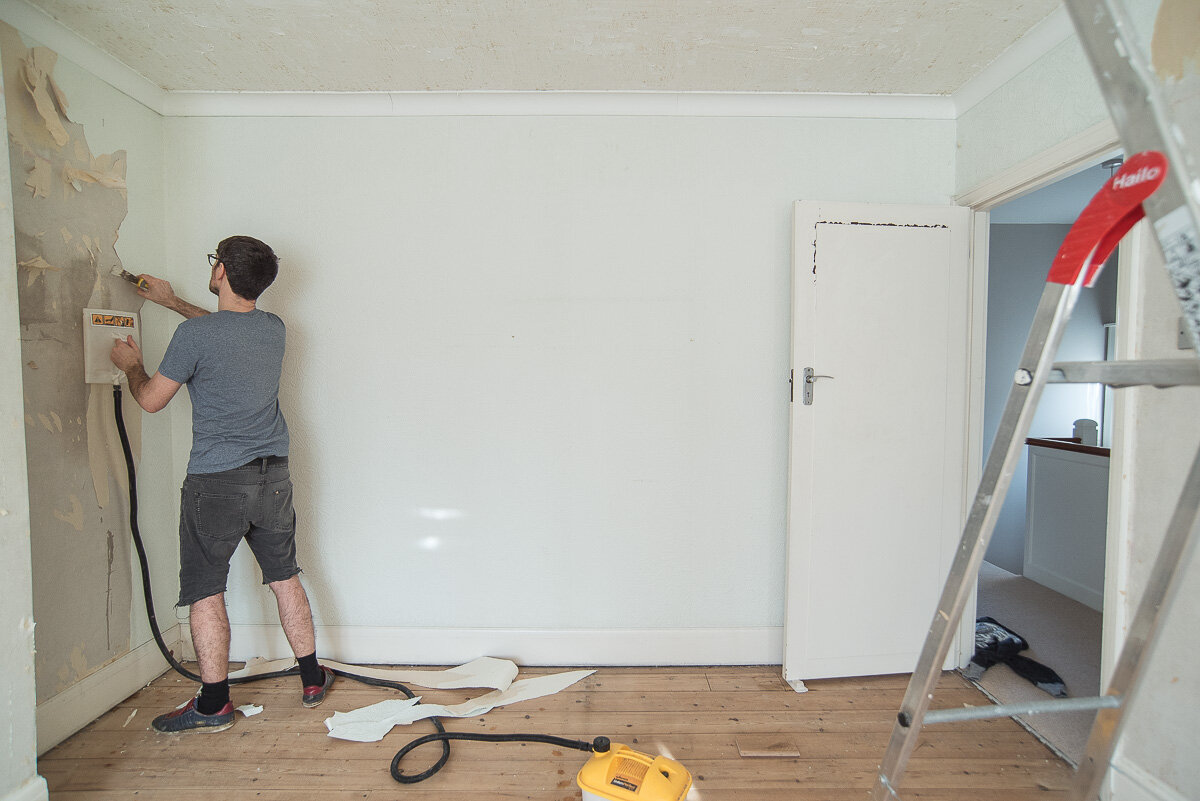
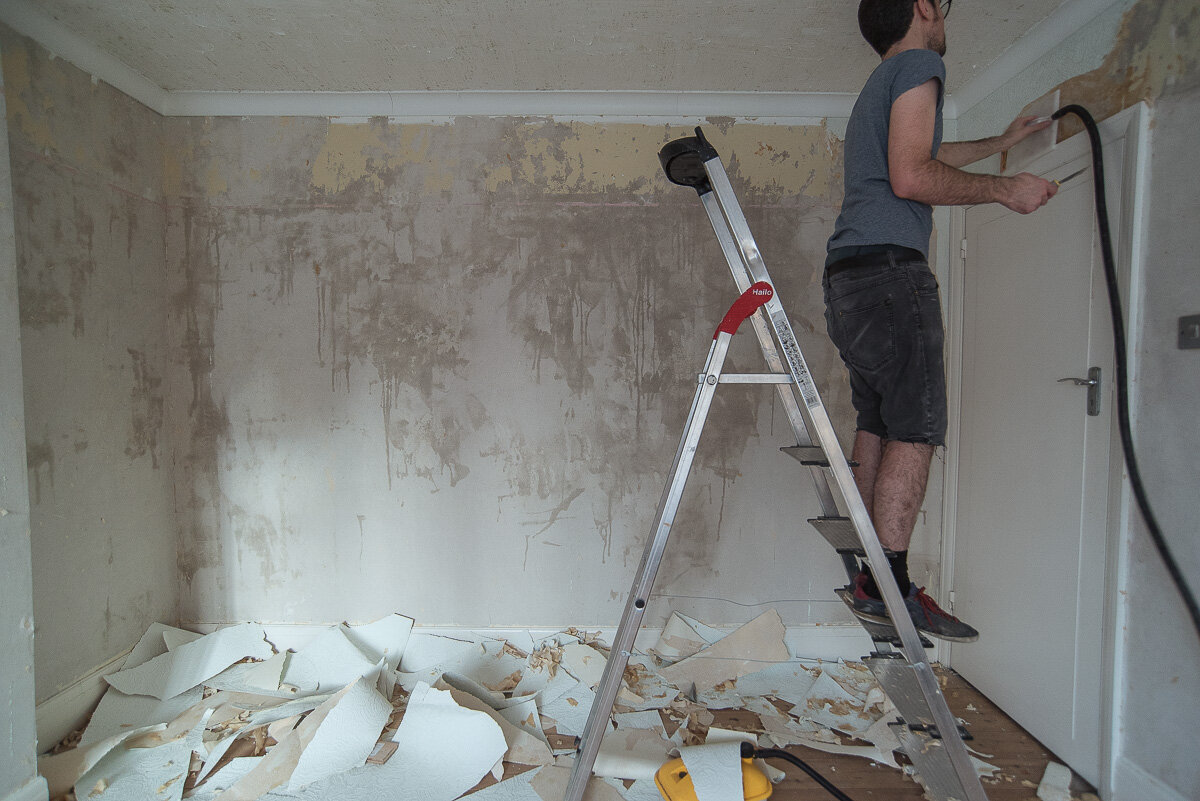
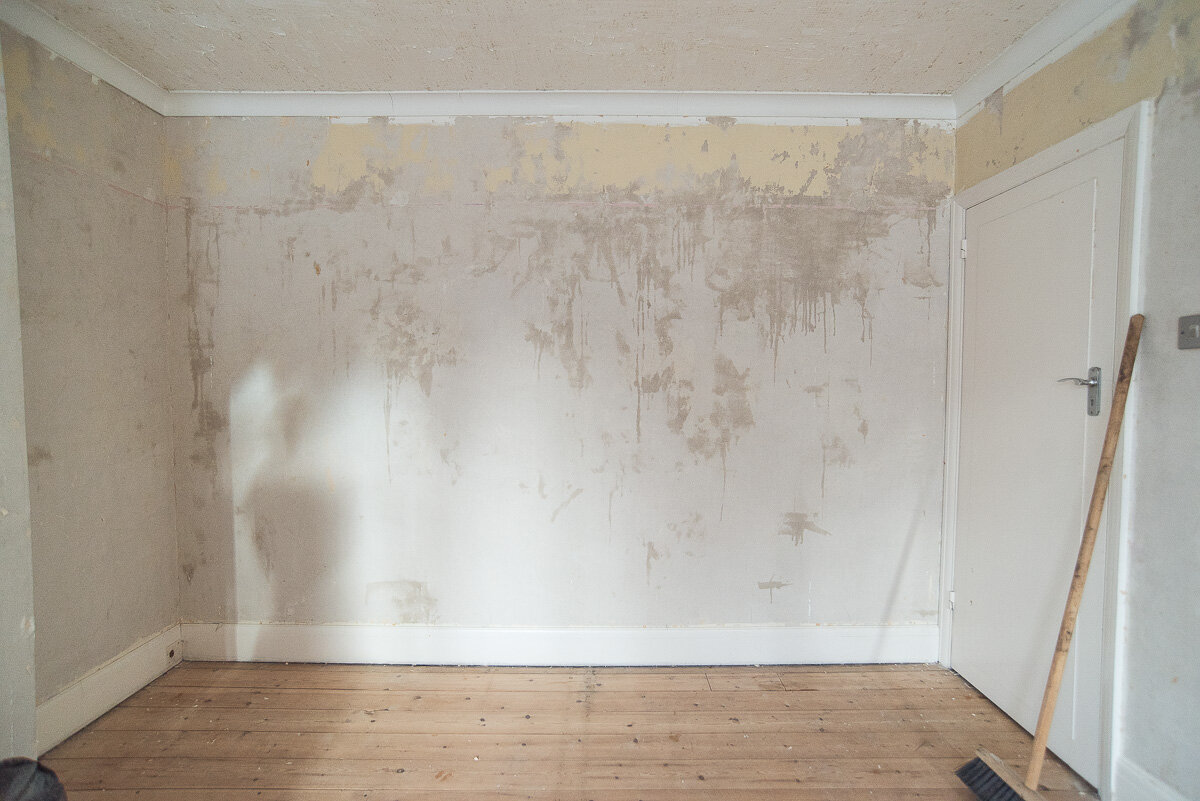
Wallpaper steaming
Before we could get anything done, there was still some wallpaper to remove which we could quite readily do as we have a trusty wallpaper steamer - a decent investment for a property so heavily wallpapered as ours originally was. It felt super nice getting rid of that horrid stuff once and for all.
The bit that we decided to get help on was the ceiling - if you’ve ever done any ceiling work you’ll know it’s an arm-acher of the highest proportions. Thankfully we have a chap that we can call on for odd jobs and since he’s great value, we outsourced the job!

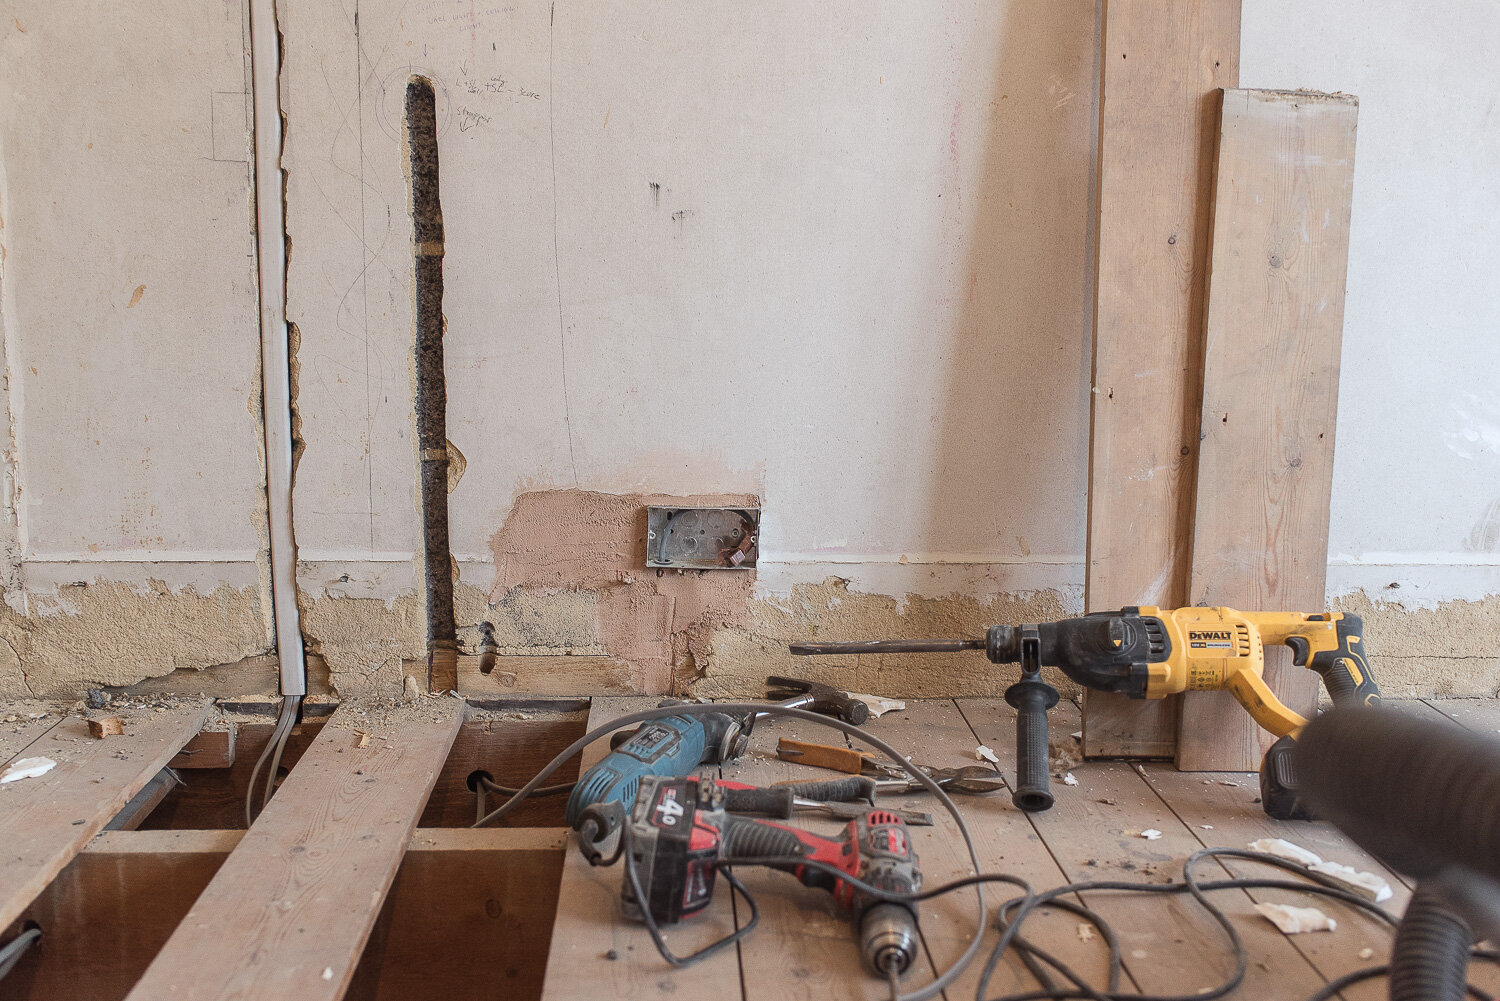
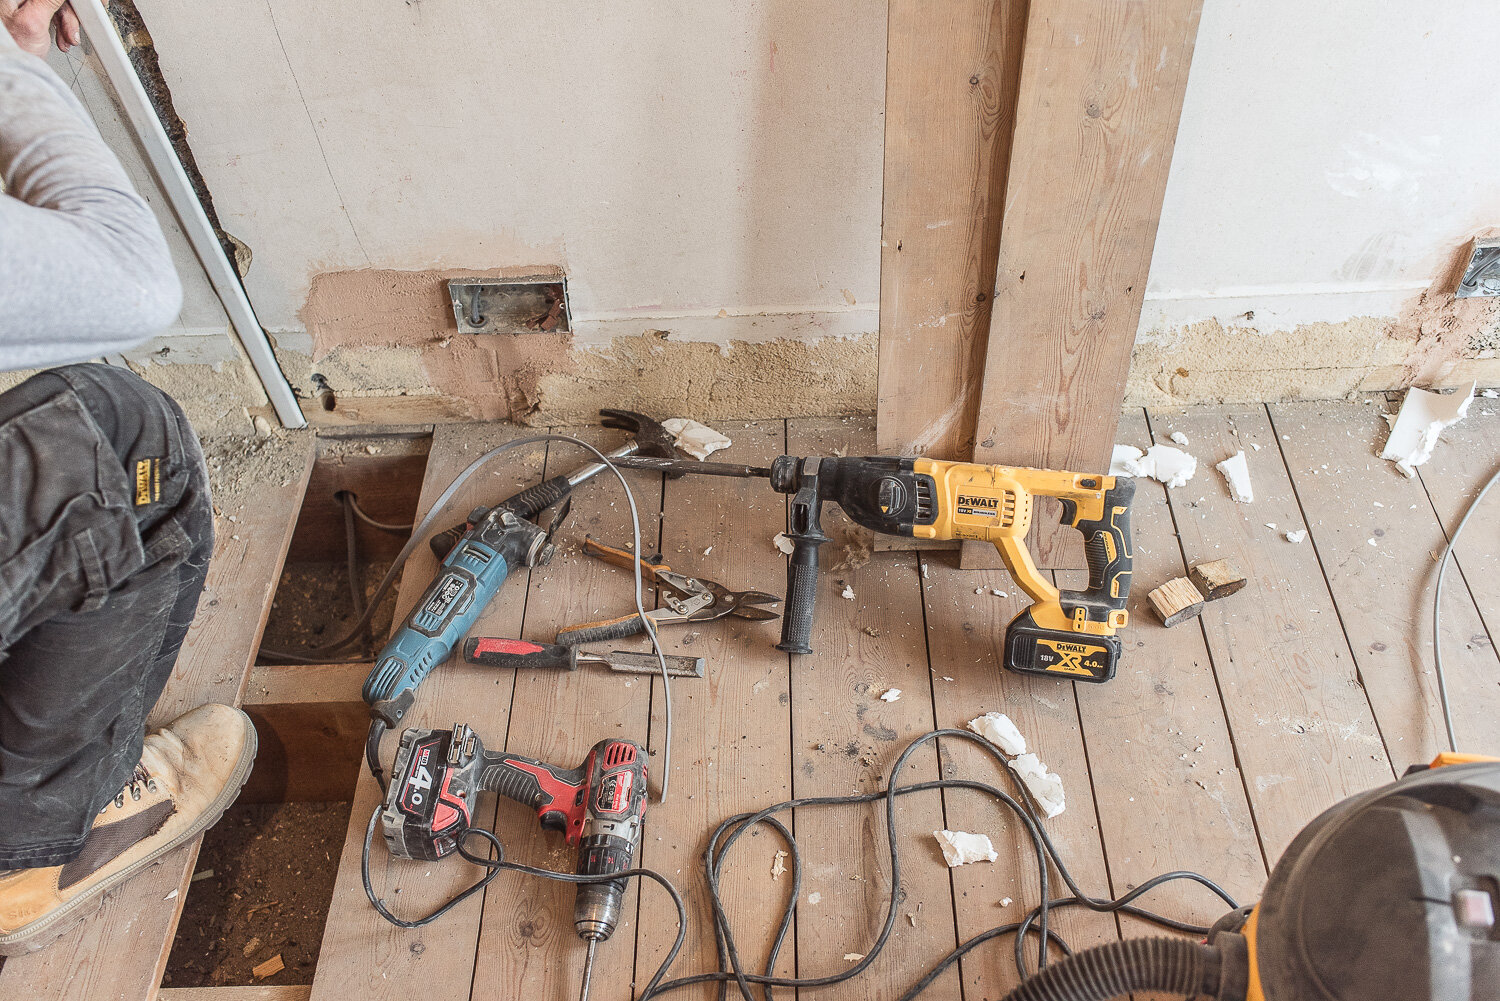
Getting an electrician in
Our existing electrics were not in great locations, the two sockets already there were placed unceremoniously on top of the skirting boards and so we needed more sockets and in different locations. We have decided we would have wall lights with switches placed next to the bed like being in a hotel!
Our next plan is to work with a company called Lightwave to implement smart electrics. More on this soon.
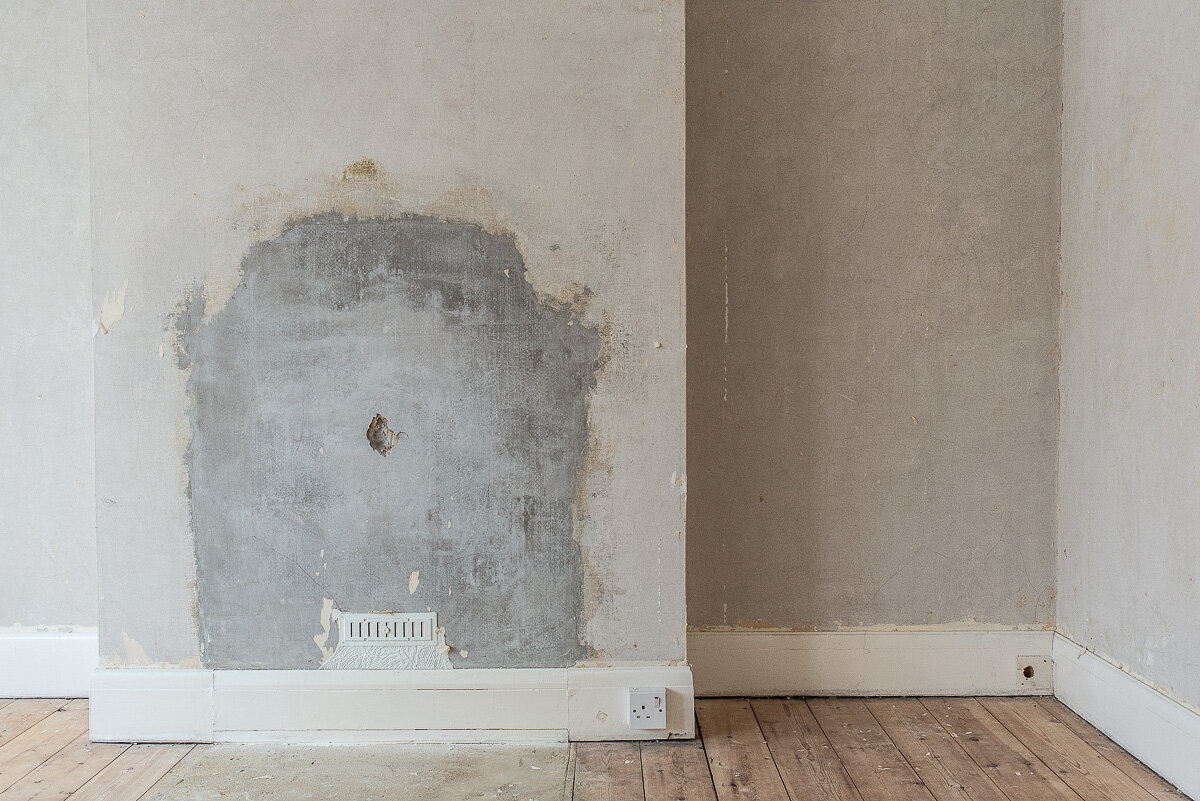
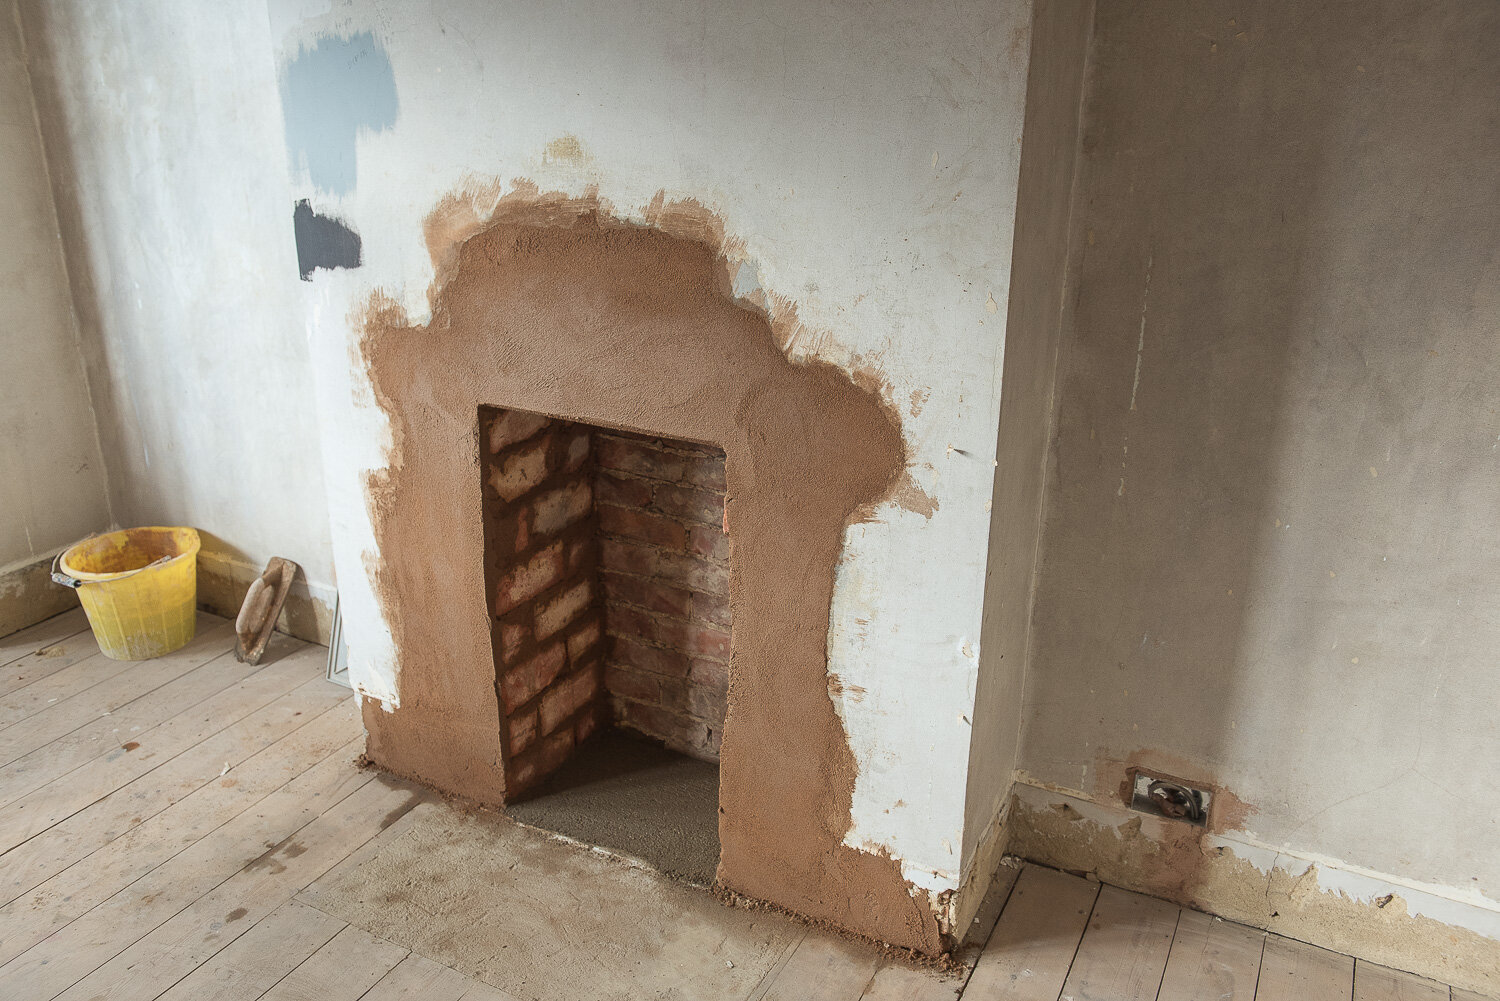
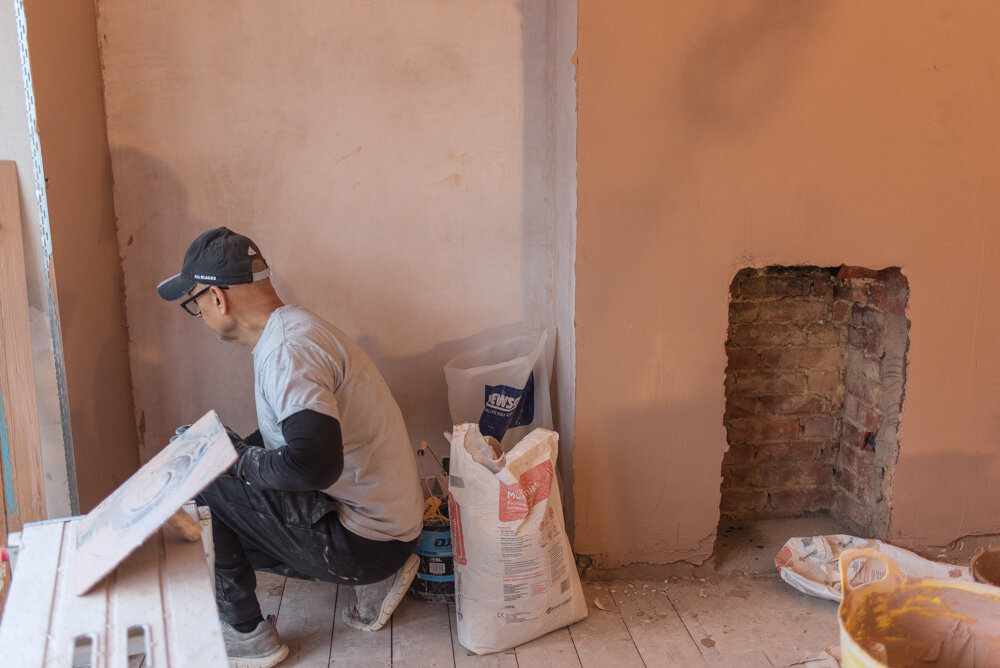
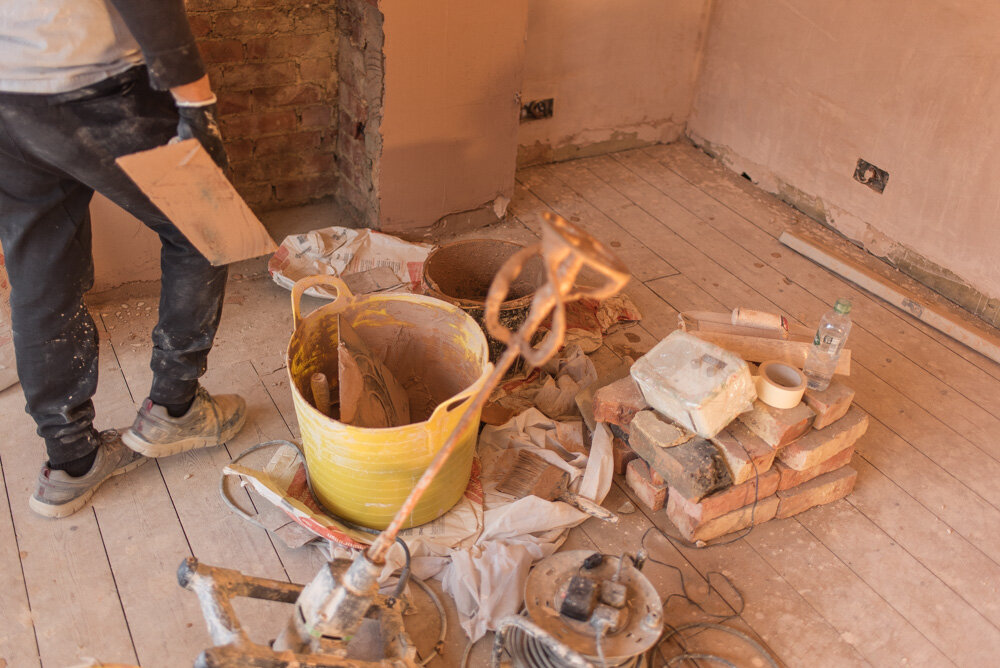
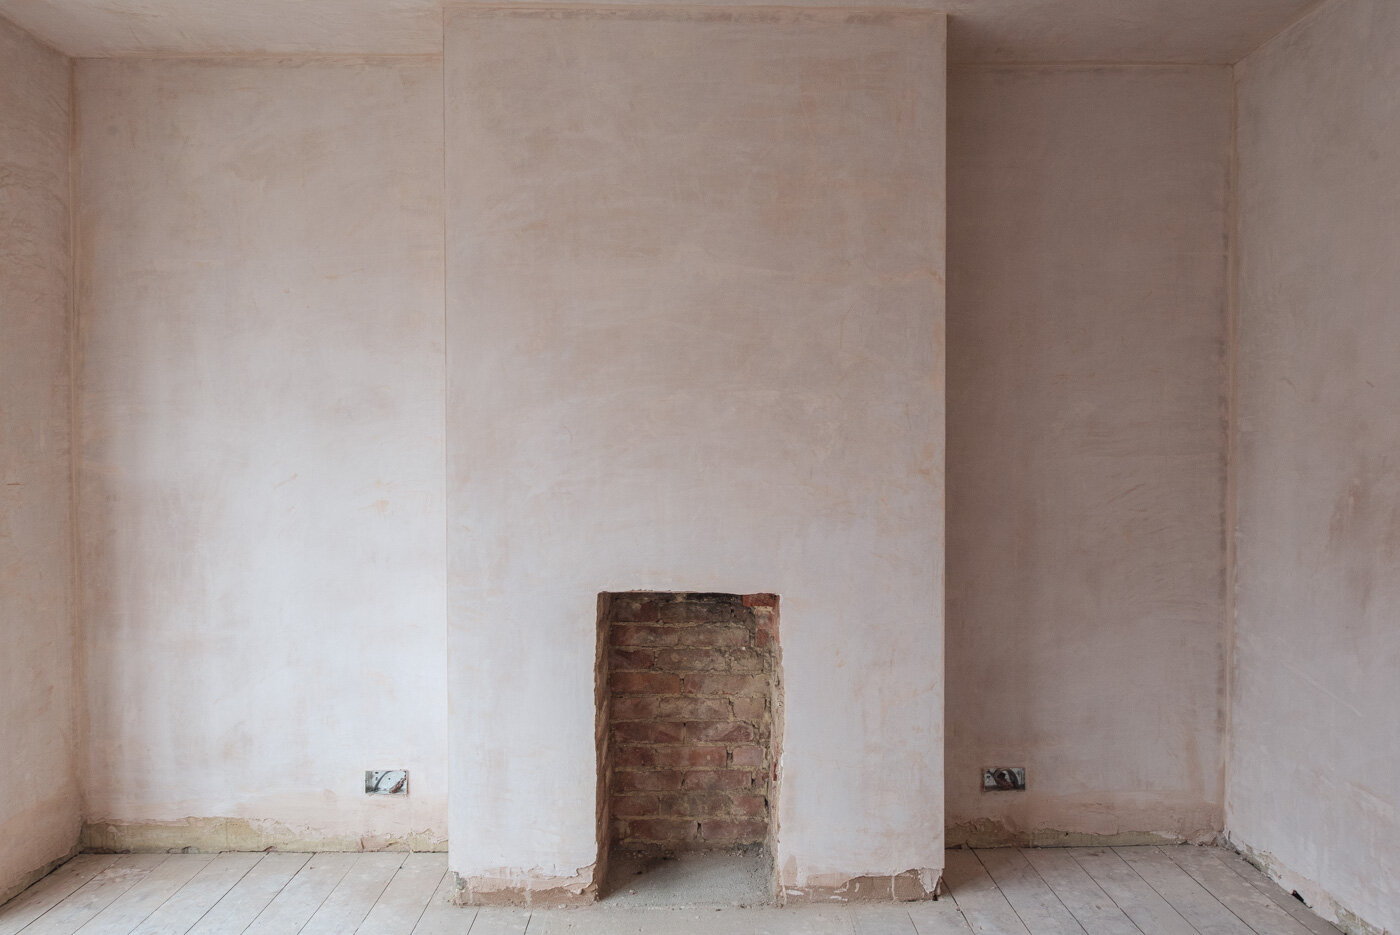
The mini drama of opening up the fireplace
One of the points on our wish-list was to open the fireplace up and then tile the inside. This would give us an added element of depth in the room.
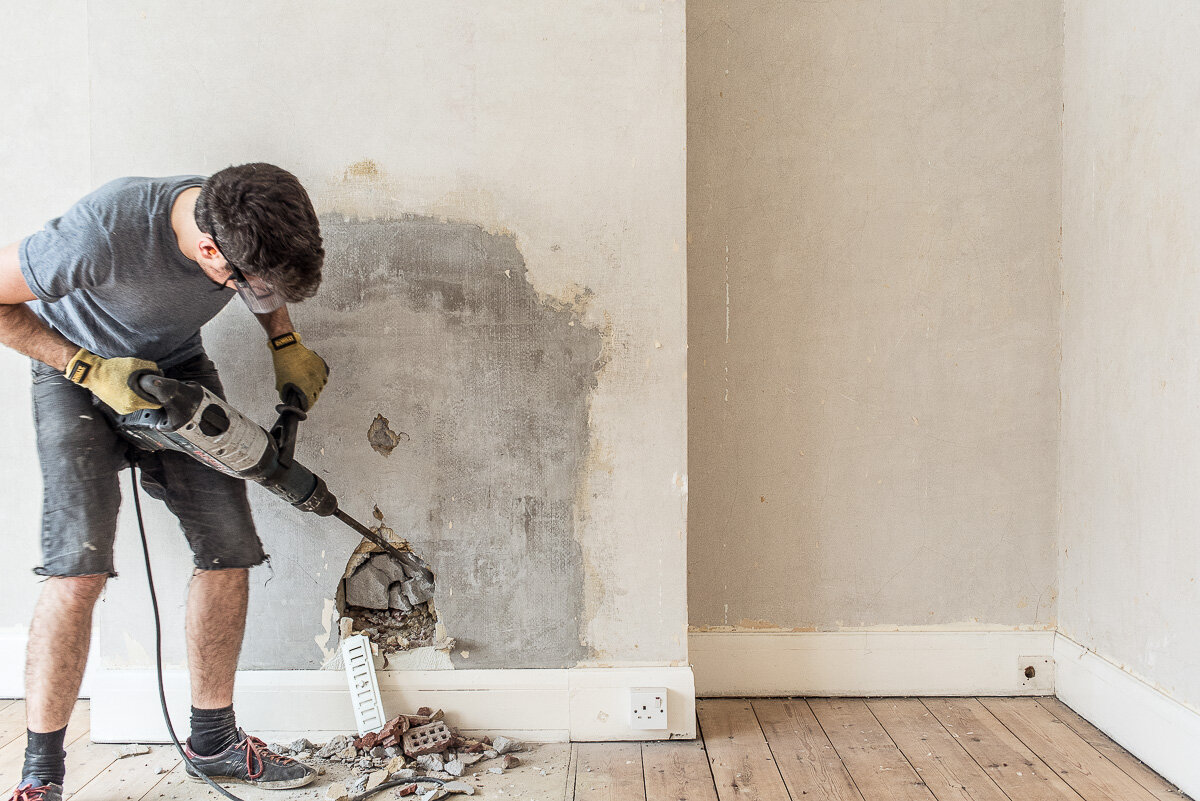
After finding out that our fireplace was bricked up with breeze blocks we hired a Bosch breaker drill for around £50 for a weekend - not bad.
We set about the messy job of breaking through the front layer of bricks and when that was out, we then found another layer of bricks and so all of these had to come out.
it was an extremely noisy and unpleasant job and the amount of dust was insane but it actually didn’t take too long (about 1.5 hours).
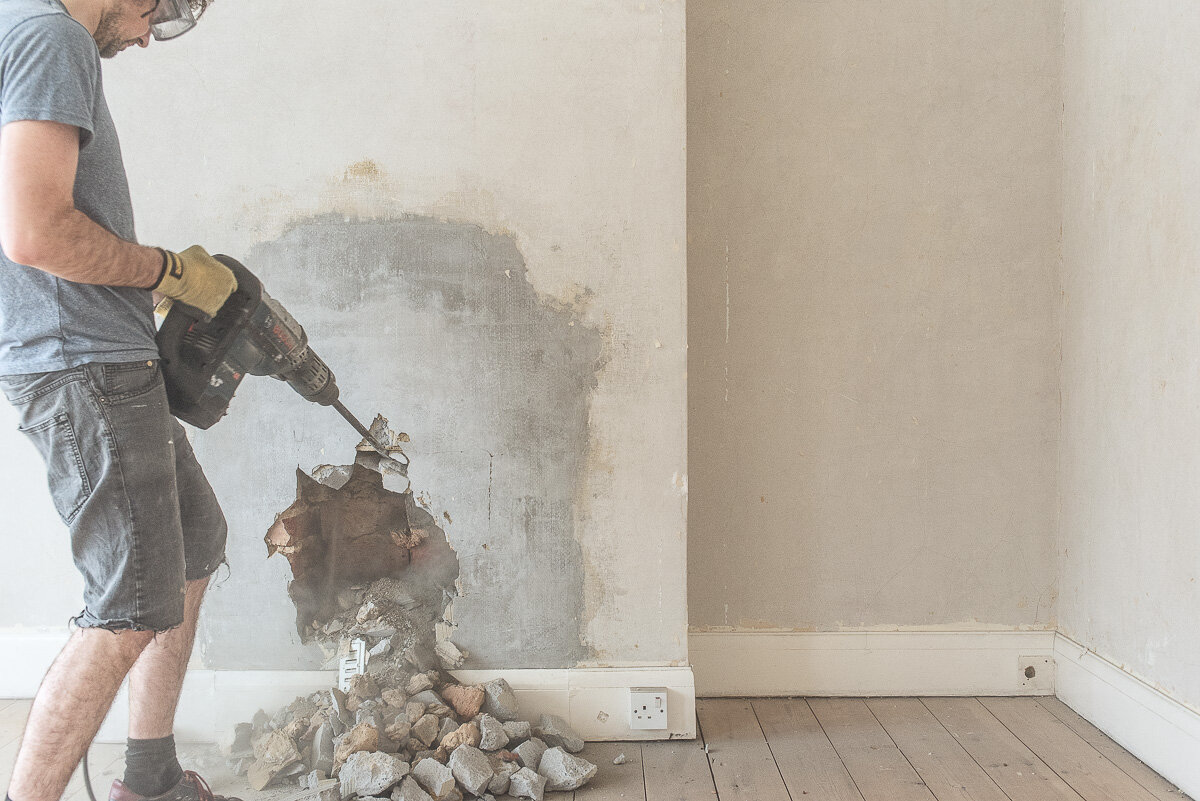
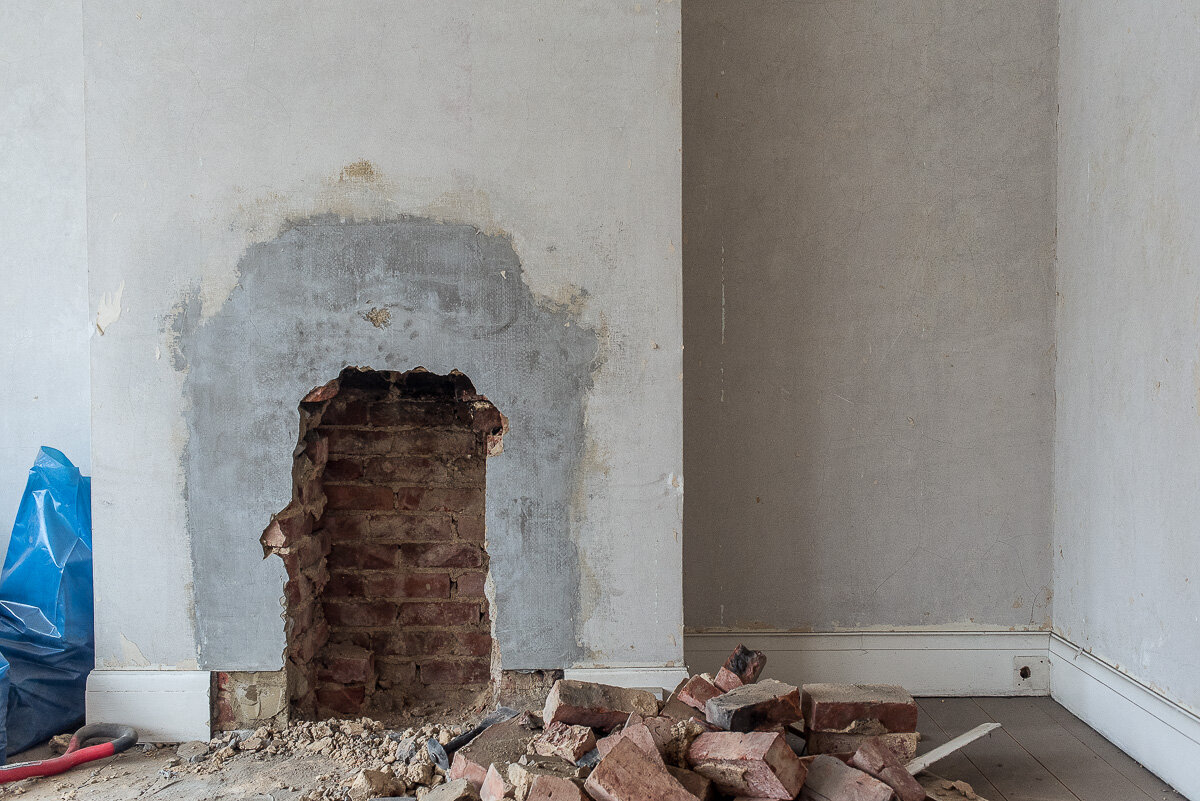
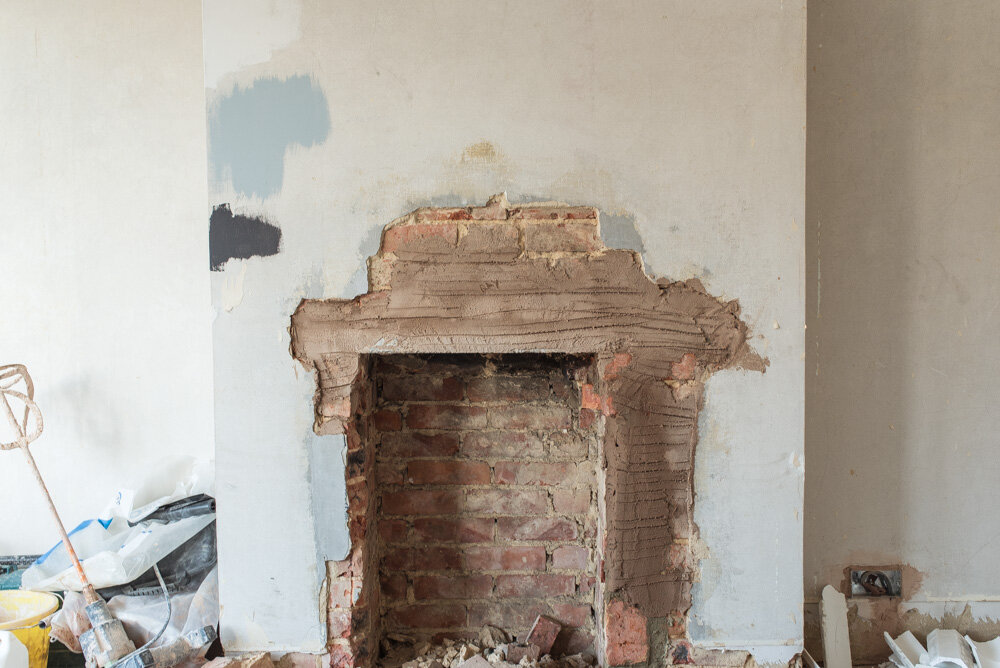
Once everything was finished, we realised that there was no obvious lintel in place (piece of material supporting the bricks above). Perhaps it was higher up but we couldn’t find one.
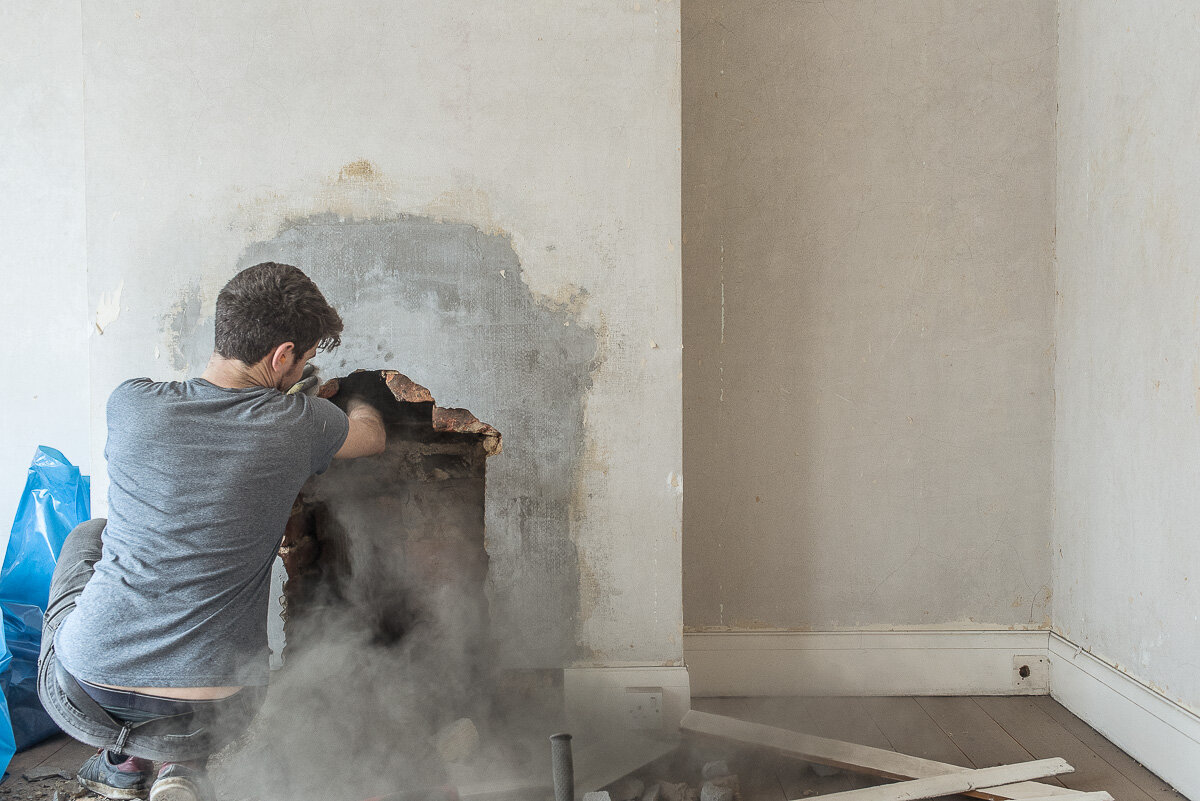
Also, the opening was a bit narrow and looked a bit odd. We asked out contractor to install a lintel and open it up wider.
“We’ve got a problem” he said whilst mid-drill “it turns out that the bricks you want to remove are supporting the bricks higher up in the chimney”. “Uh oh” we said “looks like we might have to go to plan B”.
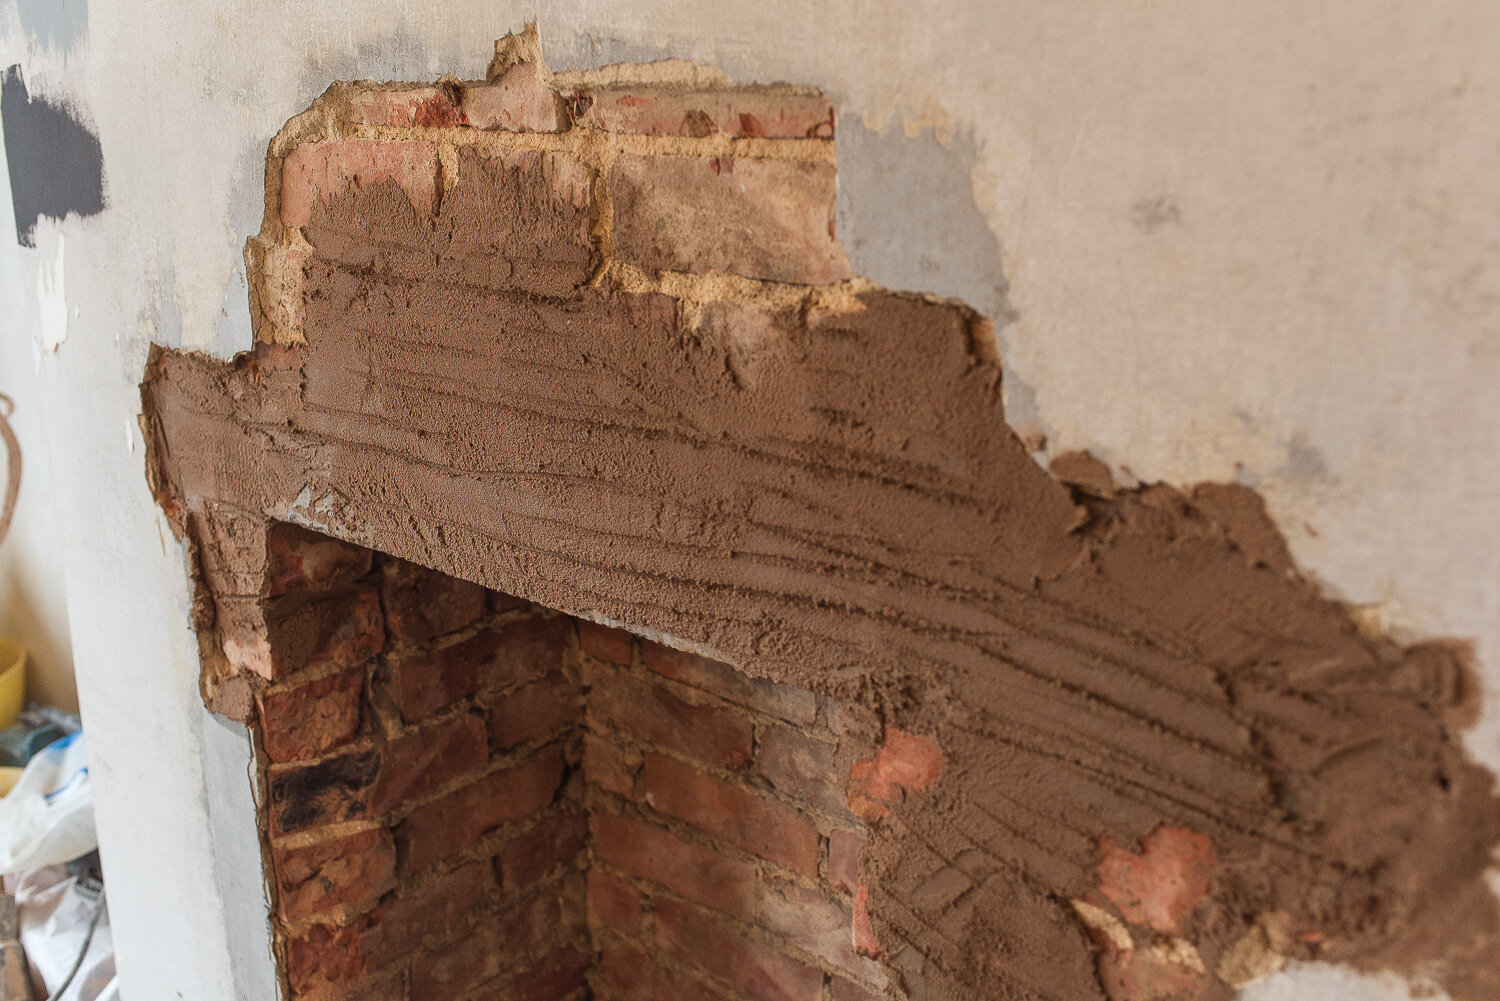
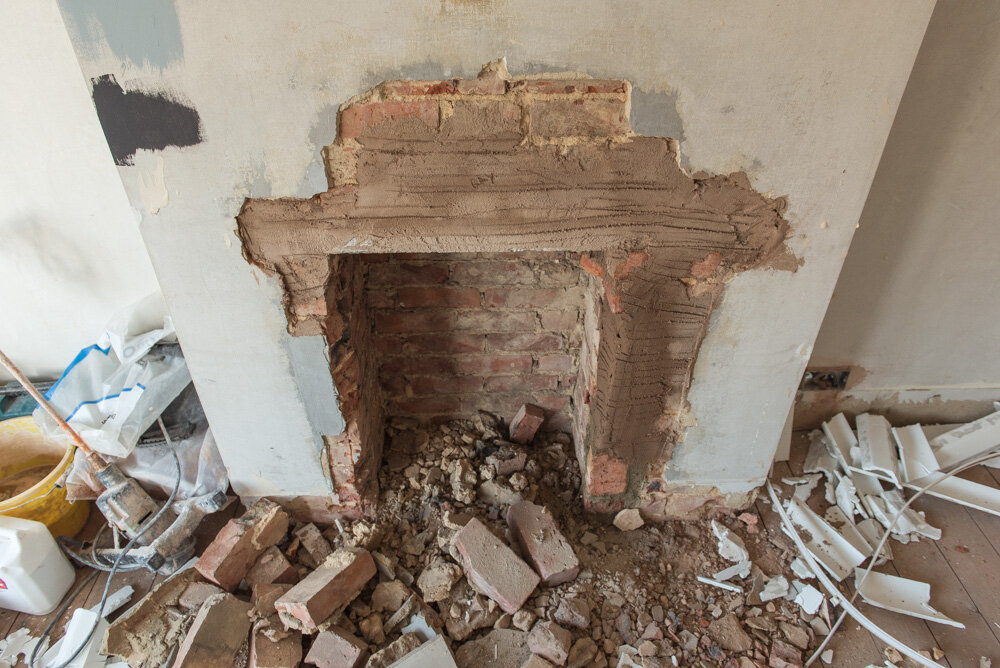
The fireplace lintel gets installed
Thankfully our plan B is pretty good and that is to install a cast iron fireplace insert. So cue many hours of frantically searching for an insert that:
a) fit this exact space
b) was visually attractive and;
c) didn’t cost the earth.
This is the one that we chose and we are super pleased with it.

Our contractor set about the task of making the fireplace good again, which involved bricking up the left hand side of it again and then rendering the whole thing to get a fairly smooth finish which would be ready to accept the plaster.
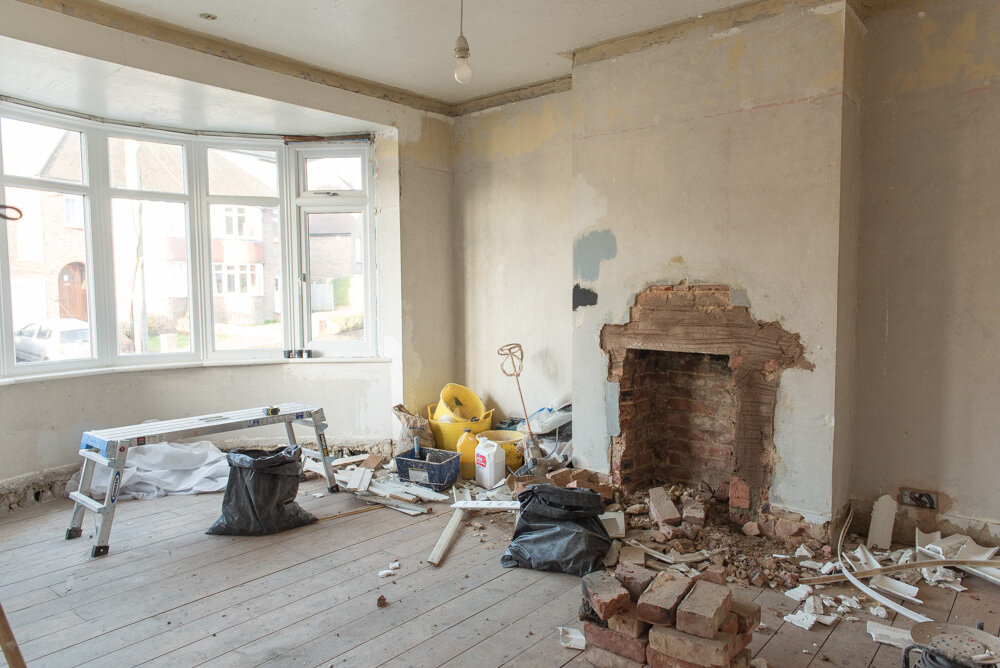

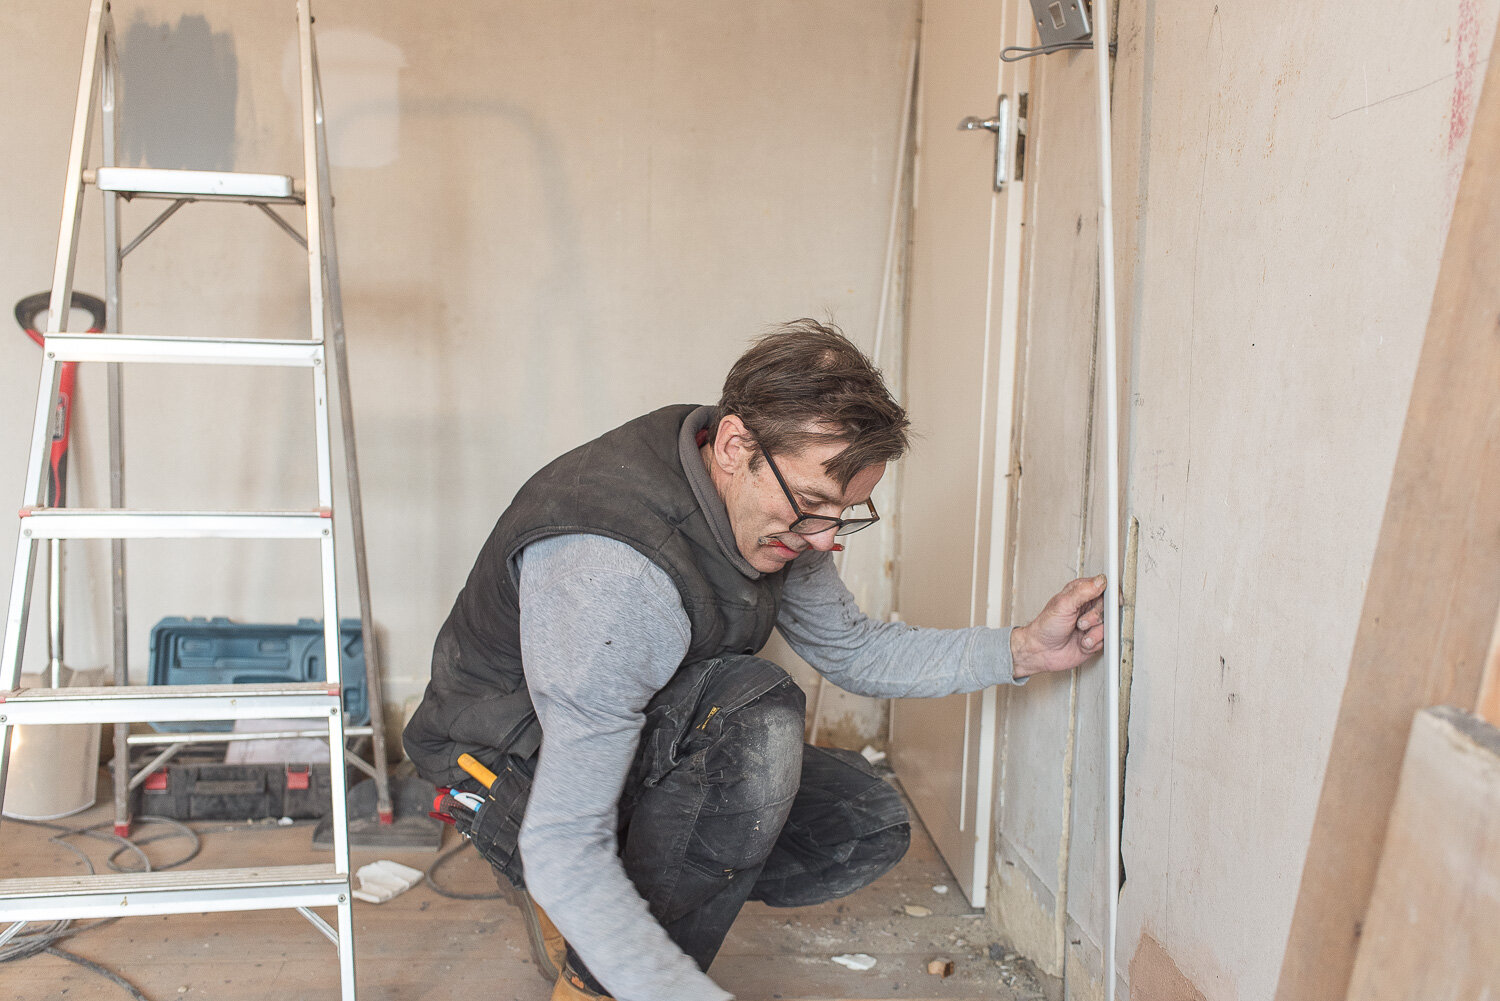
Removing the skirting
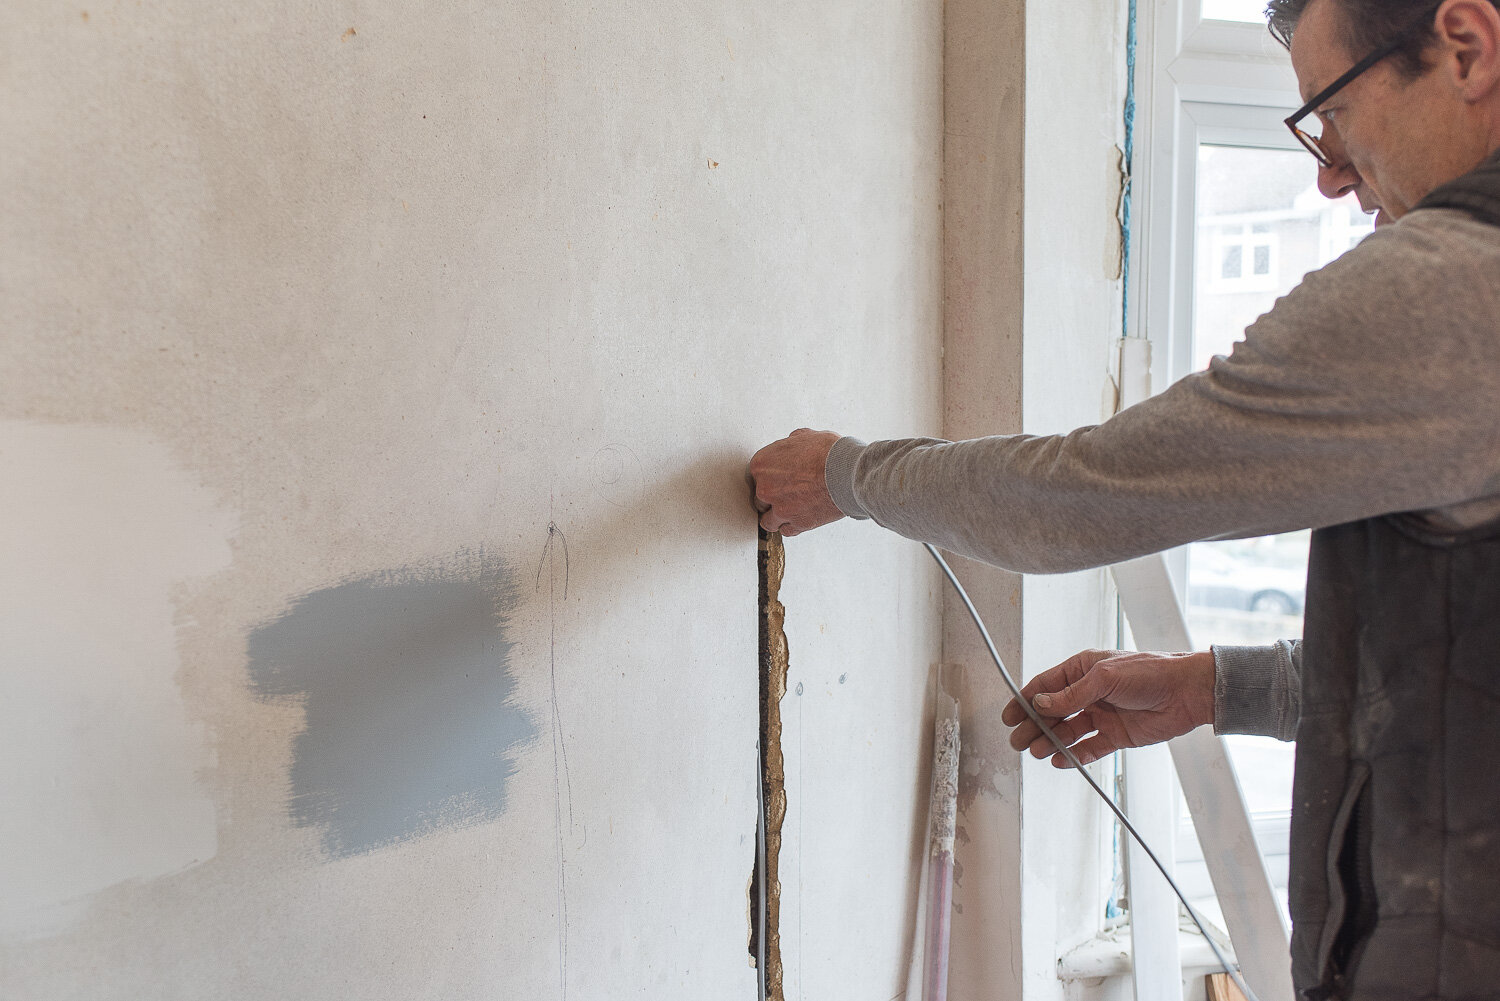
We ripped off the wooden skirting no problem - it took 15 minutes. Unfortunately, the skirting in our curved bay was actually made of render, this had to be removed so that we could put our new floor down and put some new skirting on top.

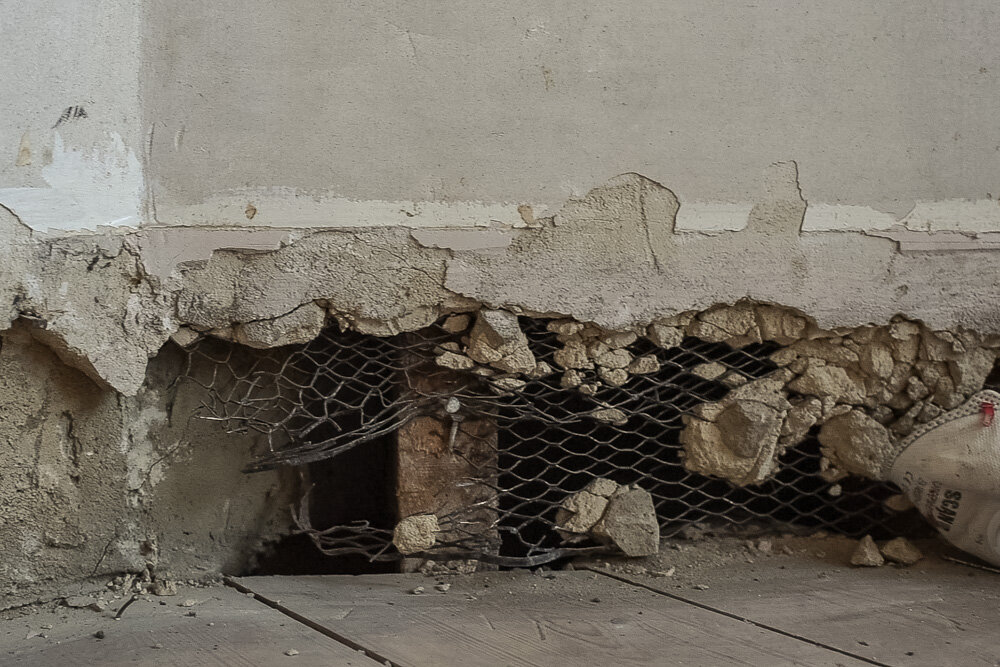
The breaker drill came in pretty useful once more, but it was a bit of tricky job since the render was stuck to wire mesh behind it and so every time the drill attacked it, the render was moving around on the wire which was then ripping off - frustrating but eventually got the evil skirting off. This took about an hour to remove with the drill.
Our plasterer said that the wire mesh would be fine to make good with sand and cement so no worries on that.
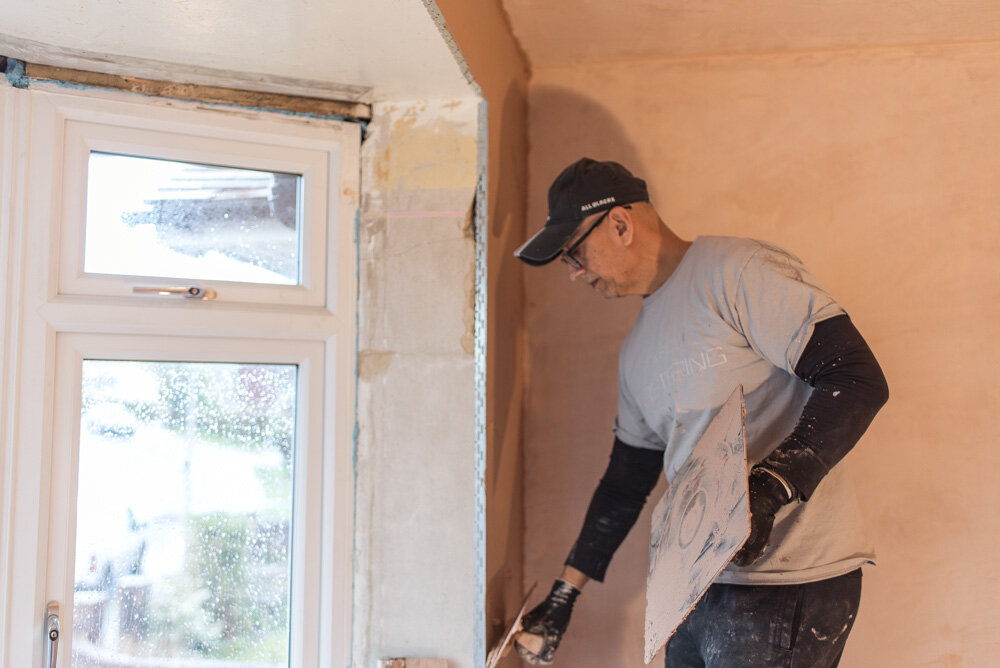
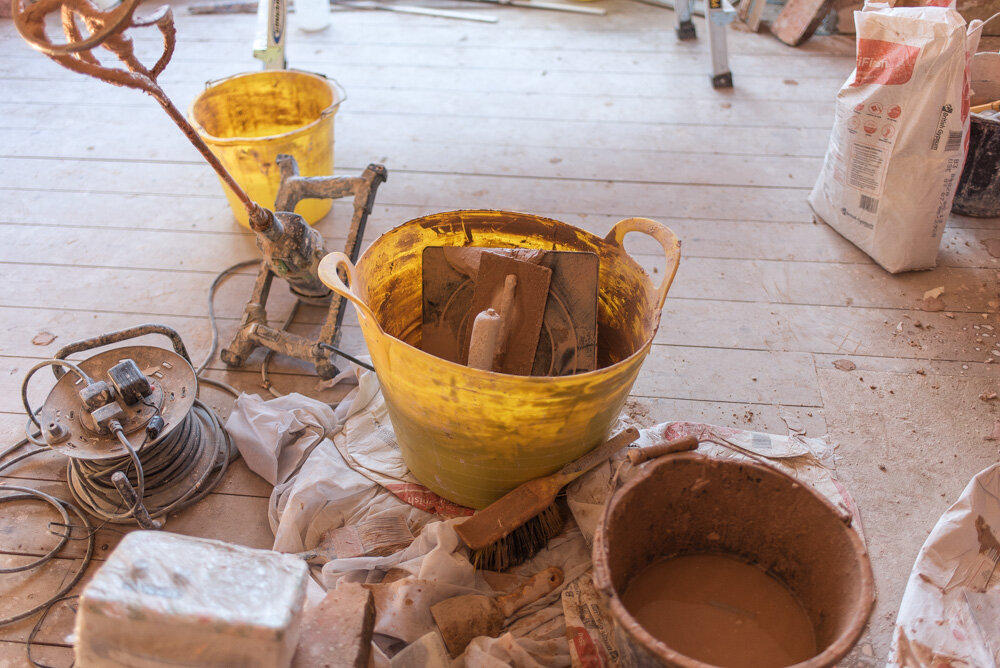
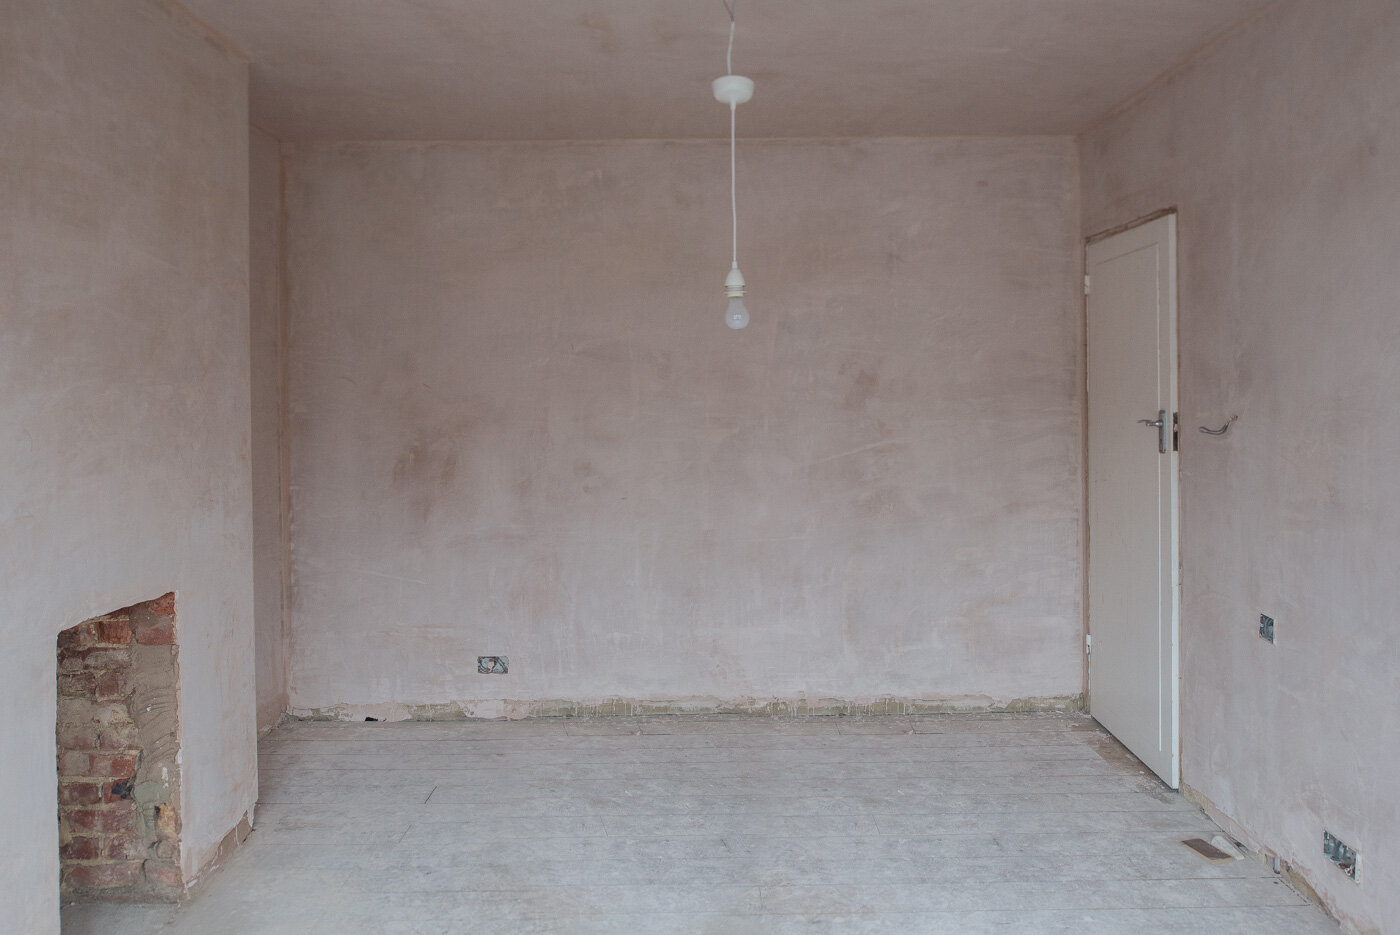
Skimming the walls
Because of the expense of skimming, many people ask the question “can we get away with the plaster we have?” Of course, this all depends on the state of the current plaster.
If you remove all of the wallpaper (if there is some, then feel and look at the wall and it’s clearly irregular then it’s probably due for a plaster. If you knock with your knuckles on your walls and it sounds weirdly loose, it might be de-laminated which means it is no longer holding itself to the wall. You might be at risk of drilling into a wall and a piece of plaster falling off.
If you’re a bit of a perfectionist and would rather do things properly then it really is worth the extra money to get a plasterer in and make your walls really smooth, we’ve done this in almost every room with great results.
It’s taken about 4-5 full days for our contractors to prepare the bedroom, sort out the fireplace and skim the walls.
Choosing colours
Once the plaster is nice and dry, we’ll be ready to sand any rough bits with a fine sand paper and give it a mist-coat (watered-down cheap white paint) and then we can apply our colours. Here are some ideas for one colour scheme.
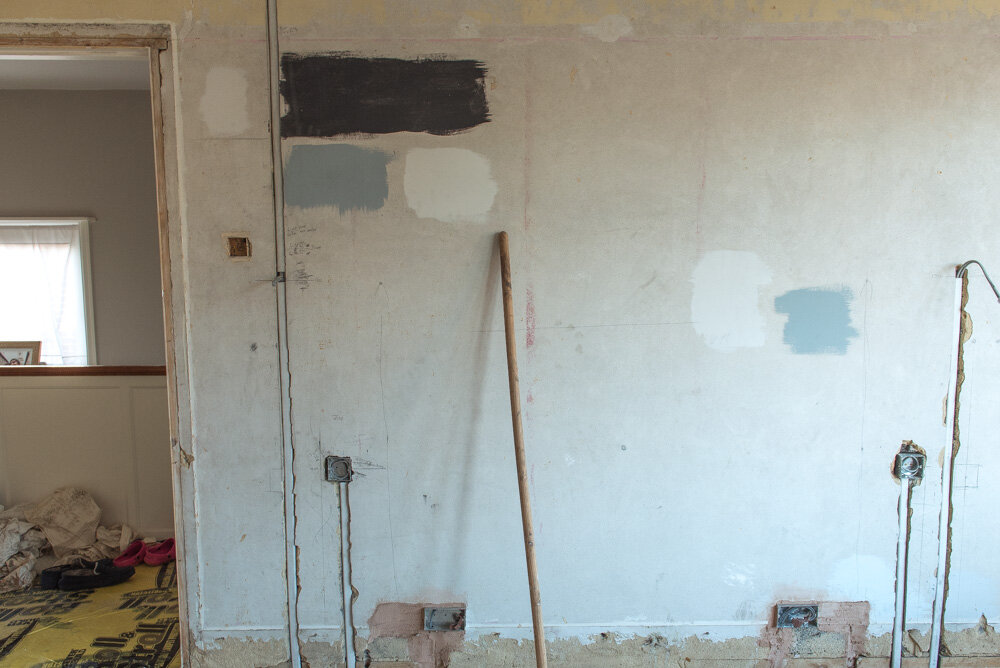
How it looks after skimming

Next steps
As you can see, it’s all coming together rather nicely and once this bit is done we’ll be focusing on:
Mist coat and painting
Installing a radiator
Skirting
Flooring
Final-fix electrics
Alcove wardrobes
Fireplace (surround and mantle piece)
Fitting doors (3 in total - 2x bedroom and 1x office)
Cladding and architraves
Shutters
Furniture
