#FifiMcGee Office – Part 2: The progress
/This post contains a paid partnership with Quick Step. All choices, content and opinions our own.

If you’ve read Part 1 you’ll know Neil and I are renovating our 3rd bedroom in the house to become a more organised, inspiring work space for our business.
We spent weeks clarifying our vision together (using our tried and tested approach, creating the Home Design Pack I showed you in Part 1) and we’ve confirmed most, if not ALL, of the design details.
We’re so excited that progress has started and work is in full swing!
The progress so far:
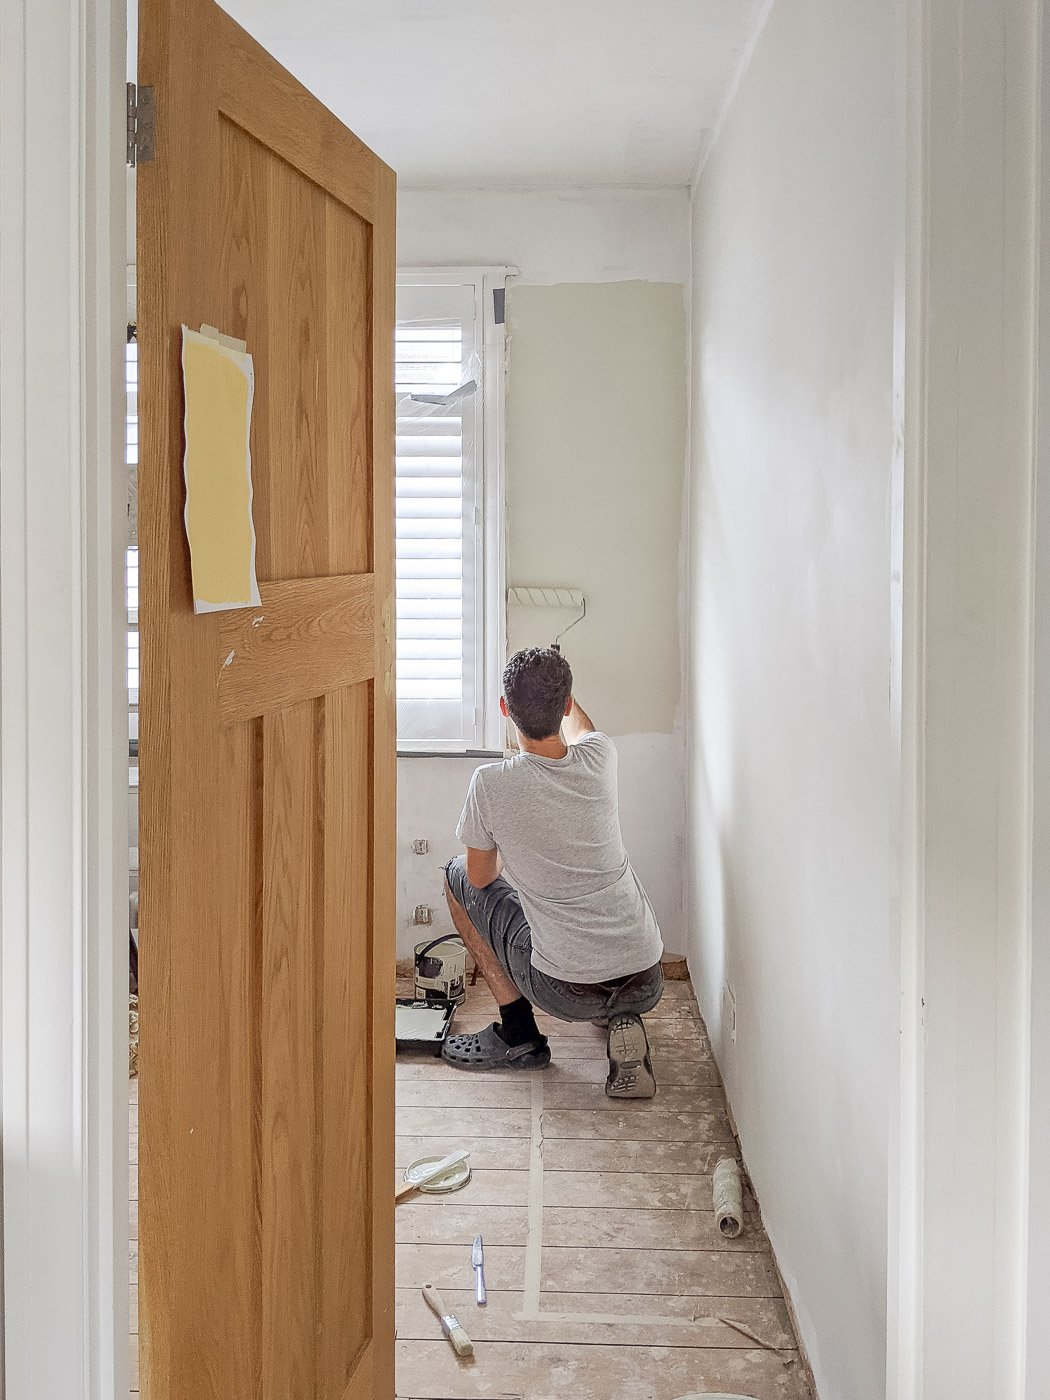
We rewired – installing quality architectural spotlights to give the lighting a really pro feel. We also added / moved sockets in line with where our desks sit
Re-plastered walls and ceiling – they’re baby soft!
Painted and decorated
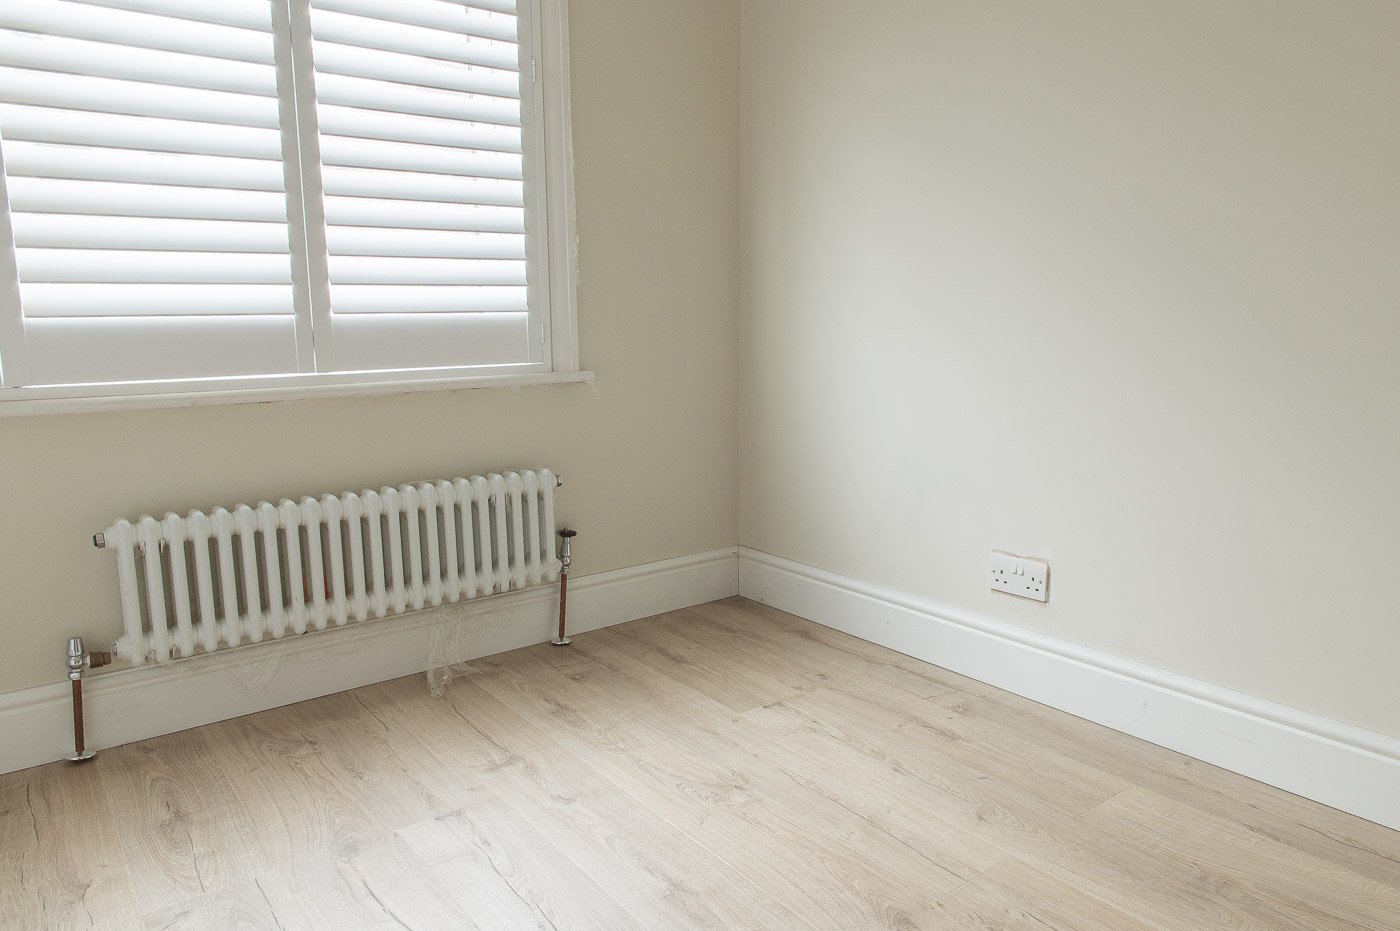
Removed the rad to paint behind (it’s not been plumbed back in yet, hence the wonky/loose pipes in these pics)
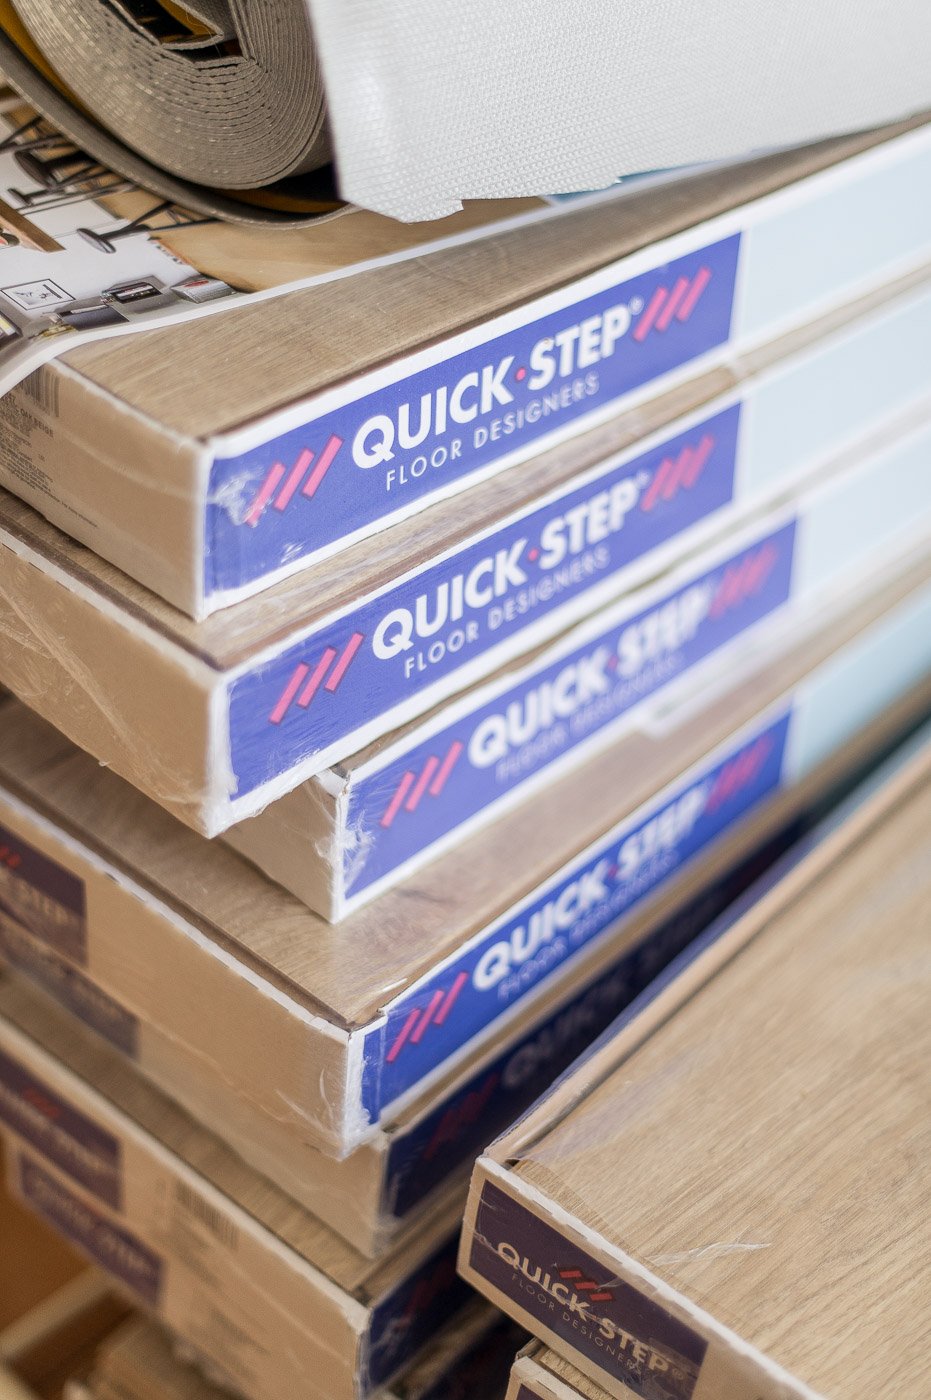
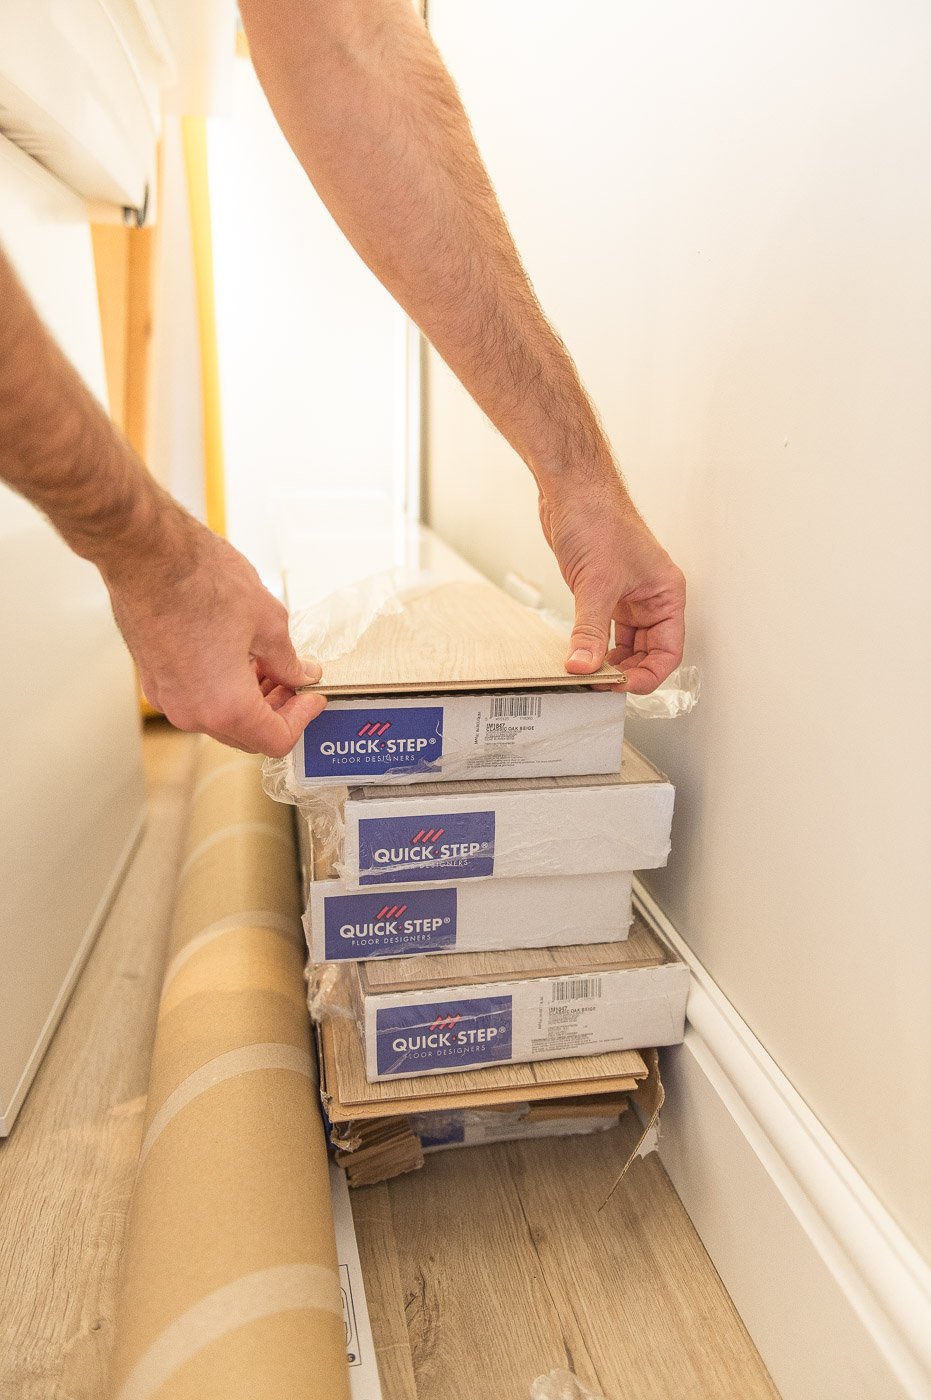
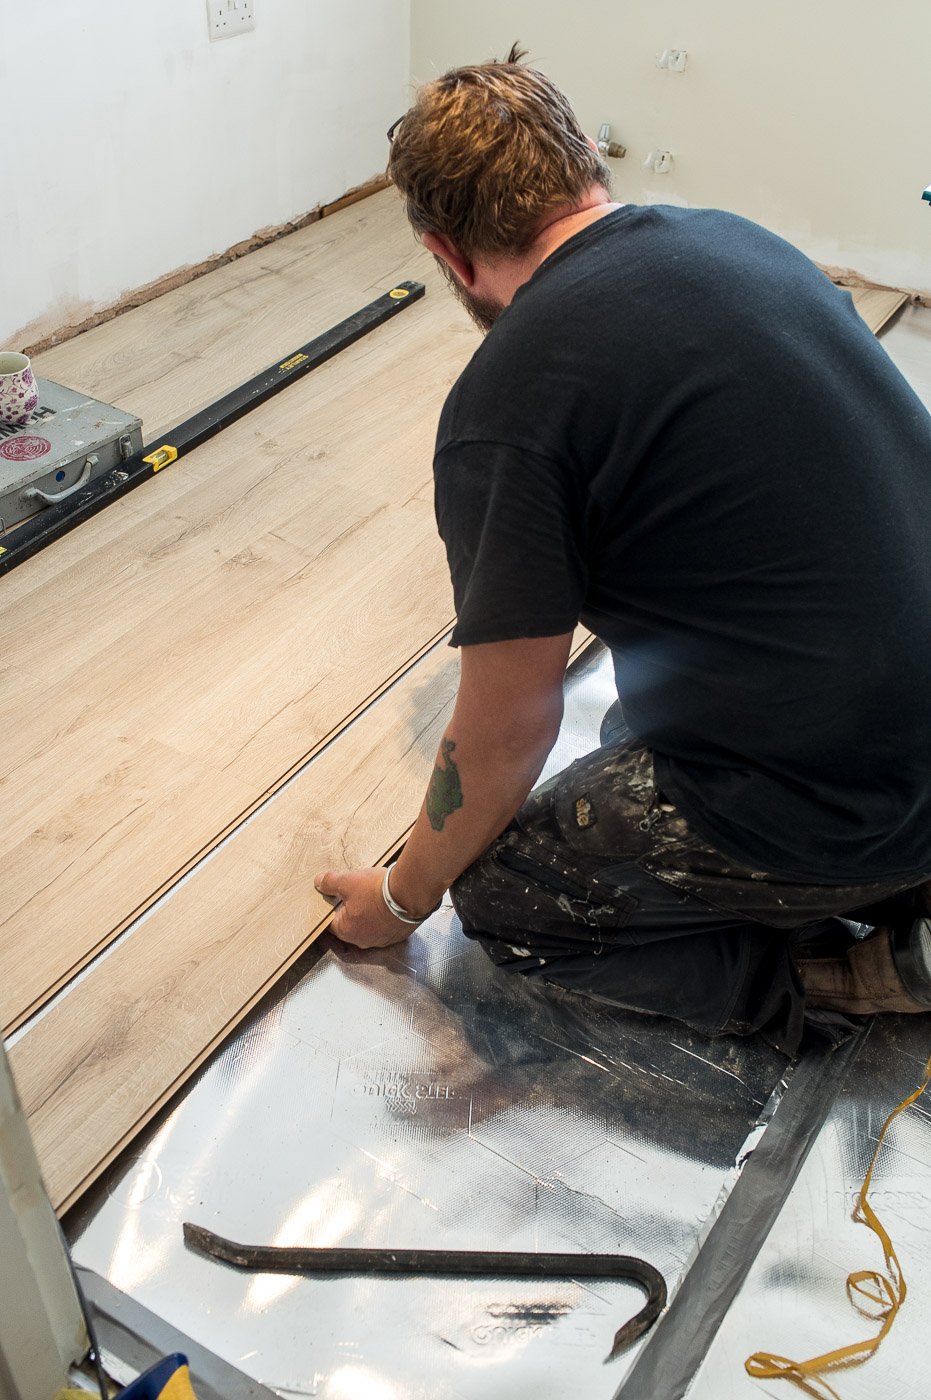
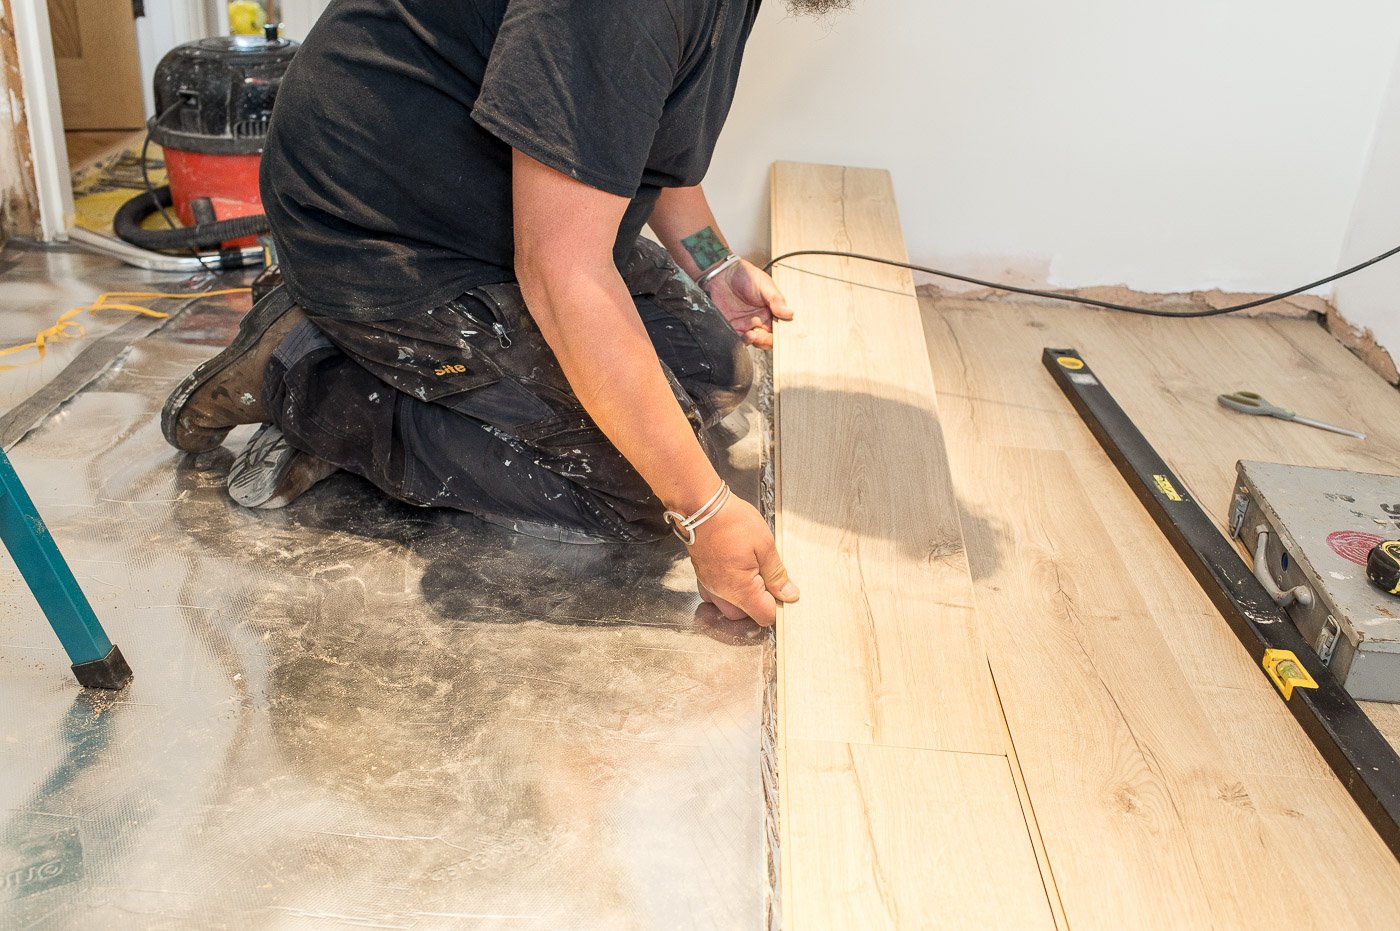
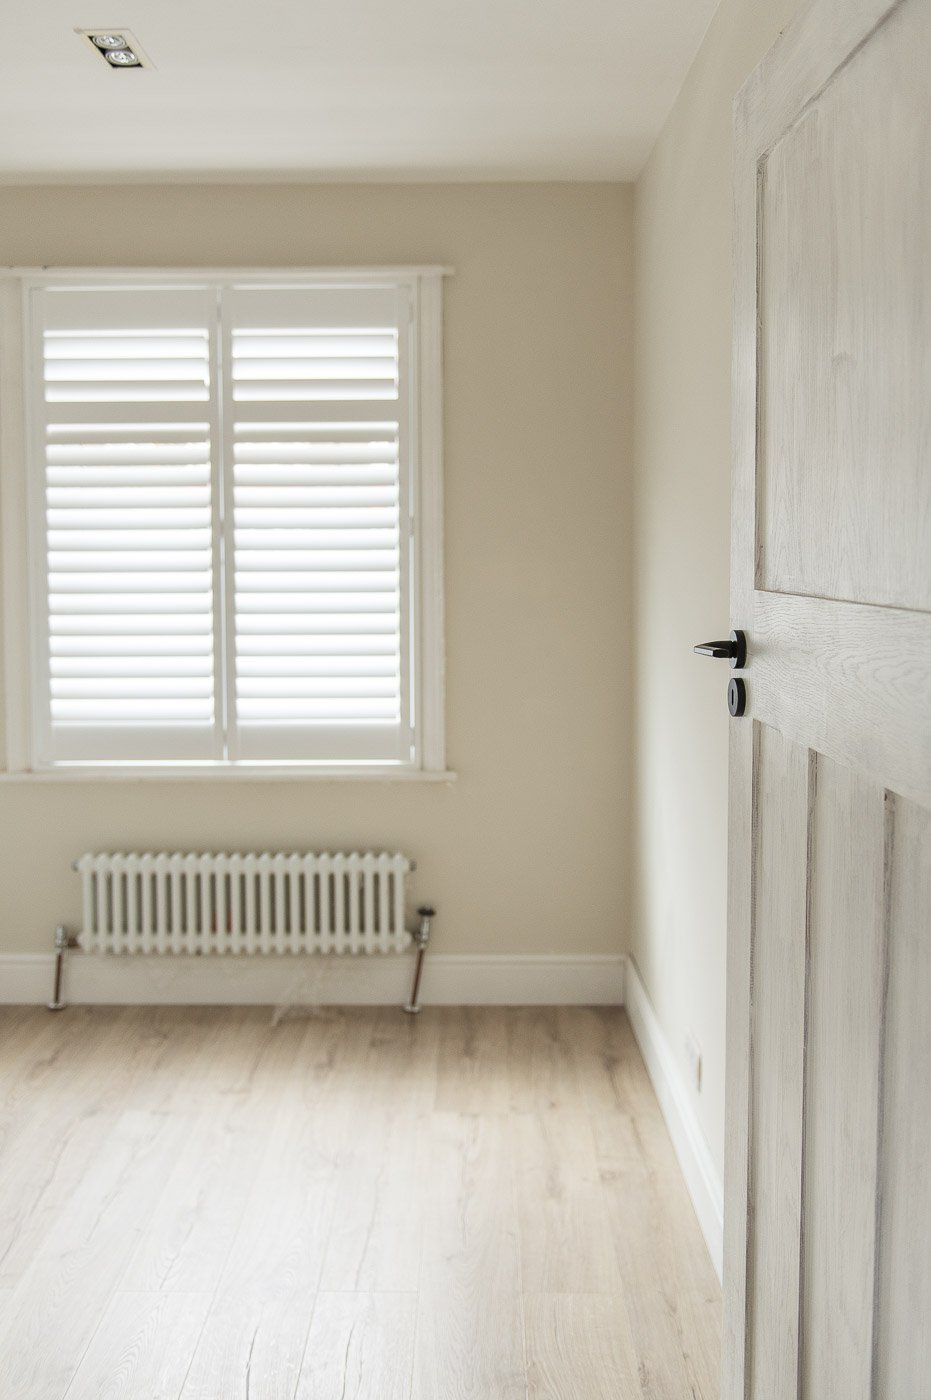
Laid a brand new floor – the Quick Step Classic Oak Beige in Impressive Ultra
Rehung the door and replaced the handles
Designed + measured up for the bespoke dresser and desk – I can’t WAIT for this!!
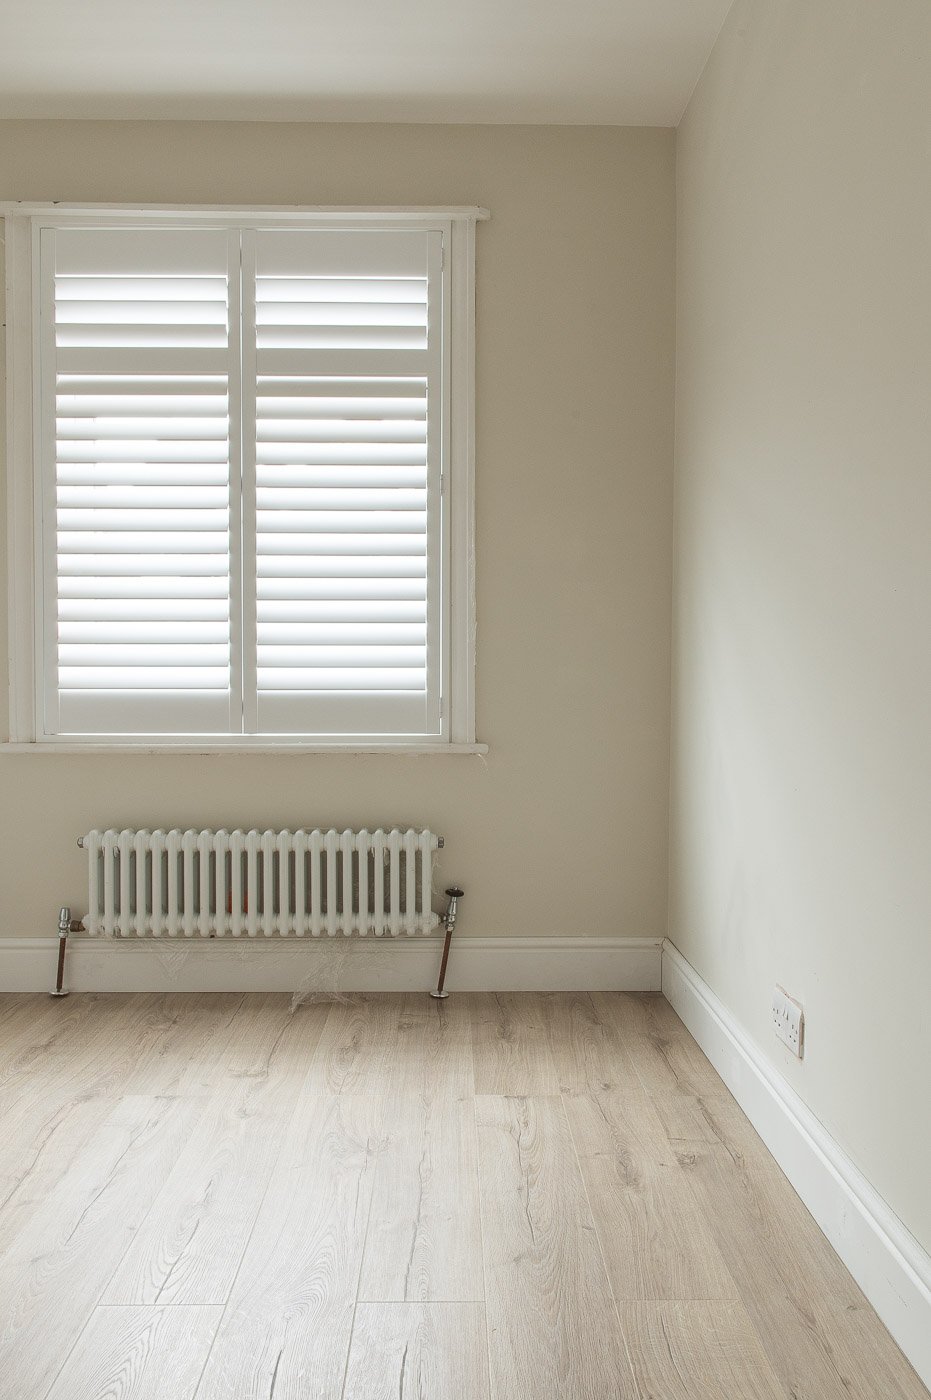
DON’T WORRY, THE RAD ISN’T PLUMBED BACK IN YET HENCE THE WONKY PIPEWORK!
It never gets old seeing my vision on paper, become real life. I know lots of you will know this feeling.
This project has been a great reminder of how having all the decisions agreed way ahead of any work starting is much more efficient preventing errors and rework. Contractors have been able to come in, we give them the brief and there are minimal questions. Winner.
Neil and I set up a temp office in our guest bedroom allowing the team to crack on while we pop our heads in, excited to see every improvement!

I have to say, the most exciting improvement so far is…
The flooring. I always say to clients, the day the flooring gets laid, that’s when your space will REALLY start feeling transformed.
It’s true! Flooring has the ability to take a room from building site to feeling like a home in one day.
We are big advocates of Quick Step floors and got in touch with them again to work with us on this room for a host of reasons:
We installed Quick Step flooring to our entire downstairs 5 years ago and have been so pleased with the quality and durability.
It’s easy (and quick!) to lay – therefore less costly on labour fees for us.
The design options are varied – they stock laminate, engineered wood and vinyl in nearly every wash imaginable.
I’ve eyed up this floor (the Classic Oak Beige in Impressive Ultra) many times for clients over the years and presented it as an affordable and more practical option than engineered wood. I really wanted to try it out in our home. Quick Step also stock pre-finished hardwood floors too – I’ll explain why we went with laminate further down.
Their laminates are water-resistant (i.e moppable but I wouldn’t drench the mop or let water stand).
Most of their floors are compatible with underfloor heating – we don’t have UFH but know so many of you are planning it and it’s important for us to review products that are achievable for your build.
Crucially (for me anyway), some of their floors offer 4 grooves i.e a bevelled edge on every side of each plank. This is important if you’re like me and you don’t want a completely flat, modern look to your wooden floor. It just makes it that little more realistic.

Why we chose laminate not hardwood flooring
You may be wondering why we opted for laminate not engineered wood floors in here. It’s mainly because our wheely office chairs would have caused scratches to hardwood. We have parquet engineered oak in our master bedroom and adore it, but it wasn’t practical for this reason. Also, for the other rooms upstairs in our house I want to match them.
We’re considering laying this floor in our bathroom to give the space a refresh, and laminate is a much more practical option for water splashes than hardwood. Quick Step coat their laminate floors with a technology called ‘Hydroseal’ which prevents water entering the floor’s grooves making it suitable for wet rooms like en suites and bathrooms.
Plus, I quite like being able to confidently mop and stomp around. Having lived with Quick Step laminate for 5 years downstairs, I love how carefree we can be with these floors. They’re tough as nails.

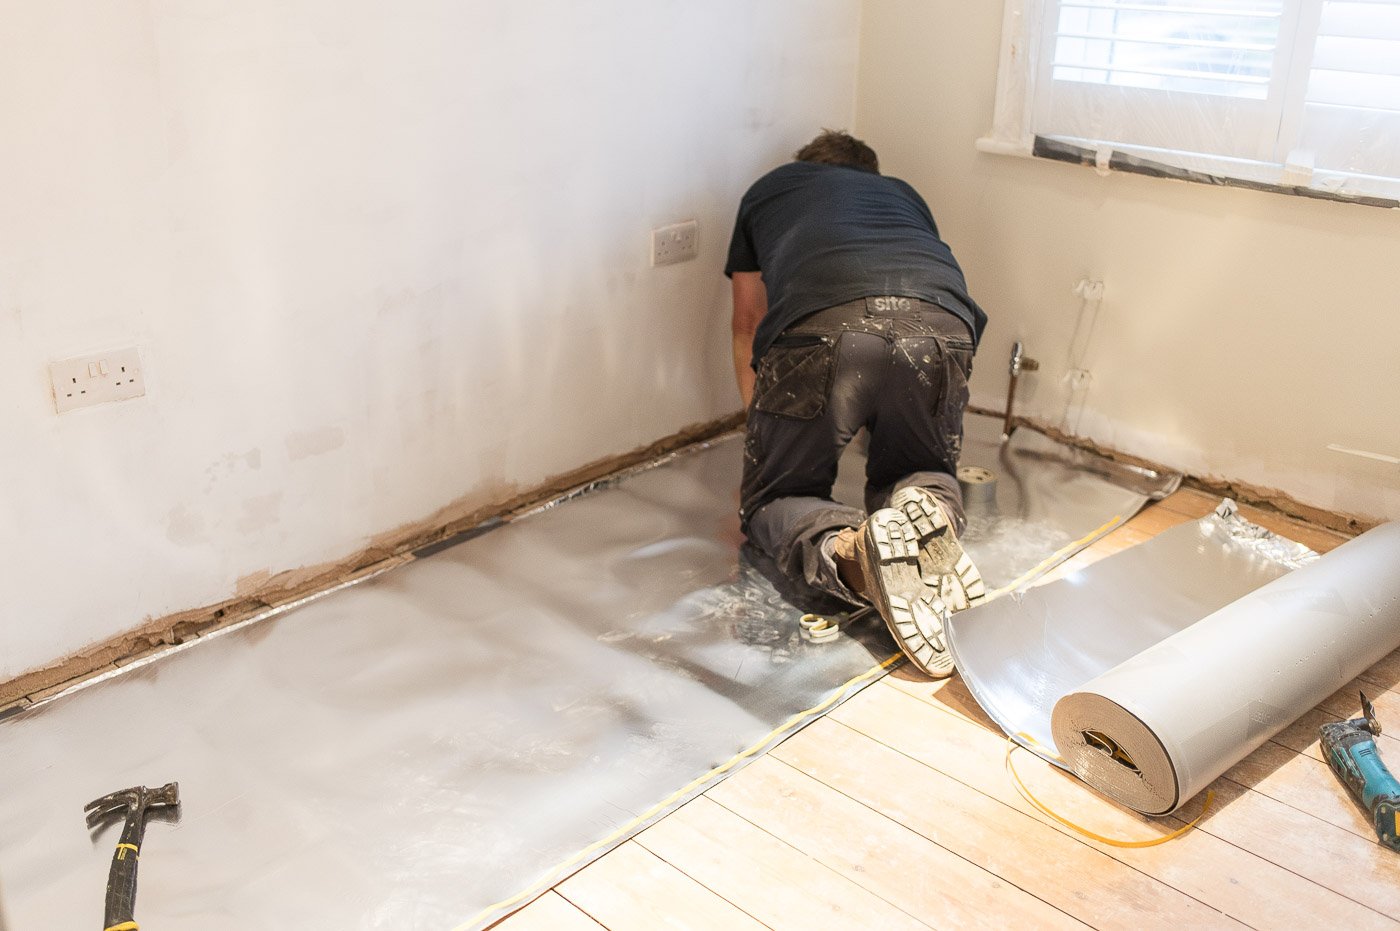
Underlay: what to consider
As the floorboards in this room are level, with the exception of a few splits (Matt, our contractor sanded them back), we didn’t need to do a great deal of prep to the subfloor. We opted for Quick Step’s Basic Plus underlay which is adequate for less traffic areas and laid this straight on top. It will keep the draughts from coming up through the gaps in the floor boards and gives a nice clip-clop sound as we’re walking around. It’s firm under foot.
If you’re laying laminate in higher traffic rooms and you’d rather a more sound-proof solution go for the Unisound or an underlay that specifically offers sound insulation. We chose Basic Plus for downstairs too because I really like the clip clop! It makes me feel all important 🤣
If you’re living in a flat or laying laminate to an upper floor, conscious of noise underfoot, Quick Step offer several other underlay options to bring sound insulation.
Painting the room before the flooring was laid
For such a small room, the painting and decorating wasn’t a speedy job but we had great fun doing it and Neil is in his element when he’s perfecting his cutting in! He’s a perfectionist and I’m forever grateful for that 🙏🏼
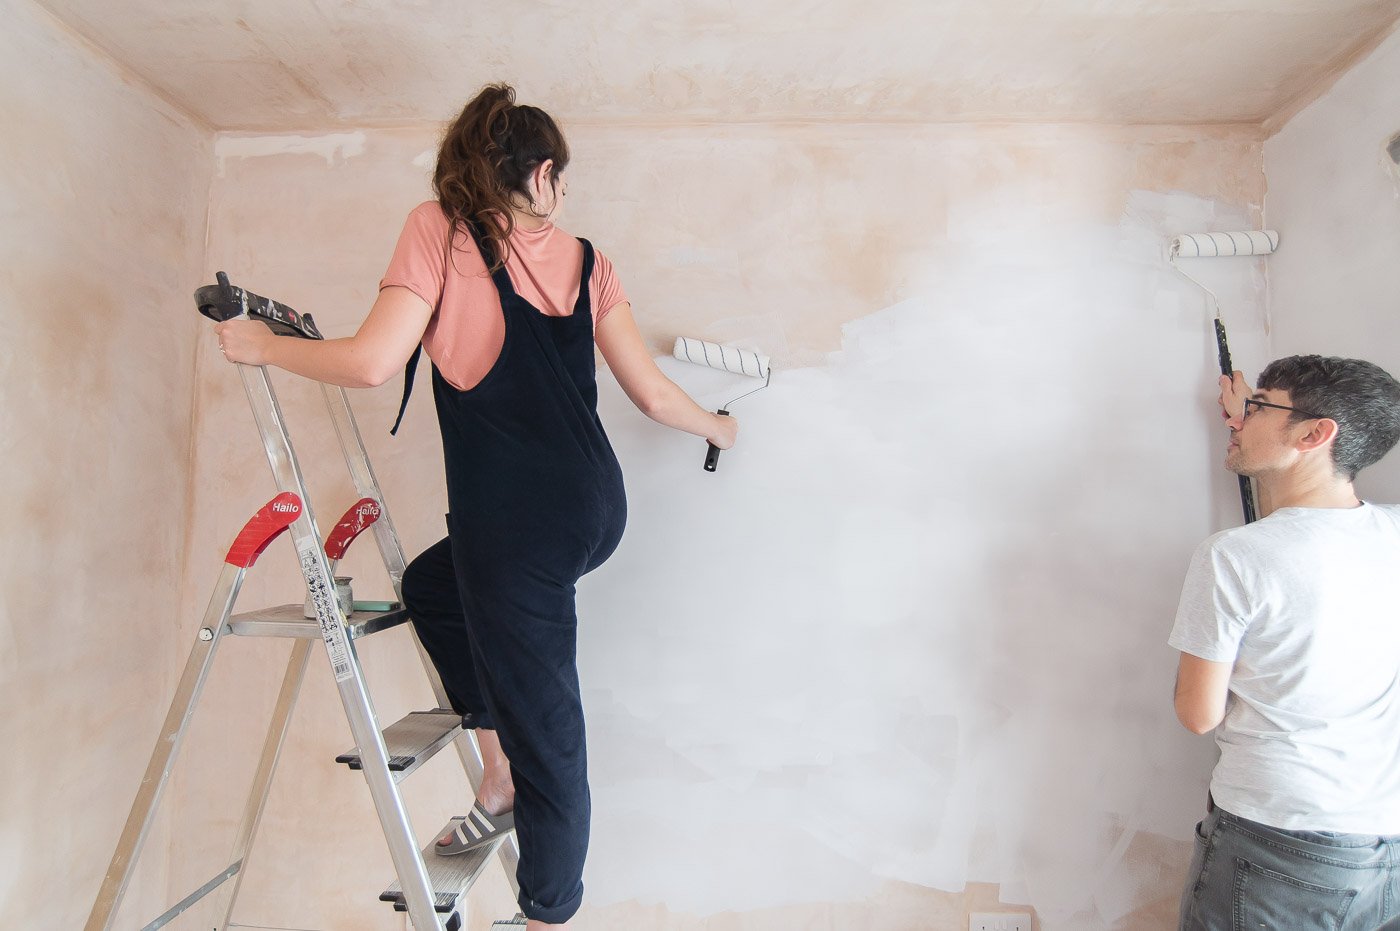

We always try to get any paintwork done prior to flooring and skirting being fitted to lower the risk of drips on the new floor. It’s a lot less effort cutting in across the skirting too.
Walls: School House White by Farrow & Ball
Ceiling + woodwork: All White by Farrow & Ball
I plan to bring more muted versions of our brand colours into the joinery work and accessories.
Lighting our new office space
We’ll take clearer photos of how the new lighting looks at different hours of the day in Part 3 when we complete the room, but trust me when I say, this lighting is a cut above.
Back in the very early stages of my interior design training I was taught basic architectural lighting techniques and Neptune’s Coates spotlights kept popping up as recommended in the industry. I wanted to see what all the fuss was about and decided to experiment with them in this room.

We’ve wired in 2 double AR50 Coates ceiling downlights, one directly above each seat. They’re recessed into the ceiling which means your electrician has to cut exact holes into the ceiling. Each spotlight is directional, meaning we can angle them to illuminate specific areas of the bespoke unit or our keyboard area.
We’re really pleased with how they have elevated the room so far! Will show you more in the reveal.
Our bespoke built in office is in progress… 😍
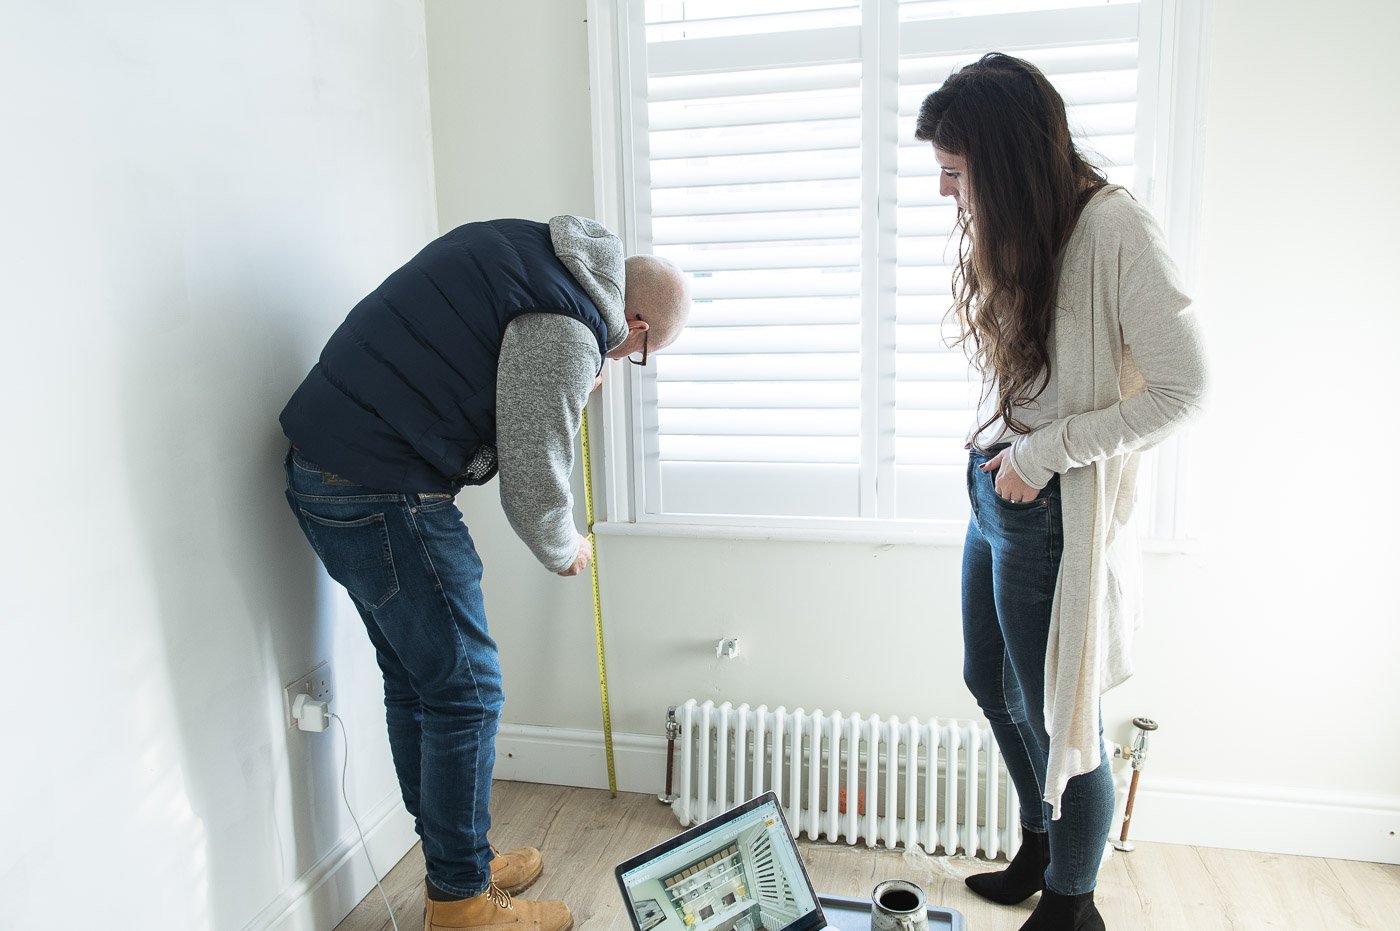
The part we’re most excited for has to be the bespoke office unit which is going to improve our daily work beyond belief! We called in our joiner Alex and his team to begin building the design I put together for our office storage and desk area.
Alex popped around earlier this month to measure up and discuss the details. We used my Home Design Pack which is always a handy reference point for communication. And just this second he’s arrived to template the worktop (we’re going for a solid surface, lighter and more affordable option than Carrara stone – will reveal all in the next post).


Even more exciting is that we’ll be swinging by his workshop next week to see it being built. So if you’re interested in that sort of thing, come and follow us on instagram to watch the developments. We’ll be sharing pics of the visit and saving them to our IG highlights (see “Our Home”).
So lots of progress happening – it’s coming together people!! Hopefully by late January the joinery work will be in, we’ll have it all painted and we’ll be ready to move into our new space.
Look out for Part 3 when we’ll be revealing the transformation!!
Thanks for reading!
Fi + Neil