#FifiMcGeeOffice – Part 1: Before shots + Our goals
/
When Fifi McGee first began as a little blog back in 2013, I used to sneak my work laptop home at weekends and write blog posts on the edge of a desk in our tiny 1 bed flat.

Our Old 1 bed flat ‘office’
I remember how uncomfortable it was. I shared a desk with Neil. He was a part-time wedding photographer back then and edited photos whilst I wrote blog content and there was no space for my legs to go underneath the desk properly so I’d have to sit sideways 😅
Fast forward a few years when we moved to our 1930s house and things didn’t improve much... in fact my work set up probably got worse 🥴
Balancing my laptop on a cardboard box while writing some of our renovation stories was a new low. There was rubble on every surface of the house. Oh renovation life!

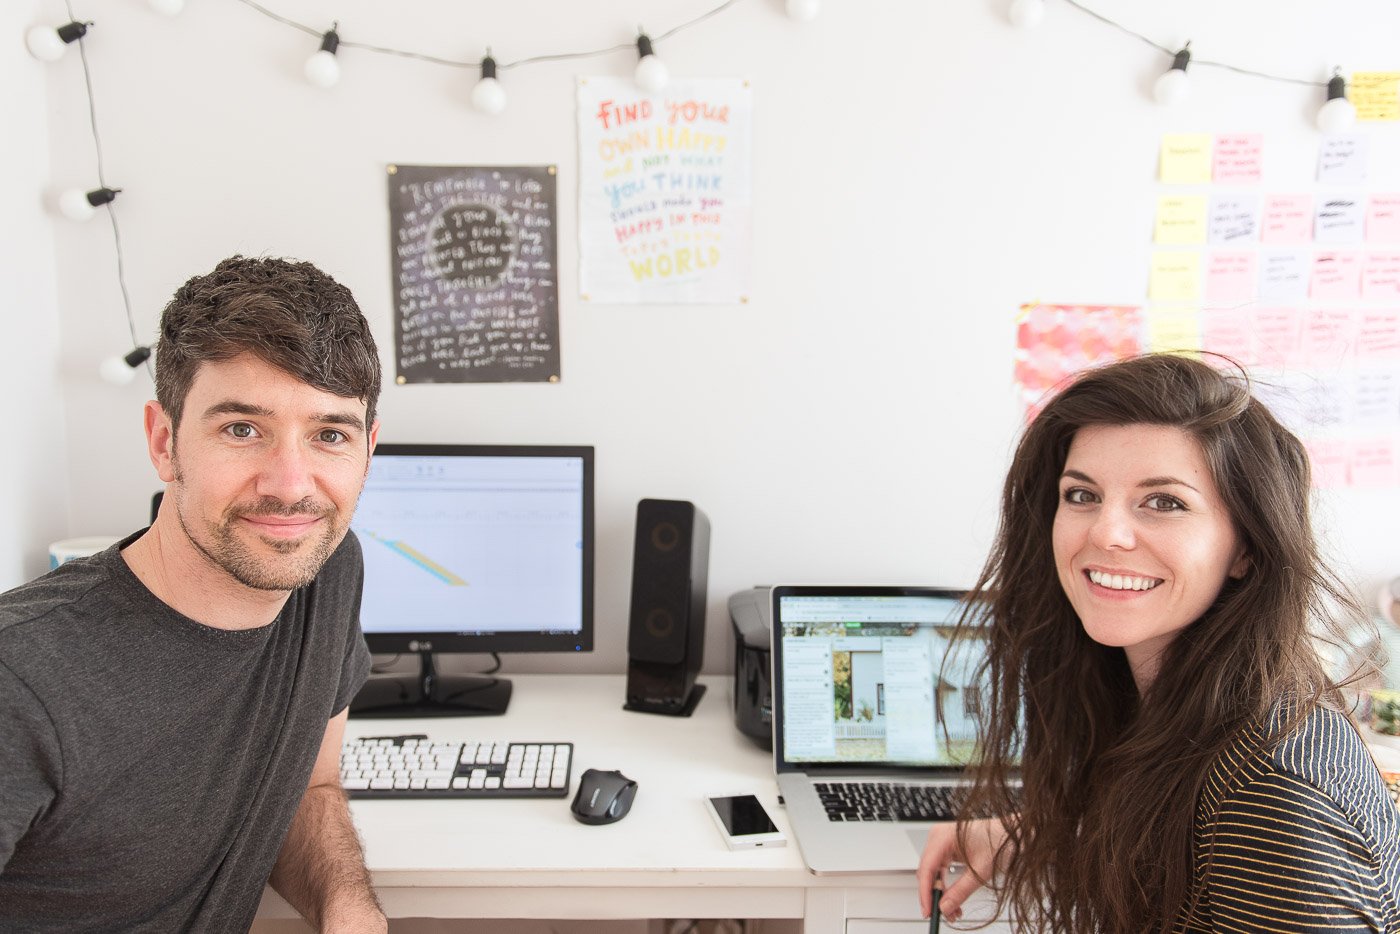
Fifi McGee has grown up a little in recent years and now supports Neil and I full time. Our work is varied and mostly computer based unless we’re shooting course videos or we’re on site at client projects.
We share this tiny box room together – you know the ‘third awkward bedroom’ that you can’t possibly call a third bedroom (even though it’s definitely a 3 bed house😉)? That. You can barely swing a cat in it.
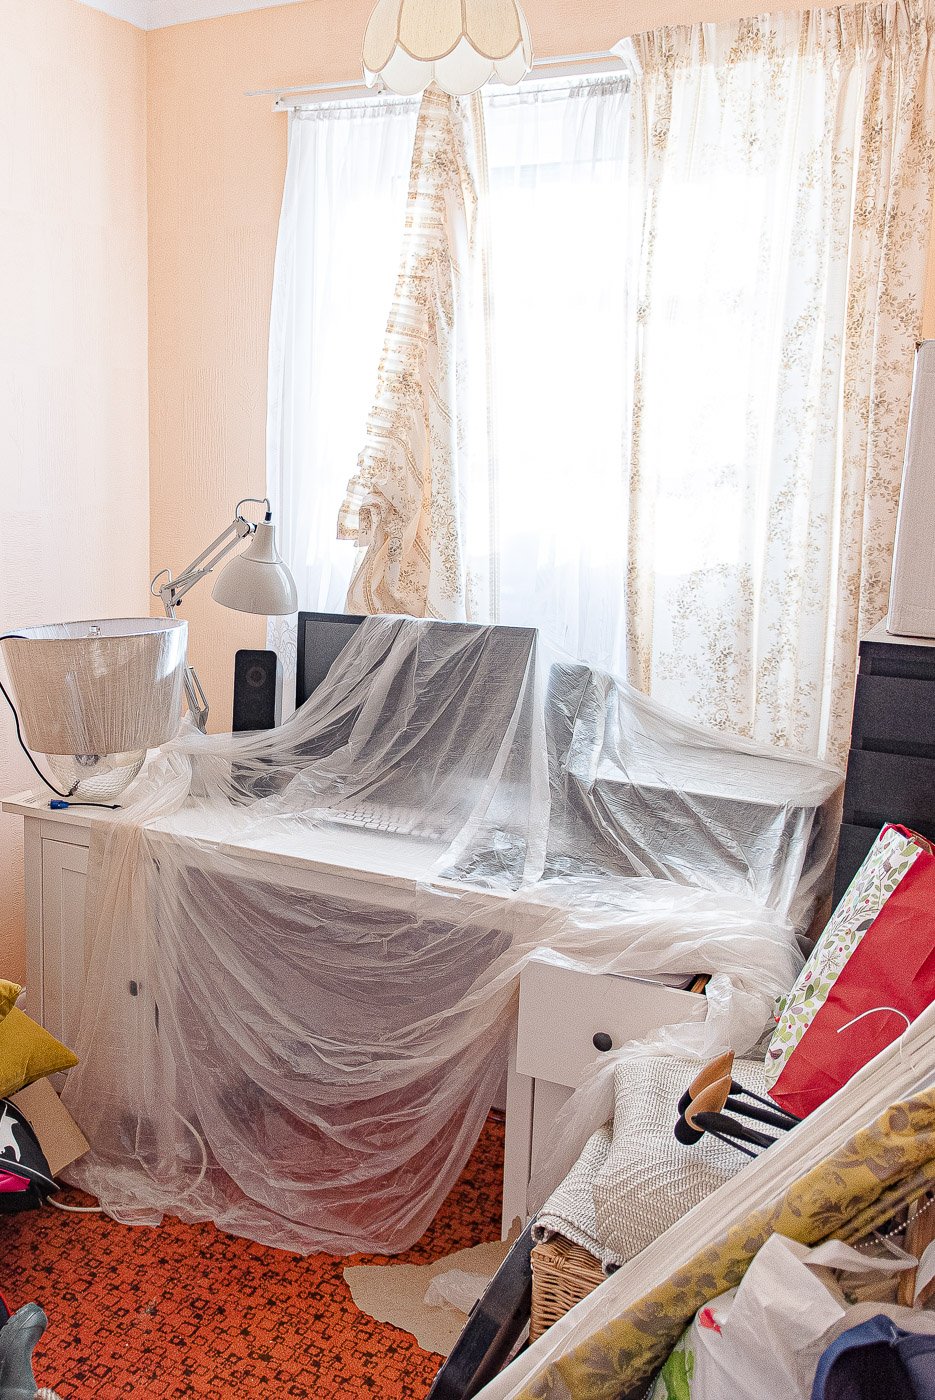
It’s been just about fit for purpose because at least we have desks, right?! But my God is it uninspiring and very messy. The room is usually heaving with tripods, equipment and interior design samples.
You know it’s bad when you have to tidy up before taking the ‘before’ shots…

It’s definitely time we invest in a work setup that’s going to keep us organised and make us feel inspired every day.
We’re huge believers in environment playing a major role in how you feel and experience life so we know this investment will benefit us long term.
I’m going to split our Home Office makeover up into 3 posts – and I’d love it if you followed along!
Part 1 – Before shots, how we’re planning the project, our budget and 3D images revealing the design
Part 2 – Progress shots, who we’re hiring to help and the workspace coming to life (read it here)
Part 3 – The grand reveal, total costs spent and key suppliers
Before shots of our current workspace
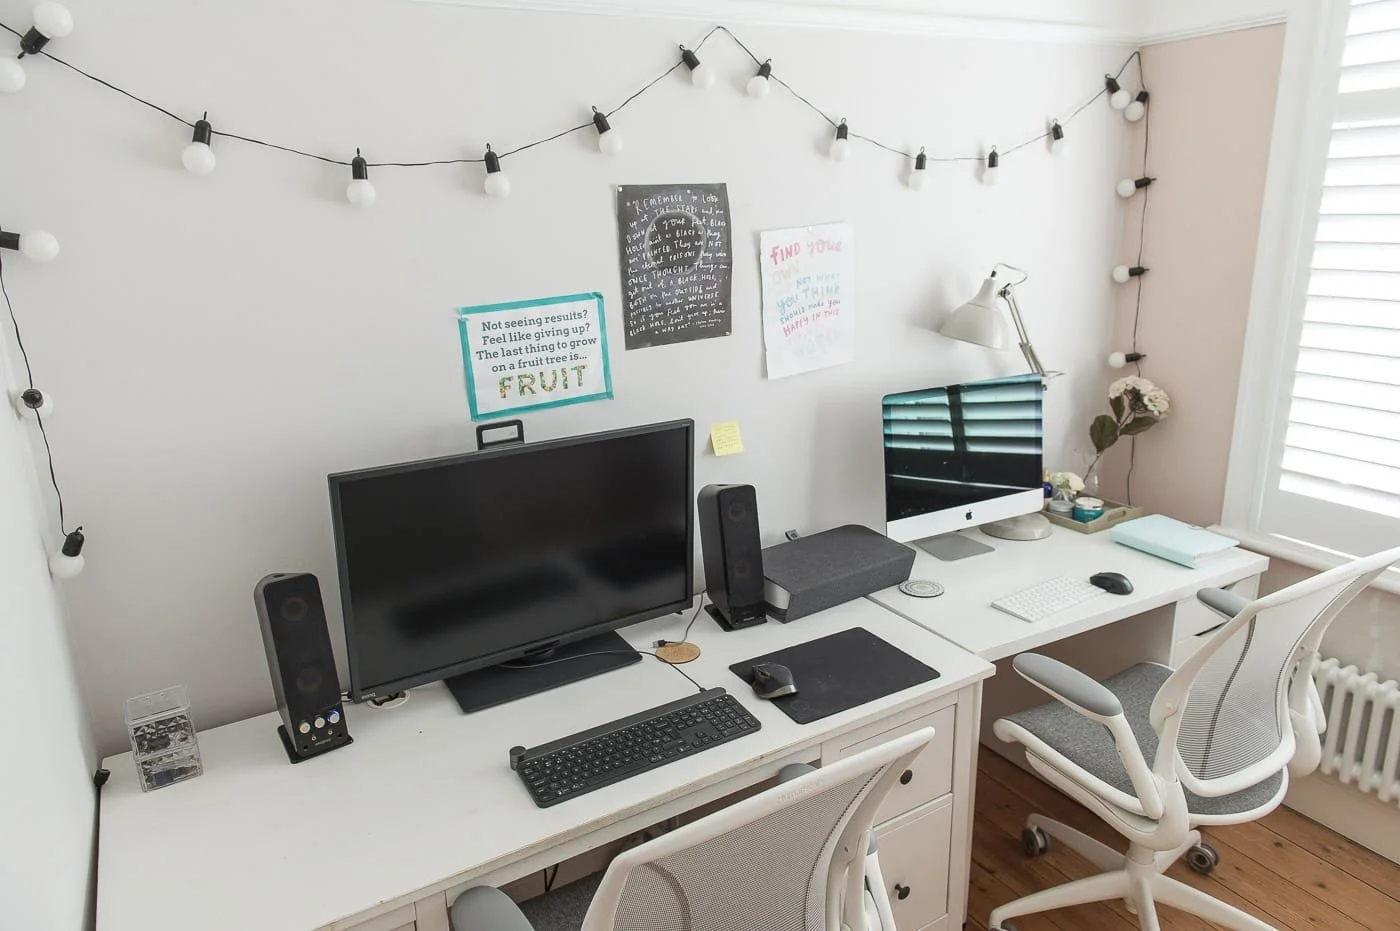

How it looked before we put lipstick on the pig
I mean this is nothing to how it looked when we first got the keys. The room was so unloved. It had no heating and disgusting bright orange wallpaper 😷 We hung the most miserable dark grey curtains up to stop the neighbours peeking in.
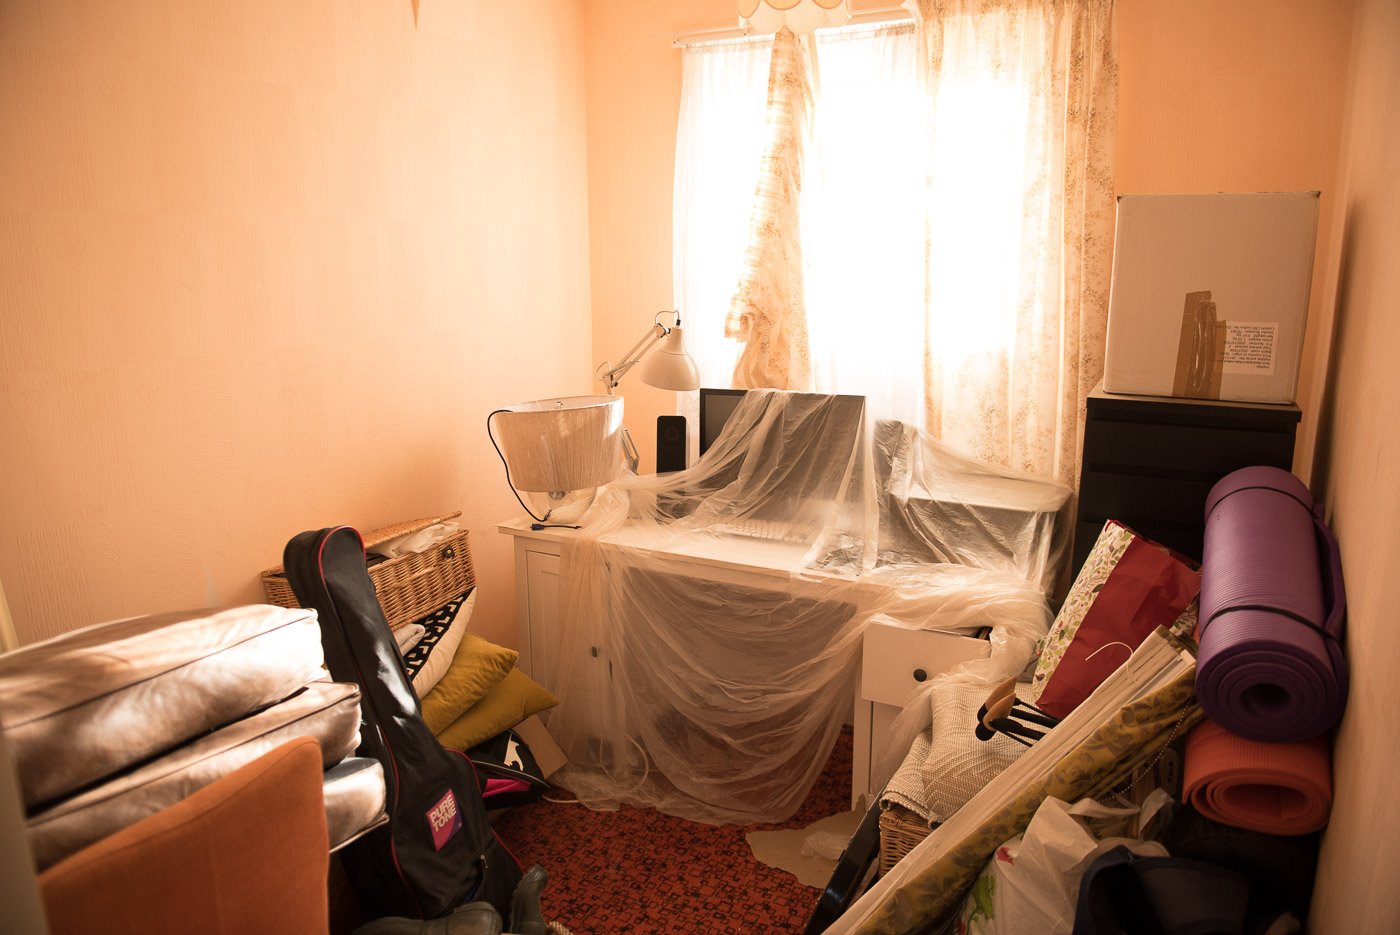
Spot the patterned orange carpet 🤢

Making the room a little less dated
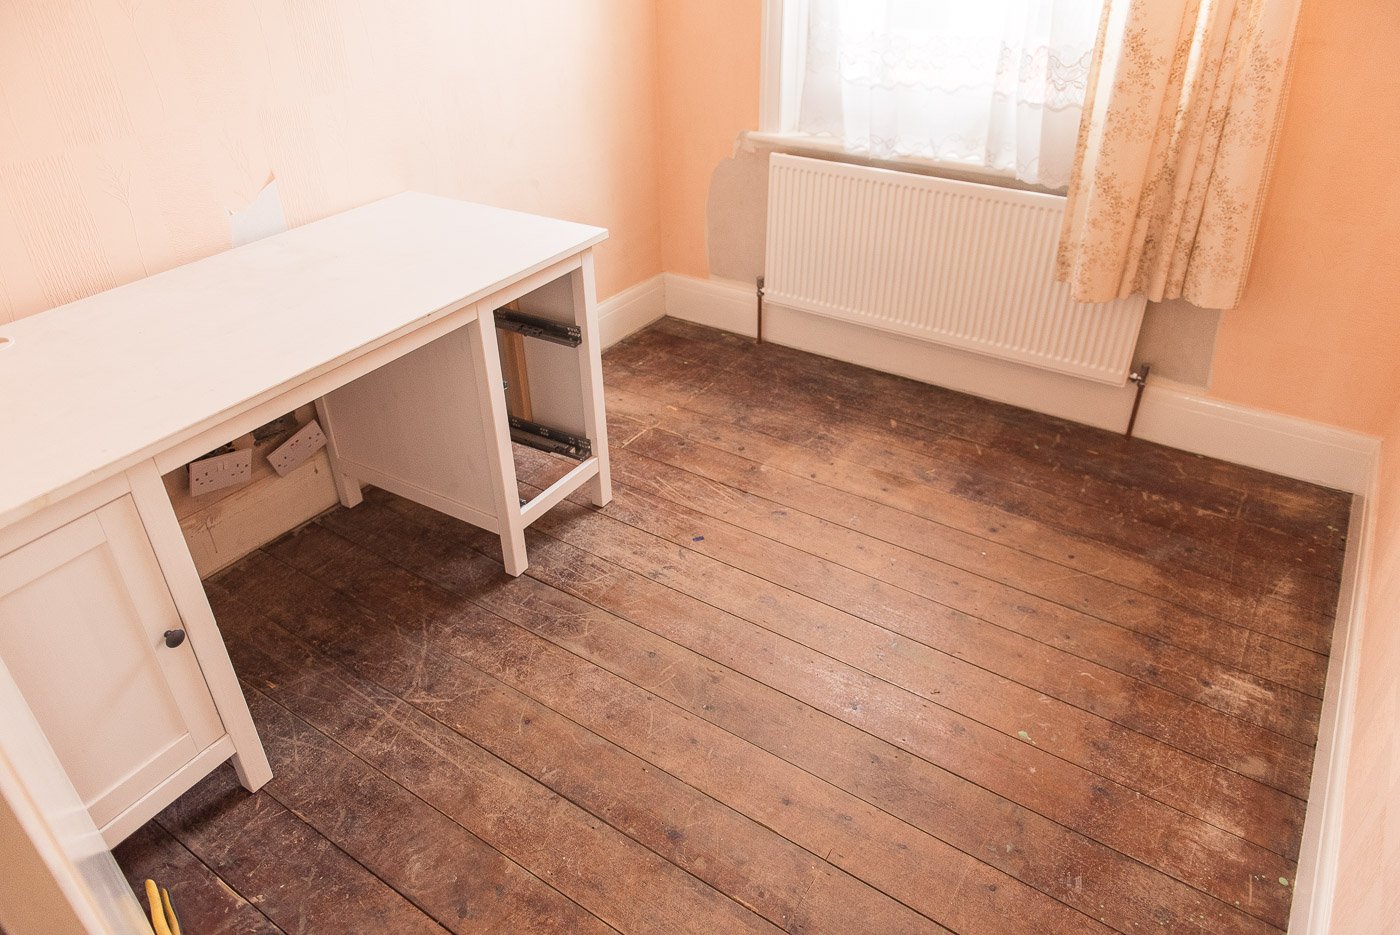
Since then we’ve got the room passable.
We sanded the floors which have tided us over well. They’re split and broken from the central heating install so we definitely need new flooring in here.
We installed a column radiator
Reinstated a picture rail
Painted a feature wall pink (Neil’s colour blind, I told him it was grey 😁)
Got shutters installed (see our Hillarys review)
And bought some of the comfiest (and pretty expensive 😬) stylish office chairs
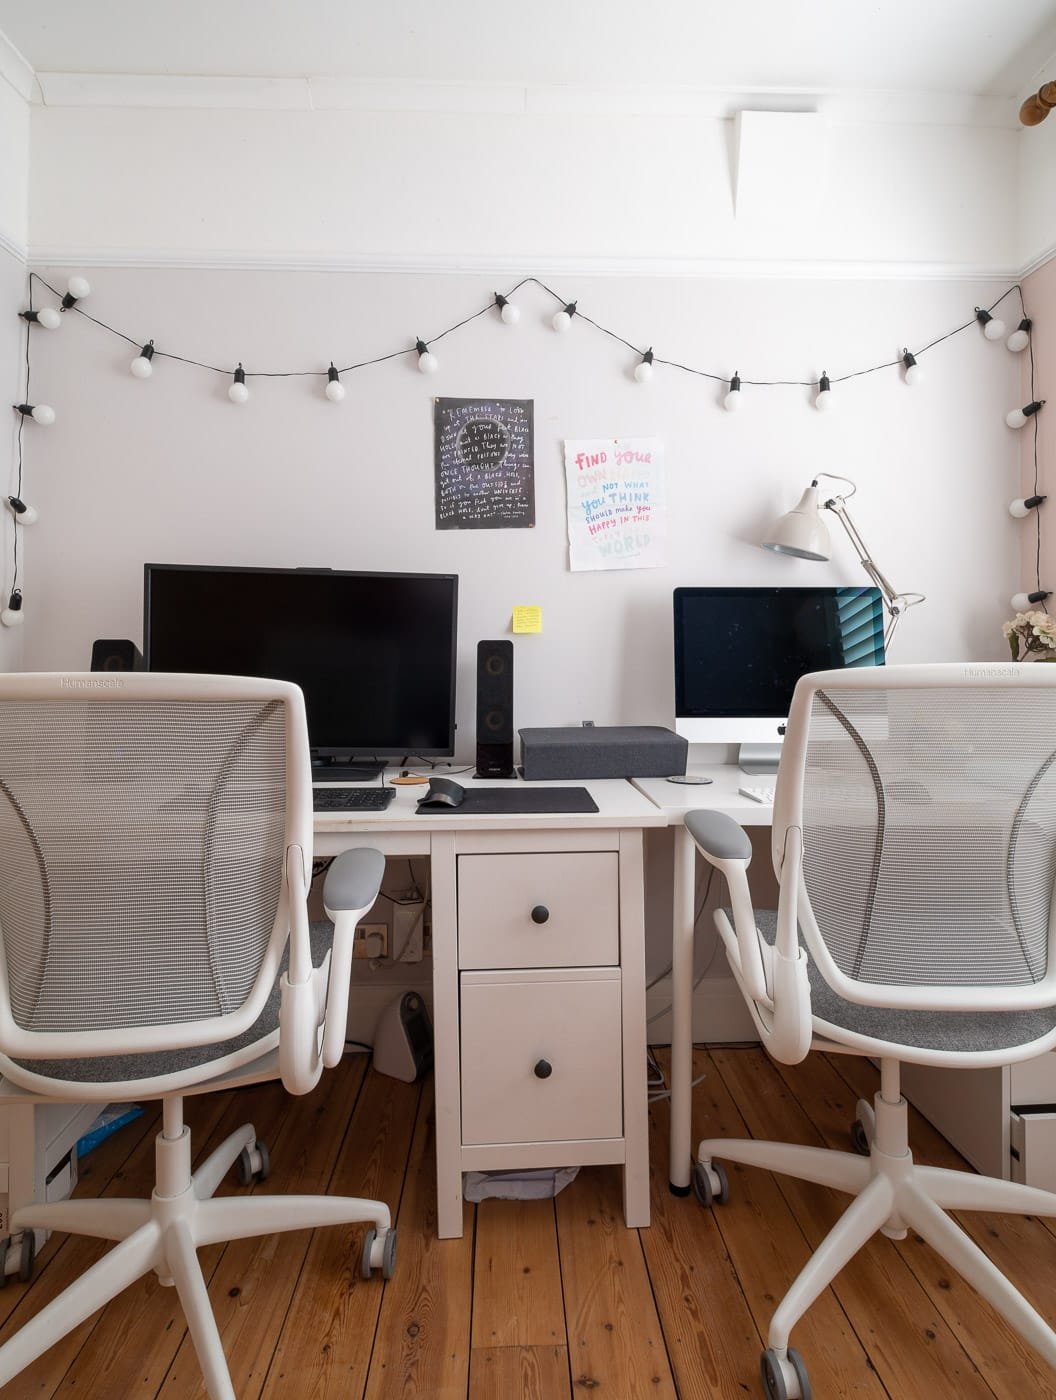

Now it’s grey, basic and so uninspiring. Bit embarrassing for an interior designer’s office to look this bland, right?
How we’ve planned the project – step by step
Some people are intrigued when we tell them we religiously follow the same tried and tested steps when we start any renovation project. That includes client projects, and our own.
We’ve honed the steps and know exactly what order to do renovation work in which goes a long way towards preventing mistakes, regrets and avoiding costly rework.
The odd challenge gets thrown our way, of course, but the planning we do before work starts allows us to respond to these challenges in ways that won’t compromise our budget or design.
We share our full approach including templates, documents and information for you to apply to your project on our online courses. So check them out if you’ve got a project coming up and you’re keen to take it on confidently.

We started with budgets, clarifying how much we’re likely to need for the office space and added contingency for possible unknown work.
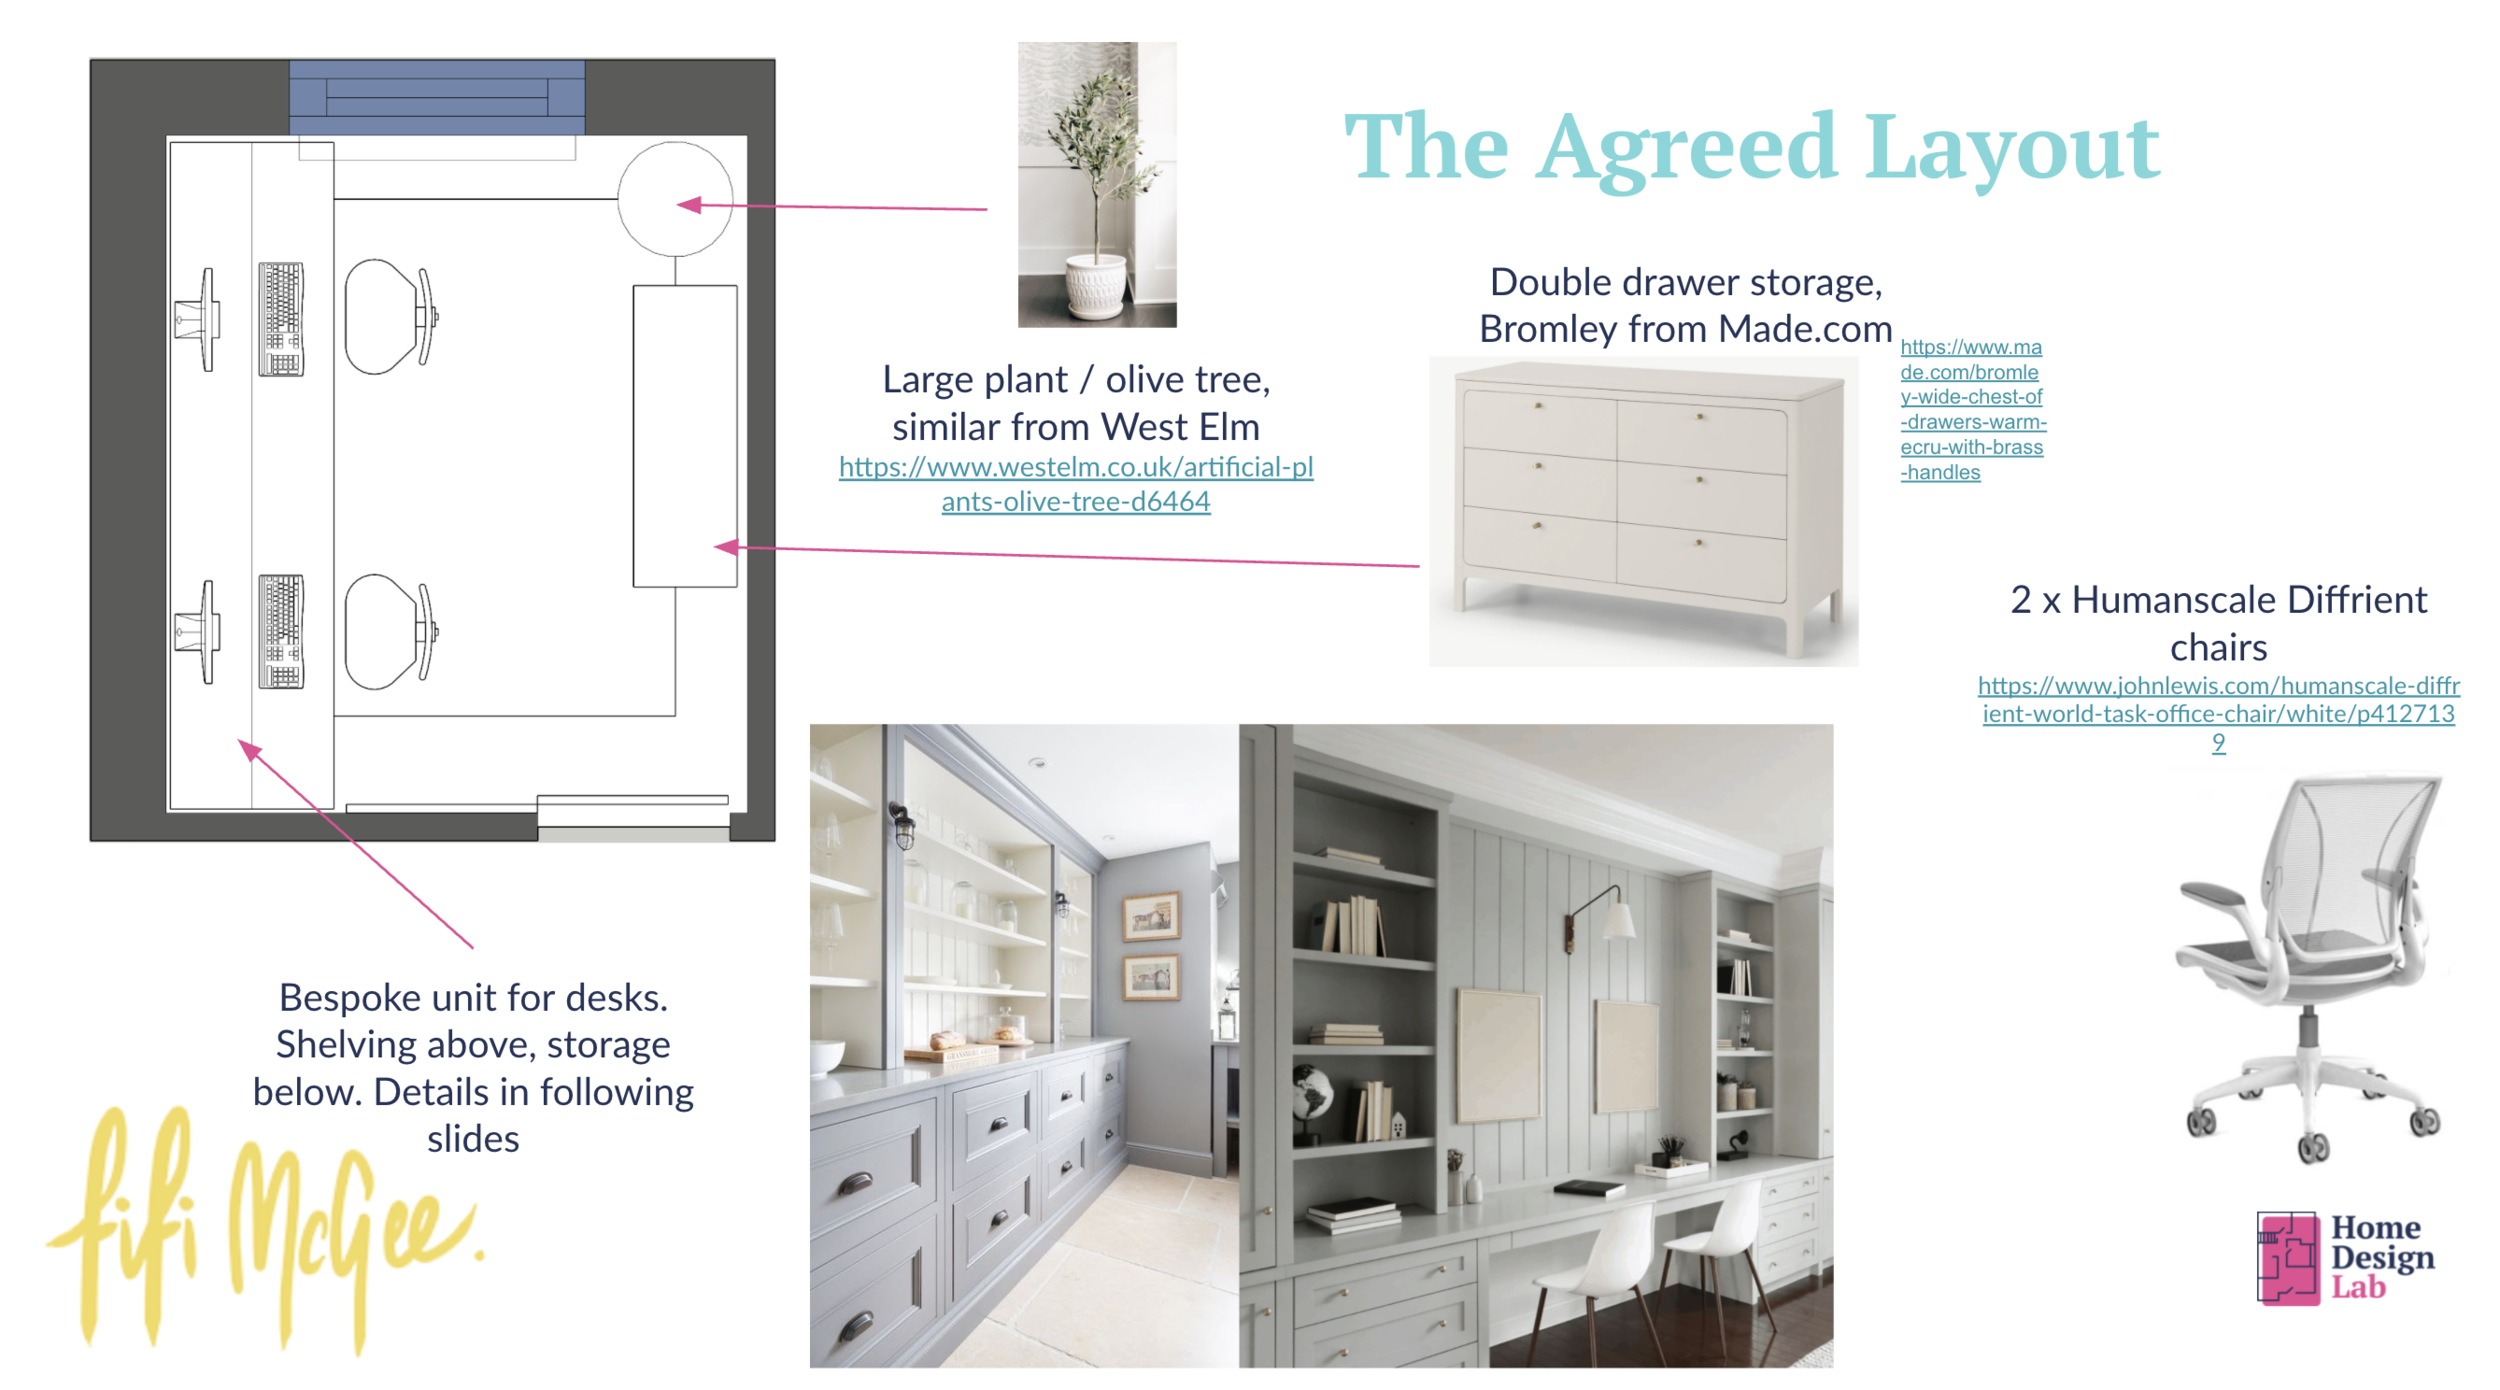
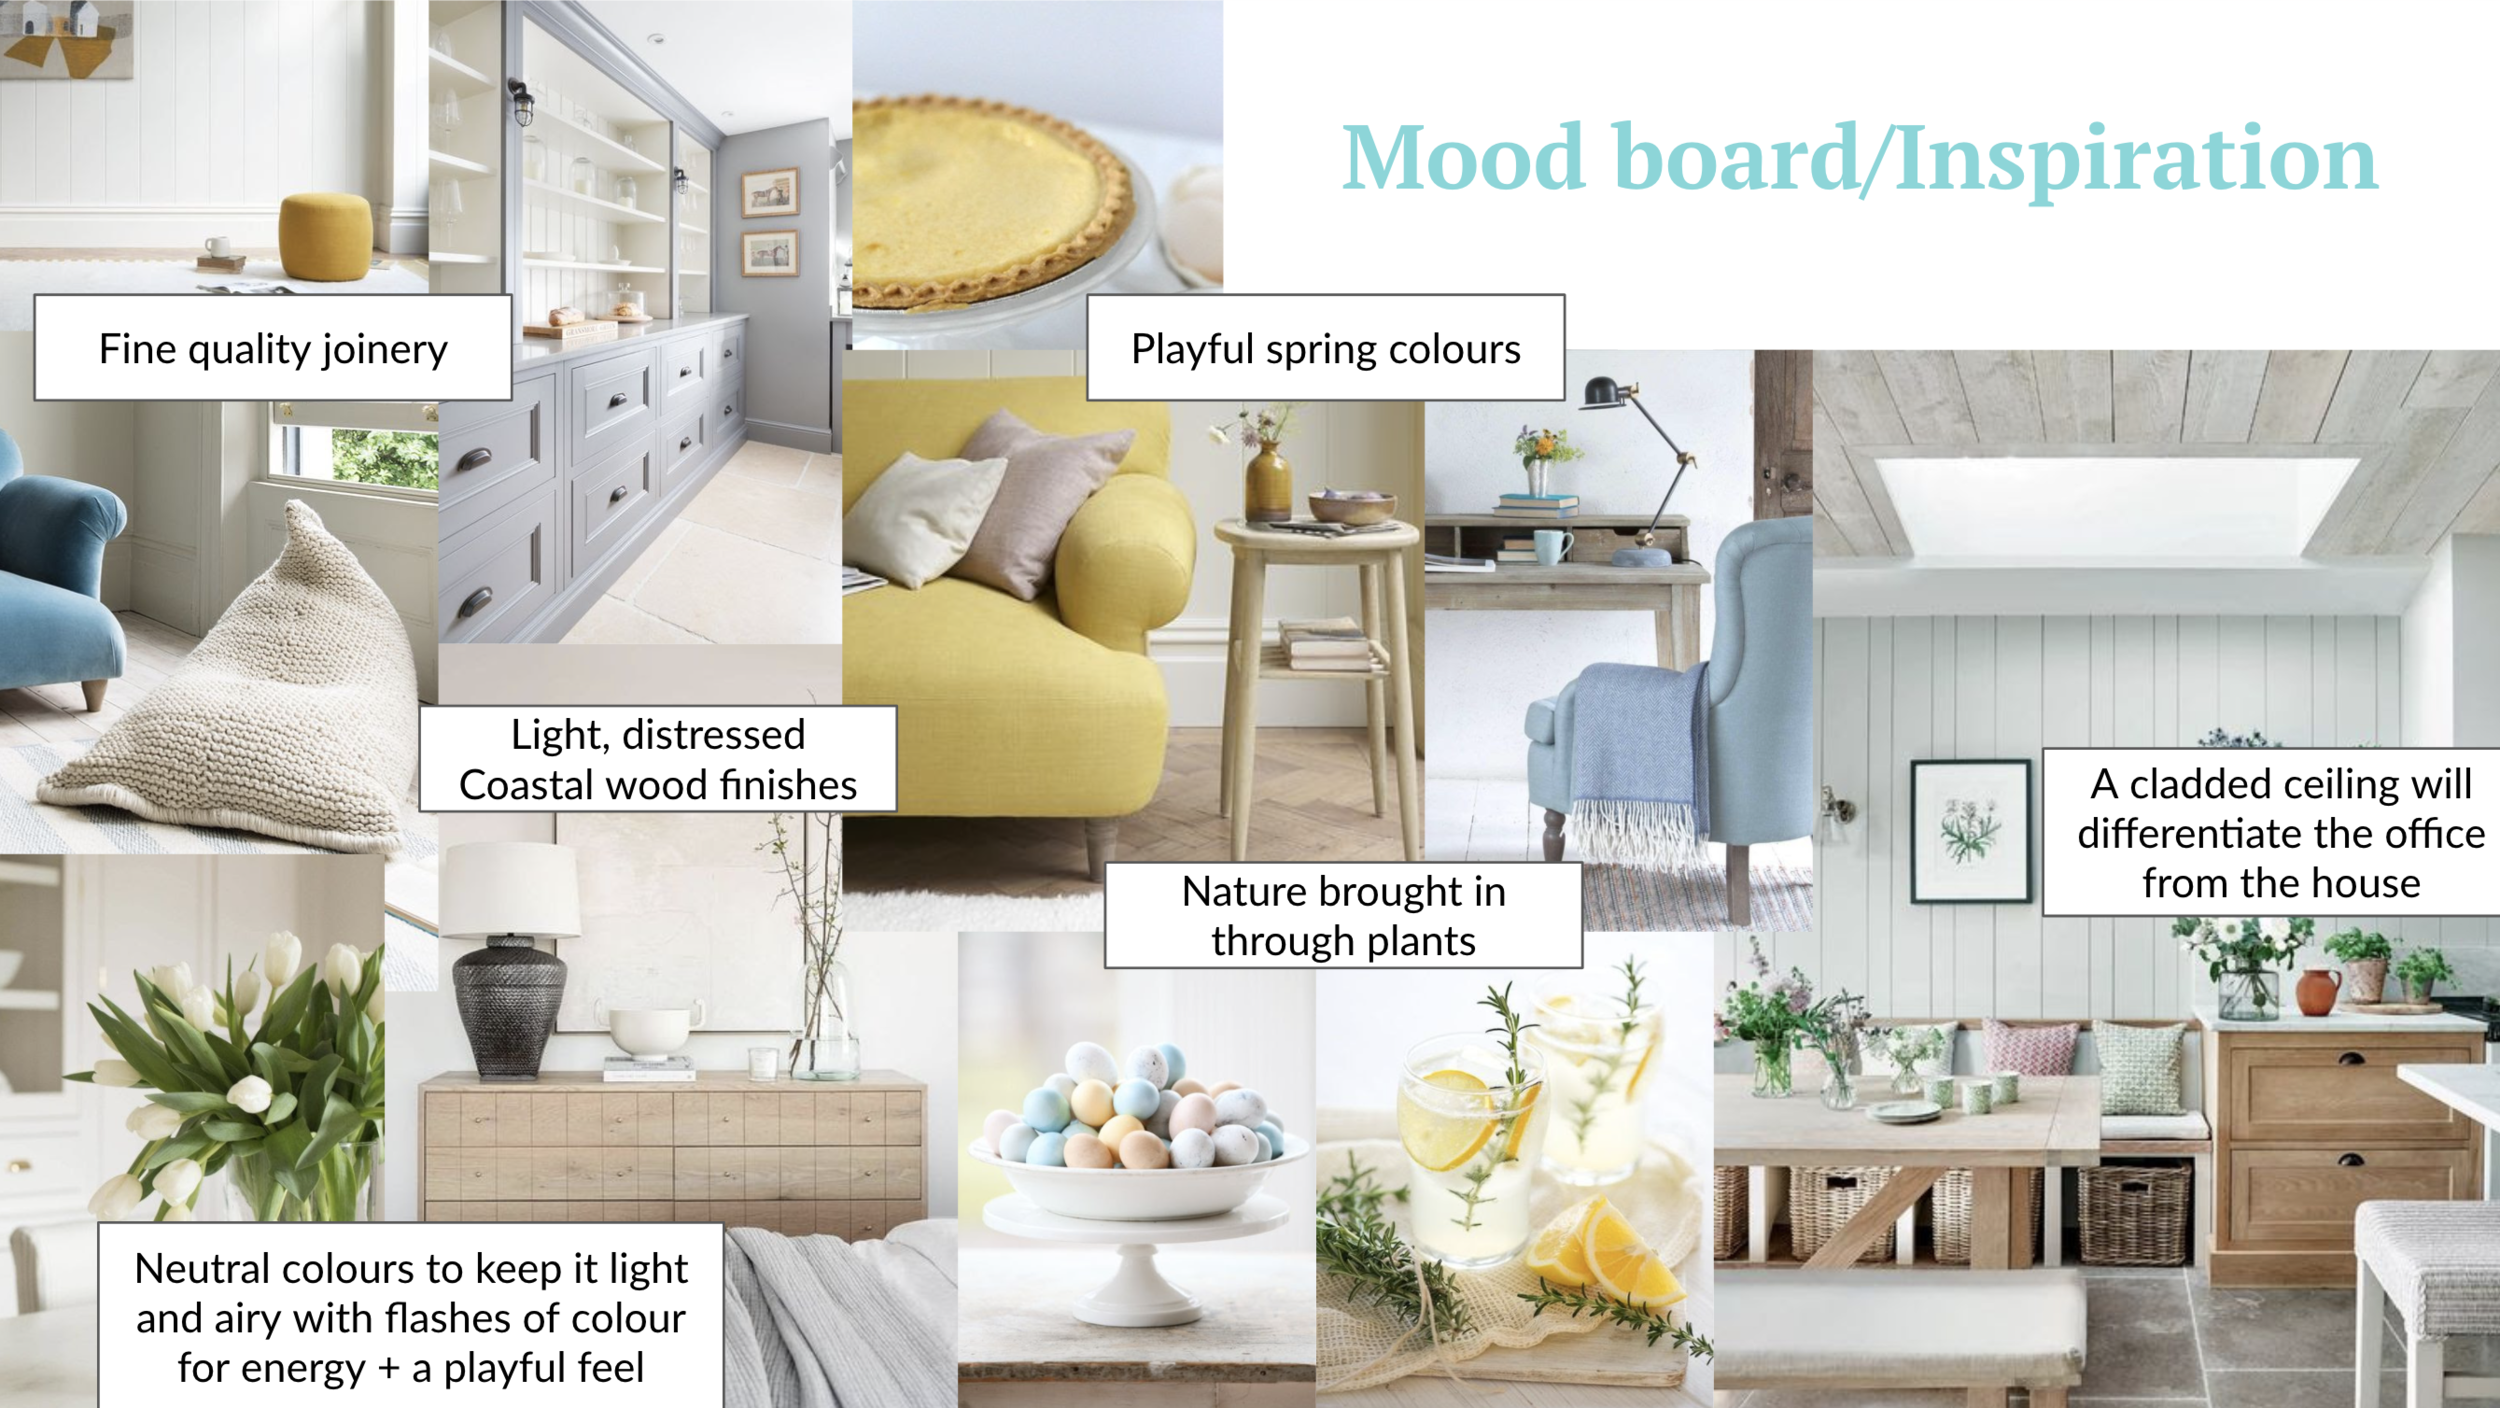
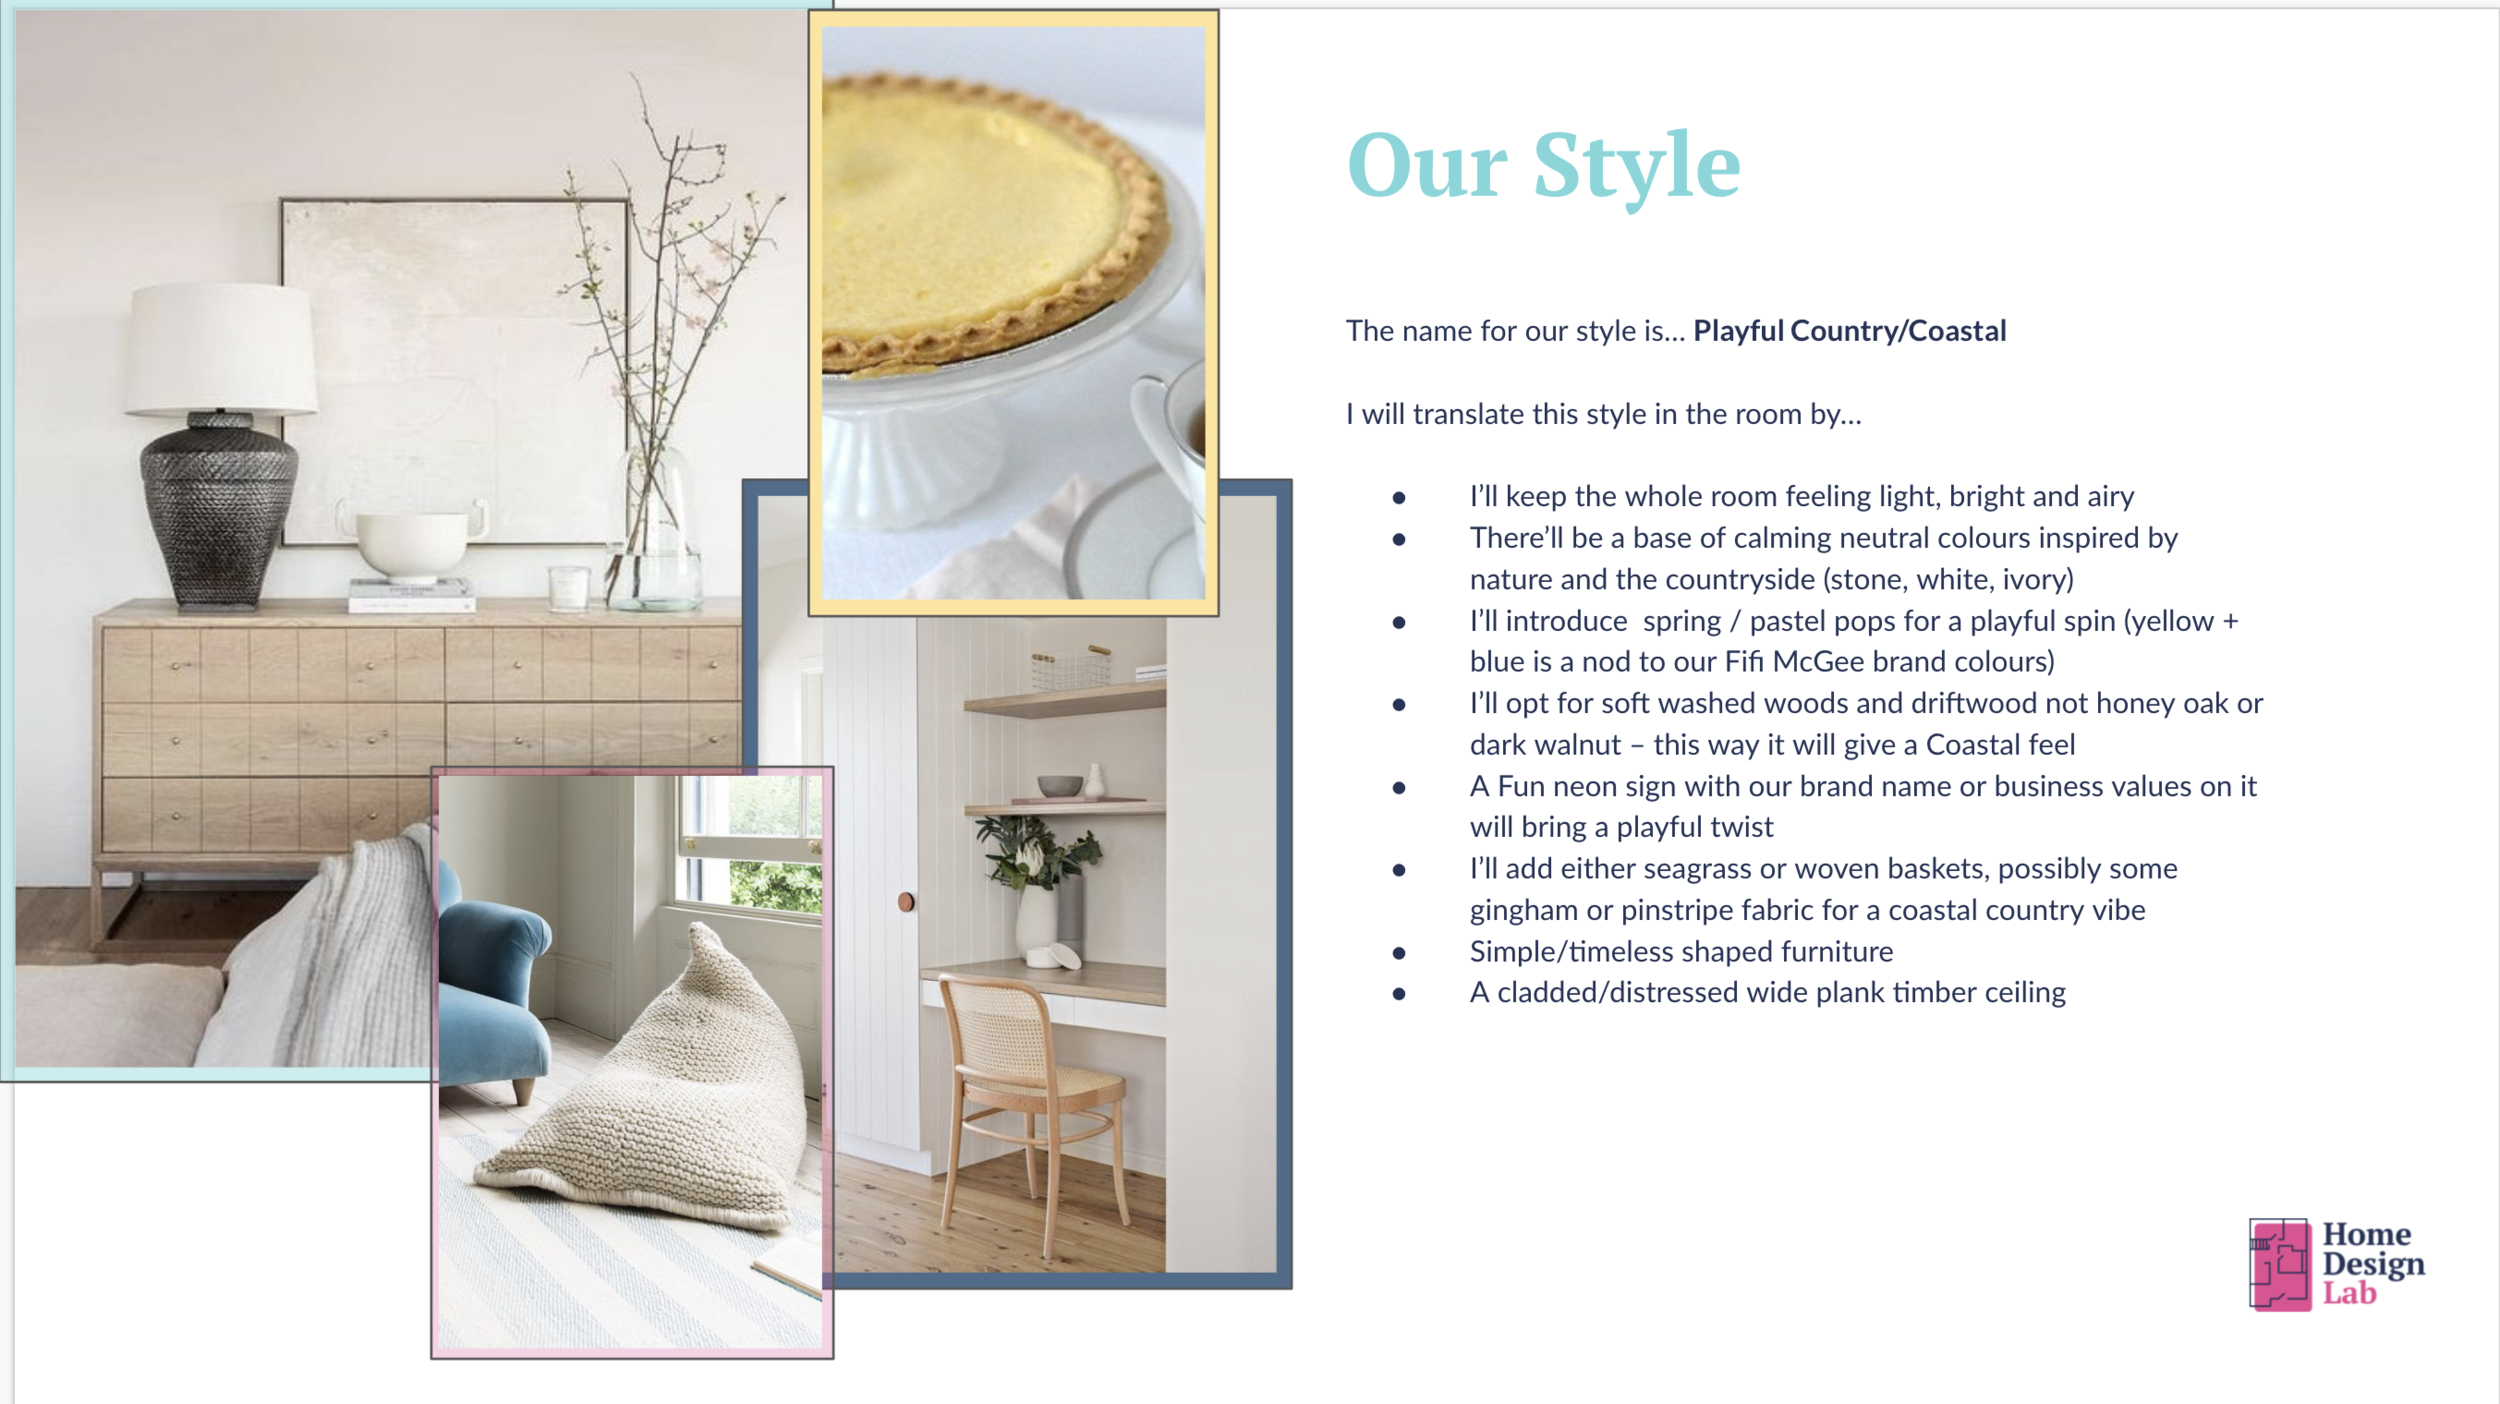
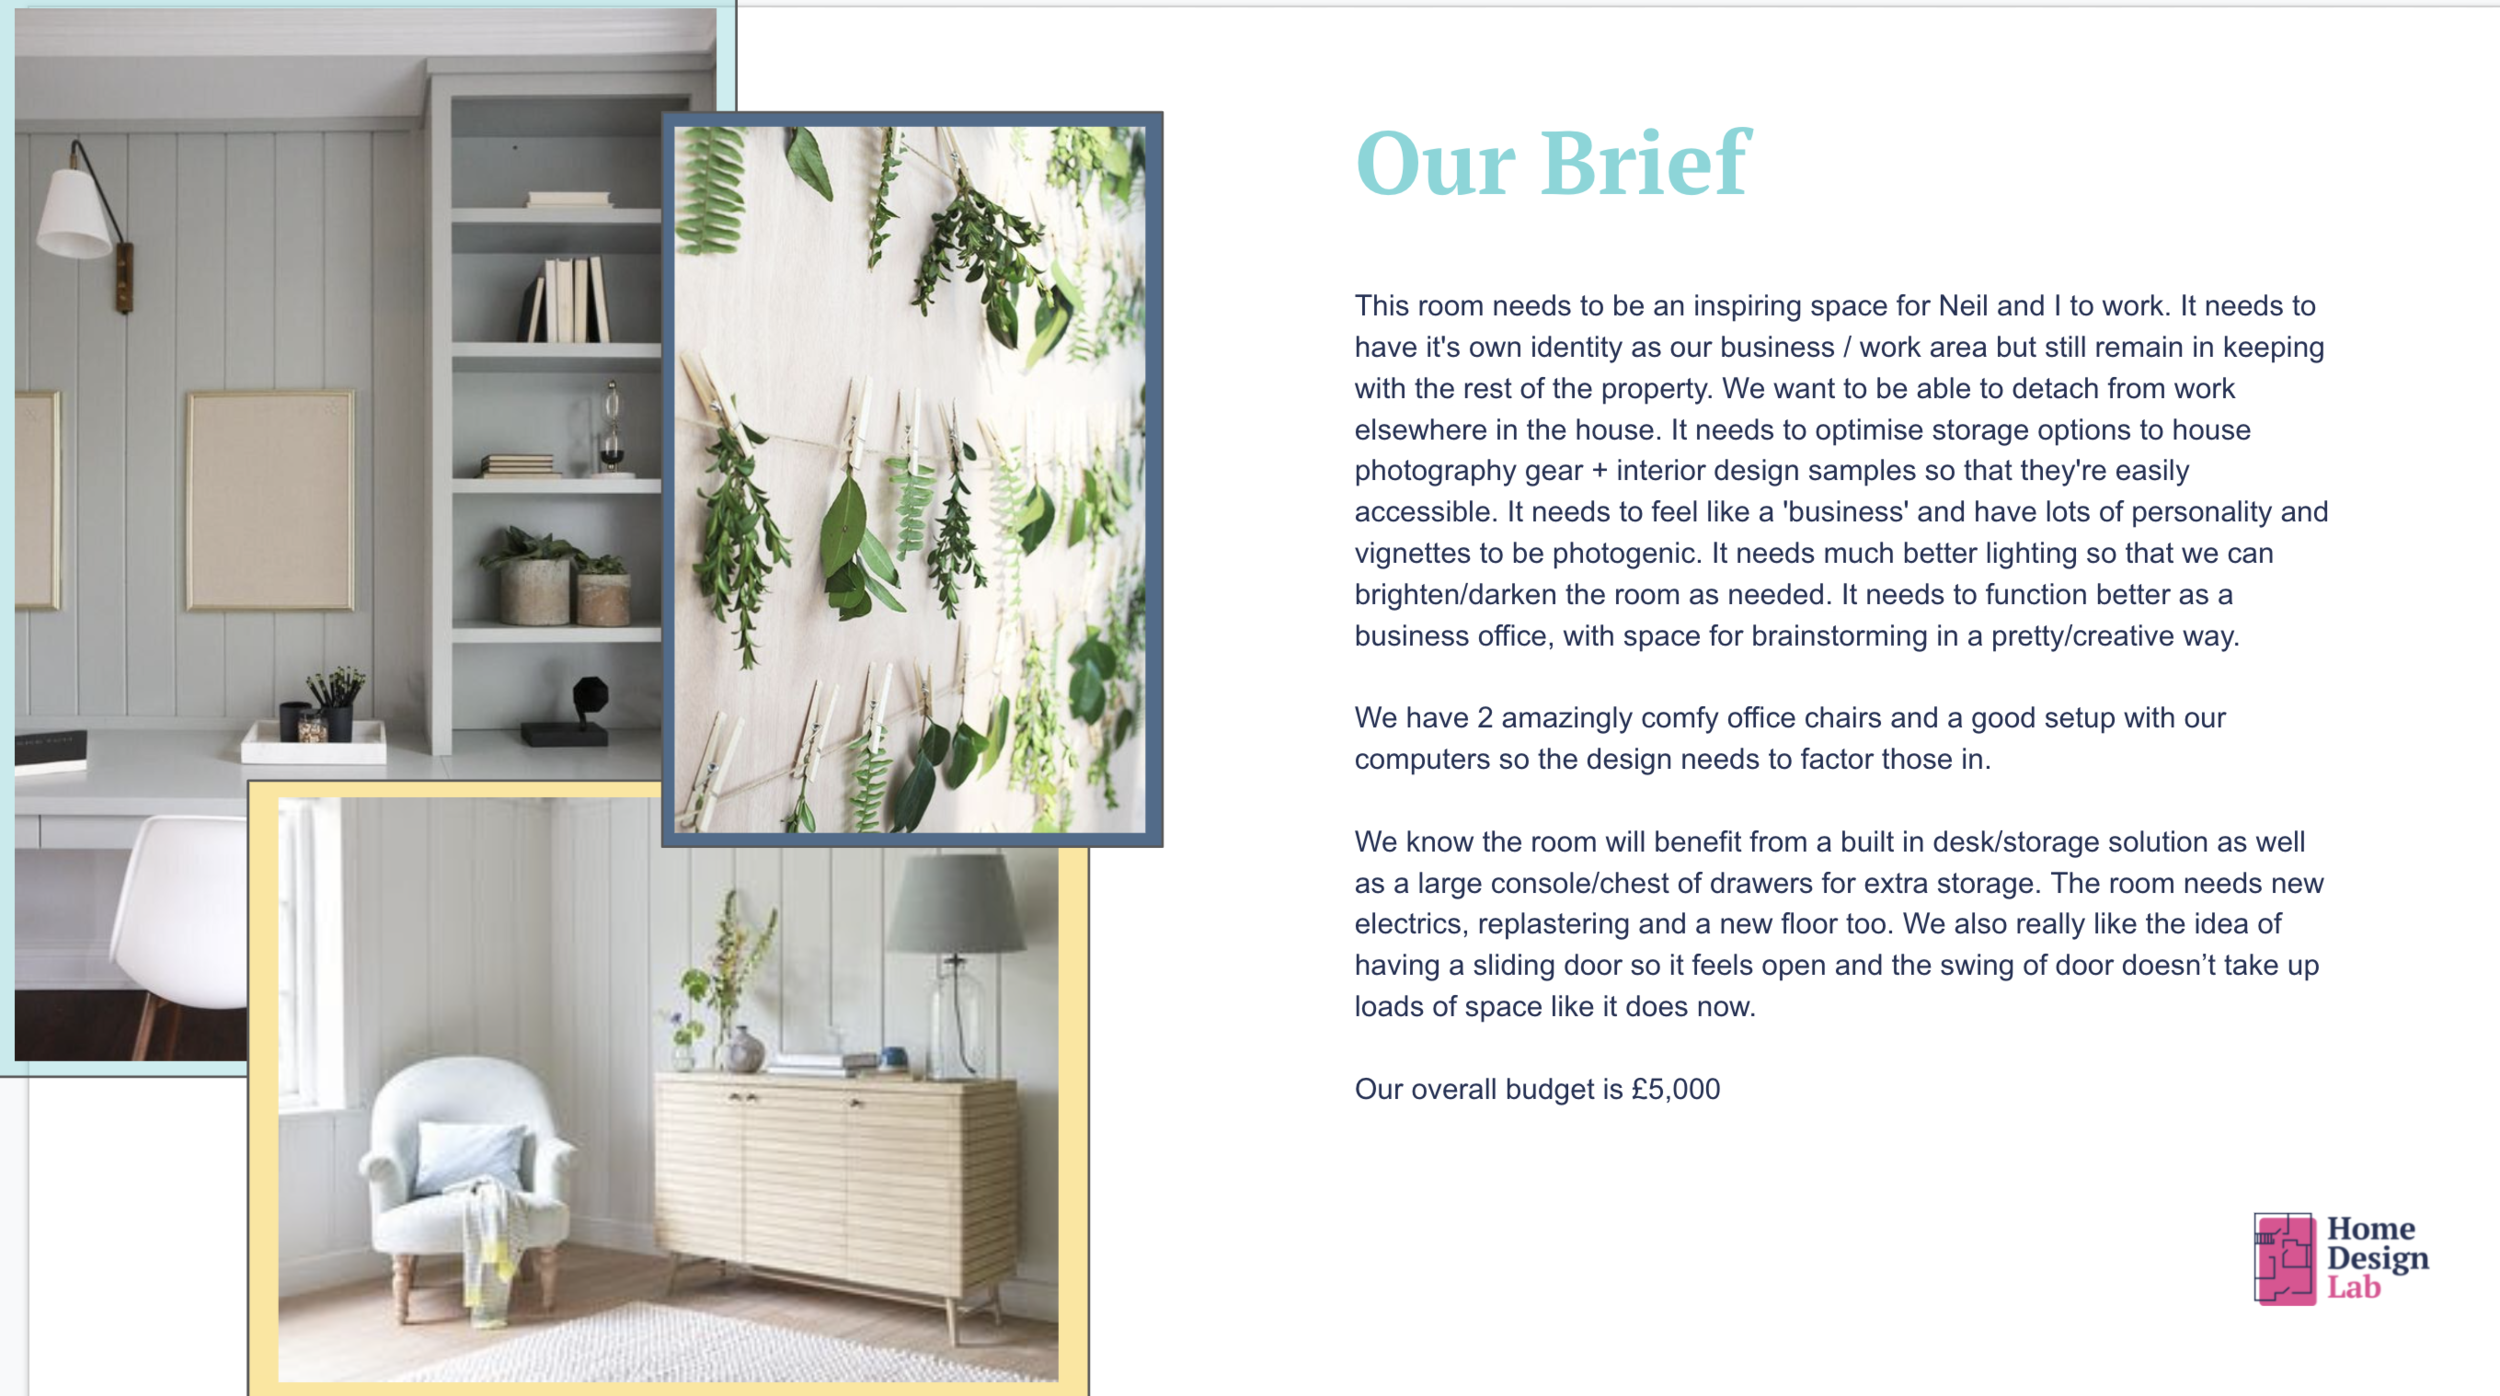
I then did a full measured survey and produced a Home Design Pack for the space complete with a brief, scaled layout drawings, detailed joinery design drawings and used this to get agreement with Neil on exactly what our requirements are, from colours to electrical layout and lighting.
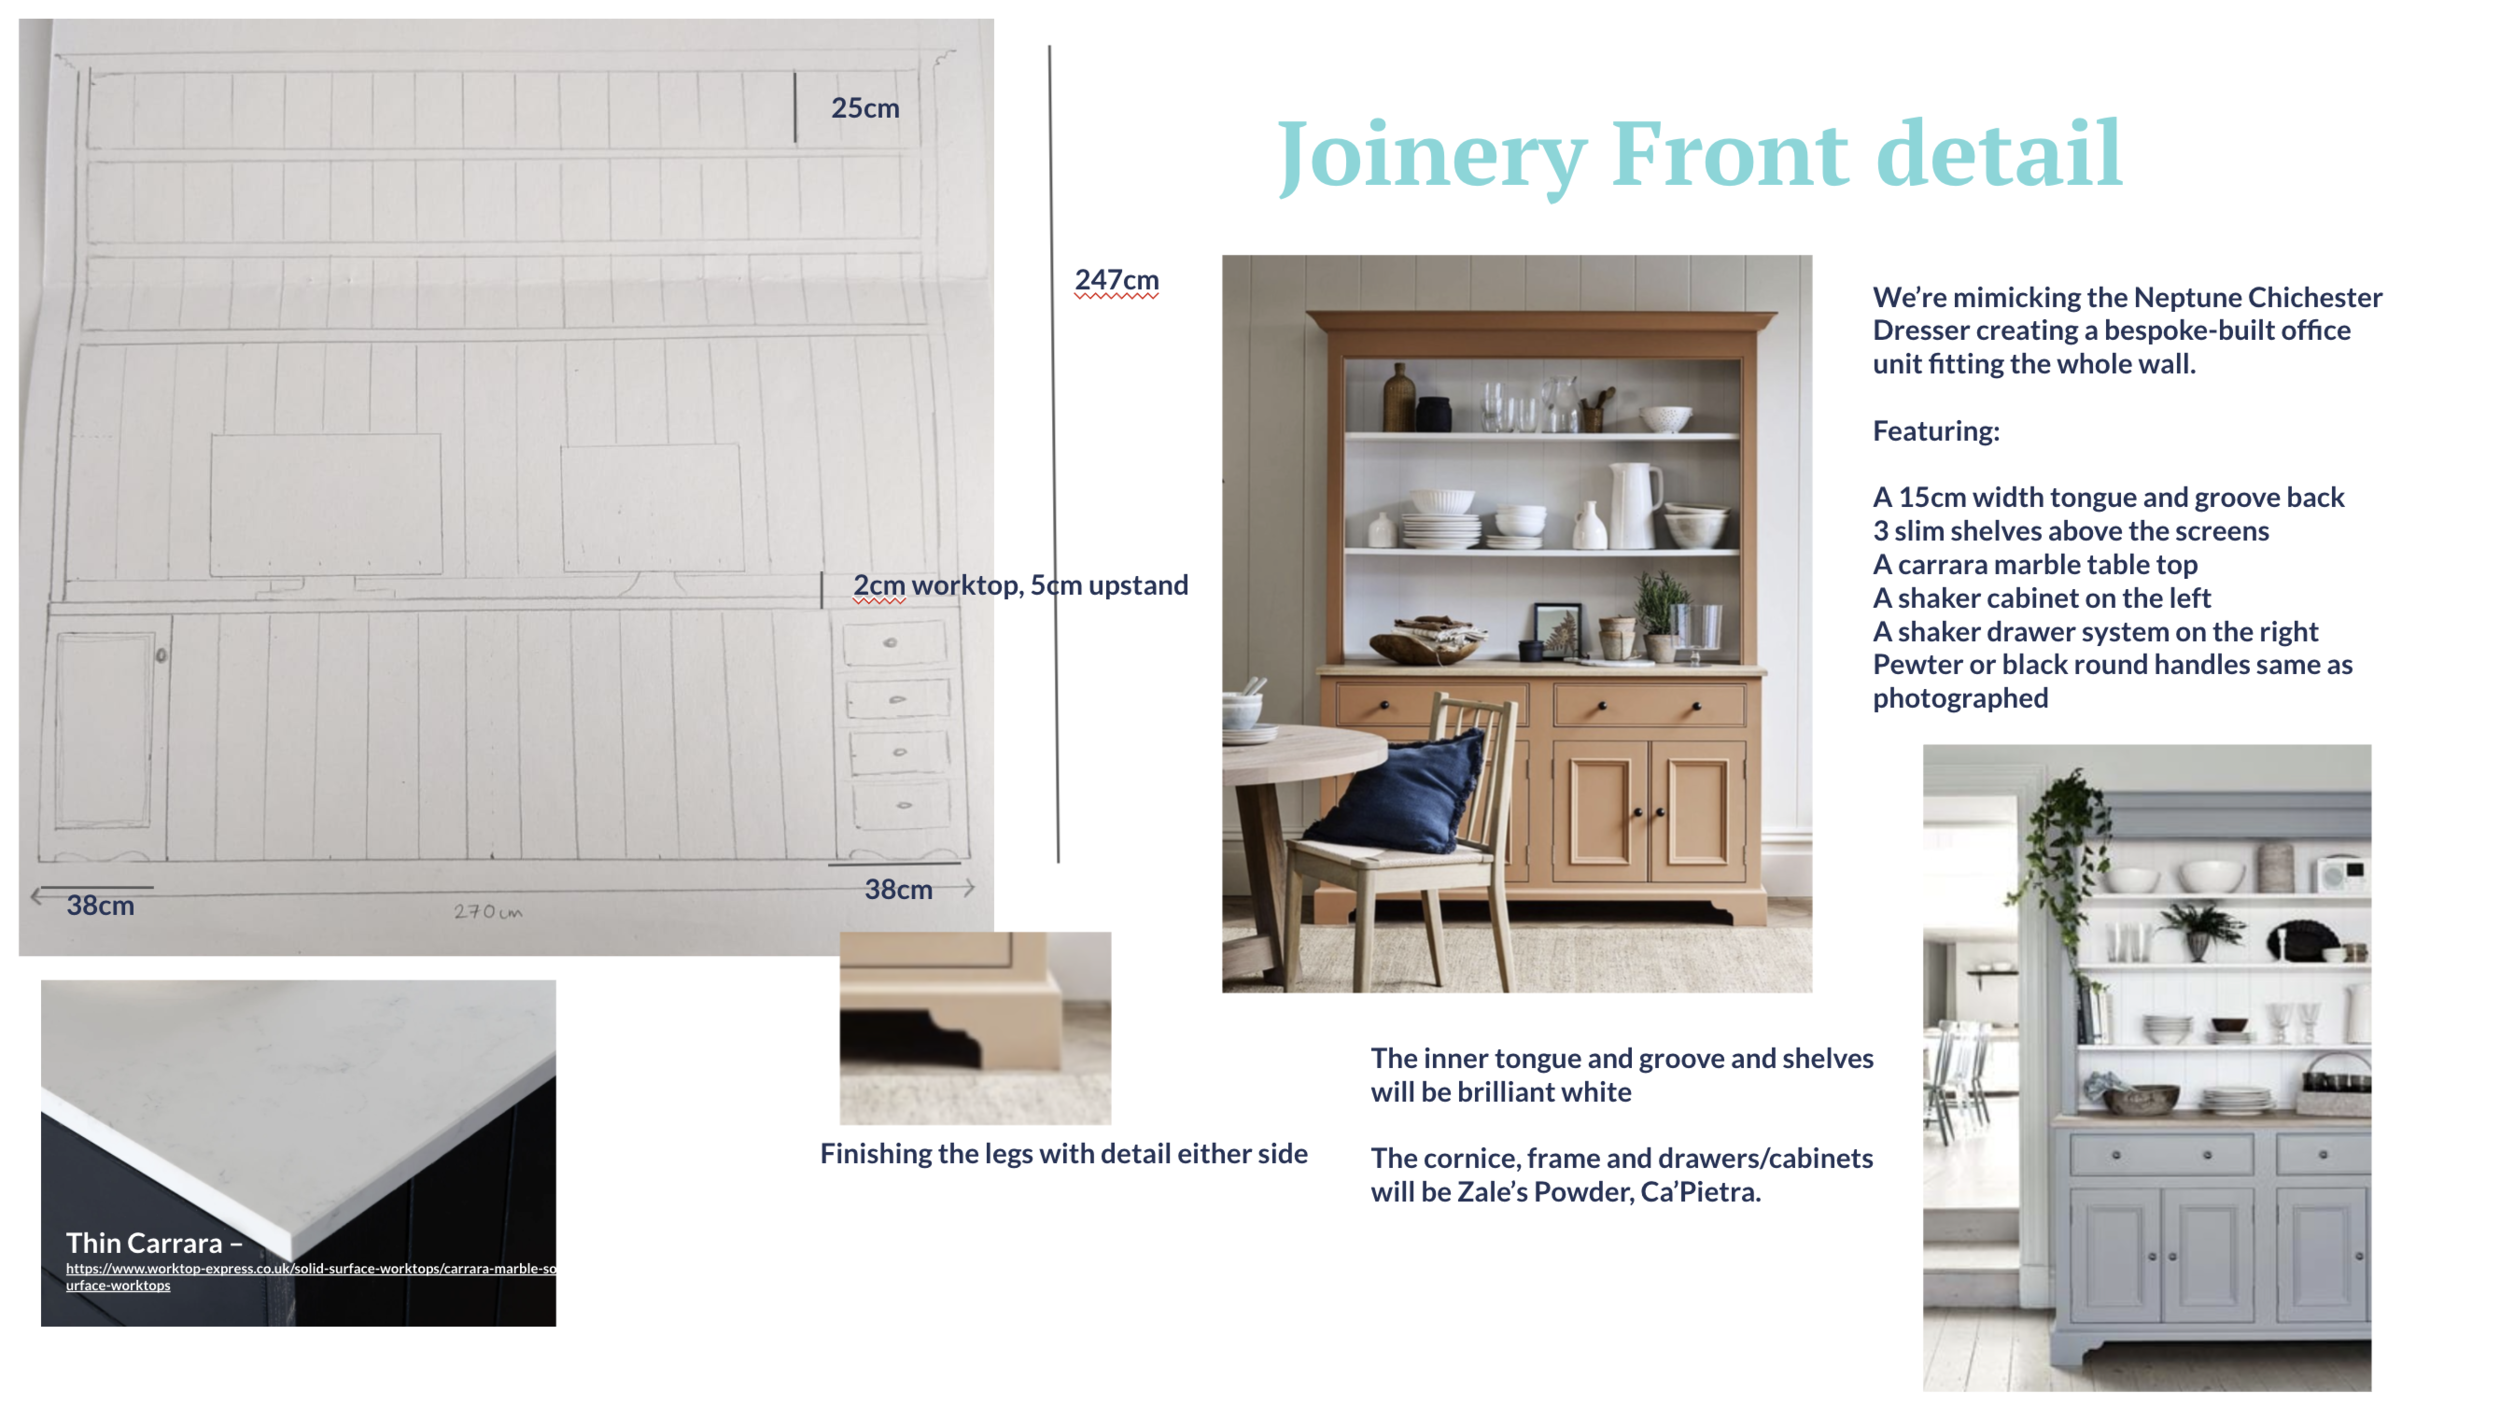
Here are a few of my slides from the Home Design Pack for our office…
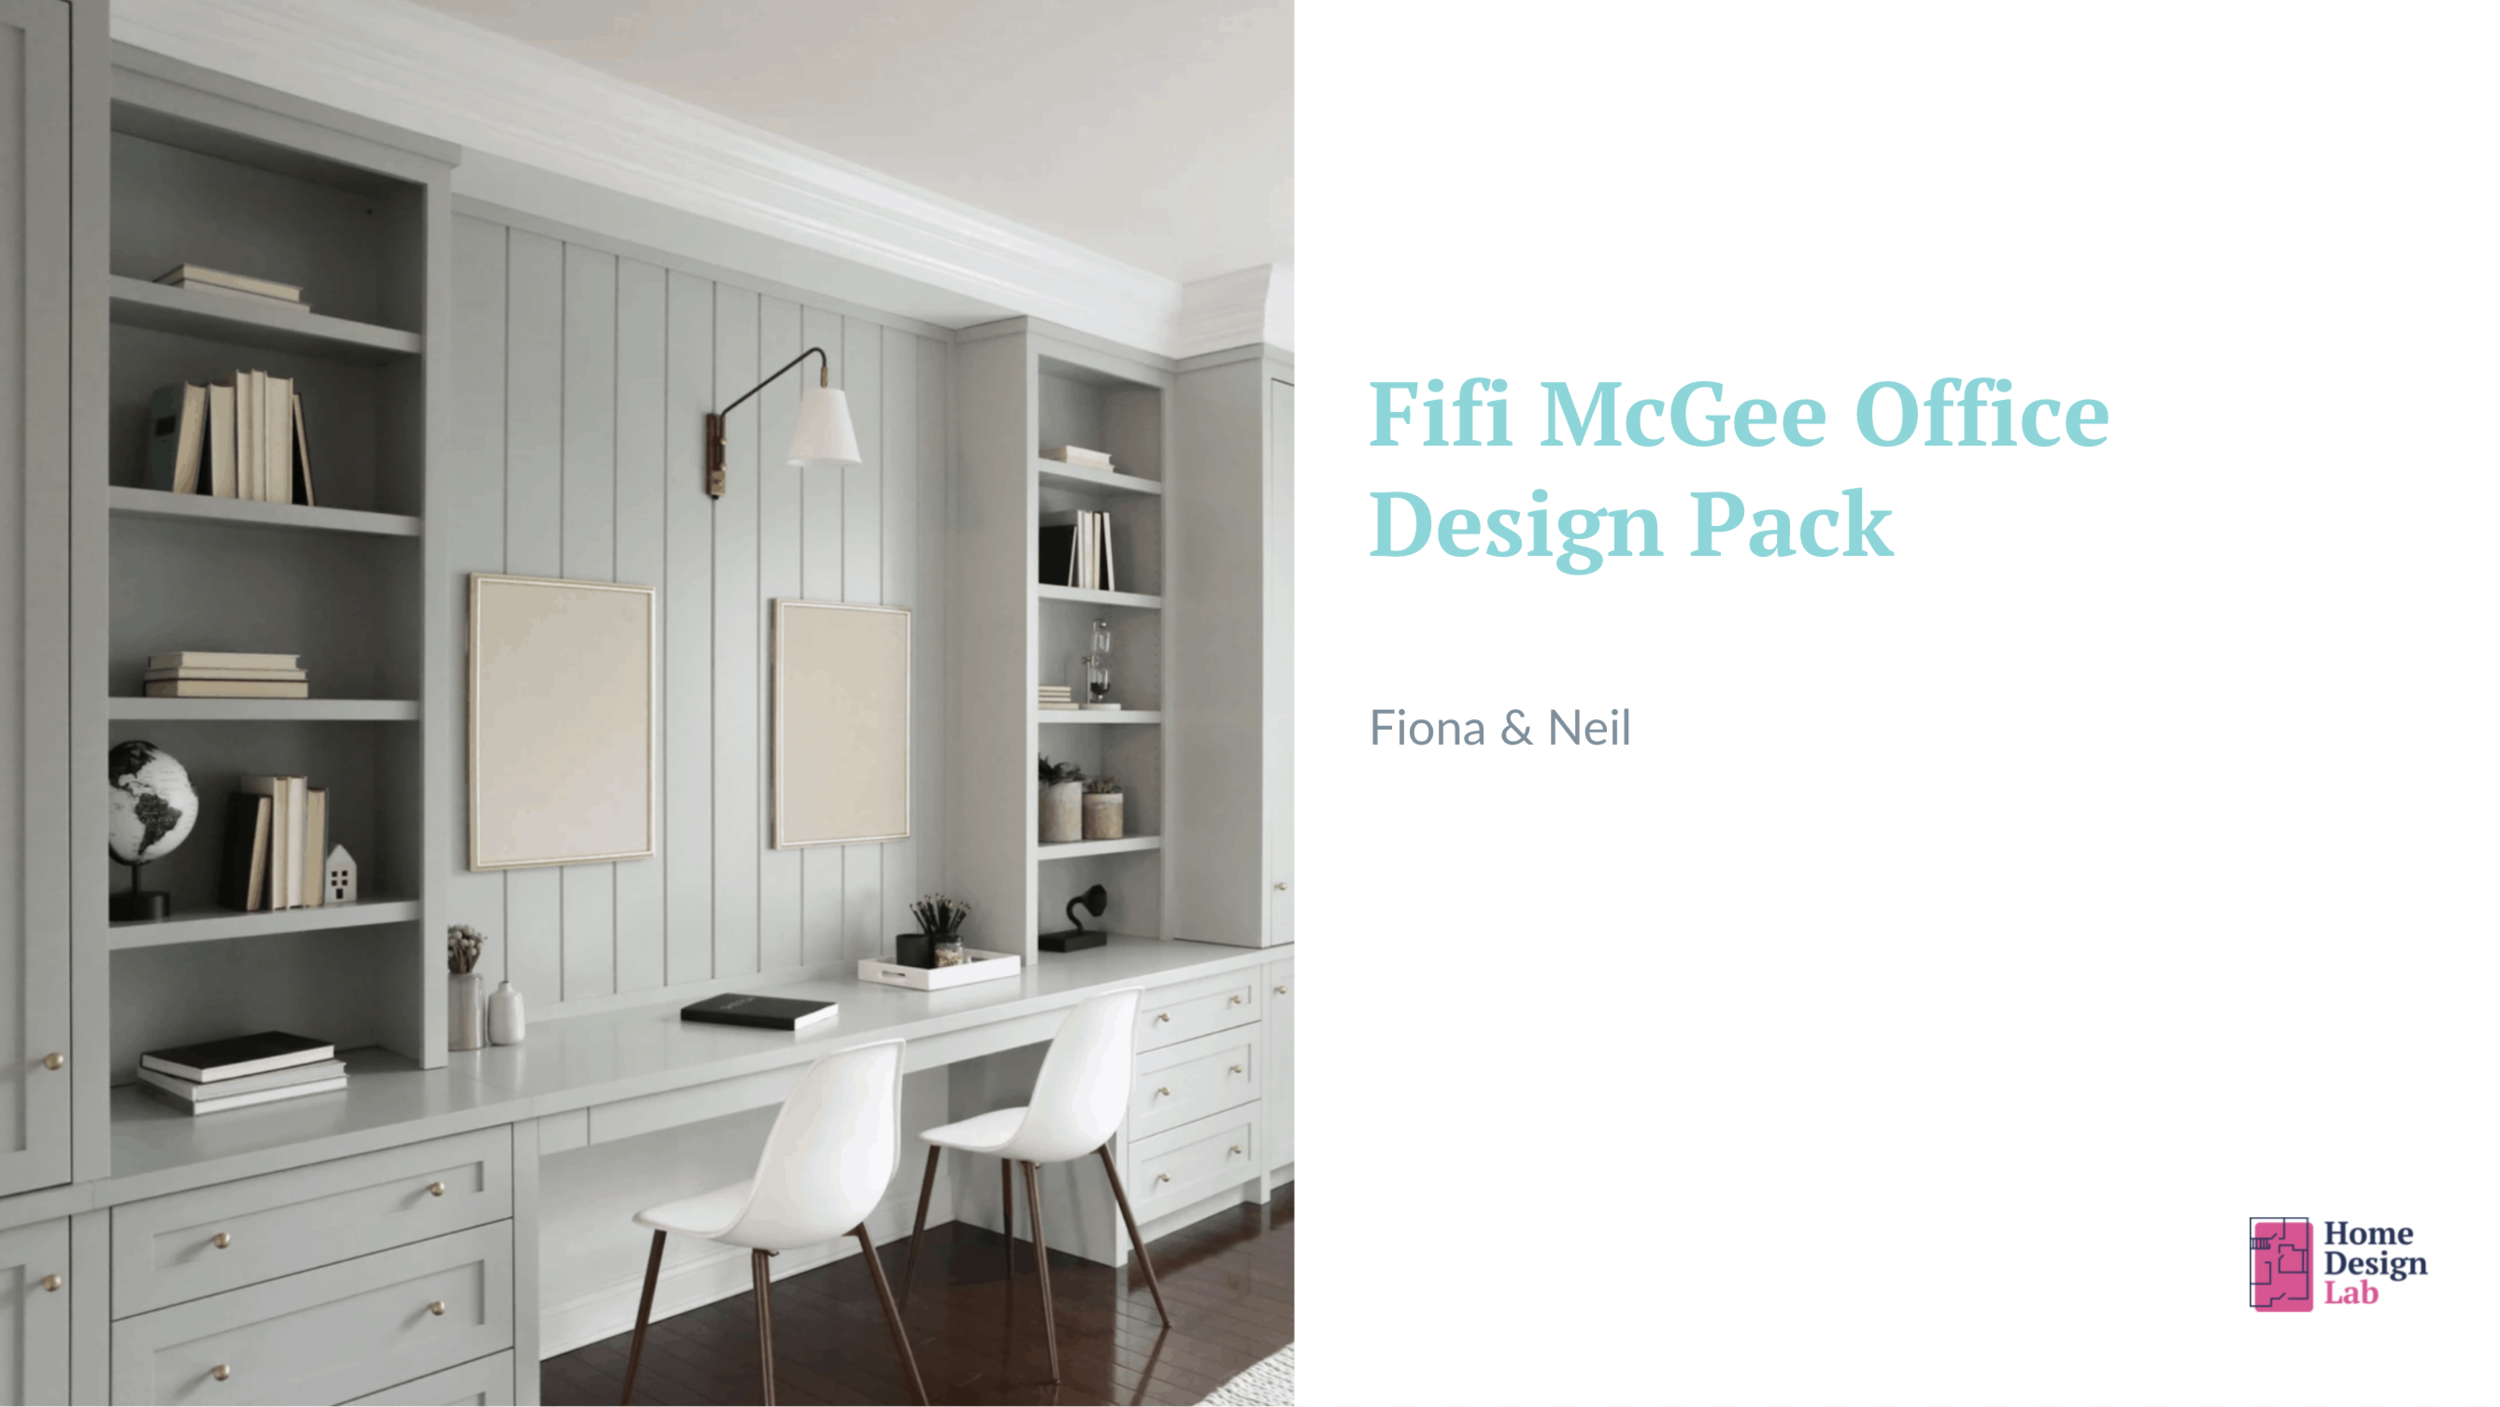
I teach students in the Home Design Lab course how to produce their own Home Design Pack complete with information sheets and cheat sheets to empower them to be brave and find their own style. I also show them examples of my professional packs – the packs I produce for clients are far more detailed and include 3D visuals, elevations, lighting plans, full shopping lists and more...
How we’re spreading our budget
Neil and I spend a lot of time discussing this as it’s such an important element to get right as you enter a project. No playing ‘hopeful Annie’, believing that it will all work out on the finance side!

The step by step framework we show renovators in our How to Renovate a House online course helps us (and them!) make groundbreaking decisions on budgets and get all of our costs projected. It helps that we’ve learned a lot of ways to make cost savings too as we bring industry knowledge to our own projects and online courses.
You might have spotted in the example slides of our Home Design Pack that we’ll be investing in bespoke cabinetry to utilise every inch of space possible. This is expensive and will be the bulk of our budget spent but we agreed it’s essential if we want the space to give us optimised storage, a comfortable space for 2 desks, place for samples, printer, and to hide various wires and Neil’s PC tower.
Take a look at the 3D images our team have put together and you’ll see why we’re smitten with the design.
Guess what else? Money conversations can often bring people out in a sweat, especially if partners want different things and it’s a huge renovation you’re taking on… but the framework we teach encourages open conversations and realistic planning all throughout decision making. No arguments… Winner!
The design – mocked up as 3D images
I’ll talk more about the design details in part 3 when I show you the final reveal, for now I’ll leave you with 3D renders of our design.


You honestly can’t put a price on being able to visualise ideas before you invest in them like this. I do this for all clients and I teach much simpler tools and techniques to students.
With 3D designs I’m able to walk around the room, so to speak, and see how much space we have to play with prior to ordering. I’ve even used the exact colours I’m proposing for the room, so I can really visualise how my design is going to translate in real life.
In conclusion… I can help you with creating a Home Design Pack too.
The Home Design Pack gives homeowners direction, a record of what’s been agreed, a place to communicate details to trades and a way to visualise and discuss options. If you’re interested I can support you with templates and information to create your own. See Home Design Lab for details.
If you’re doing a project remotely or you’re not living on site, it’s invaluable having an information pack like this to get your decisions in order. I passed ours onto our joiner and he now knows exactly what we want before he came round to quote and measure up. I’ll share more of that meeting in Part 2!
If you’re taking on a project soon and you’re keen to get guidance on your project then take a look at:
How to Renovate a House Online course for budgeting and project management support or;
Home Design Lab to create your own Home Design Pack with my guidance
I hope you’ll stick around and read Part 2 and 3 with me. We’re expecting a completion date of late January 2022, then it’s styling and shooting time!
Until Part 2!
Thanks for reading!
Fi x