How I learnt that basic joinery/carpentry shouldn't be daunting
/I have a special guest author on Fifi McGee today, the man behind a lot of what you see on my blog (bar the writing and fluffy mood boards!) Meet my fiance Neil. Neil shoots all the photography on my blog, and we run a photography studio together. He's here today not to talk about photography but to share his journey into the unknown... levelling up his DIY skills! If this post inspires just one person who doesn't think they're capable of building something to do it, then our mission here is accomplished!

Having previously been relegated to duties of photographer and the 'braun' behind the brains of the renovation operation I thought I was a little overdue sharing what I personally have been learning along our renovation journey.
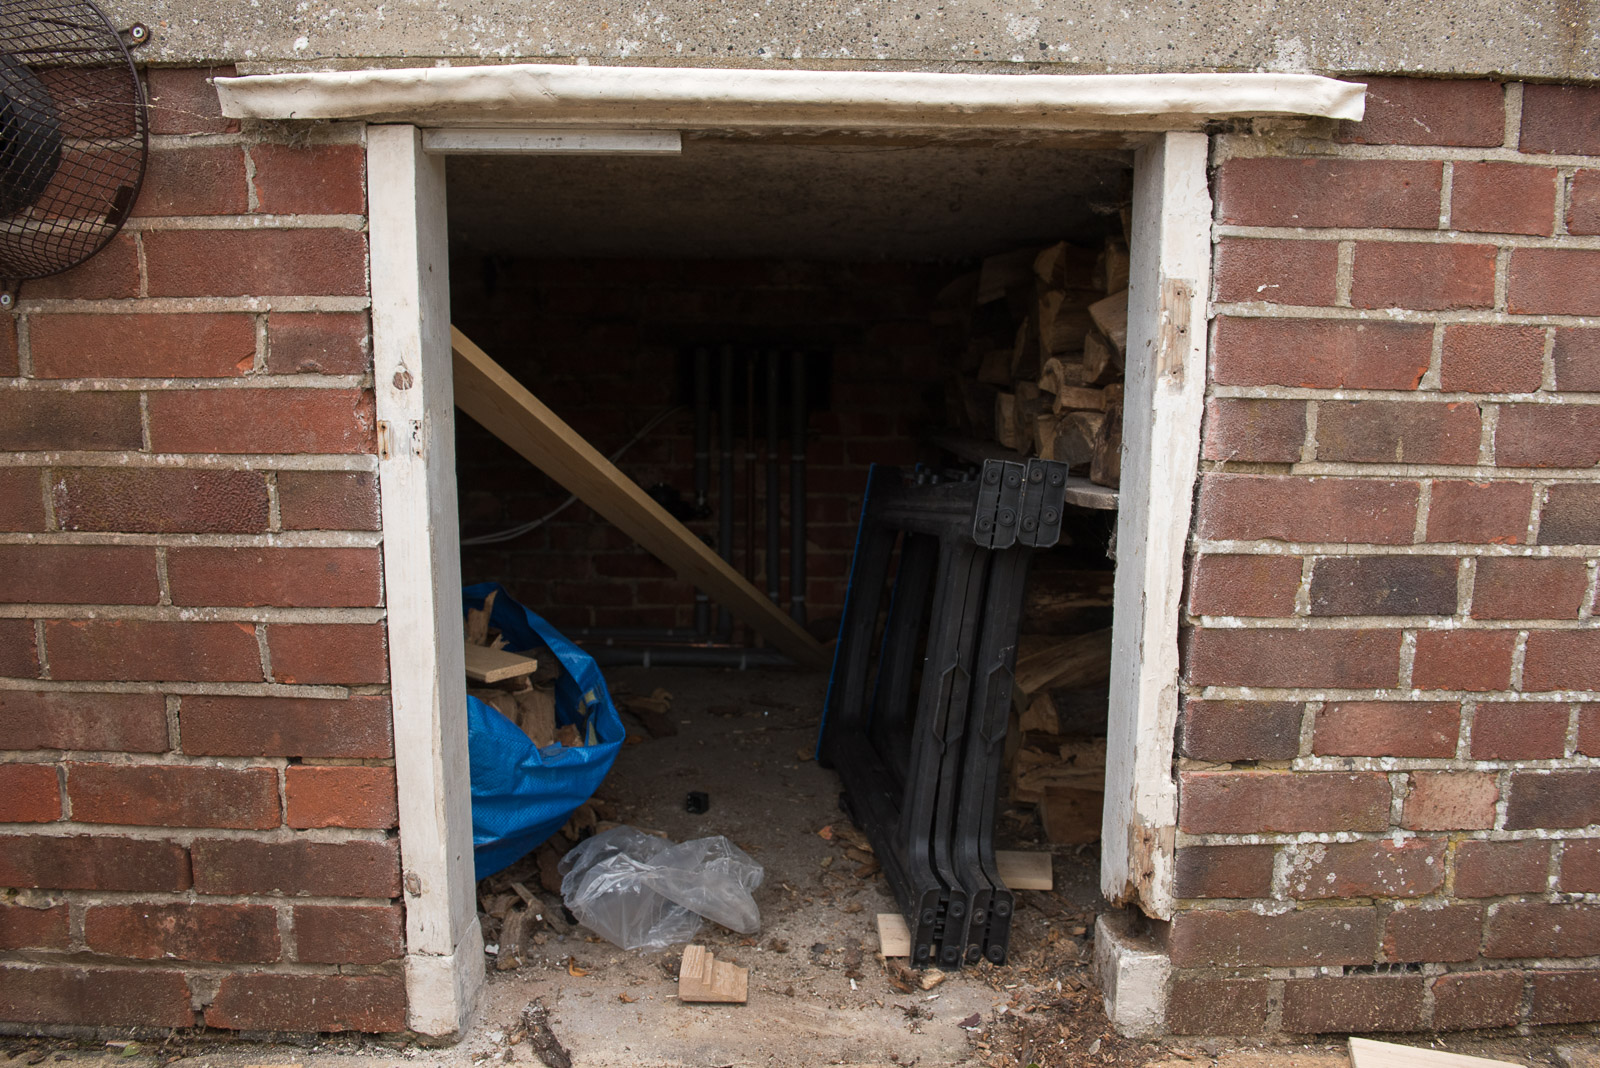
The Mission: Replacing our outside cupboard doors

Yep - yuck
As you can see, not really much else is needed to describe the state of these handy but ultimately sad-looking cupboards at the back of our house. Aside from looking awful, they were rotting and had fallen from their hinges on both sides. They needed an overhaul desperately.
The Main Kit
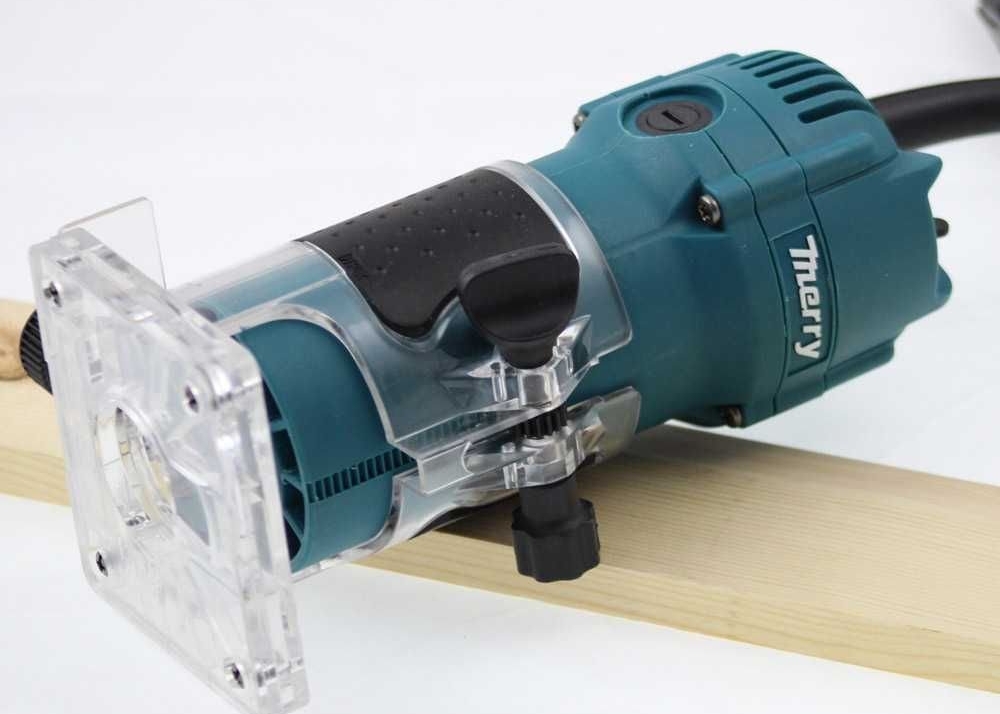
A Router and router bits

A Worx Circular Saw

A basic workbench

We got wood. And here it is displayed lovingly on our fashionable carpet.
Two things have been holding me back from being successful with many DIY tasks; lack of experience and lack of tools. For this job I originally figured that I could just get someone in to do the job, I was of the understanding that it would probably be in the region of £300-£400 to get these replaced by a professional. Instead of shelling out to hire a carpenter I decided to purchase the tools which although not cheap, I could use these again for subsequent DIY. The saw and workbench were a no-brainer but the router was something that I was not particularly familiar with but absolutely necessary to get a good finish on the front of the cupboard doors (the sort of tongue and groove look).
The items I used:
Workbench
Router
Worx Circular Saw
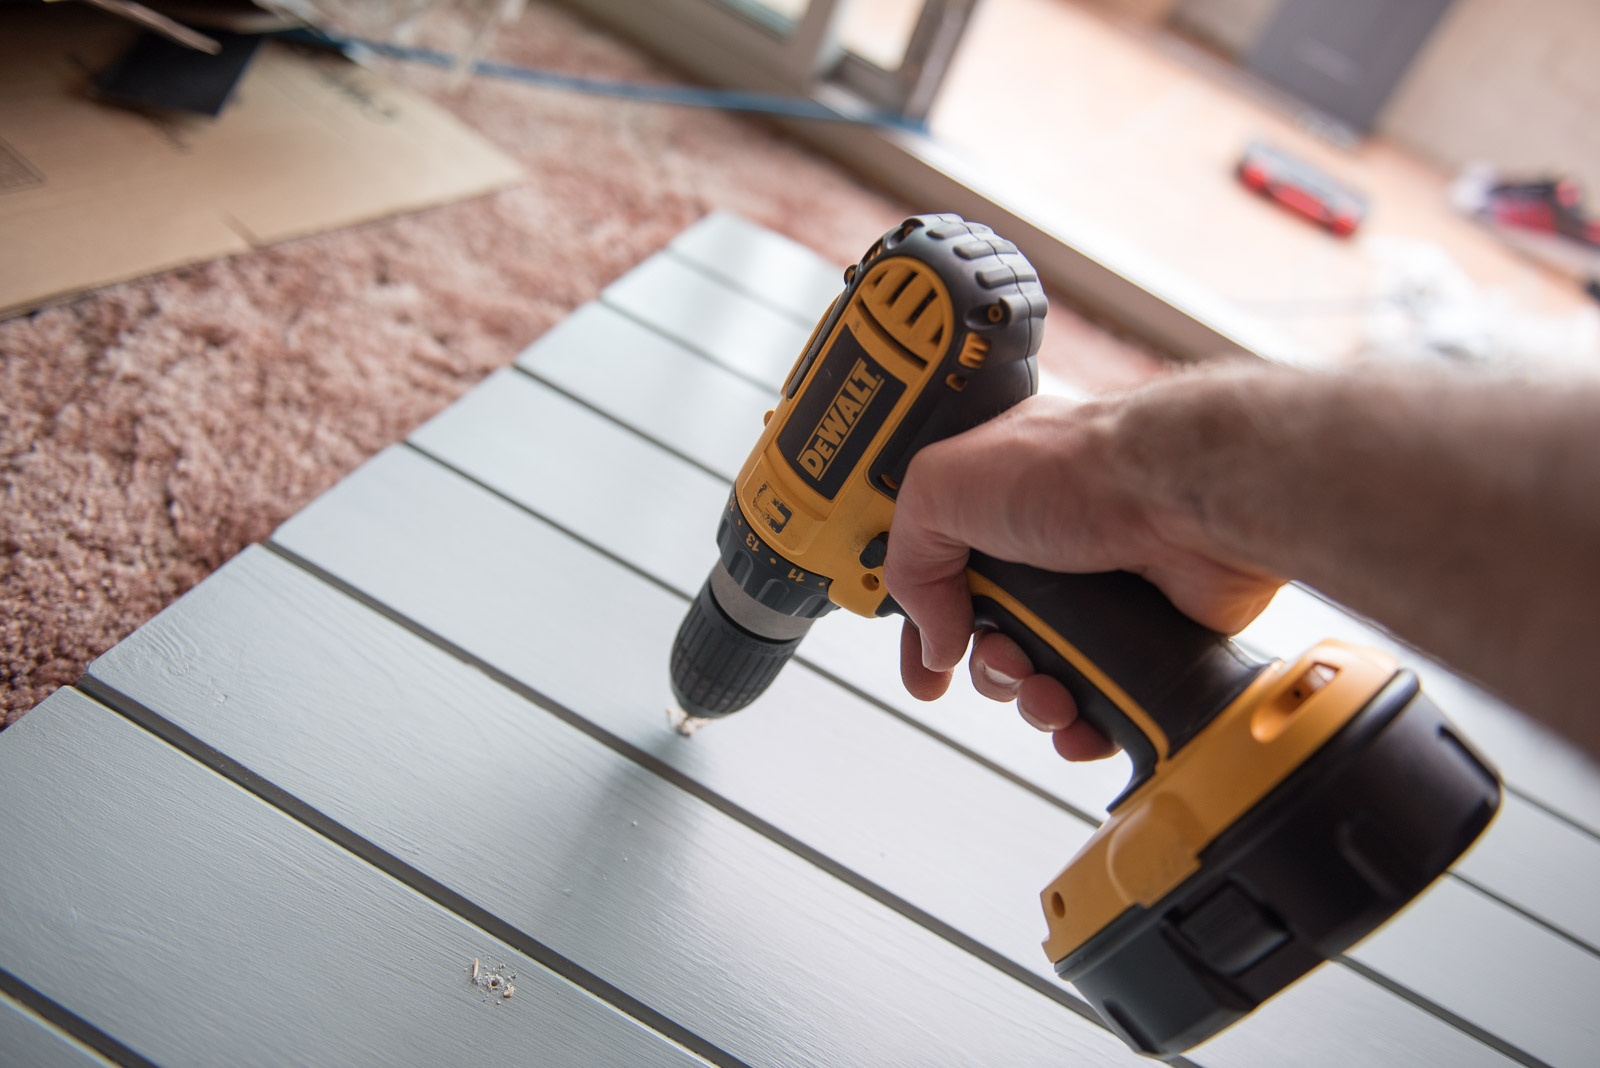
A drill/driver/bits
Screws
Knotting solution
Primer/paint/brush
Hinges
Padlock bolts
No More Nails
Wood filler
Mouse sander/sandpaper
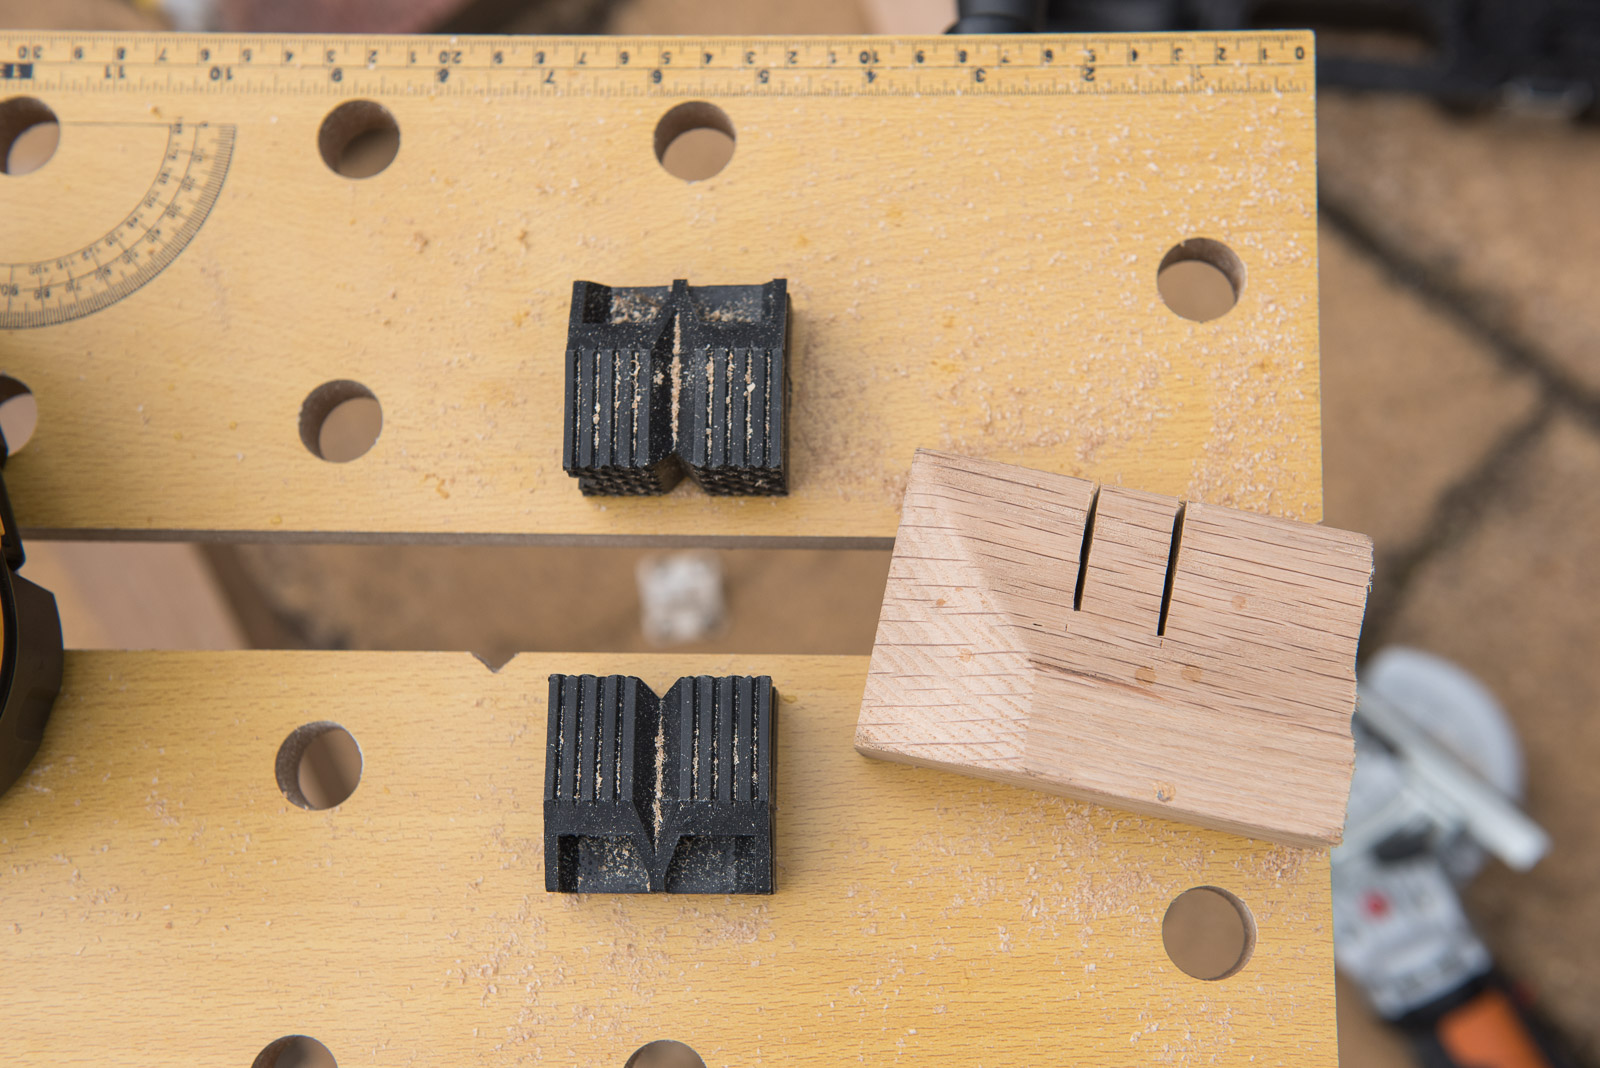
Cutting and Routing
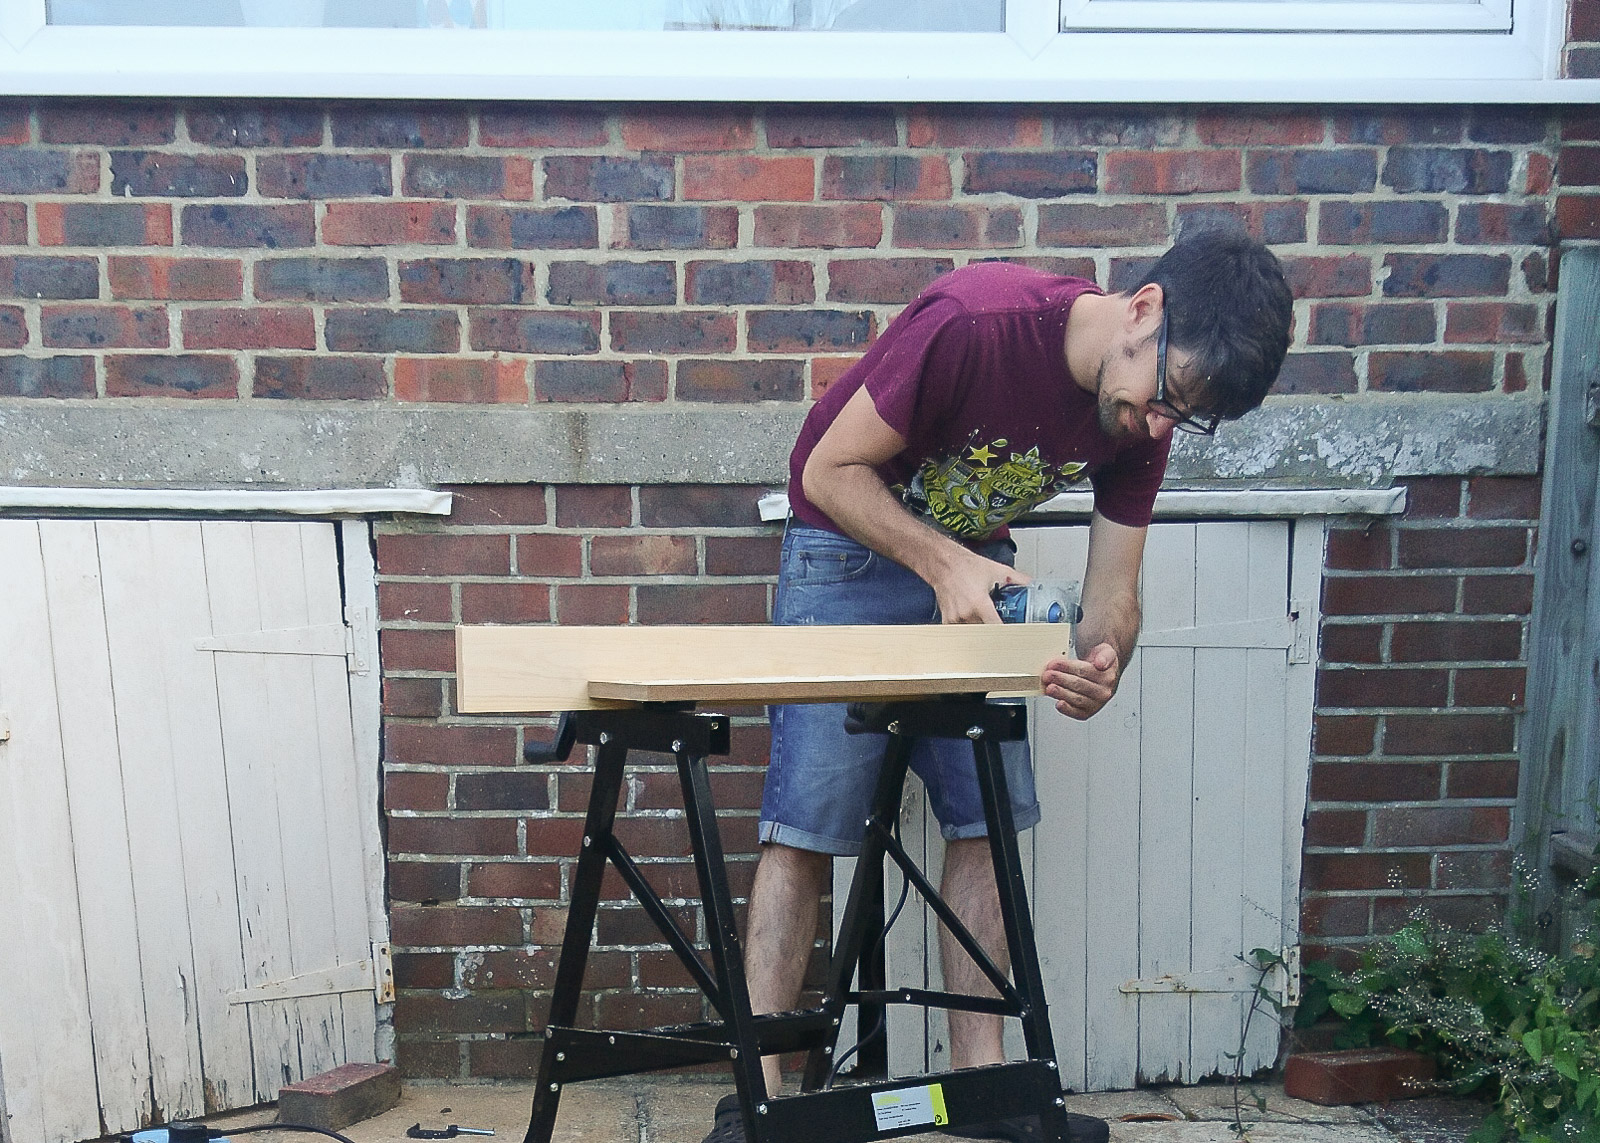
Routing the edges
Following measuring and cutting the wood down into numerous smaller pieces I set about learning how to use the router. It took a bit of getting used to, but after a few goes on some scrap wood it was actually quite satisfying! Anything that gives instant awesome results gets a thumbs up from me.

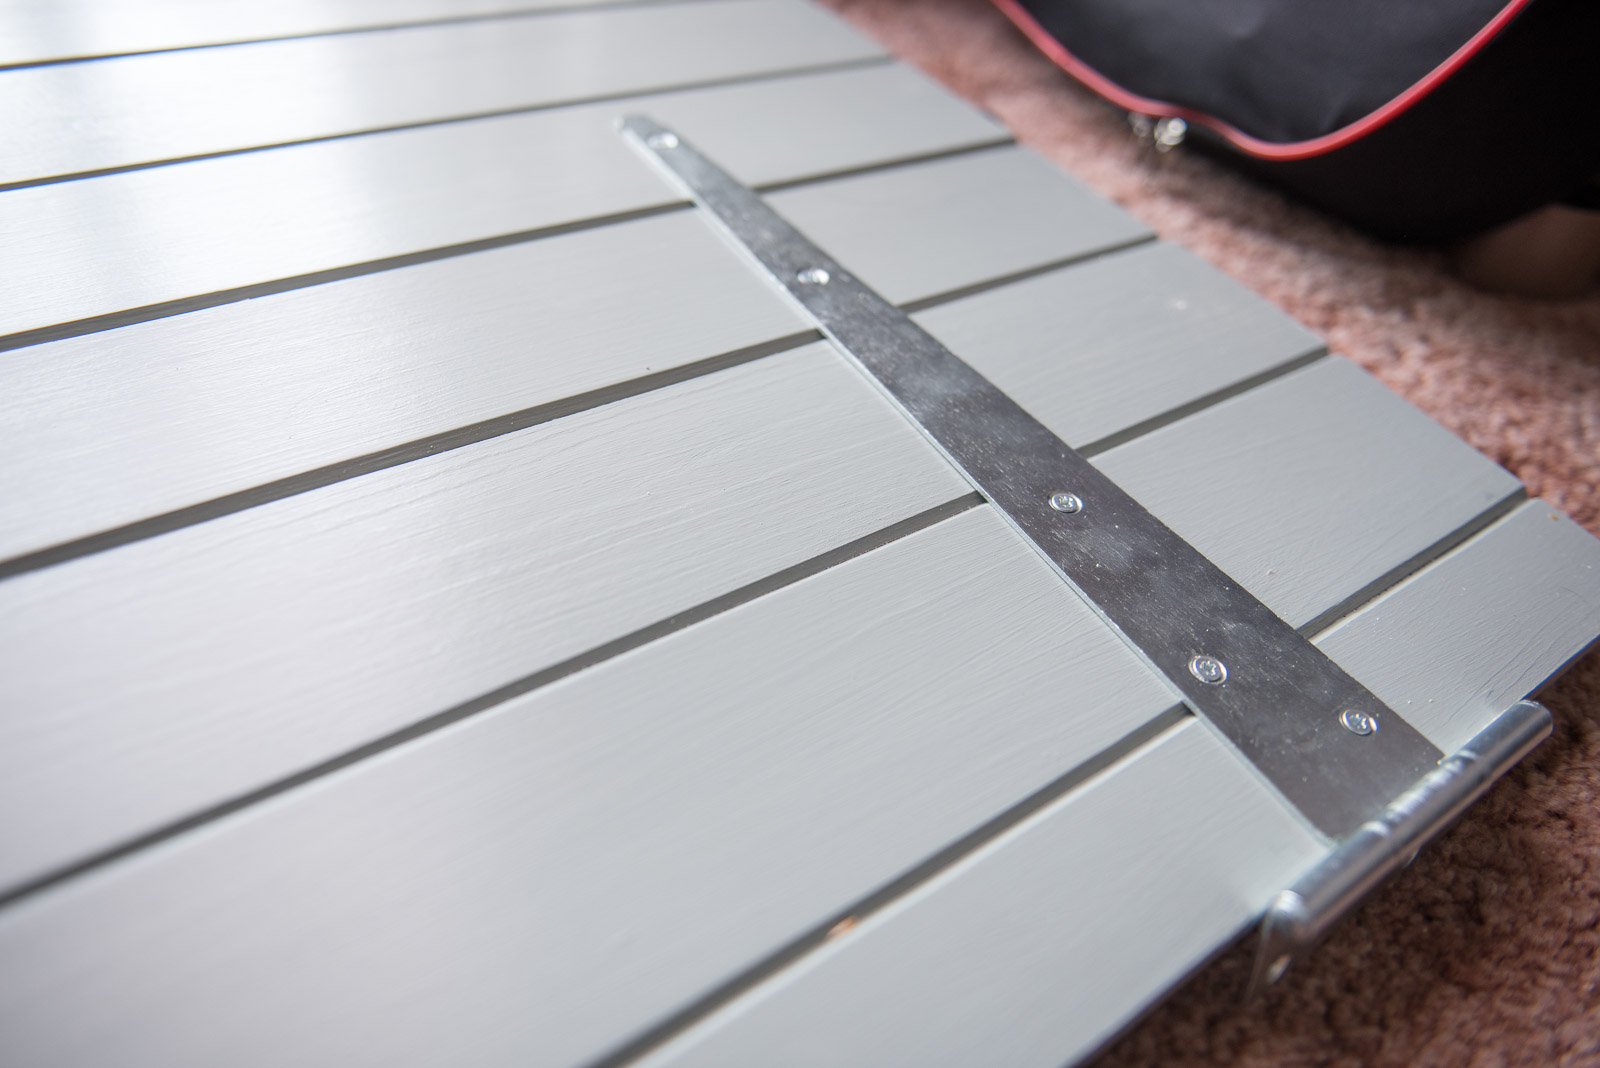
Basic joins. You can also see the results of the router on the end
Priming and Painting
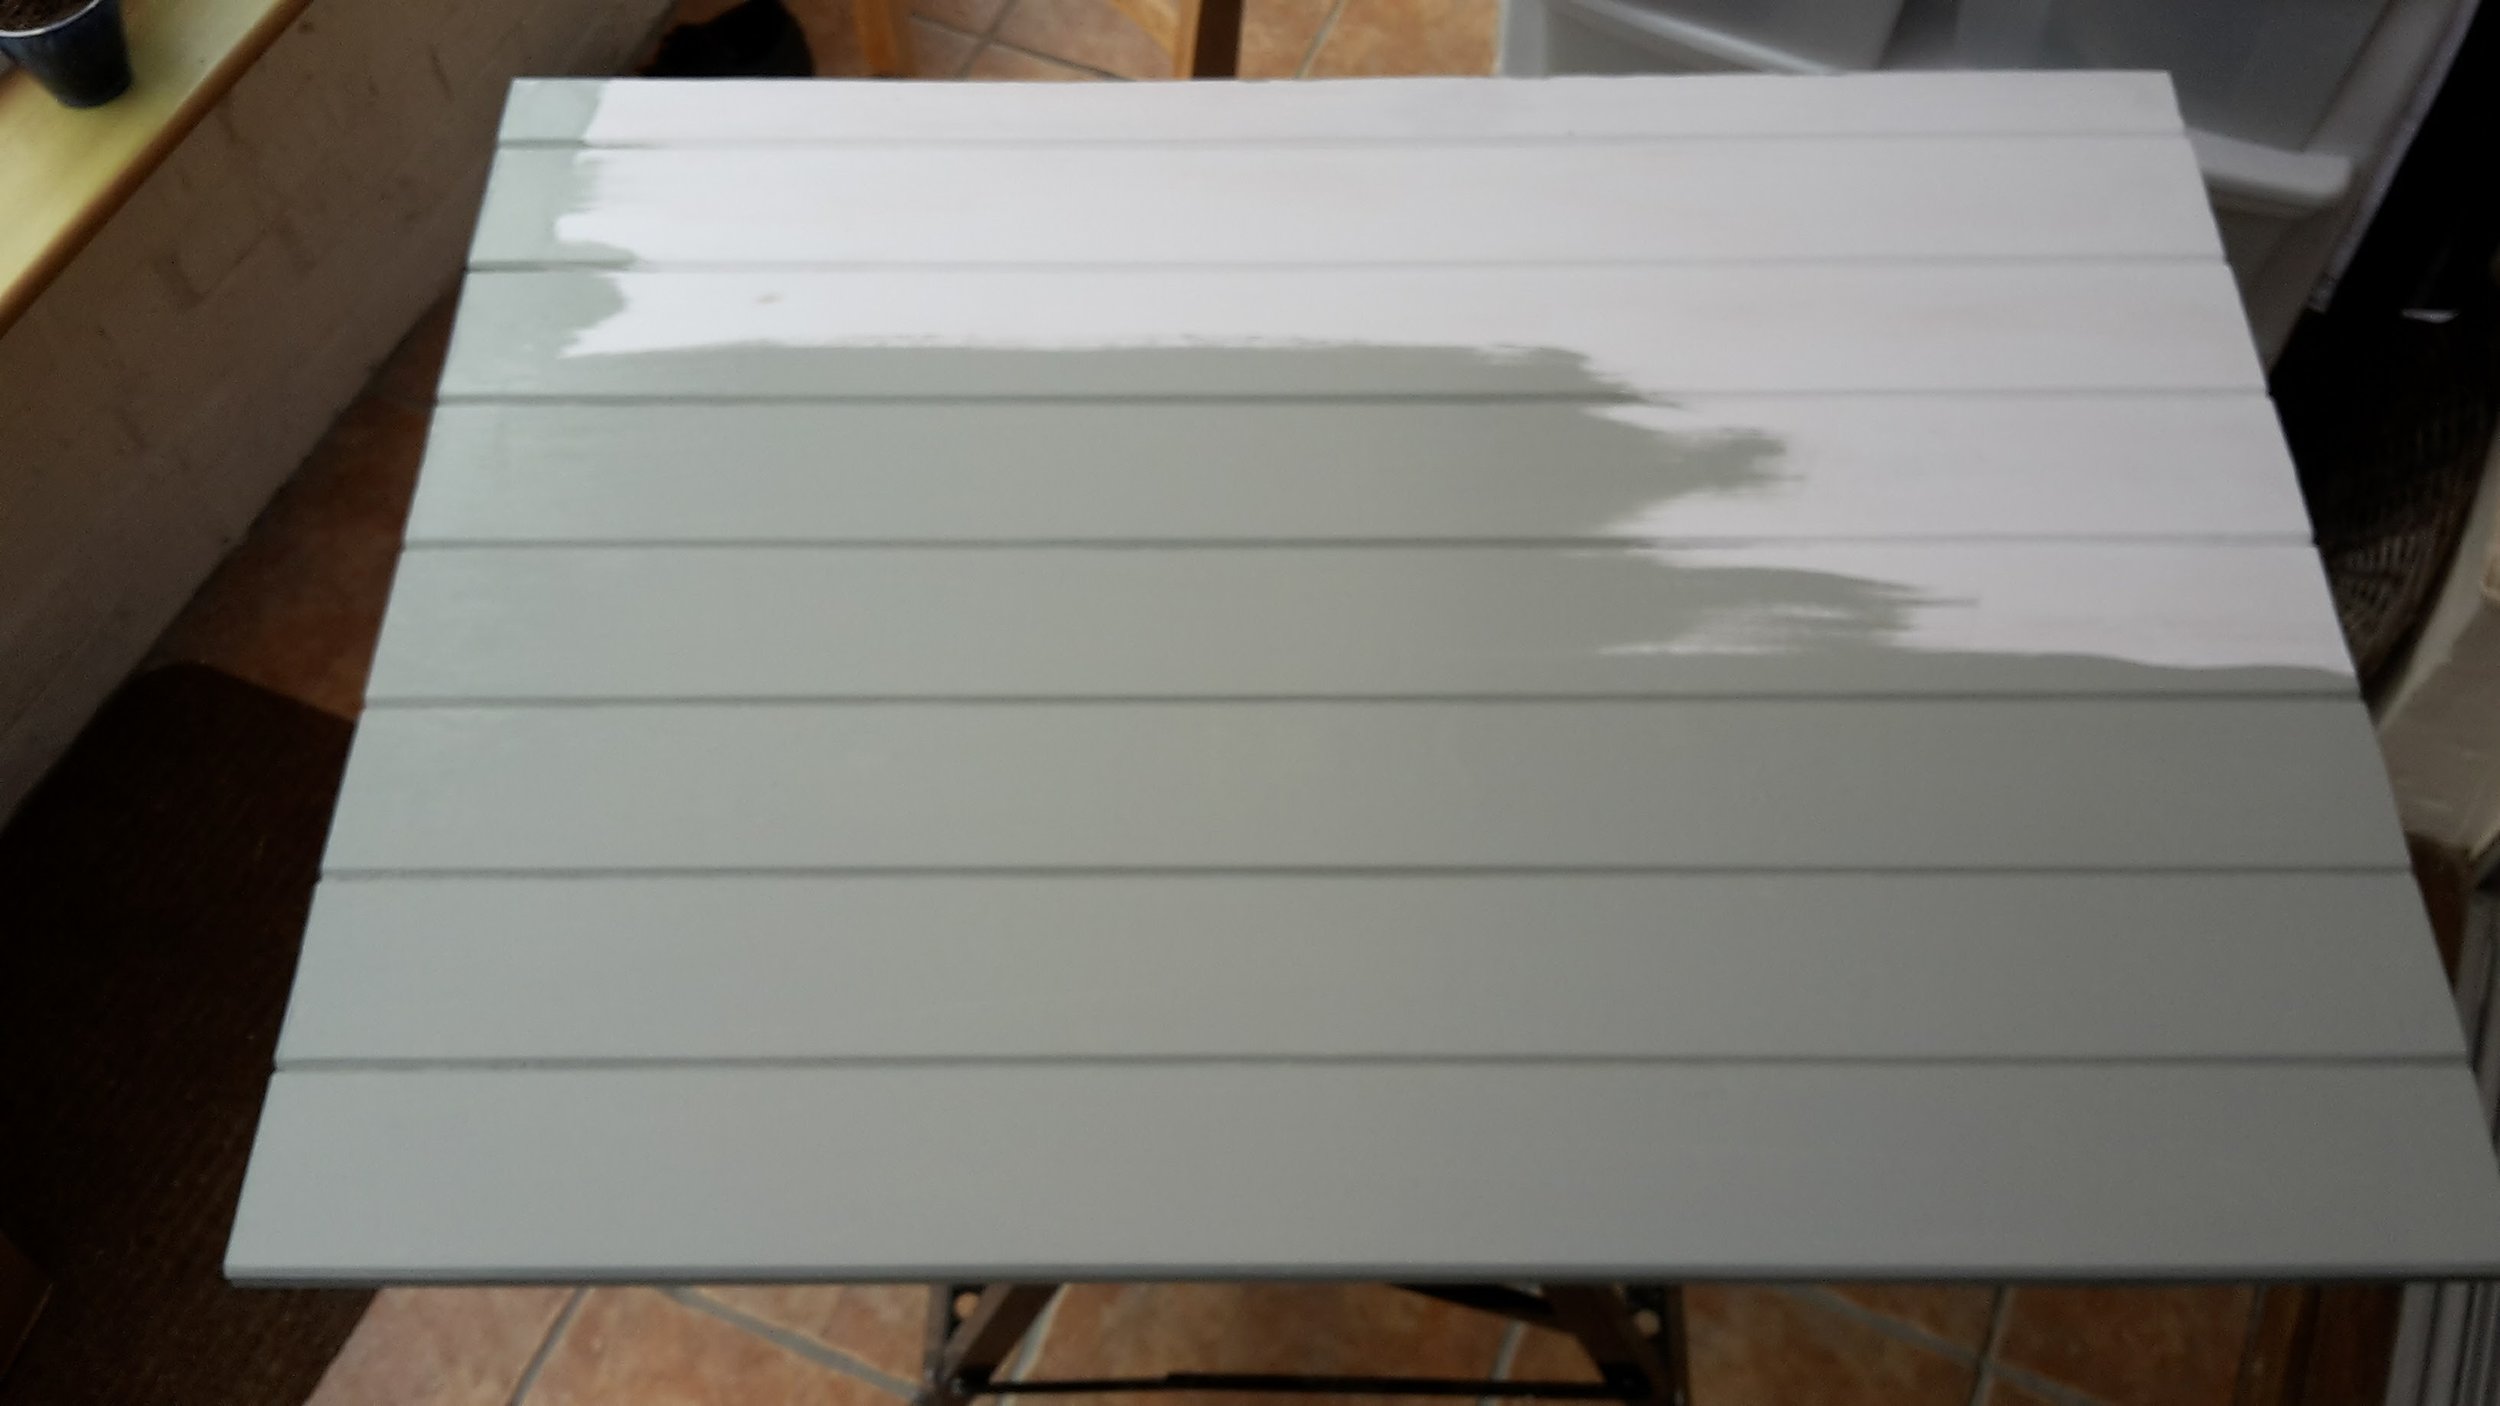
First coat of paint goes on
Fifi told me to tell you the paint (which she chose, obviously) is Exterior Satin Paint by Valspar in the colour Platinum Sage to match our front door.
First coat
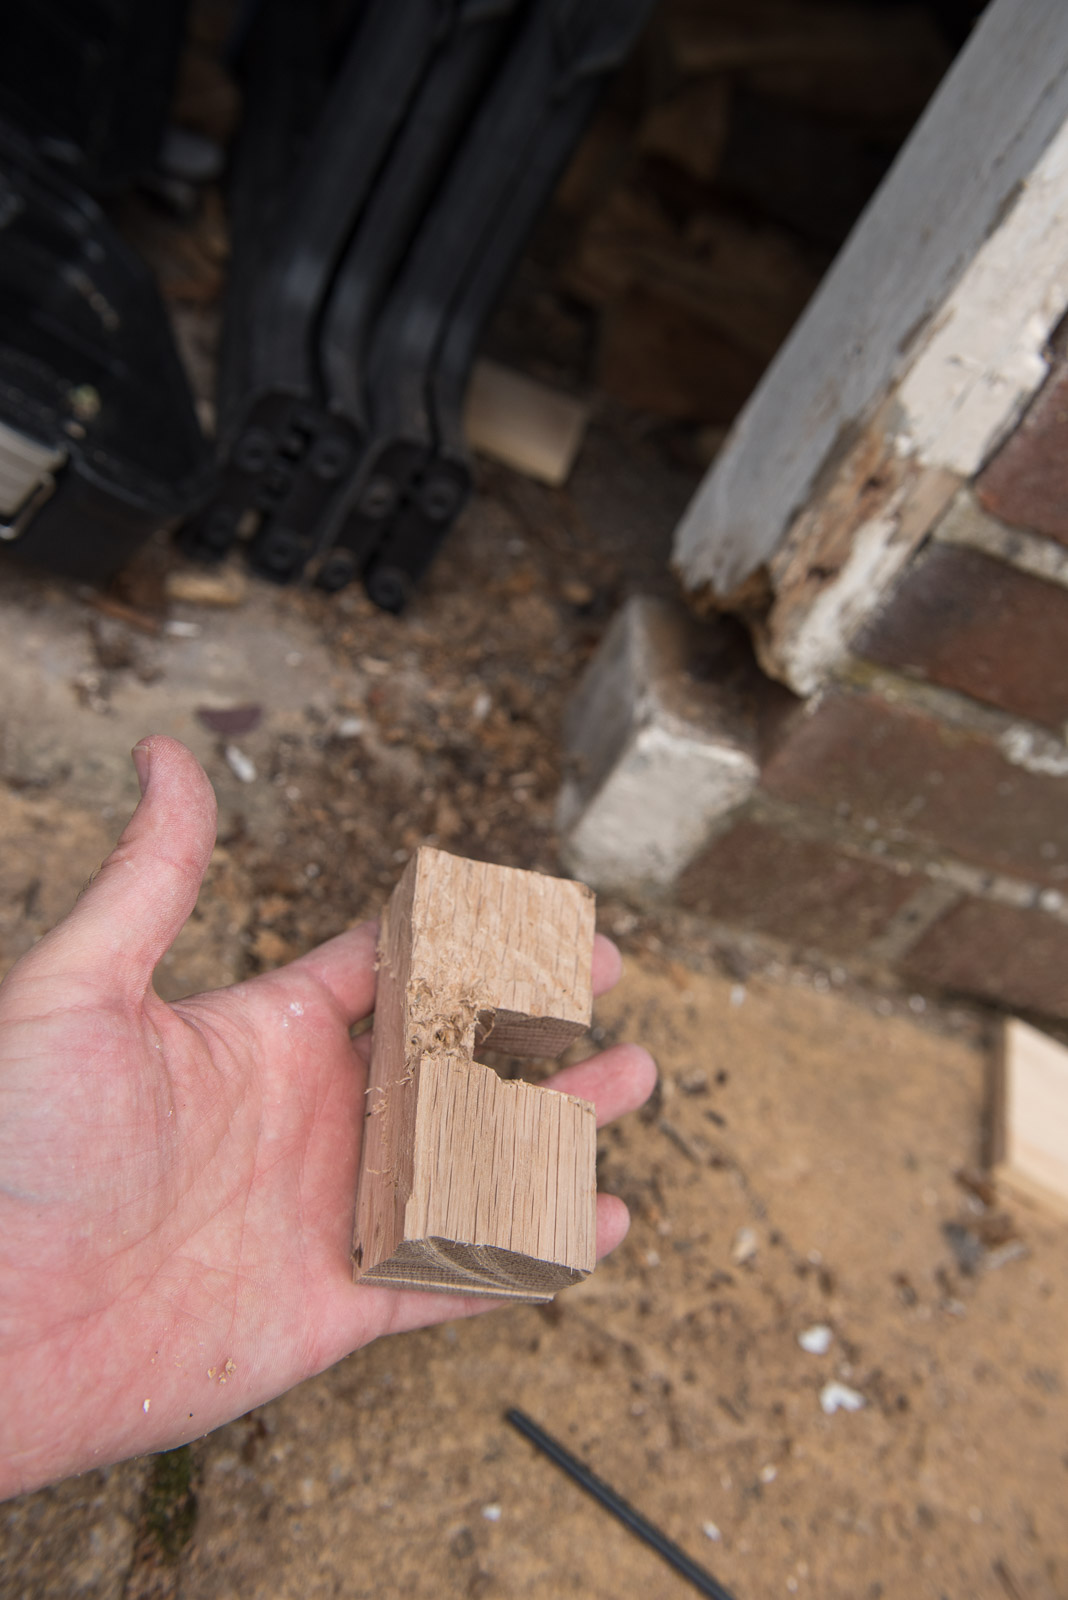
Frame Renovation
Desperately in need of some T.L.C

I discovered that part of the frame was completely rotten. In the middle of the frame was a rod of old rusty metal so I needed to custom cut a piece to fit this section. If I did this all again I would perhaps have also used some rotten wood solution but as I planned to flip the side of the hinges, structural integrity wasn't too important, this would suffice for a good few years.

Cutting a small piece to fill the gap
A little bit fiddly but not a bad result

Fits like a glove...sort of

After some good wood filler and a sand
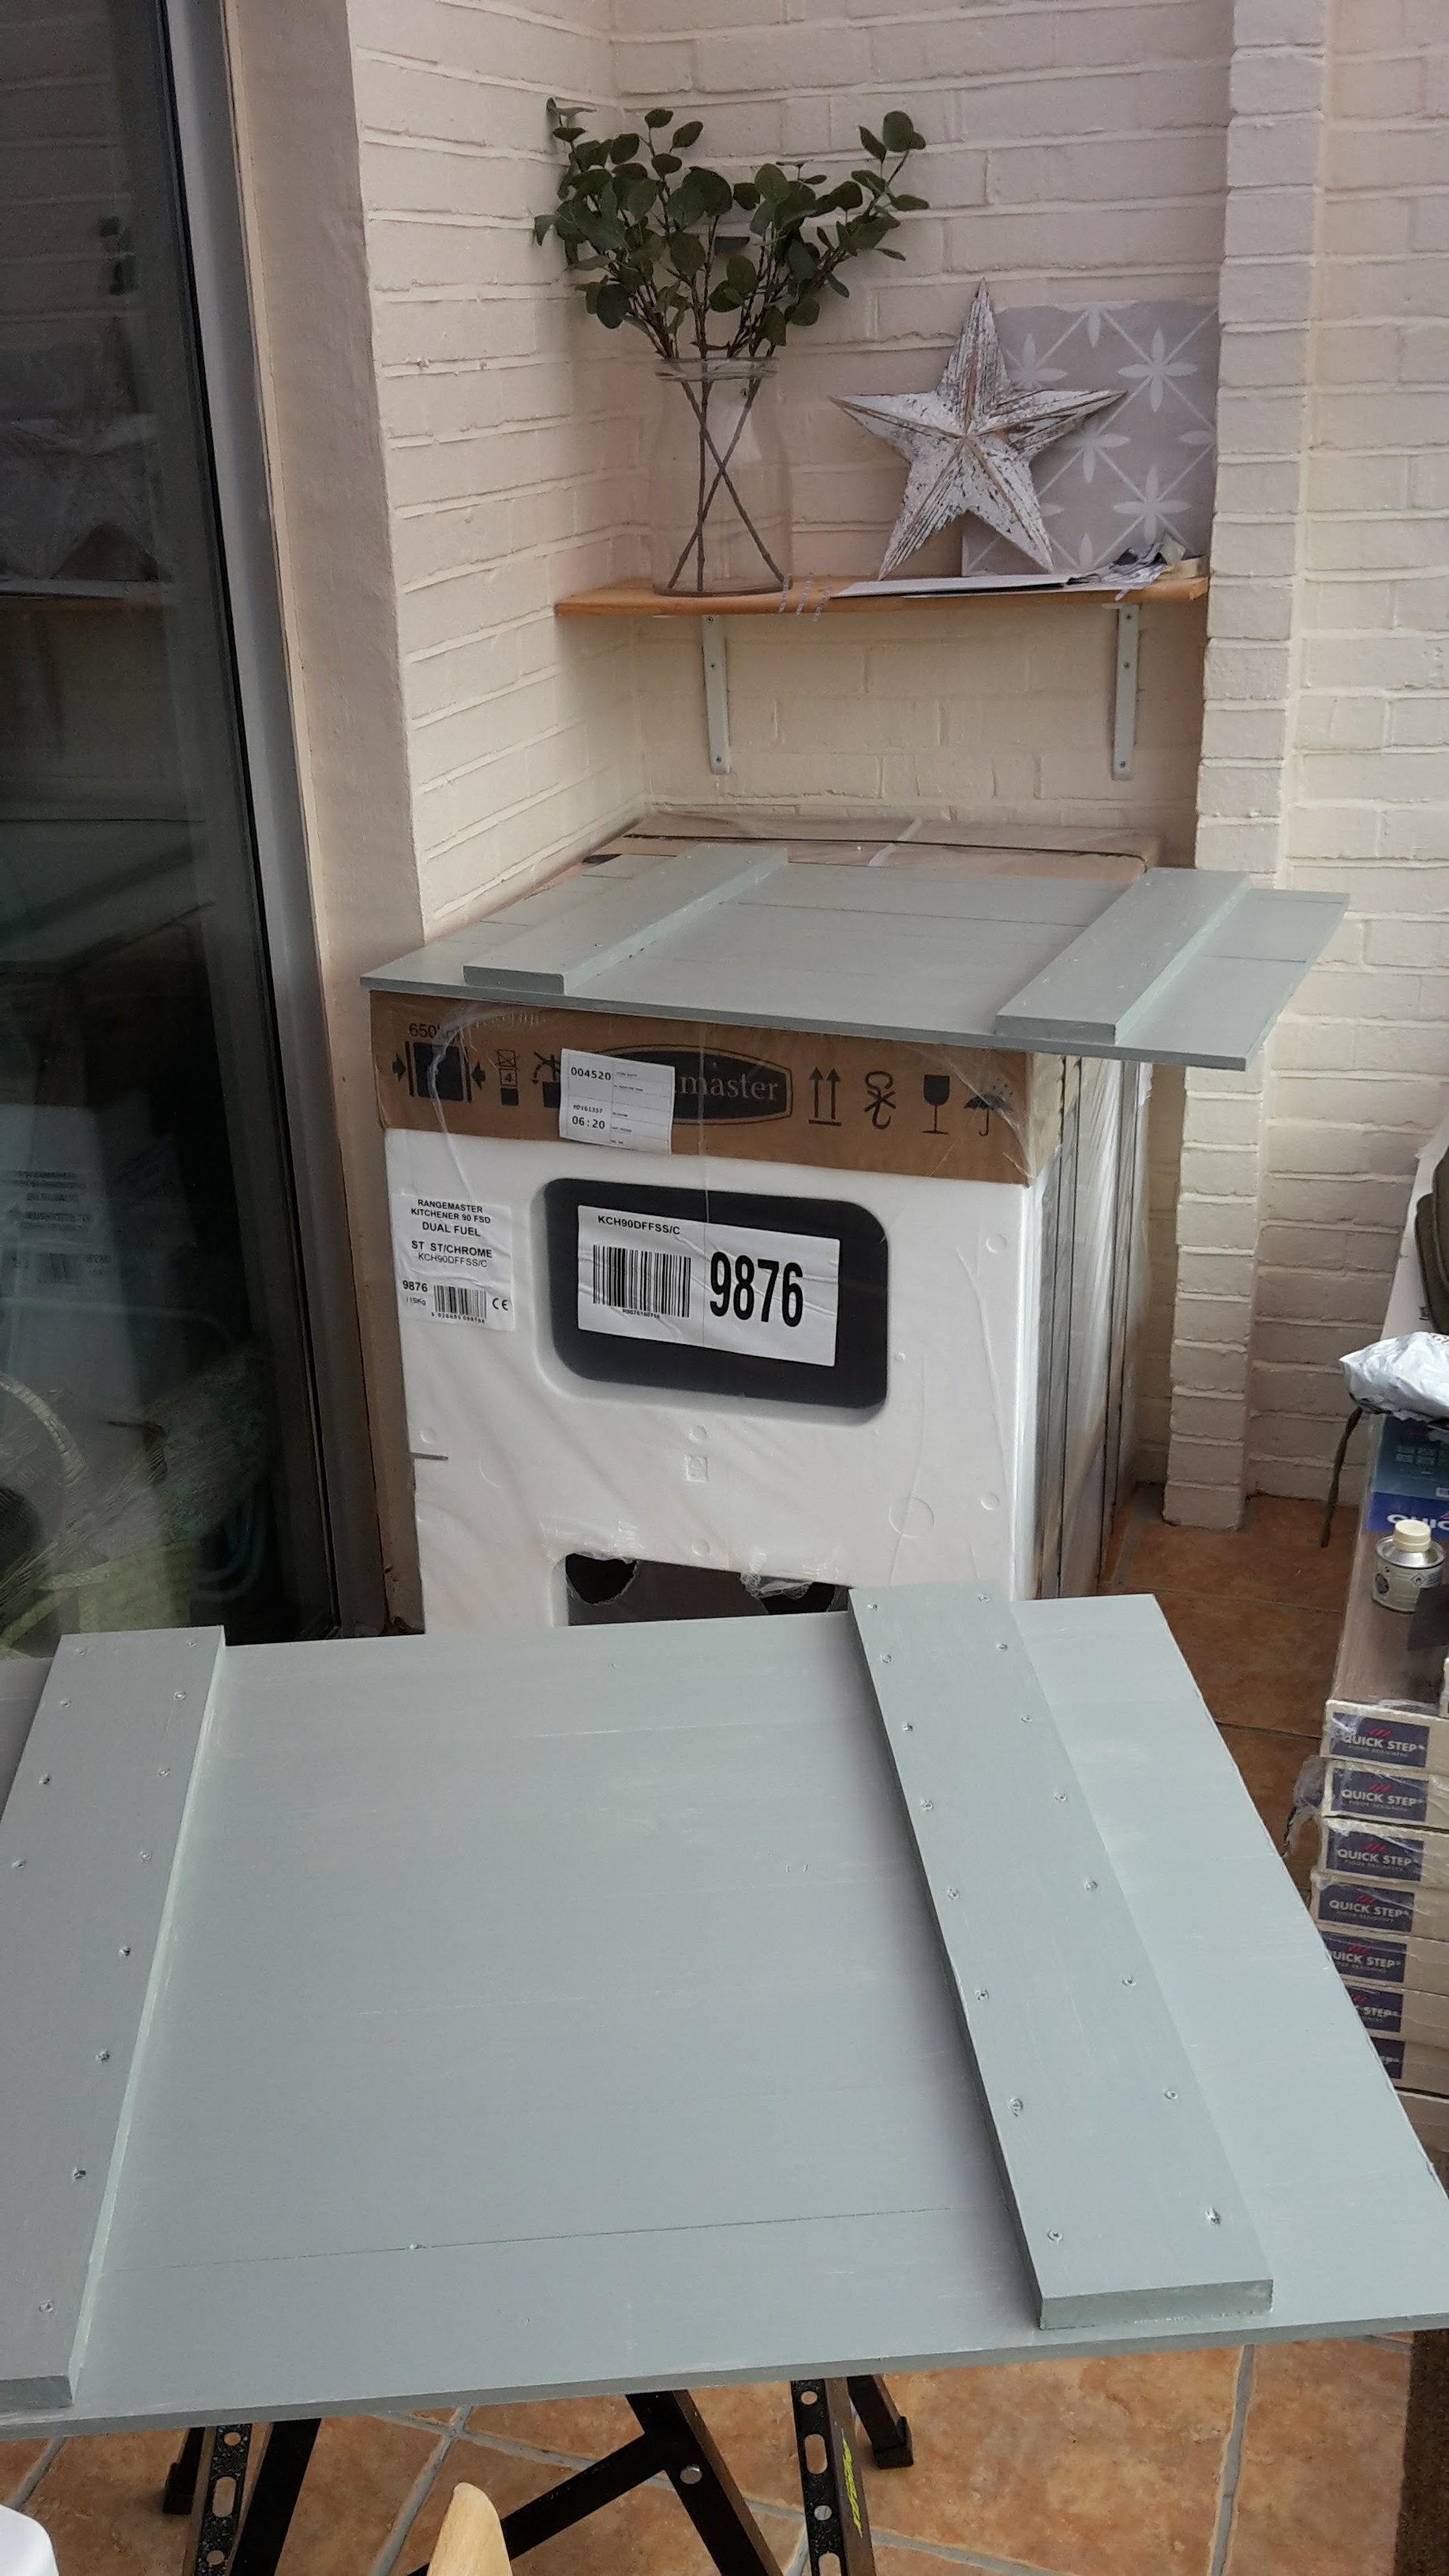
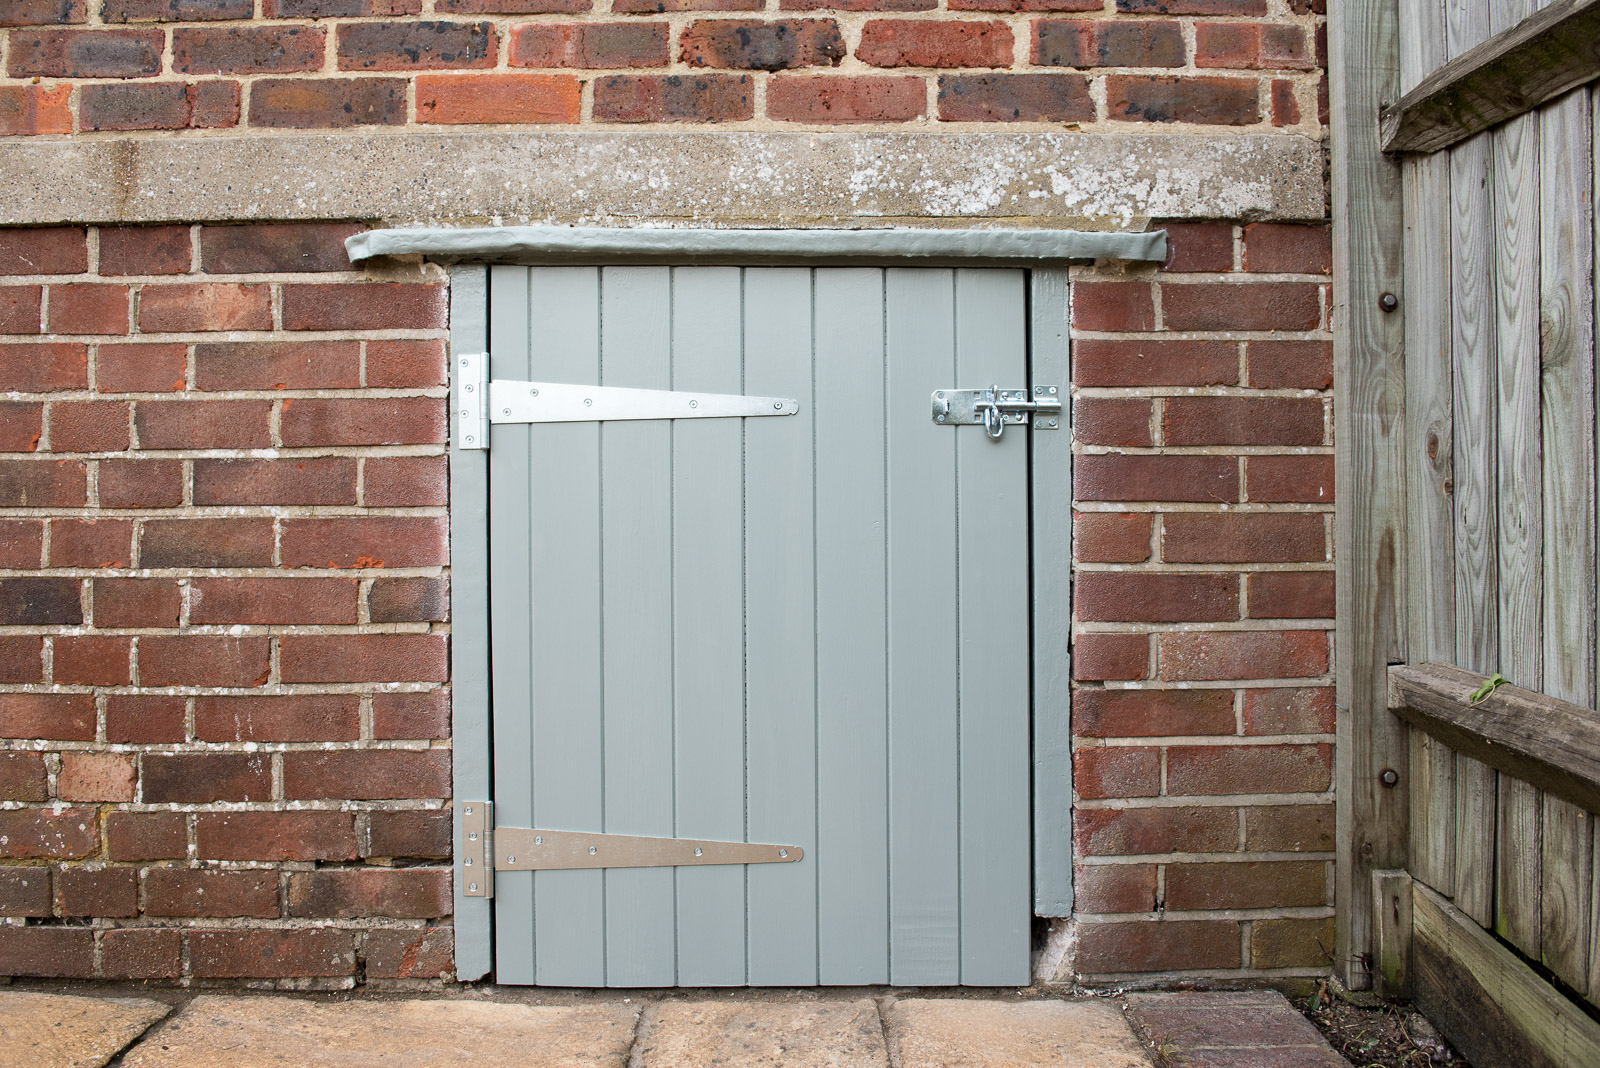
Fitting furniture to the doors I built
Hinges looking good

The bolts were very cheap but look OK
The Results
For my first foray into this world, I am really pleased with the results. It's really given me the confidence to do more work like this and now I have the tools to do this. I've already got my eye on a few jobs around the house. So next time you are about to Google somebody to do a job, why not do the research and give it a try, the satisfaction of doing the job yourself is really worth it, just start small. And remember; measure twice, cut once.
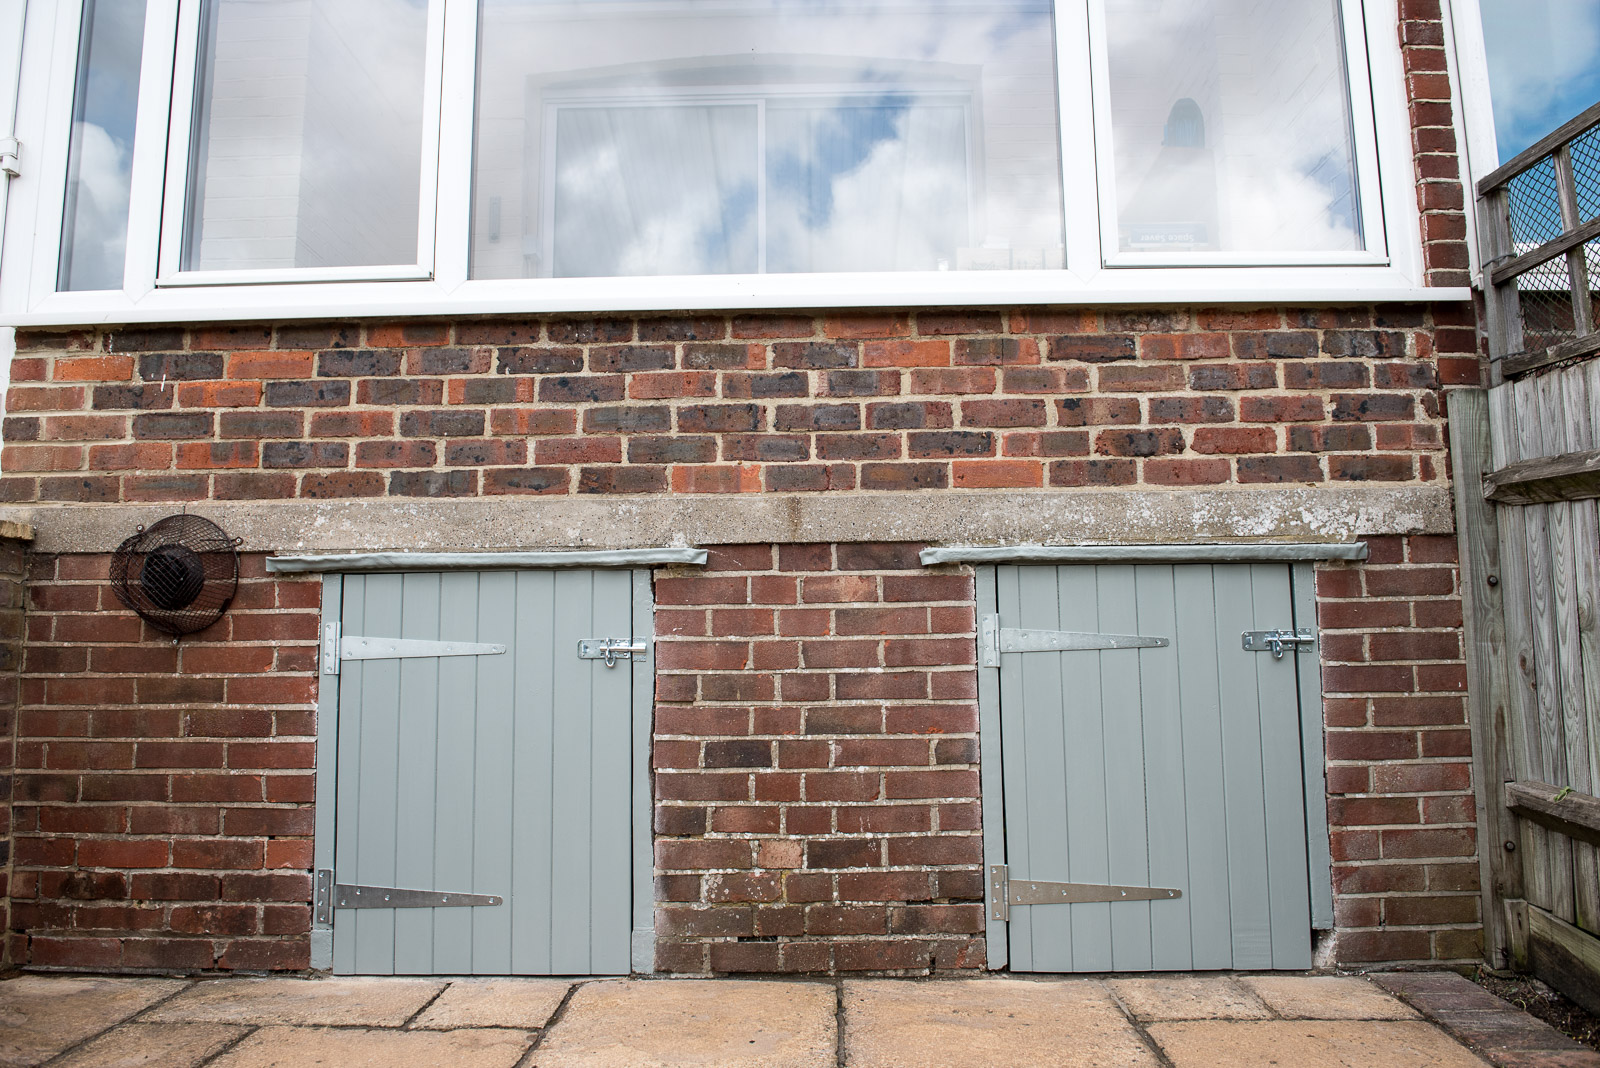


Left cupboard
Right cupboard
Before and After


Well done, Neil! I am so proud. Not in the least because I can now ask him to make a whole array of things for the house. He doesn't know it yet, but the next project I would love him to try is making a DIY Shaker style peg shelf - are you up to the challenge Neil?? I hope so :)